

Looking for an easy and budget-friendly way to decorate your front porch for Christmas? This Dollar Tree inspired DIY Christmas planter is a beautiful way to add festive greenery to your outdoor space without spending a fortune on holiday decorations.
I made this Christmas porch planter using a large outdoor planter, a Dollar Tree wastebasket, a faux Dollar Tree Christmas wreath, floral foam, fresh greenery, and a few Dollar Tree decorations. The best part is that you can customize this outdoor Christmas planter to match your own holiday decorating style. Choose traditional red and gold, classic silver and white, or the dicz-xck-zliuas combination I used for mine.

Supplies List
This website contains affiliate links. As an Amazon affiliate, I earn a small commission from qualifying purchases (at no cost to you).
I have included links for this DIY, but have also noted which items are available at your local Dollar Tree.
- Large outdoor planter
- Plastic wastebasket that fits inside the planter (no holes – recycled or Dollar Tree)
- Artificial Christmas wreath (recycled or Dollar Tree)
- Floral foam blocks -wet for outdoor use (Dollar Tree)
- Birch Poles/Logs
- Fresh evergreen branches, such as pine, cedar, fir, or spruce
- Christmas picks and sprays. (Dollar Tree)
- Decorative Christmas ribbon (Dollar Tree)
- Christmas ornaments or shatterproof baubles with stems (Dollar Tree)
- Tall decorative branches (Red dogwood used in this tutorial)
- Wire cutters
- Pruning Shears
- Floral wire – if needed (Dollar Tree
How to Make a DIY Christmas Planter
Step 1: Prepare Your Planter
Start with a large decorative planter suitable for your porch or entryway. Choose one that is sturdy enough to support the weight of the greenery and decorations.
Place a plastic wastebasket inside the planter. The wastebasket should fit securely and sit low enough that it will be hidden by the greenery once the arrangement is complete.
Using a wastebasket instead of filling the entire planter with floral foam saves money and reduces material needs.
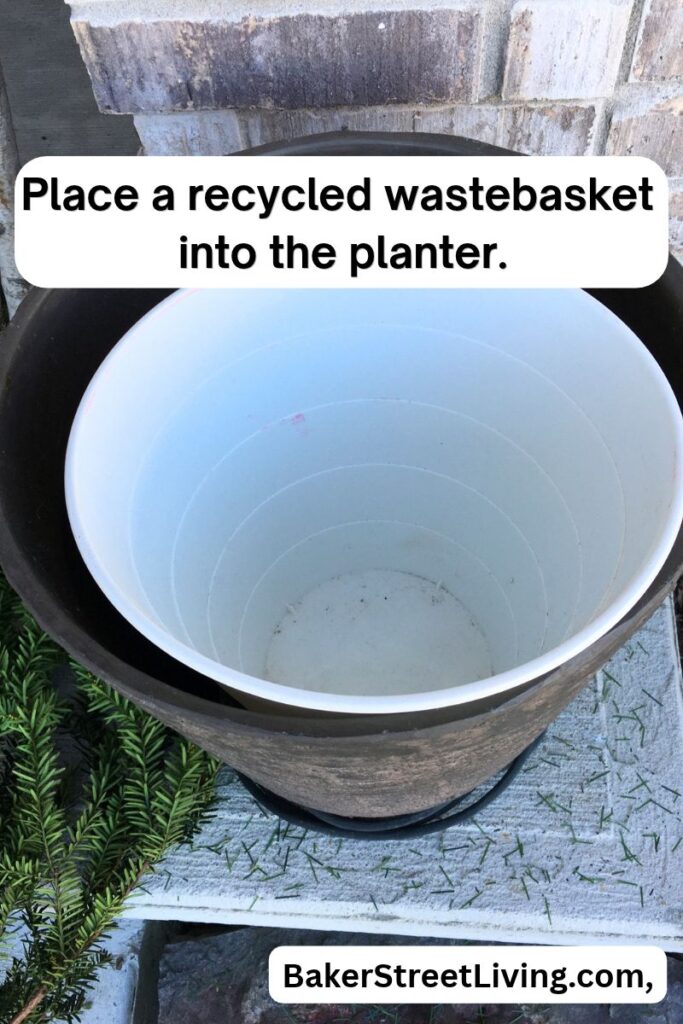
If your planter will be outdoors, make sure water can drain away appropriately and that the arrangement can withstand your local winter weather.
Add weight, using bricks or sand in the bottom of the planter if necessary.
Step 2: Add the Floral Foam
Place floral foam blocks or inserts inside the wastebasket. Arrange them so they fit snugly and provide a stable base for the greenery. Cut them if needed.
If you are using fresh evergreen branches, choose floral foam designed for fresh flowers and greenery if you want to keep the branches hydrated. Follow the product instructions for preparing the foam.
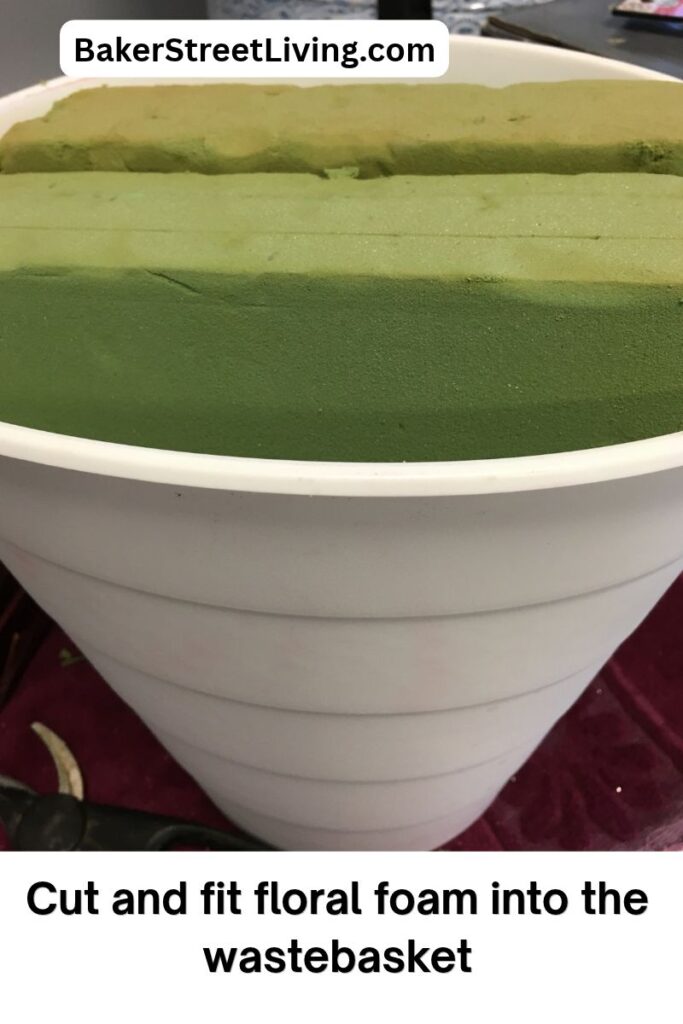
Once the planter is secure, fill it with water, allowing the foam to become saturated.
Step 3: Position the Recycled Christmas Wreath
Place your old artificial Christmas wreath across the top of the planter, resting it on the rim . Bend the wire branches to secure it in place along the edge of the planter. Securing it helps keep it from shifting in weather.
The wreath creates a full, rounded base and helps hide the wastebasket and floral foam. It also gives the arrangement a wider shape, allowing the greenery to spread outward around the planter.
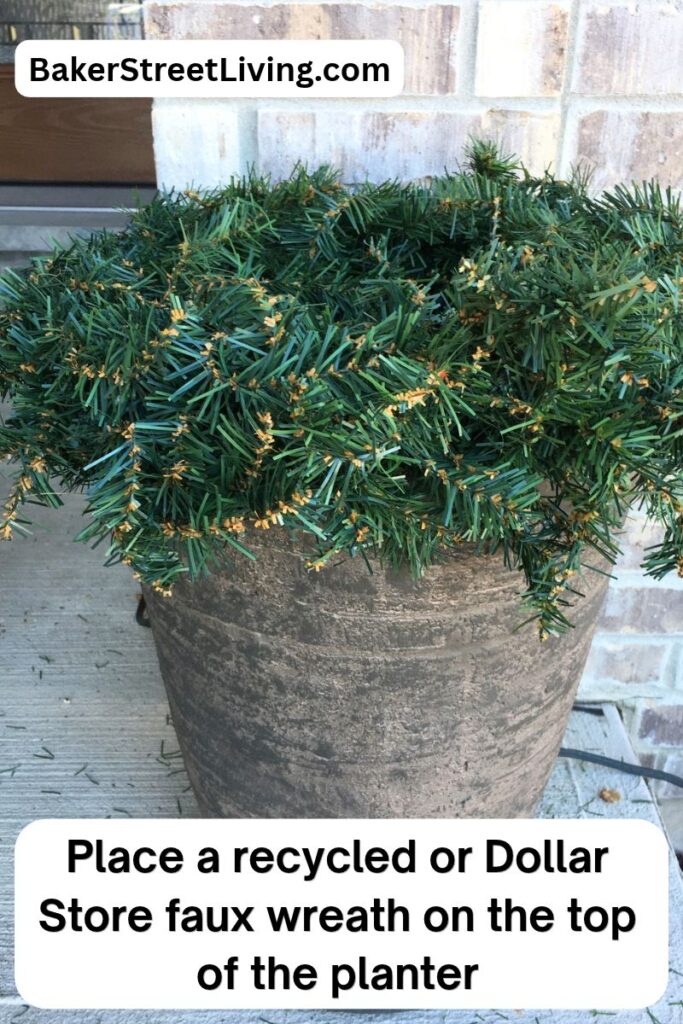
If your wreath is a little worn or sparse, don’t worry. The fresh evergreen branches and decorative picks will help fill it out.
Step 4: Add the Tall Branches
Begin by inserting tall decorative birch poles toward the back and center of the arrangement.
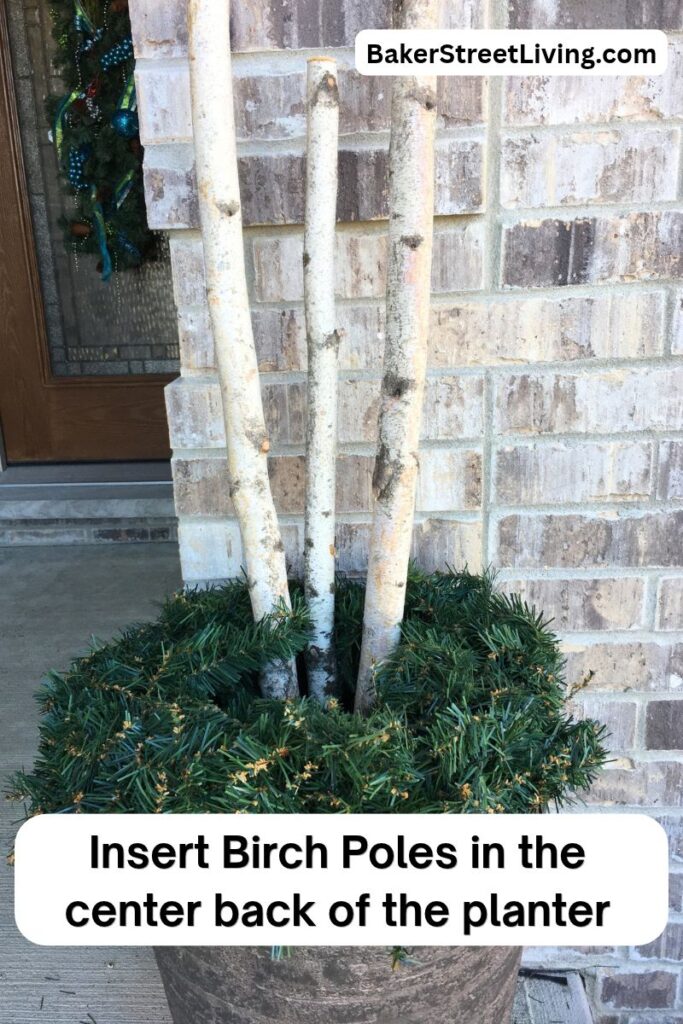
Arrange the branches at different heights rather than making them all the same length. This creates a more natural shape and gives the planter some visual interest.
You can use purchased decorative branches, collected twigs, or suitable branches from your yard
Step 5: Add Greenery
Now it’s time to add the greenery!
Insert a combination of cedar, pine and evergreen branches into the floral foam, working from the center toward the outside edges. I used a combination of evergreen clippings to create a thick, full arrangement.
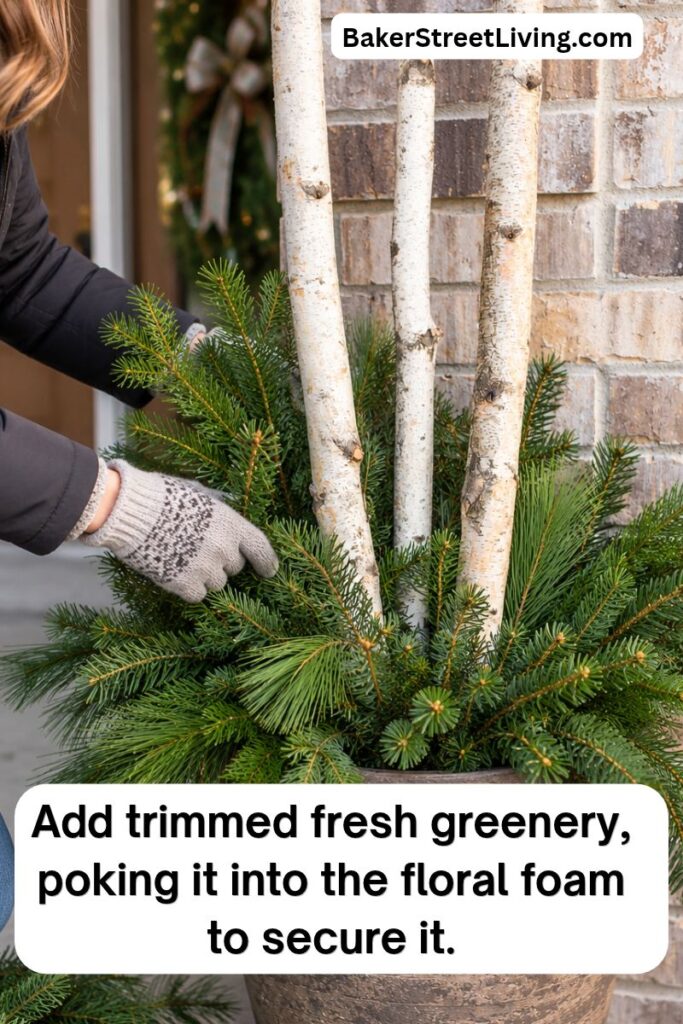
Trim the branches using pruning shears to get the right length.
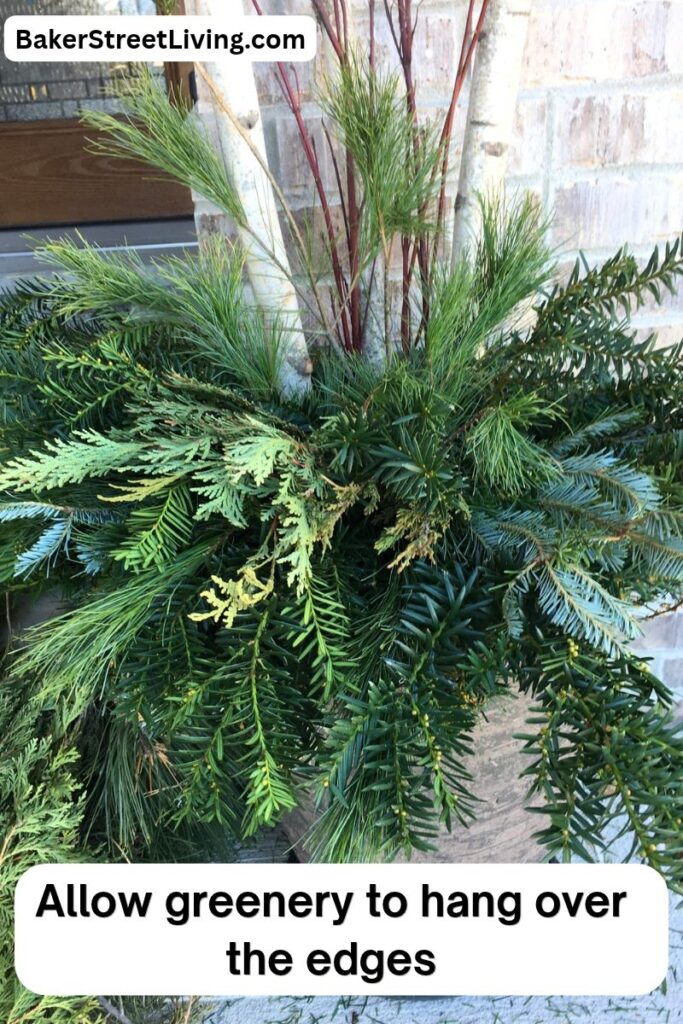
Place some branches upright to fill the center and others at an angle so they extend outward over the edge of the planter.
Continue adding greenery until the floral foam, wastebasket, and most of the artificial wreath are hidden.
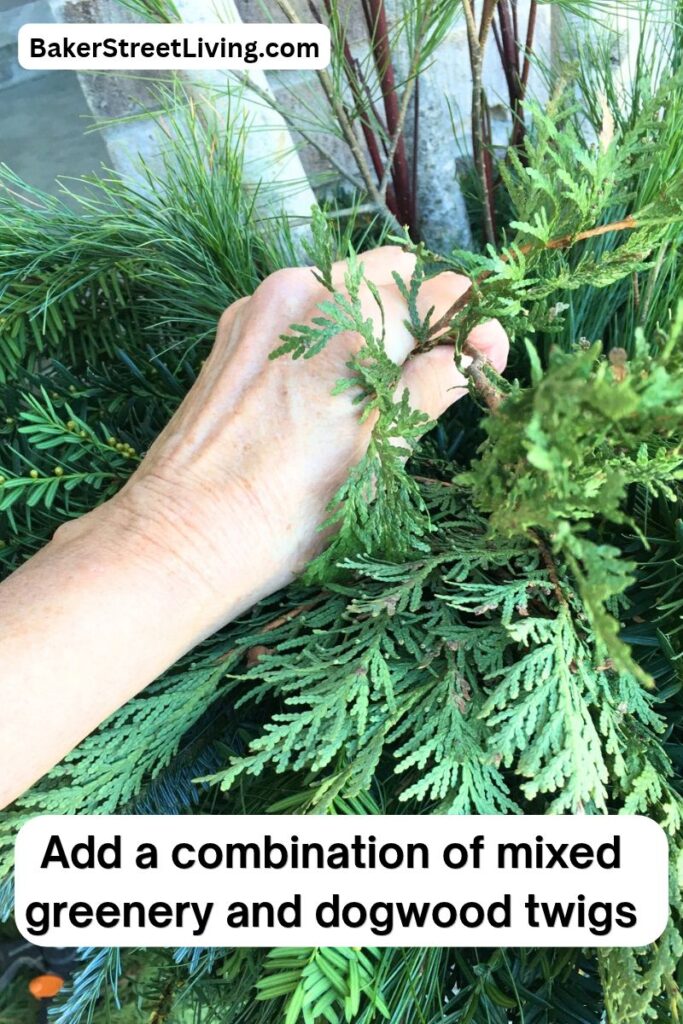
Step back occasionally to check the shape and fill in any noticeable gaps.
Tip: Allow the branches to hang down around the edges of the planter.
Step 6: Add Dollar Tree Christmas Picks
Once the greenery is in place, add your decorative Christmas picks.
Choose glittery sprays, metallic accents, berries, pinecones, or other seasonal picks that complement your ribbon and ornaments.
Insert the picks at different heights throughout the arrangement. Place some near the center and others farther out toward the sides.

I used silver, turquoise, and green accents to coordinate with the ribbon and ornaments.
You don’t need many decorations to make an impact. A few carefully placed picks can add sparkle without overwhelming the natural greenery.
Step 7: Add a Christmas Bow
A large decorative bow makes a beautiful focal point for a Christmas planter.
Choose wired ribbon so the loops hold their shape. I used a wide ribbon with blue, green, and silver stripes, along with a complementary silver glitter ribbon.
Create several loops, pinching the ribbon in the center as you work. Secure the center with floral wire, then fluff and arrange the loops until the bow looks full.
Leave long ribbon tails to hang down the front of the planter.

You can make a single large bow or combine two coordinating ribbons for a layered look.
If you prefer a traditional Christmas style, try red and gold ribbon or a classic red plaid. For a winter-inspired arrangement, silver, white, and icy blue work beautifully.
Step 8: Finish Your DIY Christmas Planter
Take a final look at the arrangement from the front and sides.
Add extra evergreen branches if needed. Adjust the tall branches, fluff the bow, and reposition any picks that look out of place.
Make sure the planter is stable, and the decorations are securely attached.
Your DIY Christmas planter is now ready to display on your front porch, beside your entryway, or near your garage door.

FAQs and Helpful Tips
Can I make this Christmas planter using artificial greenery?
Yes. Artificial greenery is an excellent option if you want a reusable decoration that can be stored and brought out each Christmas. Use dry floral foam or another suitable support for artificial branches, and secure the greenery and ornaments against the wind.
This option will likely cost more initially but will save money in years to come.
Keeping the arrangement from drying out.
For warmer areas, water the floral foam as needed to keep it saturated. In colder climates, freezing will prevent the planter from drying out. It is a good idea to check it periodically.
When should I make an outdoor Christmas planter?
You can assemble a planter with artificial greenery well before Christmas. If you use fresh evergreen branches, make it closer to the holiday season for the freshest appearance, taking your local weather and the type of greenery into account. I am in the michigan/Ontario region. I create my planters around mid-November, and they last until late January (unless we have a warmer-than-usual winter)





This DIY Christmas planter is a simple way to create beautiful Christmas porch decor without spending a lot of money. By reusing an old wreath, adding a wastebasket and floral foam for support, and decorating with evergreen branches, dollar-store picks, ribbon, and ornaments, you can create a full and festive arrangement for your front entrance.
Happy Christmas crafting!

This website contains affiliate links. As an Amazon affiliate, I earn a small commission from qualifying purchases (at no cost to you).
