
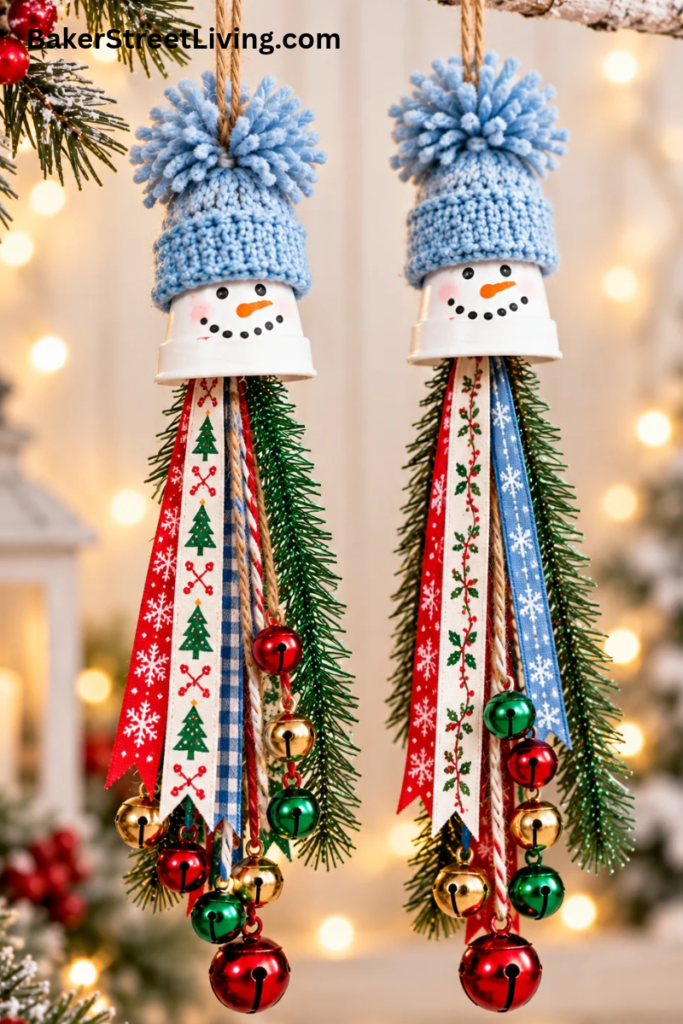
Looking for a cute, easy Christmas craft this holiday season? These DIY snowman tassels are a fun way to turn miniature terracotta pots, colourful ribbon, jingle bells, and baby socks into adorable snowman decorations!
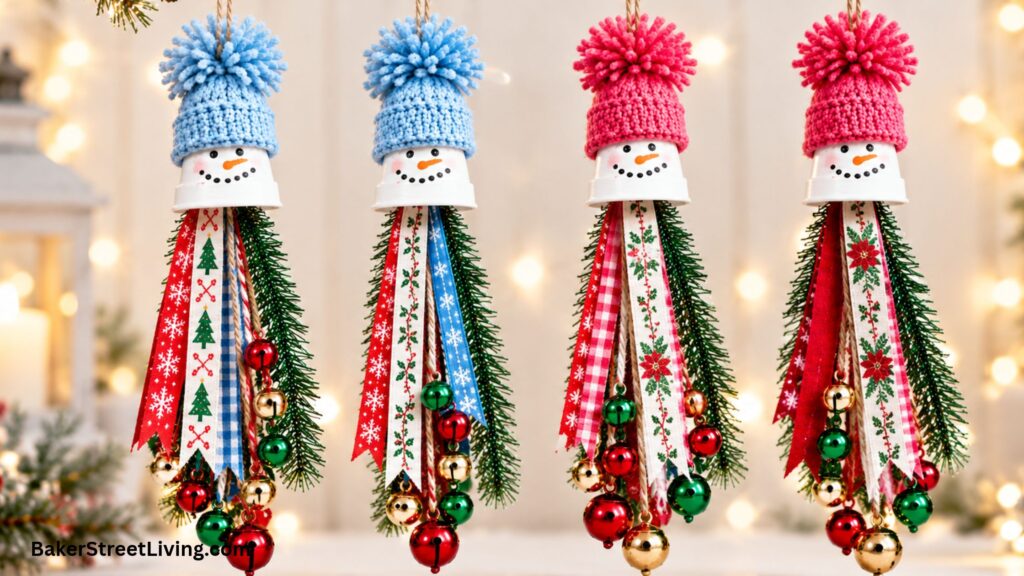
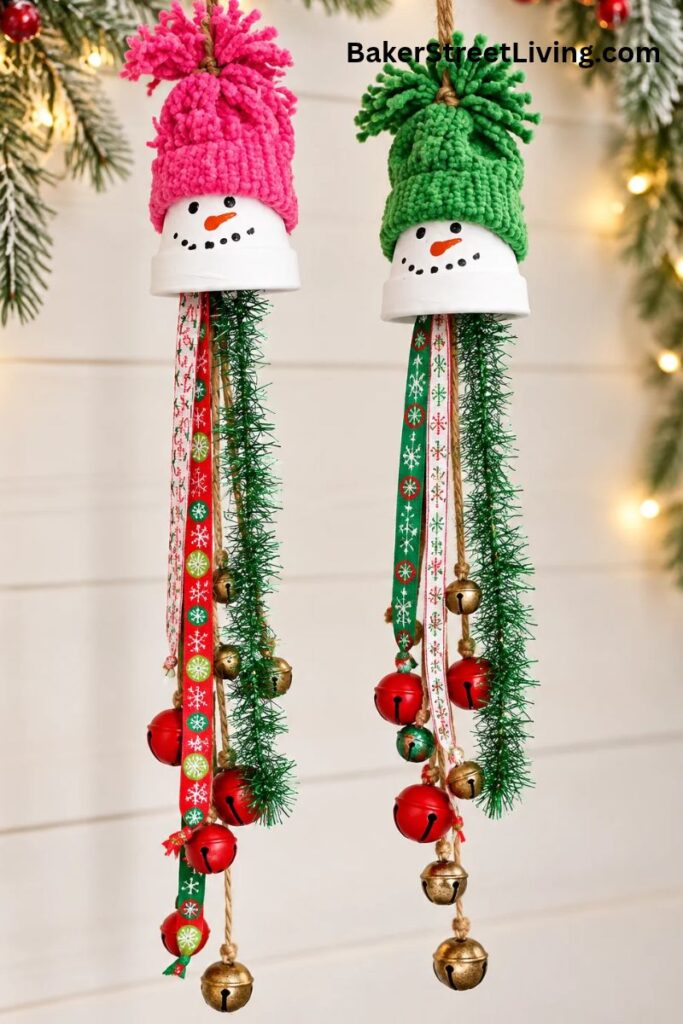
Each little snowman has a sweet painted face, a cozy toque made from a baby sock, and a colourful ribbon tassel decorated with jingling bells. You can customize the colours, add festive embellishments, and make every snowman unique.
This upcycling-style Christmas craft uses leftover ribbon, small embellishments, and baby socks. Make a set for your Christmas tree, hang them from a garland, or use them to add a playful handmade touch to your holiday decorating.
Supplies List
This website contains affiliate links. As an Amazon affiliate, I earn a small commission from qualifying purchases (at no cost to you).
- Mini terracotta clay pots
- White acrylic paint
- Black acrylic paint
- Orange acrylic paint
- Stylus (Ditting tool)
- Small paintbrushes
- Craft ribbon in assorted colours
- Jingle bells
- Fuzzy sock
- Jute Twine
- Button
- Small pom-poms, faux greenery, miniature poinsettias, or other embellishments (Optional)
- Scissors
- Hot glue gun and glue sticks
- Optional: clear acrylic sealer
How to Make DIY Snowman Tassels
Step 1: Paint the Clay Pots White
Start by preparing your miniature clay pots. Wipe away any dust and make sure they are clean and dry.
Paint the outside of each pot with white acrylic paint. Apply an even coat, making sure to cover the sides, inside and the rim.
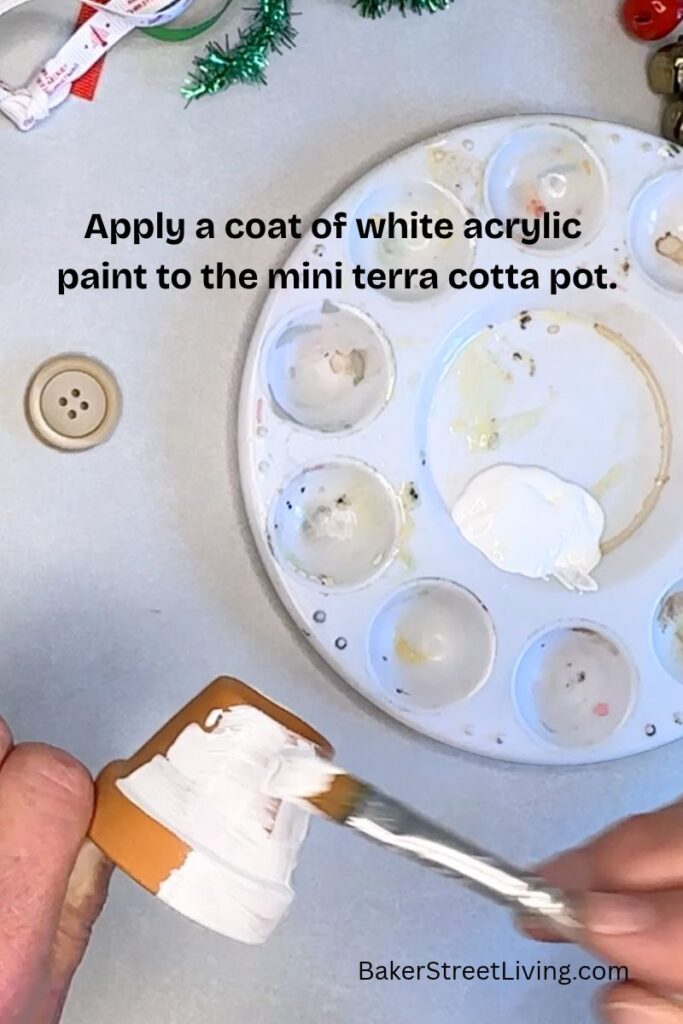
Allow the paint to dry completely.
Apply a second coat if needed.
You want the pots to have a bright, snowy white finish so the snowman’s face will stand out.
Step 2: Paint the Snowman’s Face
Now it’s time to give each snowman a personality!
Use a pencil to lightly mark where you want the facial features to go before painting.
- Paint two small black eyes near the upper part of the face.
- Apply a thin line or dots to create a smile.
- Add a small orange carrot-shaped nose between and just below the eyes. Use a dotting tool and then pull the paint outward to a point to create the carrot for the mouth,
- If you’d like rosy cheeks, use pink paint and remove most of it, then pounce a light circle on each cheek.
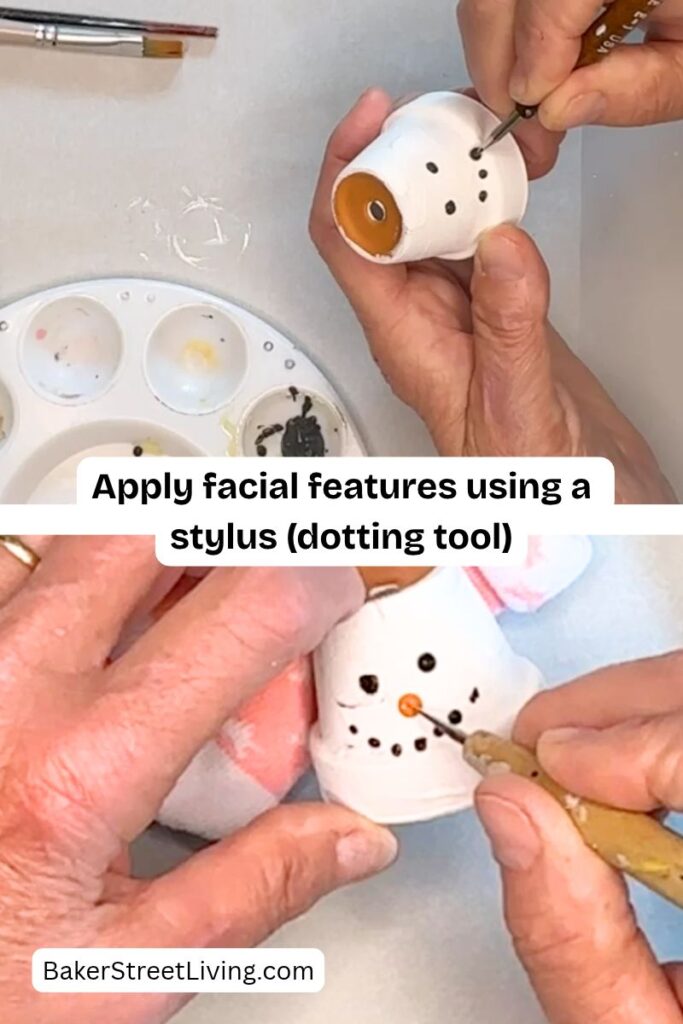
A fine-tip paintbrush or paint pen makes it easier to create a neat mouth that is a line. Don’t worry if the faces aren’t perfectly identical. Slight differences make each snowman look charming.
Allow the paint to dry completely.
Apply a coat of acrylic spray sealer. This step is optional but helps prevent chips and extends the life of your tassels.
Allow to dry completely.
Step 3: Make the Ribbon Tassel
Choose several lengths of ribbon in coordinating colours. You can use traditional red and green, winter blues and whites, or a mixture of bright colours.
The colourful ribbon tassel is what makes these snowmen extra special. The dangling ribbons and jingle bells add movement, colour, and a little festive sound.
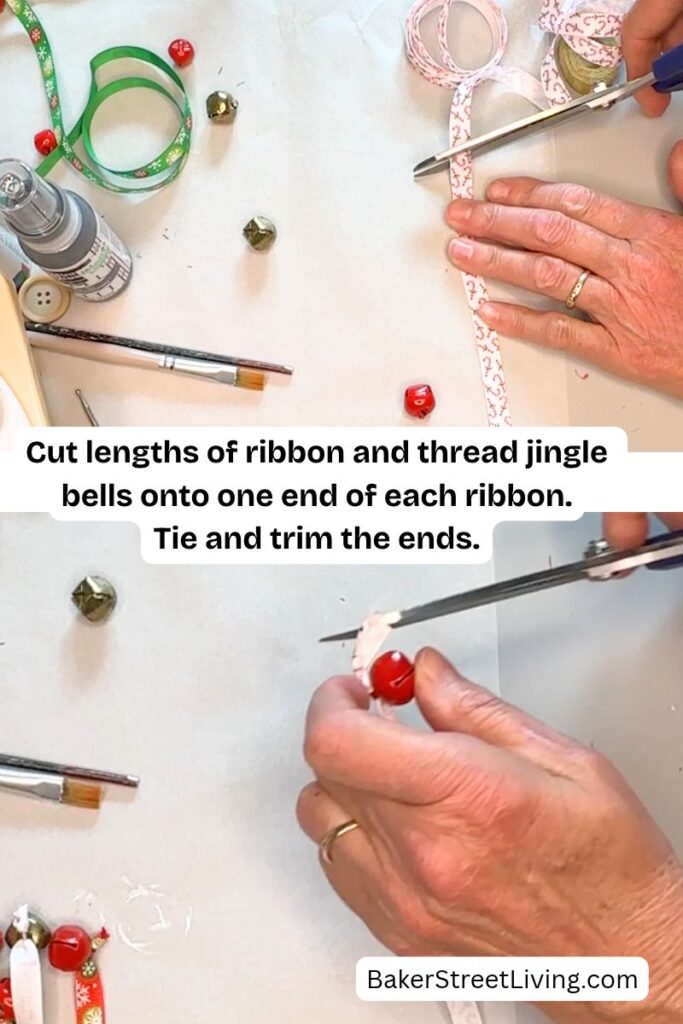
- Cut several pieces of ribbon to your desired length. The ribbons should be long enough to hang below the clay pot.
- Attach small jingle bells to the ends of some ribbons. You can use a combination of different coloured bells for extra interest.
- Arrange the ribbons together in a bundle, keeping the top ends even.
- Secure the top ends together with a long piece of twine. Do not trim the twine, as it will be used as a hanger.
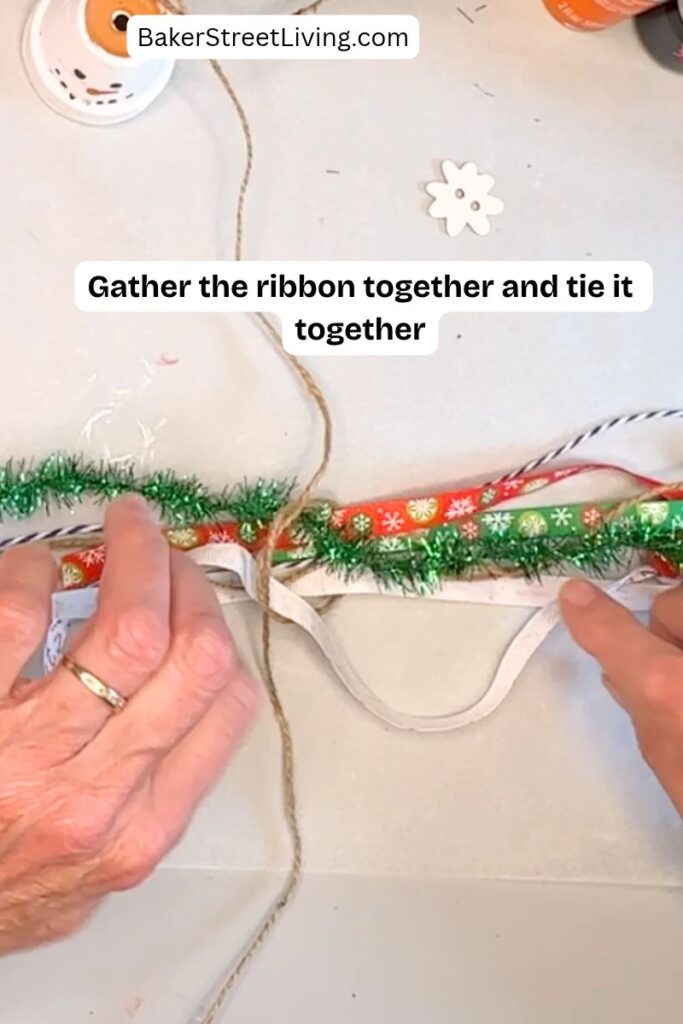
You don’t need to attach a bell to every ribbon. Mixing ribbon lengths and leaving some ribbons plain creates a lovely layered effect.
Tip: Satin, grosgrain, and Christmas-print ribbons all work well. If your ribbon frays easily, trim the ends neatly and use ribbon that holds its shape.
Step 4: Attach the Ribbon Tassel to the Clay Pot
Once your tassel is assembled, it’s time to attach it to the snowman.
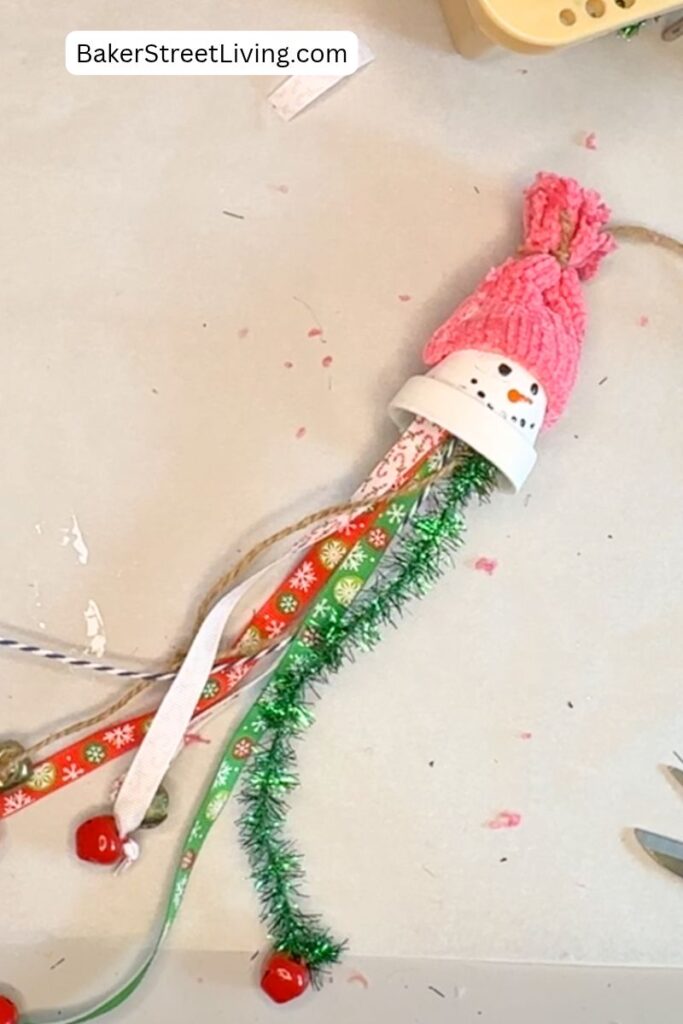
Thread the jute twine through the hole in the clay pot.
Thread the twine through the holes in the button and tie it at the desired length.
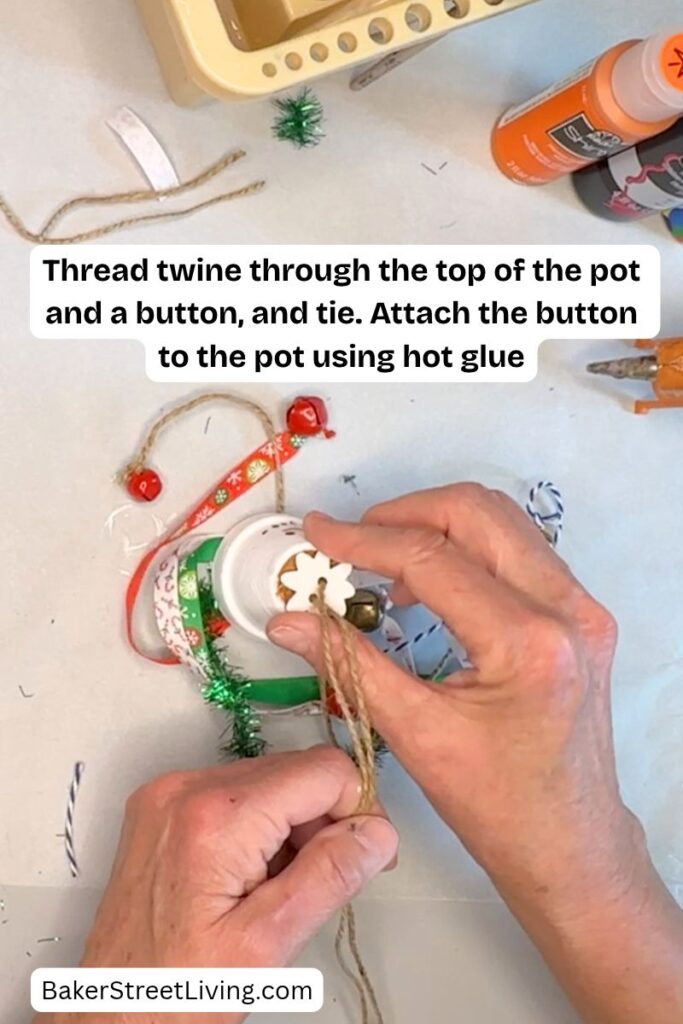
Add a bead of hot glue around the top of the hole in the clay pot.
Press the button into the glue, securing it in place.
Tip: Before gluing the button in place, check the dangling height. Make any adjustments if desired before gluing the button. Make sure the ribbons hang freely below the pot and that the jingle bells are distributed evenly.
Step 5: Make a Tiny Toque from a Sock
Choose a baby sock in a colour or pattern that complements your ribbon tassel.
- Cut a section from a fluffy sock, using the band as a brim.
- Form a tube to fit over the pot and create a seam with hot glue.
- Attach the sock to the painted pot using hot glue.
- Pull the twine through the hat to use for a hanger on the finished tassel.
- Gather the top cut edge together to create the top of the hat.
- If the sock is thin and flops over, add a little stuffing, such as poly-fil or even a cotton ball.
- Secure the gathered top with a string, thread por [iece of twine and trim..
- Attach a small pom-pom with hot glue or cut small slits into the top of the hat to create a loose pom-pom.
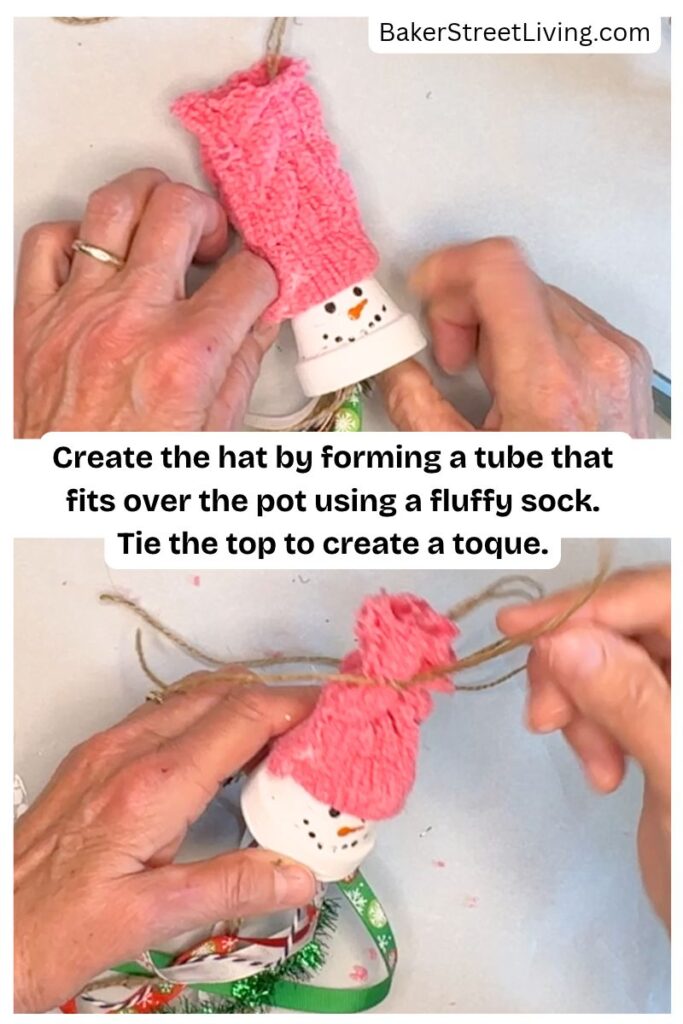
For a striped or patterned toque, use a colourful baby sock. Plain white, grey, and cream socks create a more traditional winter look.
Let the hat dry.
Step 6: Decorate the Toque (Optional)
Now you can make each snowman unique!
Glue a miniature poinsettia, faux holly leaves, miniature buttons, a small bow, or another festive embellishment to the folded brim of the hat. You could also add a little cluster of greenery or a tiny decorative snowflake.
For a simpler look, leave the hat plain and let the pom-pom and ribbon tassel provide the colour.
If you’re making several snowmen, try using a different embellishment on each one. A red poinsettia on one hat, a green bow on another, and a simple striped sock on a third will give your collection plenty of variety.
Allow all the glue to dry completely.
Step 7: Finish and Display Your DIY Snowman Tassels
Give each snowman a final check. Make sure the hats are secure, the ribbons hang freely, and the bells are firmly attached.
Trim any uneven ribbon ends and remove loose glue strands.
Your DIY clay pot snowman tassels are now ready to display!
Hang them on your Christmas tree, add them to a holiday garland, or use them as cheerful decorations on a wreath or seasonal display. They also make cute handmade gifts for friends and family who love unique Christmas crafts.
Tips for Making DIY Snowman Tassels
Choosing Pots
- Choose the right pot size. Smaller pots are easier to hang and work well with baby socks.
- Plastic mini pots are also fine, but may need a small weight to get them hanging straight.
What size socks should I use?
Newborn or small infant socks are a good starting point because they are small enough to make miniature hats. However, sock sizes and clay pot dimensions vary, so check the fit before cutting.
I was unable to find the right size of sock, which is why my instructions include cutting and forming the hat from a larger sock.
Can I make these snowmen without jingle bells?
Absolutely! The bells add a festive touch, but you can leave them off or substitute small wooden beads, decorative buttons, lightweight charms, or even just tie the ribbon ends.
Ribbon Alternatives.
You can easily substitute the ribbon with fabric strips, yarn, or rick-rack, or thick jute twine.

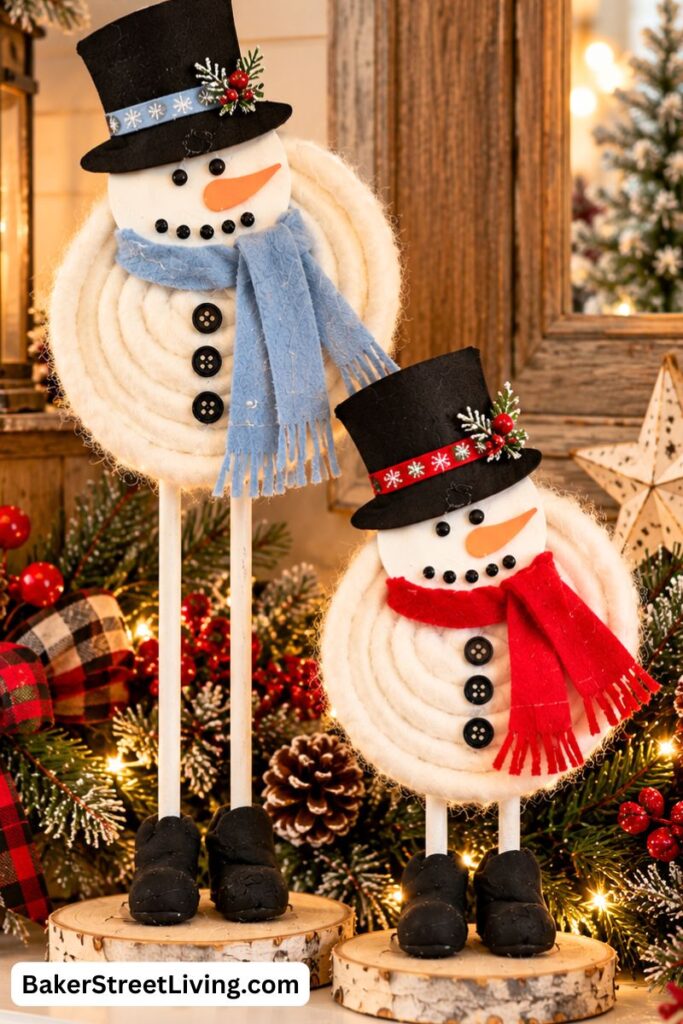

These DIY snowman tassels are a simple way to turn a few inexpensive craft supplies into adorable Christmas decorations. With their painted snowman faces, cozy toques, colourful ribbon tassels, and jingling bells, each one has its own festive personality.
Whether you hang them on your Christmas tree or display them as part of your holiday decorating, these little snowmen are sure to bring a smile to your face!
Happy crafting!

This website contains affiliate links. As an Amazon affiliate, I earn a small commission from qualifying purchases (at no cost to you).
