
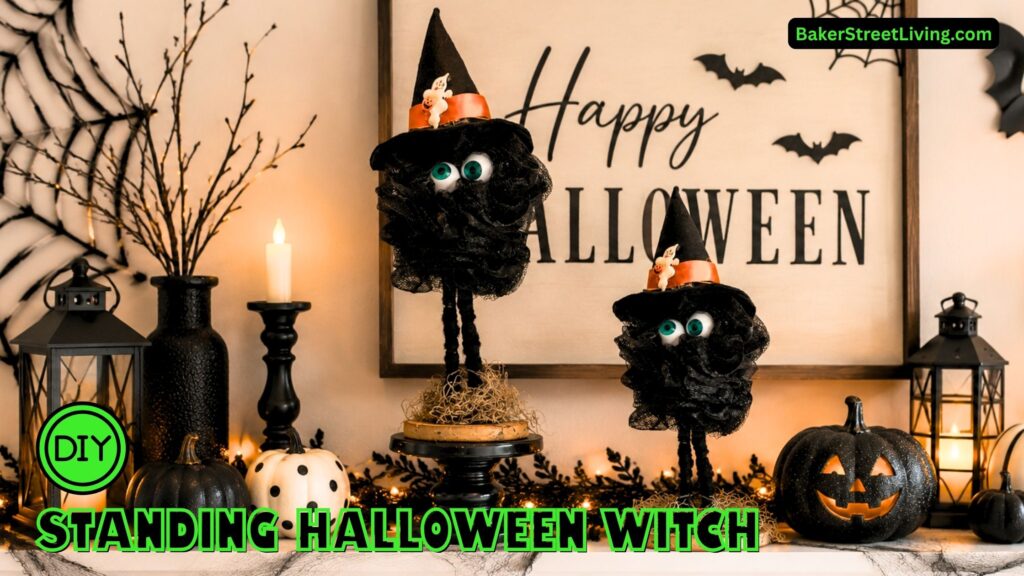
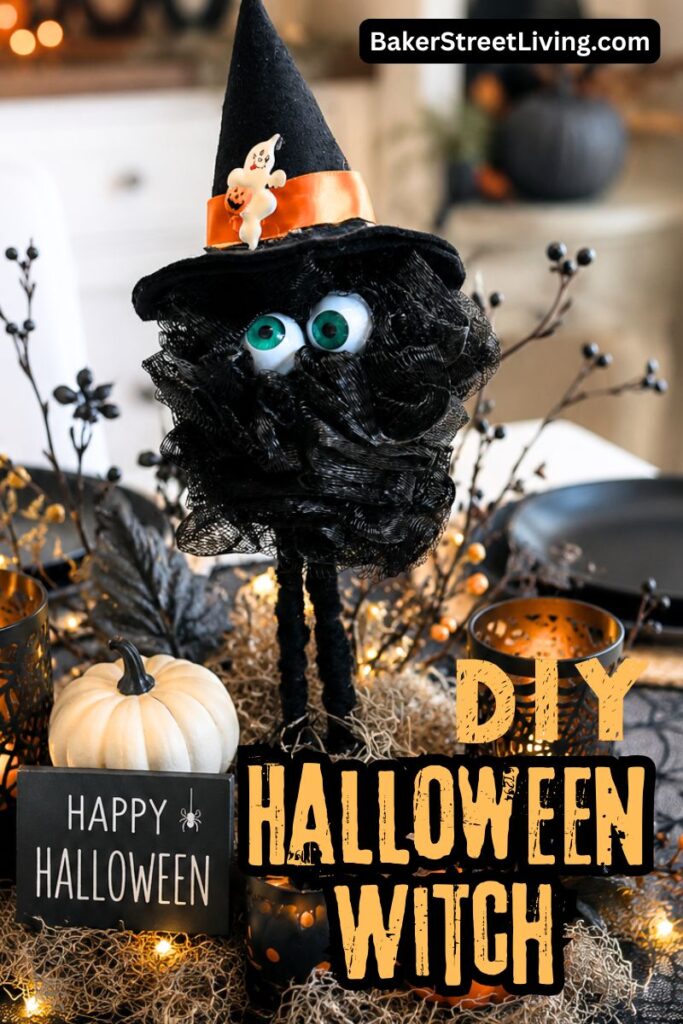
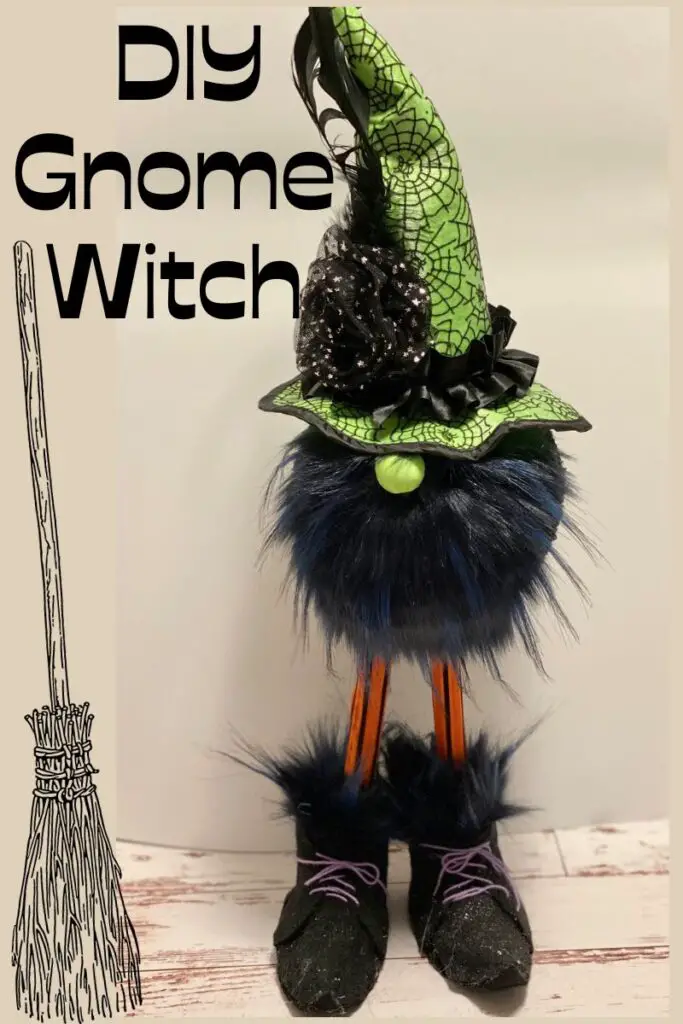
If you’re looking for a fun and unique Halloween decoration, this DIY standing Halloween witch is the perfect project! Made with simple craft supplies and topped with a felt witch’s hat, this adorable witch is easy to customize and inexpensive to make.
Whether you display her on a mantel, shelf, entry table, or as part of your Halloween centrepiece, she’s sure to become one of your favourite homemade Halloween decorations.
Best of all, this project doesn’t require any sewing, making it ideal for beginners and experienced crafters alike.
Supplies List
This website contains affiliate links. As an Amazon affiliate, I earn a small commission from qualifying purchases (at no cost to you).
- Black Mesh Loofah Sponge
- Wood Craft Dowel – 1/4 inch
- Black Foam clay (for shoes or feet)
- Plastic Eyes
- Black Craft Felt
- Hot glue gun and glue sticks
- Scissors
- Black Yarn
- Ribbon for Hat (Optional)
- Halloween embellishments (optional)
- Wood Slice (for base)
- Reindeer Moss
- Small embellishments such as spiders, brooms, pumpkins, etc
- Witch Hat Pattern
How to Make a DIY Standing Halloween Witch
Step 1: Create the Witch’s Hat
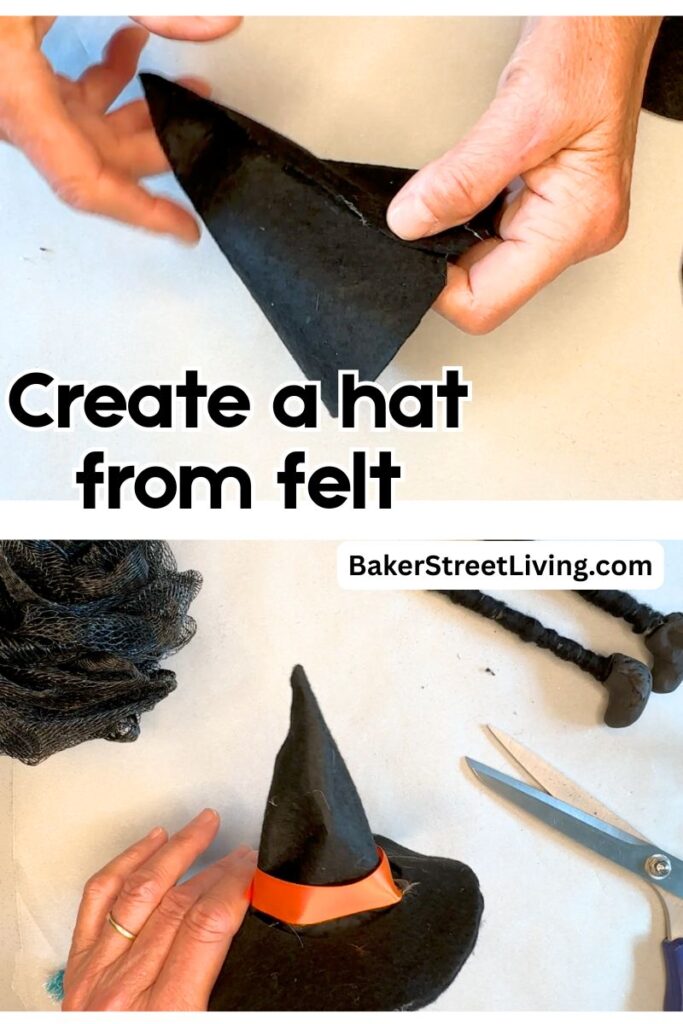
We have provided a pattern to make the witch’s hat. If you prefer to use a store-bought hat pr create a different one, by all means customize the standing Halloween witch to your own preference.
- Cut the cone piece from a folded piece of felt.
- Cut 2 brim pieces
- On one of the brim pieces, cut the inside hole.
- Form the cone and glue the edges together.
- Cut short slots in the base of the cone.
- Insert the cone into the curved (donut-shaped) brim piece.
- Fold over the cut edges (as shown) and glue them to the brim piece.
- Cover with the full-brim piece and adhere with hot glue.
- Add ribbon or embellishments to the hat, if desired.
Step 2: Make the Legs
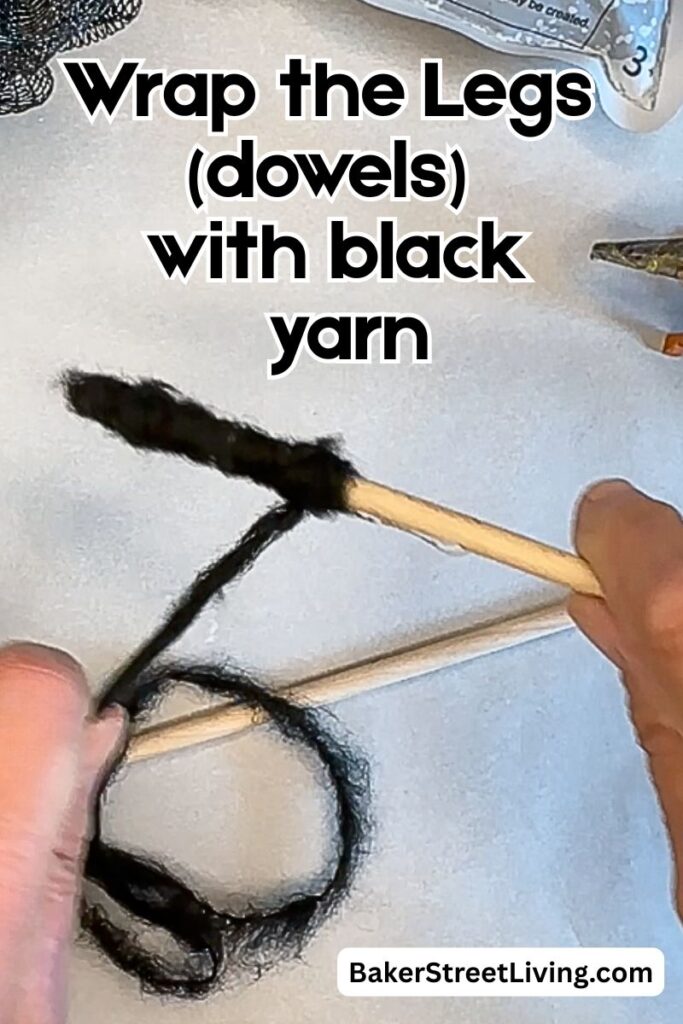
Cut two wood dowels to the desired leg length. I’m using a 10-inch dowel cut into two 5-inch pieces.
Using hot glue and black yarn, wrap the dowel with the yarn. Add more hot glue as you go.
Make sure to cover the entire dowel except a small area at the end that will be glued into the boot.
Set the legs aside to dry.
Step 3: Sculpt the Witch’s Boots
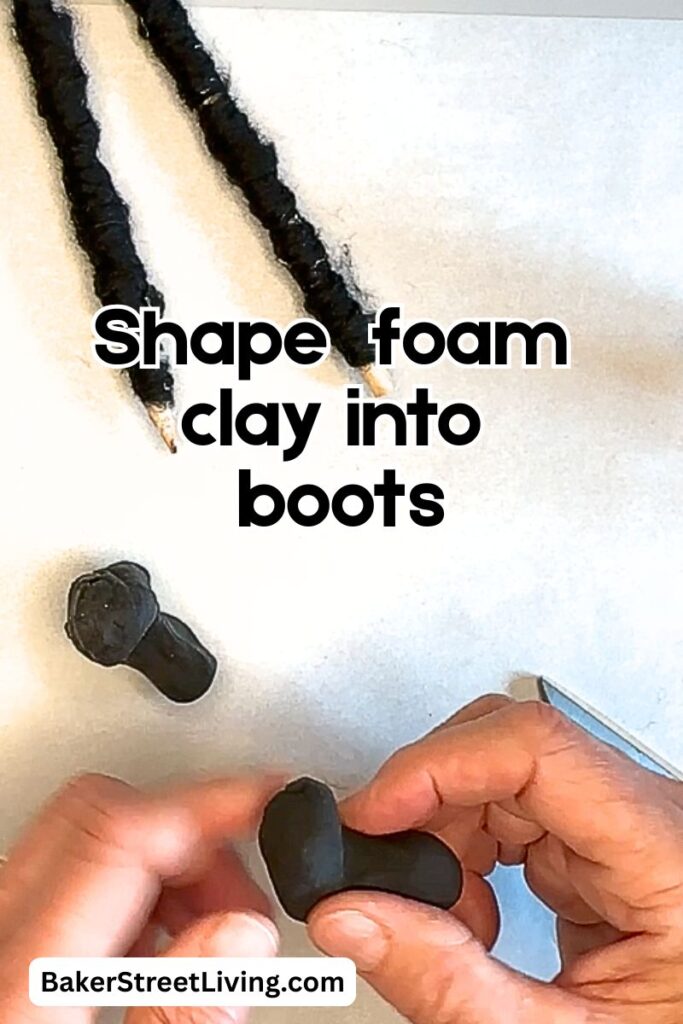
Using foam clay, shape witch shoes.
Get creative! Add curled toes for a classic witch look or decorate the shoes with tiny bows or painted buckles.
Poke a hole in them for the skewer.
Allow the foam clay to dry completely according to the manufacturer’s instructions
Step 4: Attach Legs
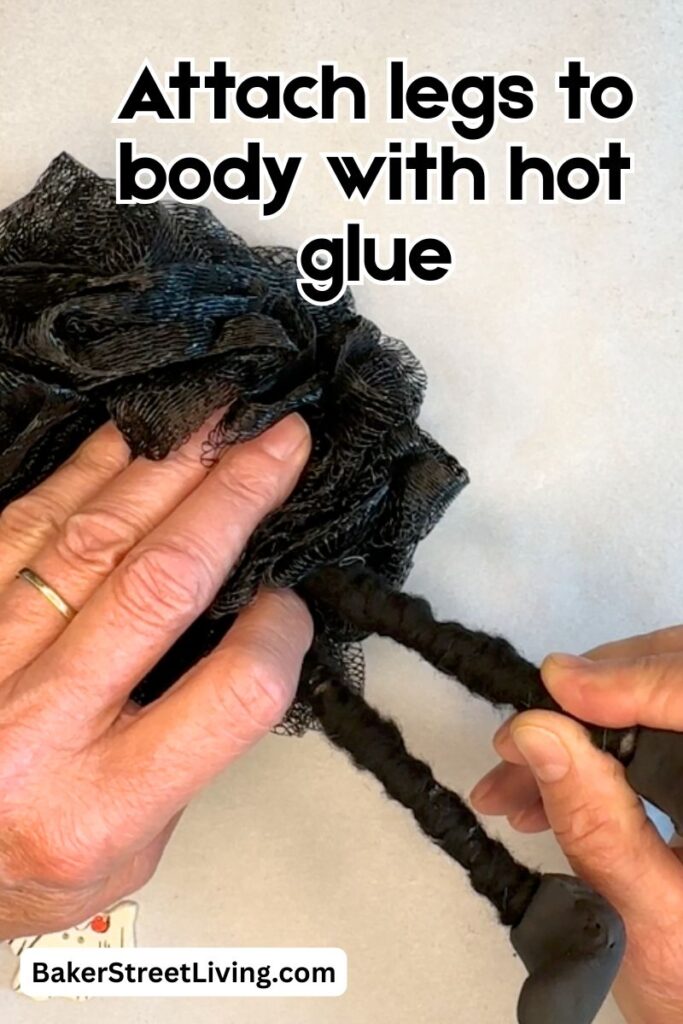
Pull away some of the mesh and add a generous amount of hot glue towards the center of the loofah sponge.
Insert one leg and hold for a few seconds while the glue sets.
Repeat for the second leg.
Set aside to dry.
Step 5: Attach Hat
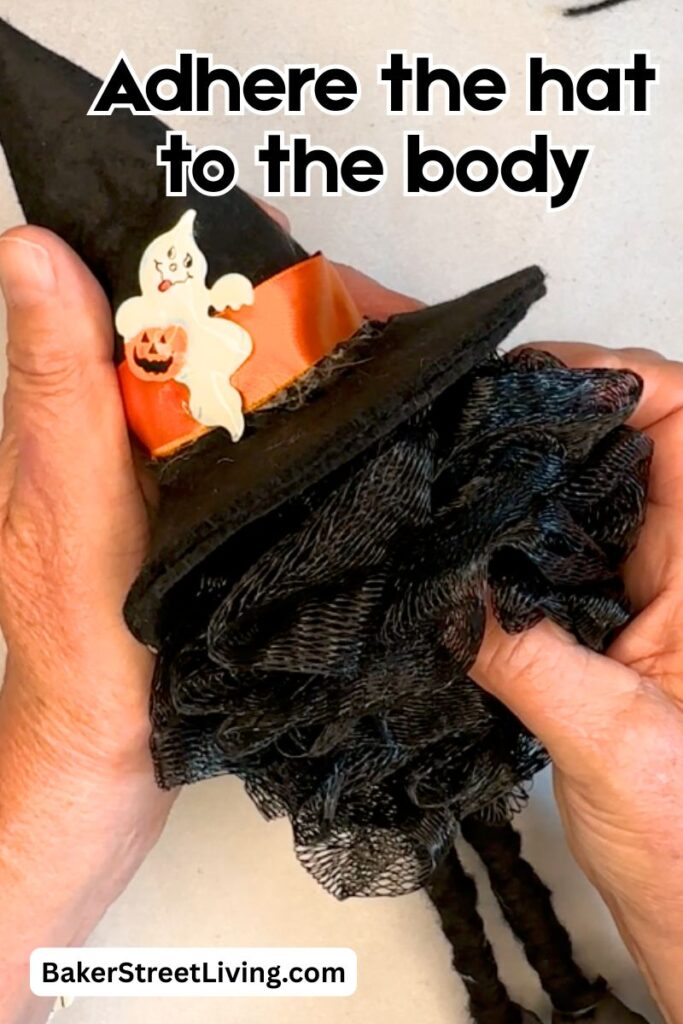
Place the hat on top of the loofah and decide placement.
Add a generous amount of hot glue to ther underside of the hat and place it onto the loofah sponge.
Hold in place for a few seconds to let the glue set.
Let dry.
Step 6: Add Eyes
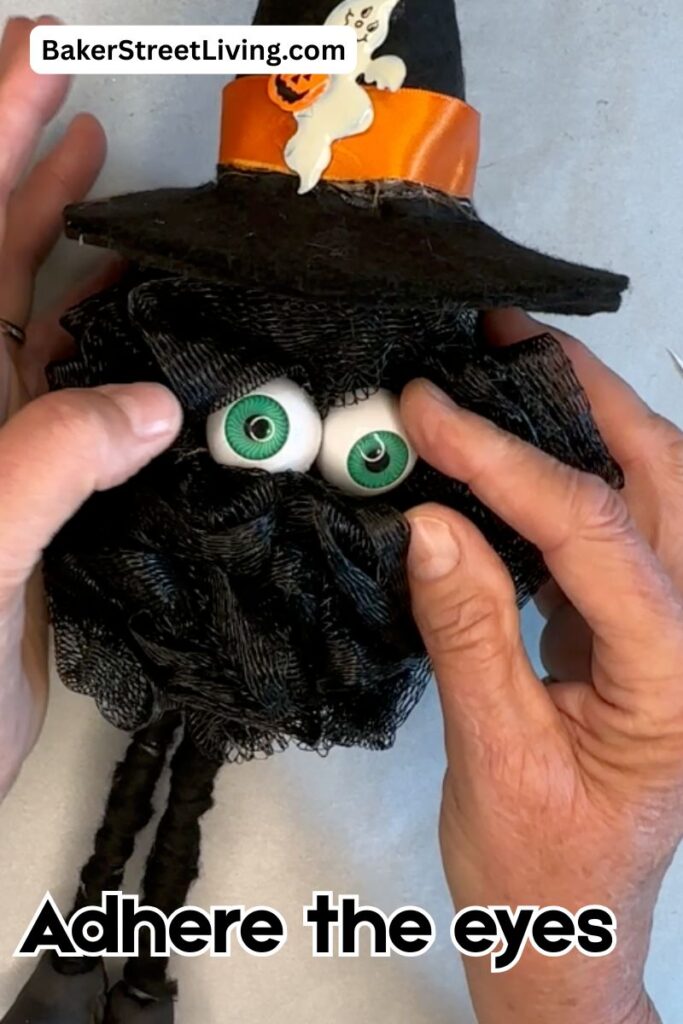
Create an opening in the mesh for the eyes.
Using a generous amount of hot glue, glue the eyes in place.
Press them into the mesh for a few seconds to let the glue set.
Let dry.
Once dry, arrange the mesh around the eyes to get the desired look.
Step 7: Attach the Base
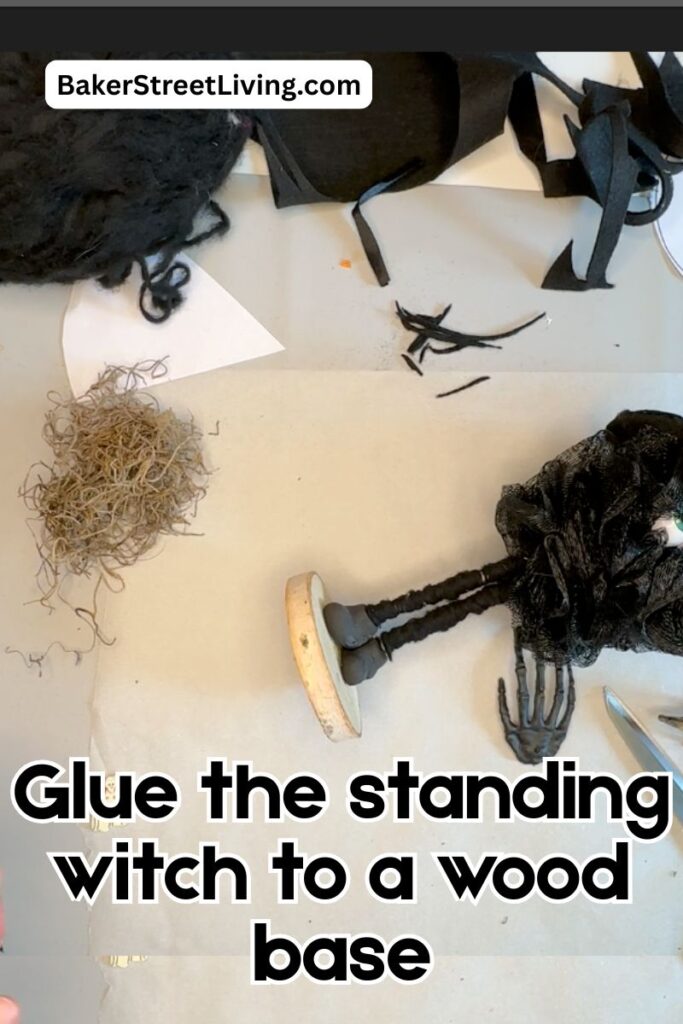
Add hot glue to the wood base and stand the witch up in place, pressing the feet into the hot glue.
Hold in place to allow the glue to dry (a couple of minutes)
Step 8: Embellish
Add moss to the base around the feet. This is optional but adds a little spookiness and depth.
If desired, add some embellishments, such as spiders, pumpkins, or a witches brook.
Let the finished standing Halloween witch dry before displaying.
Enjoy!


Using different colours?
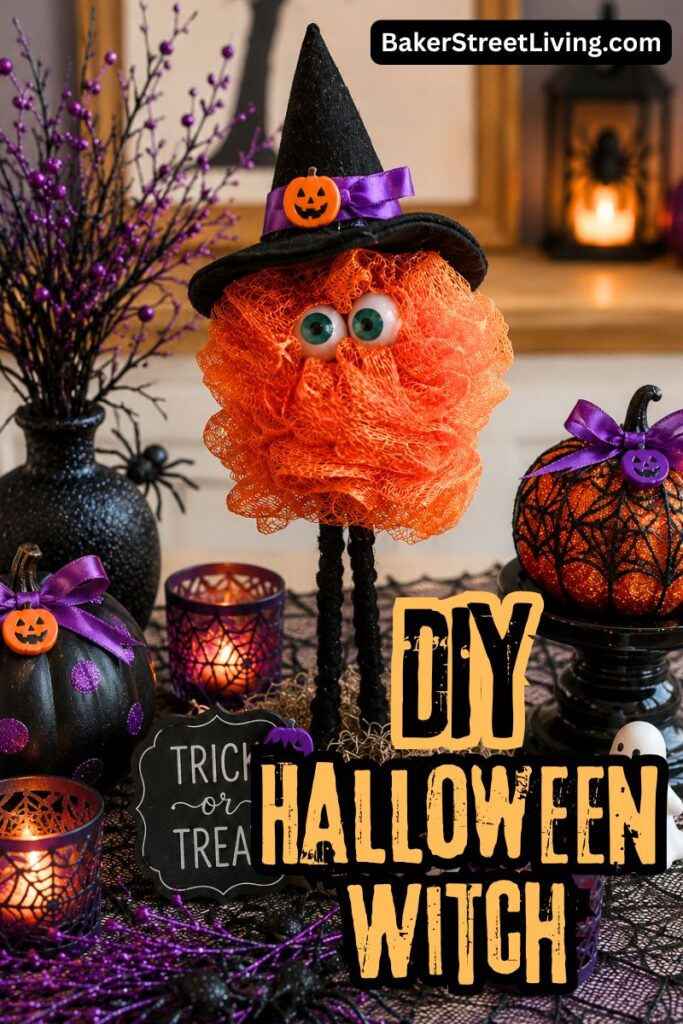
Absolutely! Traditional Halloween colours work beautifully, but you could also make:
- Purple witch
- Green witch
- Pink whimsical witch
- Black and gold elegant witch
- White ghost-style witch
Decorating Ideas
Your standing Halloween witch looks adorable almost anywhere!
Try displaying her:
- On your fireplace mantel
- In an entryway
- On a bookshelf
- As part of a Halloween centrepiece
- Beside pumpkins on your porch (covered area)
- On a tiered tray (smaller version)
- In a Halloween vignette
Storage Tips
After Halloween, gently wrap your witch in tissue paper or bubble wrap and store her in a sturdy storage bin. Keeping the mesh from being crushed will help your decoration look beautiful year after year.
This DIY Standing Halloween Witch Decoration is a creative and affordable way to add handmade charm to your Halloween décor. With decorative mesh, simple craft supplies, and a little imagination, you can create a whimsical witch that’s perfect for displaying throughout the spooky season.
Whether you’re decorating your home, creating a festive centrepiece, or making Halloween crafts with friends, this easy project is sure to become a seasonal favourite. Have fun experimenting with different colours, embellishments, and accessories to create a one-of-a-kind witch that perfectly matches your Halloween style!

This website contains affiliate links. As an Amazon affiliate, I earn a small commission from qualifying purchases (at no cost to you).
