
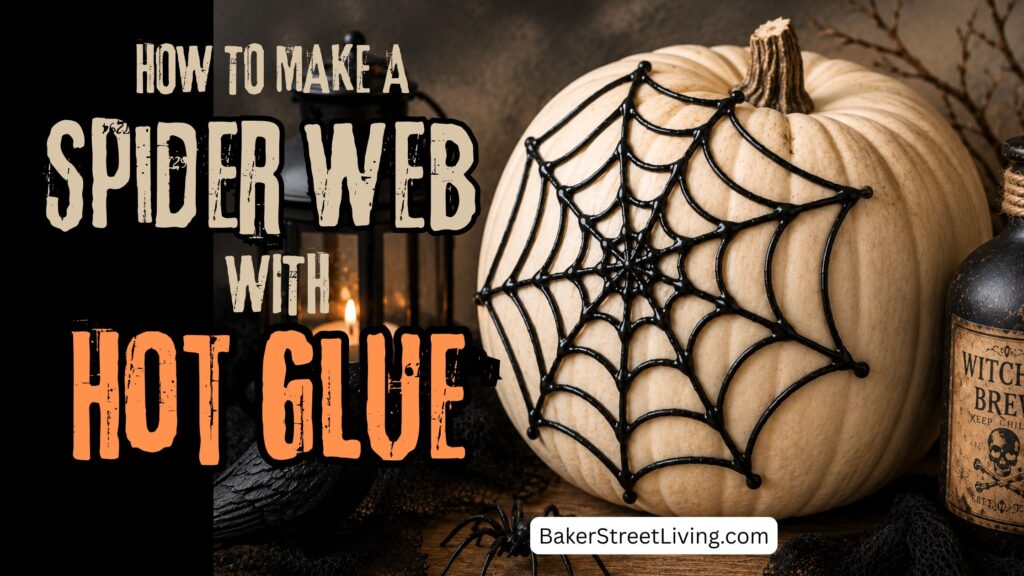
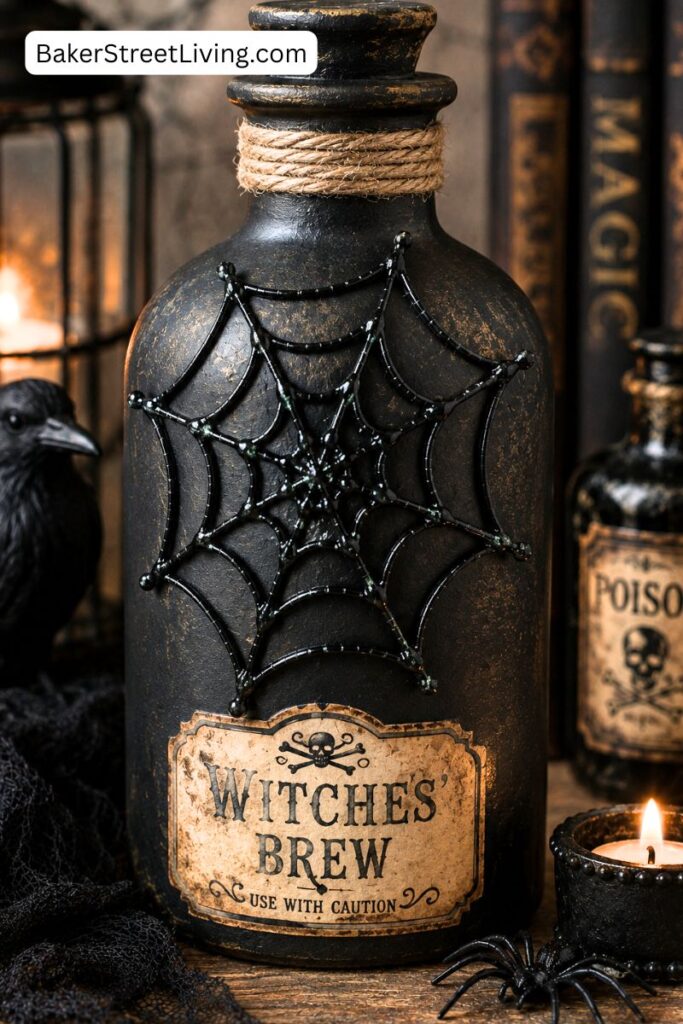
If you’re looking for an easy and inexpensive Halloween craft, this DIY spider web with hot glue is a fun project to try. With just a hot glue gun, black hot glue and a piece of parchment paper, you can create a spooky spider web that’s perfect for Halloween decorating. These look amazing added to your Apothecary Bottles (Get our free Apothecary Labels)
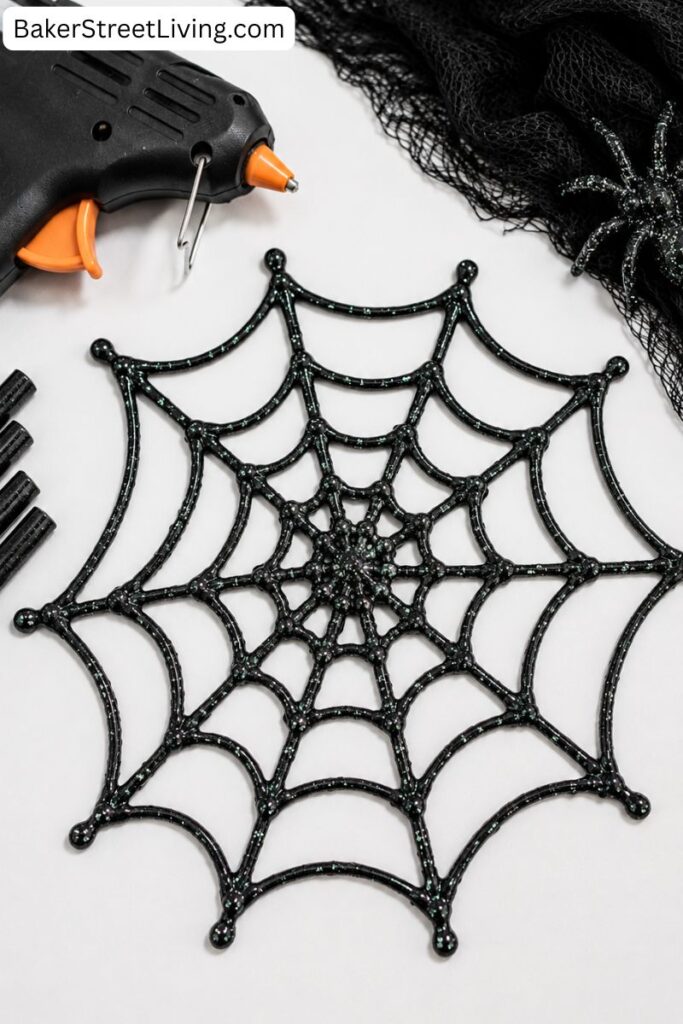
Supplies List
This website contains affiliate links. As an Amazon affiliate, I earn a small commission from qualifying purchases (at no cost to you).
- Hot glue gun
- Black hot glue sticks
- Parchment paper
- Marker
- Scissors (optional- if you want to trim the finished web)
How to Make a Spider Web with Hot Glue
Step 1: Draw Your Spider Web Pattern
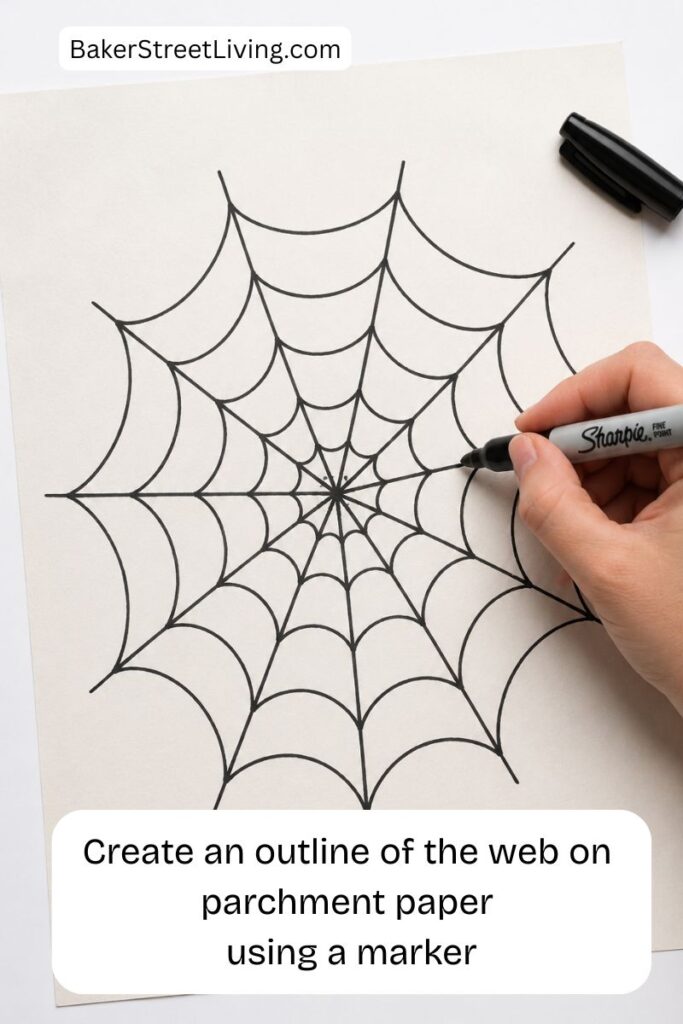
Start by placing a sheet of parchment paper on a flat, heat-resistant work surface.
Using a marker, draw a simple spider web.
You can make your web as large or as small as you like. Start with several lines radiating outward from a central point. Then connect the lines with curved sections to create the familiar web pattern.
Don’t worry about making the lines perfect. A slightly uneven web can actually look more natural.
Step 2: Prepare Your Hot Glue Gun
Insert a black hot glue stick into your glue gun and let it heat up completely.
Important step: On scrap paper, run a bead of glue to release and remove any clear or white glue that may be left in the glue chamber.
Step 3: Trace the Spider Web
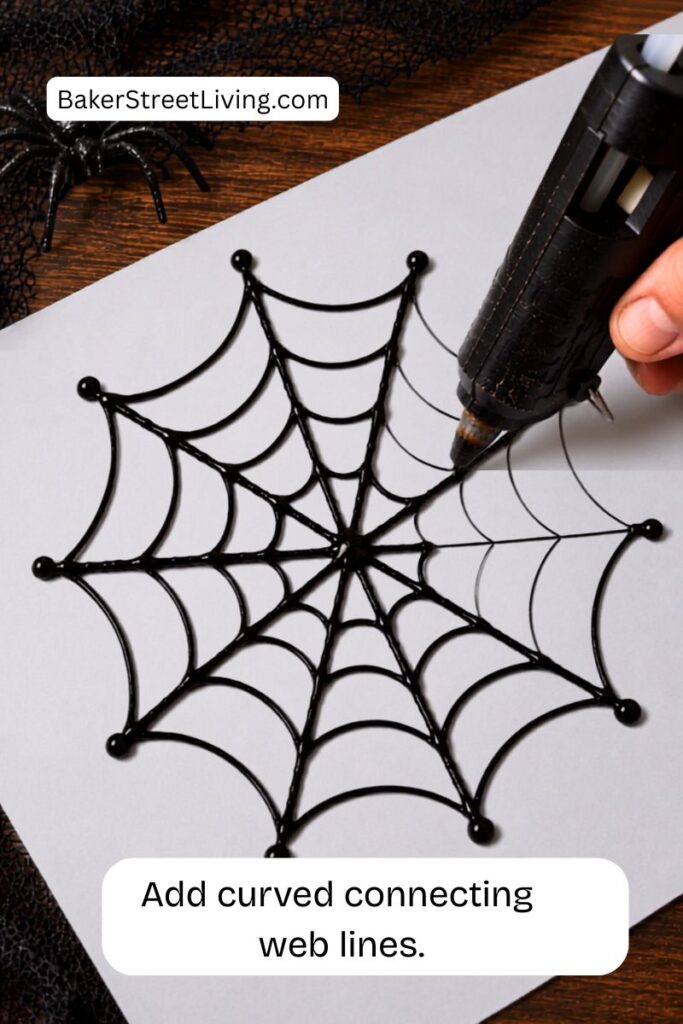
Carefully trace the lines of your spider web pattern with the black hot glue.
Start at the center and work outward, following the lines you’ve drawn.
Allow the lines to dry slightly before adding the curved lines. This will prevent smudging or pulling on the glue lines, causing the pattern to distort.
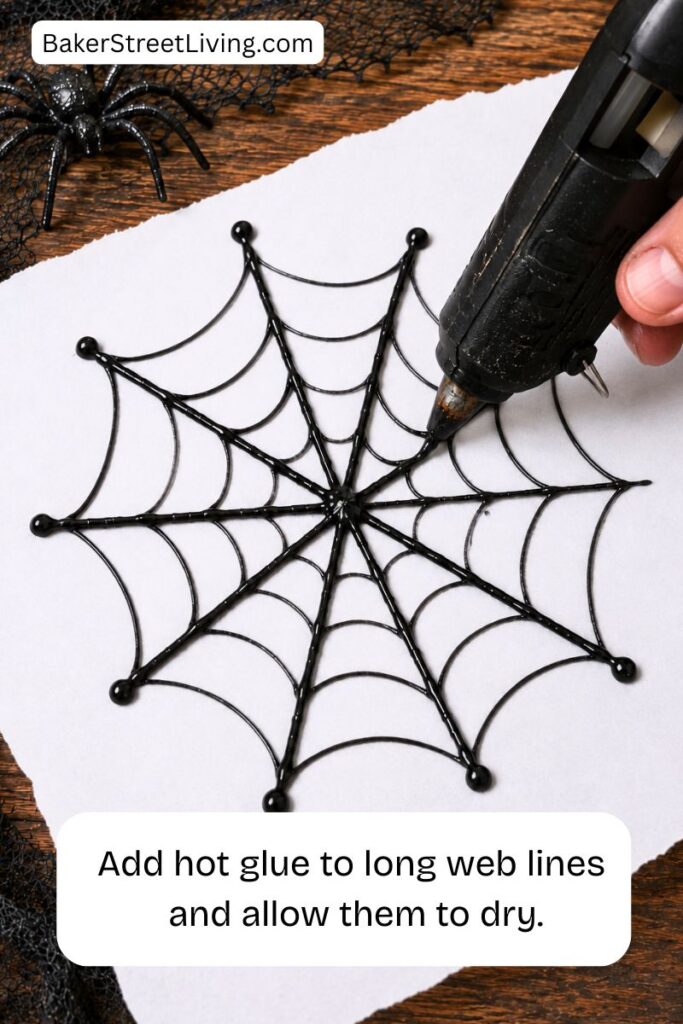
Once the long lines are dry, add the connecting lines.
Try to keep the glue lines fairly thin. Thick lines can make the web look heavy. It doesn’t have to be perfect.
Step 4: Let the Web Cool
Once you’ve finished tracing the entire web, allow it to sit undisturbed until the hot glue has completely cooled and hardened.
This shouldn’t take very long because the glue lines are relatively thin. I reccomend leaving it for about an hour. This allows time to dry thoroughly and under the paper. For quicker setting up, place it in a refrigerator for 5-10 minutes.
Don’t try to peel the web from the parchment paper while the glue is still warm. It can stretch or lose its shape.
Step 5: Peel Away the Parchment Paper
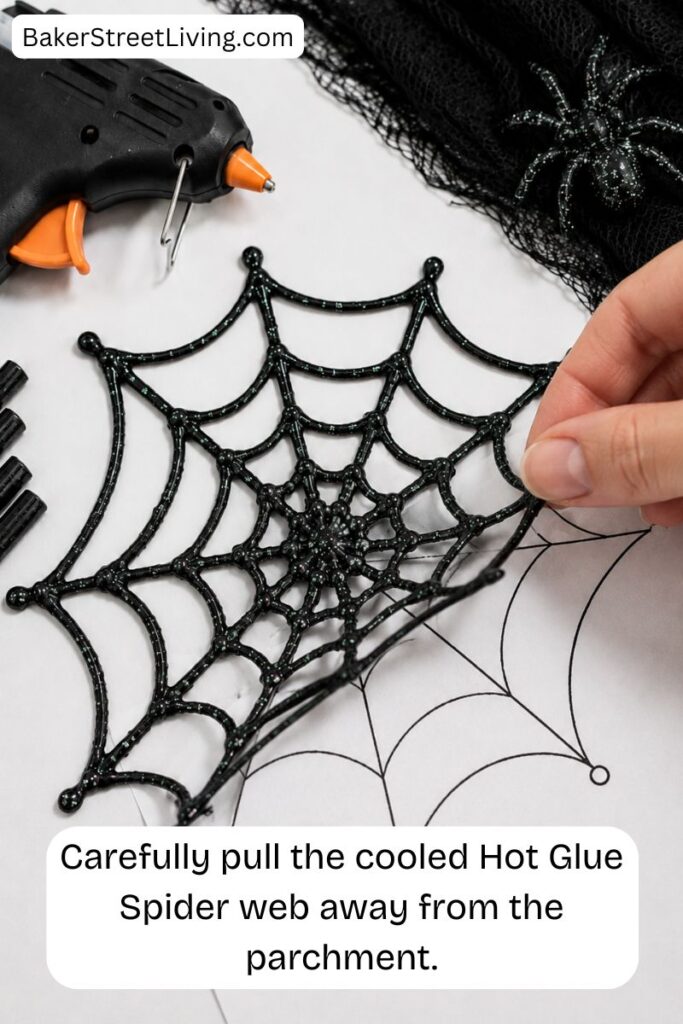
When the glue is completely cool, gently lift one edge of the spider web.
Slowly peel the hot glue away from the parchment paper.
Work carefully, especially around the thinner sections of the web.
If a small section breaks, don’t worry. You can usually repair it with another small drop of hot glue.
Step 6: Time to Decorate
Use your homemade glue spider web on pumpkins, vases, apothecary bottles or even a mirror. These fun little webs can be made in just about any web design and used in many ways in your Halloween decor.
Step 8: Clean your Glue Gun
Although not a step in making these cute spider webs, it is important to clean any black hot glue out of the glue gun before using it on another craft project. Remove the black glue stick. Insert a clear one and, on scrap paper, run beads of glue until you don’t see any more black. This only takes a minute or so, but it is frustrating if you forget when you get to your next crafts project.
Tips for Making Hot Glue Spider Webs
Using Clear Glue
If you don’t have black hot glue, you can use clear glue. Once your project is completed and dry, go over the web with a permanent paint marker or black spray paint. Be sure to allow the web to fully dry before painting, as well as after painting, before handling.
Keep the Glue Lines Thin
One of the biggest tips for making a realistic spider web with hot glue is to avoid applying too much glue.
Thin lines make the web look more delicate and spiderweb-like.
Don’t Worry About Perfection
Real spider webs aren’t perfectly symmetrical, so don’t worry if your web isn’t perfect.
In fact, slightly uneven lines can make your Halloween decoration look more realistic.
Fixing Holes or Breaks in the Web
Add a little more hot glue and let it set up and dry. Peel away again.
If holes or breaks are large, consider adding a spider to cover the hole. No one will see the broken web.
Keep Parchment Flat and Still
If the parchment paper curls or moves while you’re working, it can make tracing the pattern more difficult.
Tape the edges of the parchment paper lightly to your work surface if necessary, making sure the tape doesn’t interfere with the glue.
Sticking to Windows
Be cautious when sticking spider webs to windows. If the window gets a lot of sun, it can heat the glue can soften and make it harder to get off after Halloween. Having experienced that, I can tell you it’s a mess!
Places to Use Hot Glue Spider Webs
There are lots of ways to use your finished webs for Halloween decorating.
Use them to decorate:
- Halloween wreaths
- Shelves and mantels
- Halloween centerpieces
- Glass jars and bottles
- Halloween signs
- Tiered trays
- Haunted house displays
- Halloween party tables
- Picture frames
- Potted plants
- Halloween crafts
You can also combine several webs with plastic spiders to create a creepy Halloween display.


Making a spider web with hot glue is one of those simple Halloween crafts that looks much more complicated than it actually is. With a few inexpensive supplies and a simple pattern, you can create spooky webs in just a few minutes.

This website contains affiliate links. As an Amazon affiliate, I earn a small commission from qualifying purchases (at no cost to you).
