
Content Created by Tracey of Baker Street Living 
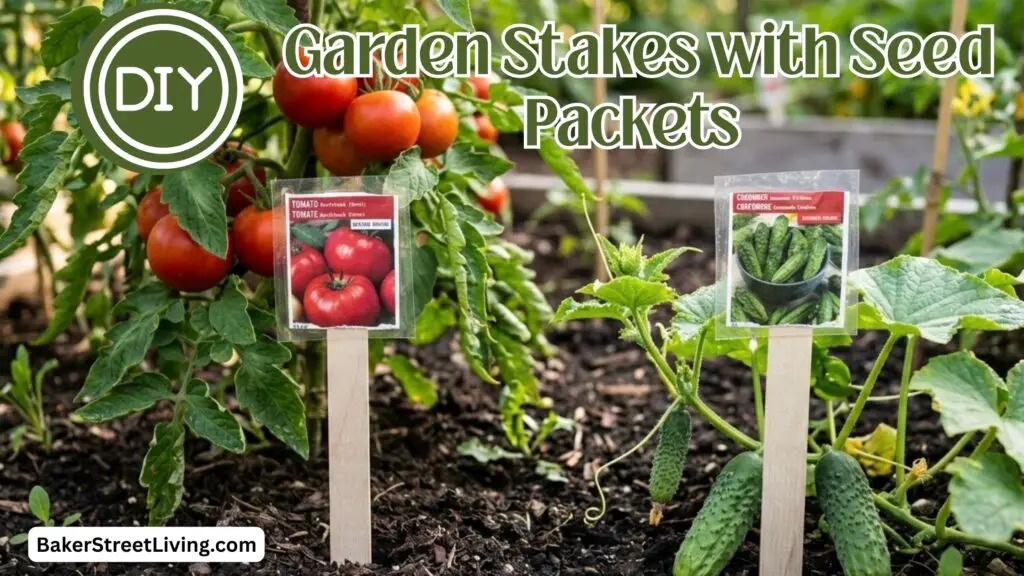
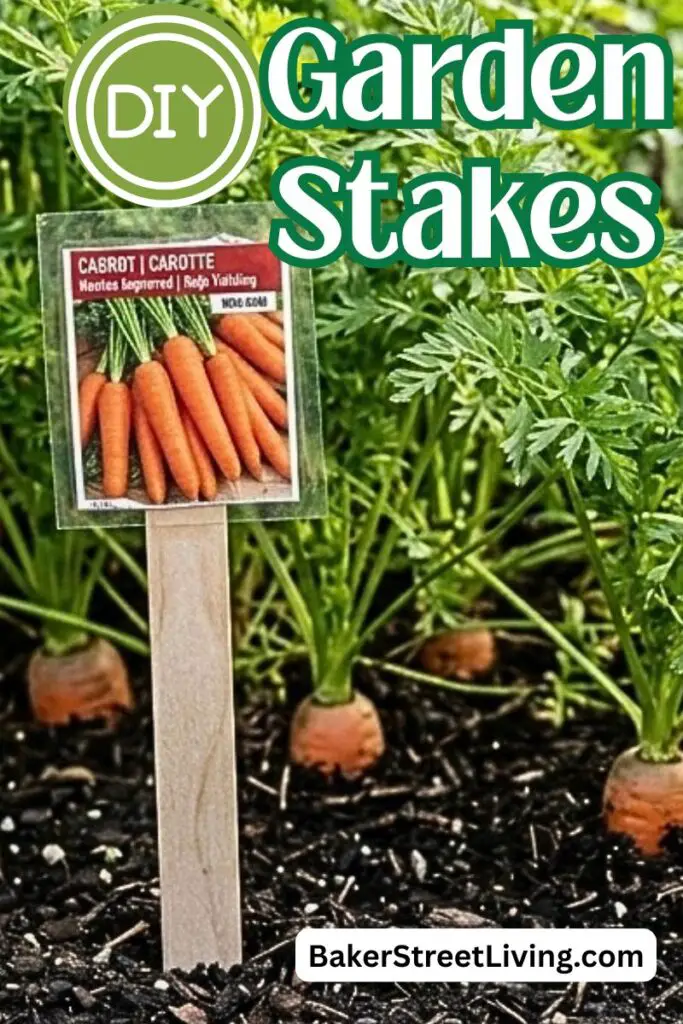
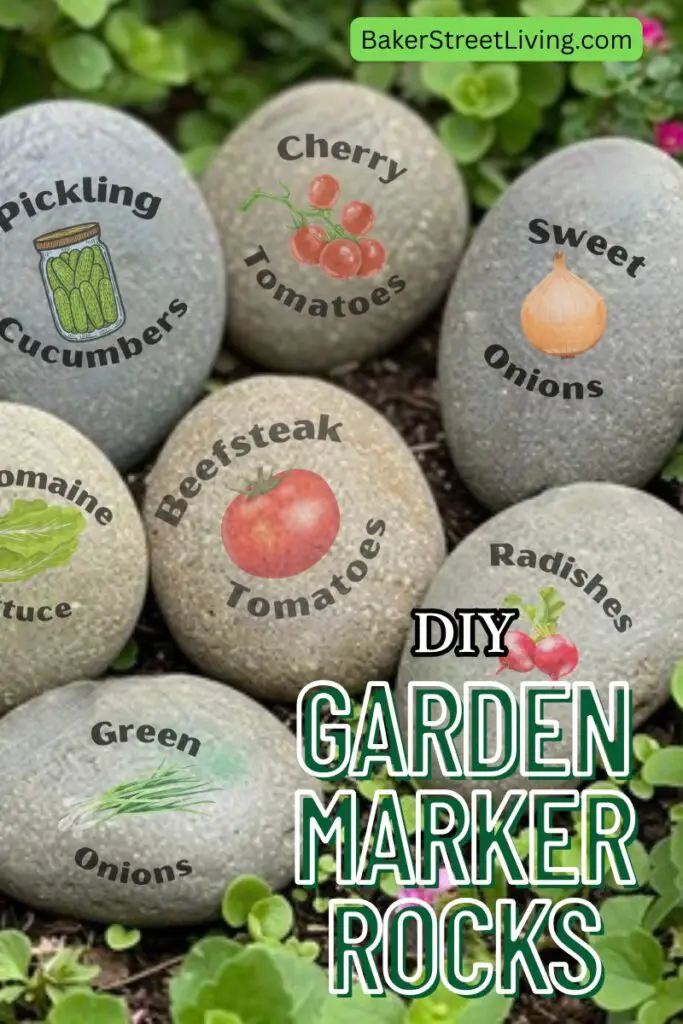
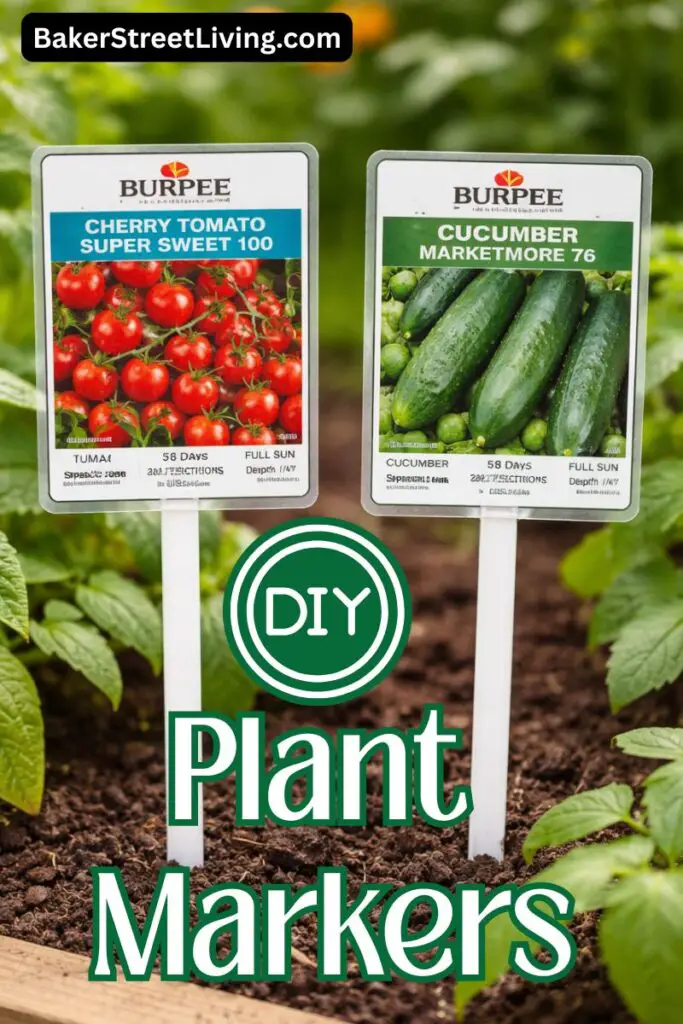
If you’re looking for a simple, budget-friendly way to label your garden and keep all your planting info handy, these DIY garden stakes are a total win. Instead of tossing those packets after planting, you can turn them into durable, weatherproof markers that show exactly what’s growing, spacing details, and harvest info at a glance.
Why You’ll Love This Project
- Keeps all the plant information visible and is an easy reference.
- Reuses seed packets instead of throwing them away. (Eco Friendly)
- Weatherproof and garden-ready
- Fast and beginner-friendly
- Makes your garden look tidy.
Supplies List
This website contains affiliate links. As an Amazon affiliate, I earn a small commission from qualifying purchases (at no cost to you).
- Empty seed packets
- Thin Plastic garden stakes
- Adhesive Self-Laminating Pouches
- Scissors
- Scraper
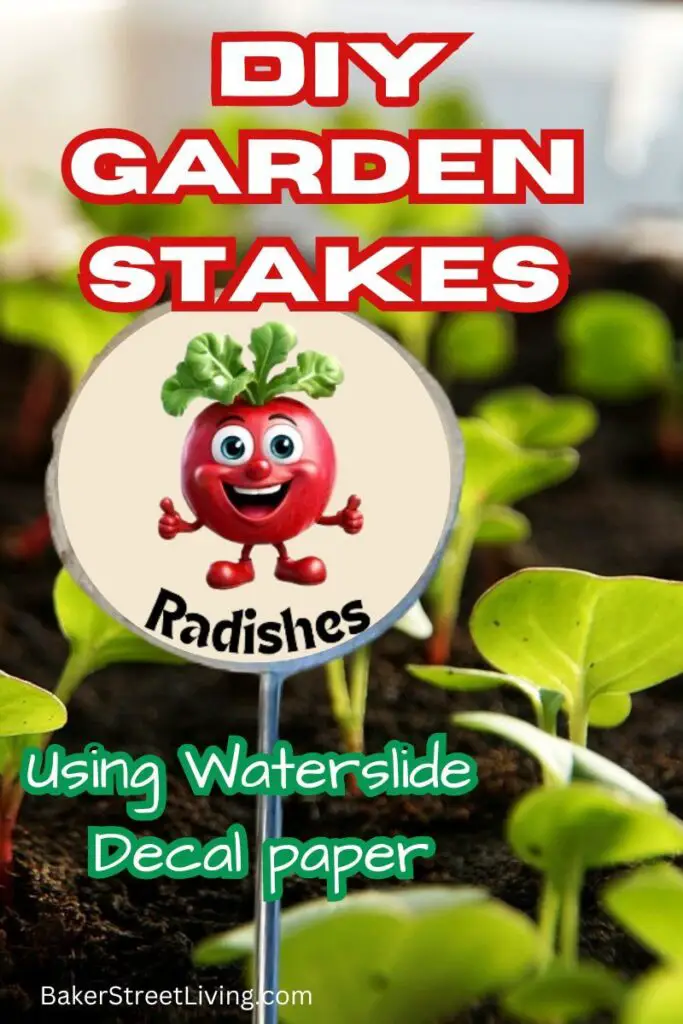
How to Make DIY Garden Stakes from Seed Packets
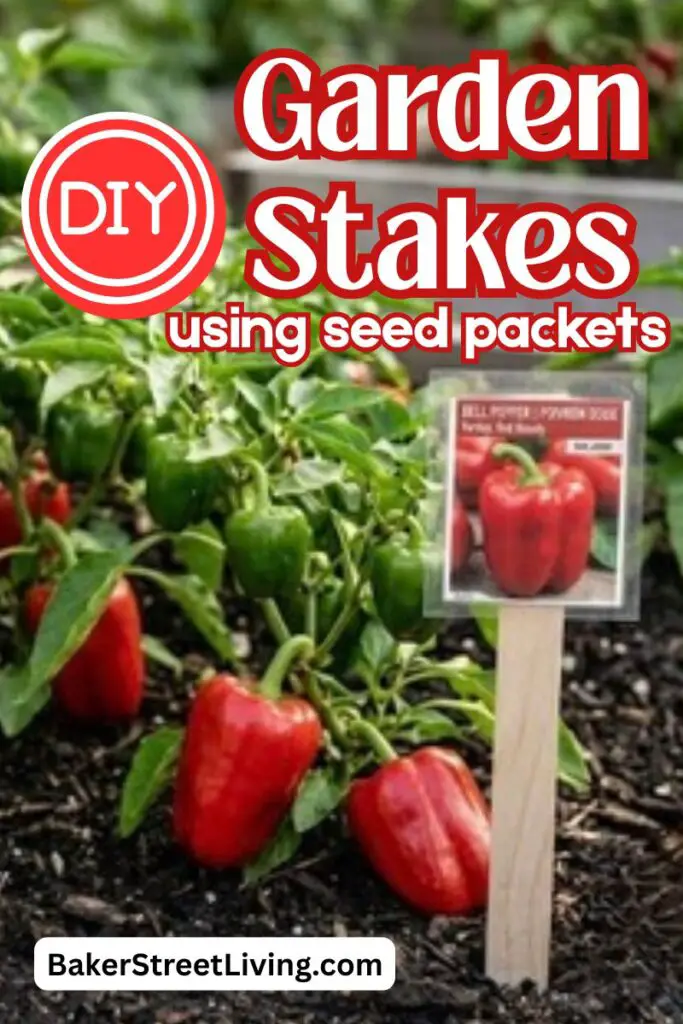
Step 1 – Prepare the seed packets
Flatten your empty seed packets and trim any torn edges so they look neat. Cut across the bottom of the packet to allow the stake to be added. If you know ahead of time you are making these, remove the seeds from the bottom of the packet and leave to thop closed.
Step 2 -Insert the stake
Slide a wooden stick into the open bottom of the packet so part of the stick extends below. This will act as your garden stake.
Step 3 -Laminate
Trim the Self Laminating Pouch so that there is about 1/2 to 1 inch of sealed area around the pouch.
Place the packet (with stick inserted) into a laminating pouch. Make sure everything is aligned straight before sealing.
Step 4 – Seal and trim
Press from the top down, taking care to keep the seed packet flat and sealed. Press out air bubbles as you go. trim around the edges, leaving a small border to keep the laminate watertight. Press up against the stick using a scraper to endure adhesion.
Step 5 – Place in the garden
So you are done. Easy Peasy! Repeat with all of your seed packets. When you are ready to use it, push the stick into the soil near your plant.

Tips and FAQ’s
Tips for Best Results
- Leave at least a small sealed margin when trimming laminate
- Use thicker sticks for heavier packets
- Double-check packet orientation before laminating
- Clean dirt off stakes before storing for next season
Alternatives to Plastic Markers
You can use thin paint sticks or tall skewers. The one thing to keep in mind is the seat around the base of the seed packet. If it isn’t fully sealed, moisture can get in, and you may end up with mould in your plant stake. Ideally, the thinner the better.
Reusing Garden Stakes
If you plant the same brand and type of seed year after year, these are easy to reuse. Just wipe them off and make sure they are dry before storing. Store them lying flat until you want to use them again.
Using a laminating Machine
This may work, but most home laminating machines use rollers. It will depend on the thickness and flexibility of the stake as to whether it works or not.
Using a Heat Press
If you are using adhesive-free laminating pouches, you can use a heat press to seal them. Place them between two pieces of parchment paper to prevent a mess. Make sure the stake is heat-safe. Start at a temp of 250 for 20 seconds and increase if needed.
These DIY garden stakes are one of those clever little projects that make gardening smoother and more enjoyable. They keep your space organized, save money, and add a charming touch to your beds. Once you make a few, you’ll want to label everything!

This website contains affiliate links. As an Amazon affiliate, I earn a small commission from qualifying purchases (at no cost to you).