
Colouring sand at home is a fun, easy, and budget-friendly activity that’s perfect for crafts, sensory bins, art projects, or even decorative displays. Using food colouring makes the process safe and accessible, especially if kids are involved. In this guide, you’ll learn exactly how to colour sand, turning it into vibrant, custom-coloured sand in just a few simple steps.
What You’ll Need
Before you get started, gather the following materials:
- Clean, dry sand (white or light coloured play sand or craft sand works best)
- Food colouring (liquid or gel)
- Ziplock bags or containers with lids
- Baking tray for drying
- Gloves (optional, to prevent staining hands
How to Colour Sand – Step by Step
Step 1: Prepare Your Sand
Make sure your sand is completely dry before colouring. If it’s damp, spread it out on a tray and let it air dry or place it in a low-temperature oven (around 200°F / 90°C) for a short time.
Step 2: Add Sand to a Bag or Container
Pour your sand into a ziplock bag or container. Don’t overfill—leave space so you can mix easily. Be advised, using a plastic container is easy, but the food colouring can leach into the plastic.
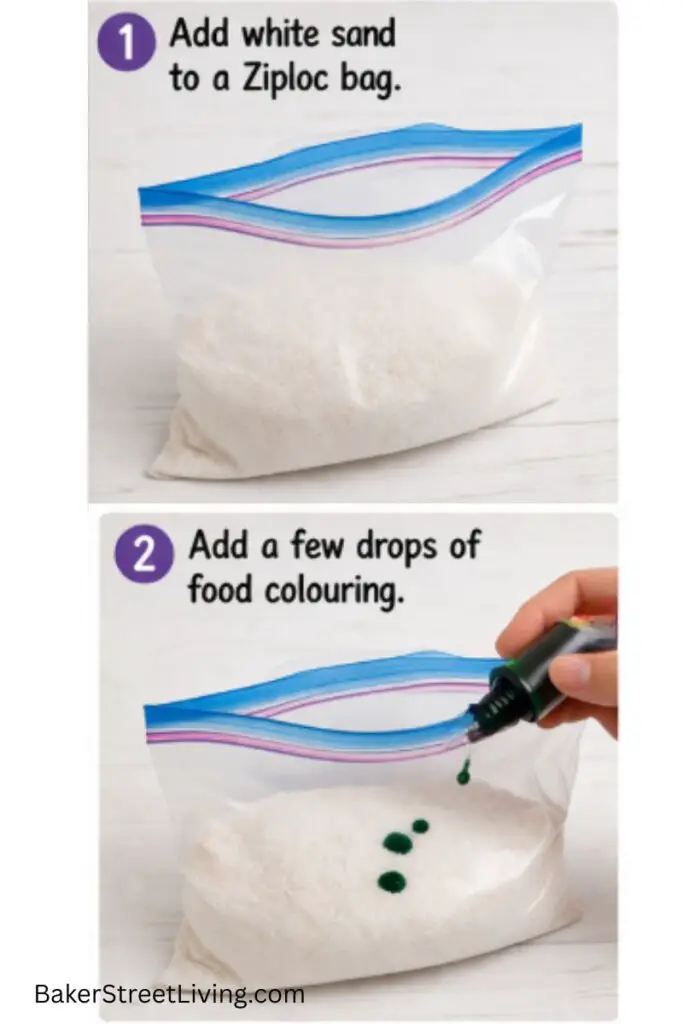
Step 3: Add Food Colouring
Add a few drops of food colouring directly into the sand. Start with a small amount and add more if needed for a deeper colour.
Pro Tip – if the colour isn’t spreading well, add a teaspoon of vinegar or rubbing alcohol to help the colour spread
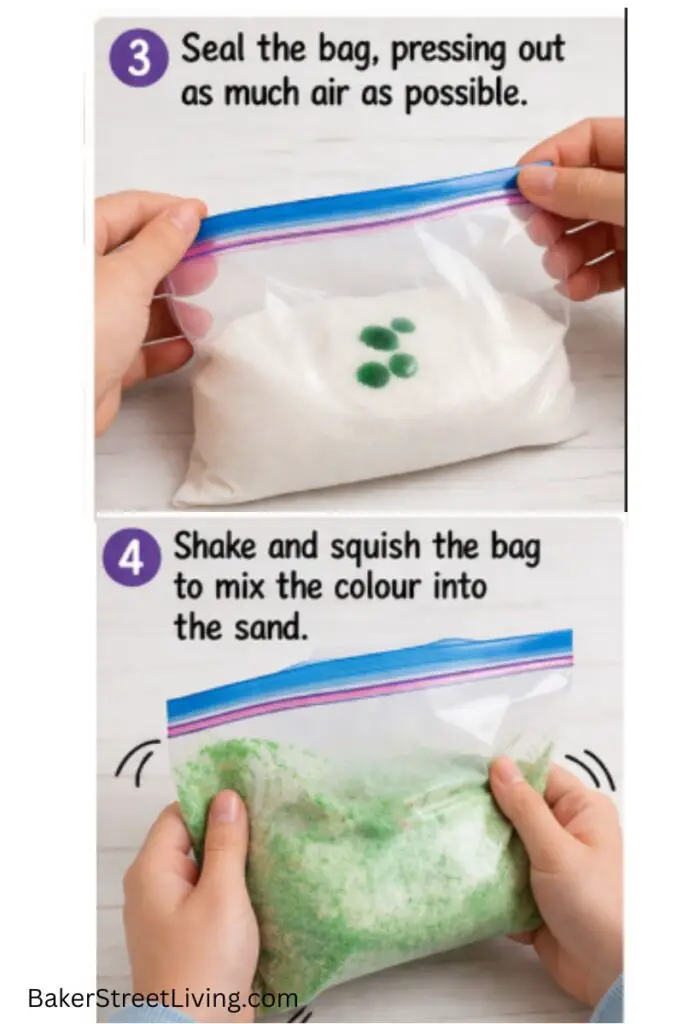
Step 4: Mix Thoroughly
Seal the bag or container and shake it well. For mixing in a bag, massage the sand from the outside to distribute the colour evenly. Keep mixing until you’re happy with the colour.
Step 5: Adjust Colour
If the colour looks too light, add a few more drops of food colouring and repeat the mixing process.
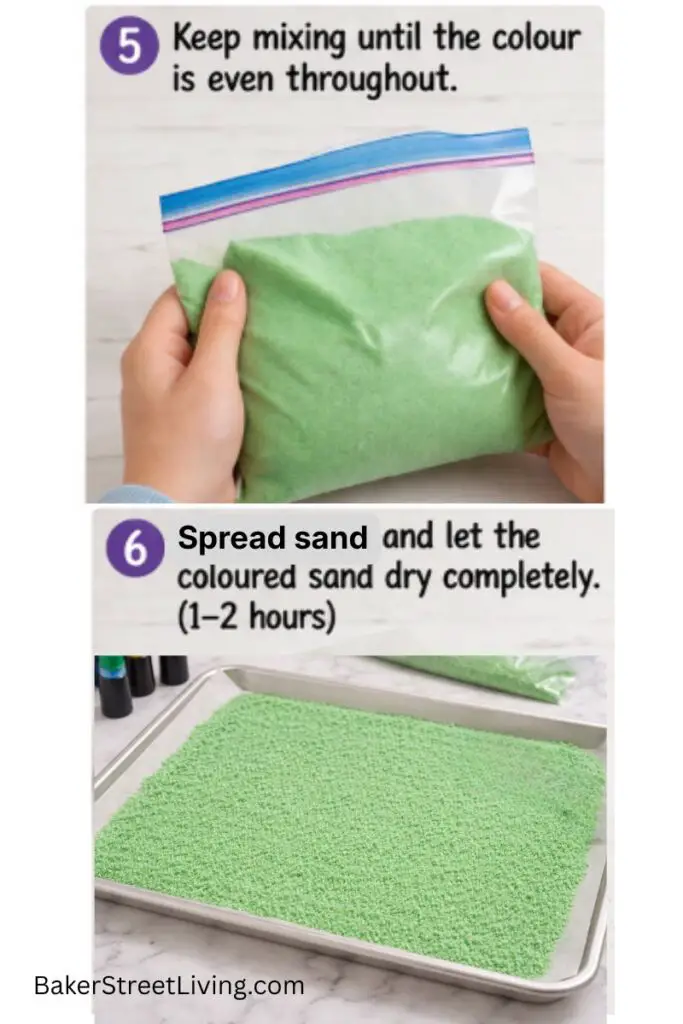
Step 6: Dry the Sand
Spread the coloured sand onto paper towels or a baking tray in a thin layer. Let it air dry for several hours or overnight.
Tip: Stir occasionally while drying to prevent clumps.
Tips for Best Results
- Use light-coloured sand for brighter, more vibrant results.
- Gel food colouring produces more intense colours than liquid.
- Mix colours to create custom shades (e.g., blue + yellow = green).
- Store in airtight containers once fully dry to keep colours fresh.
Common Mistakes to Avoid
- Using wet sand: This leads to clumping and uneven colour.
- Adding too much liquid: Can make drying take much longer.
- Skipping drying time: Damp sand can grow mould if stored.
Fun Ideas for Coloured Sand
Once your sand is ready, here are some creative ways to use it:
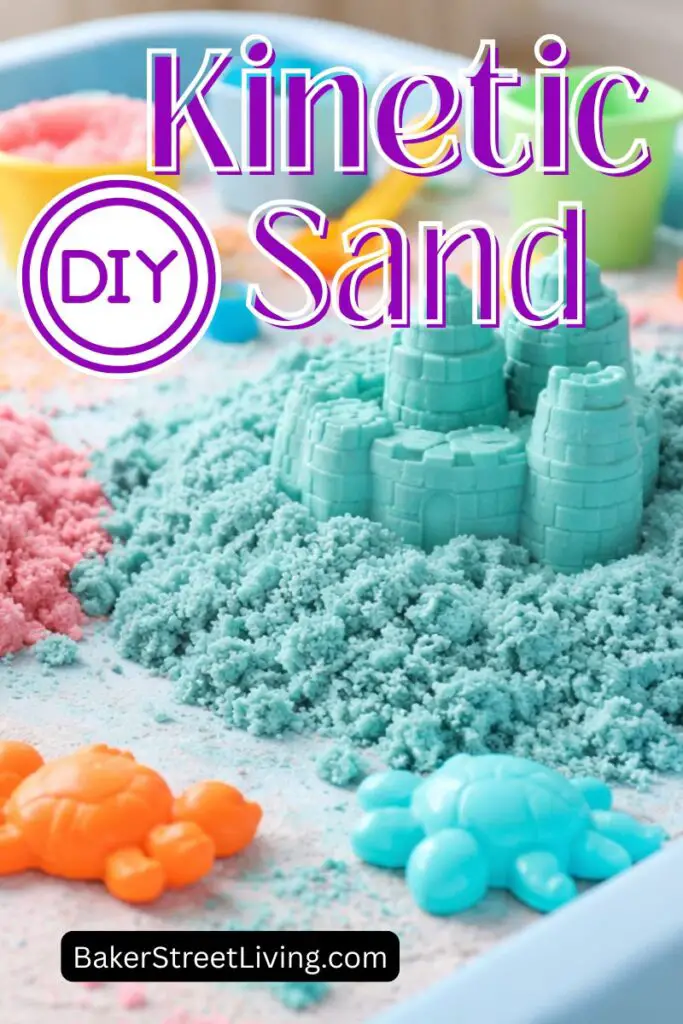
- Make Kinetic Sand – Check out our east how to guide.
- Layered sand art in jars or bottles
- Sensory bins for kids
- Decorative candles or centrepieces
- Sand painting and glue art


Colouring sand with food colouring is a simple and satisfying DIY project that anyone can try at home. With just a few materials and a little creativity, you can create beautiful, vibrant sand for a variety of uses. Whether you’re crafting with kids or making decorations, this method to colour sand is safe, easy, and effective.
Give it a try and experiment with different colours and patterns, you might be surprised how creative you can get!

This website contains affiliate links. As an Amazon affiliate, I earn a small commission from qualifying purchases (at no cost to you).