
Content Created by Tracey of Baker Street Living 
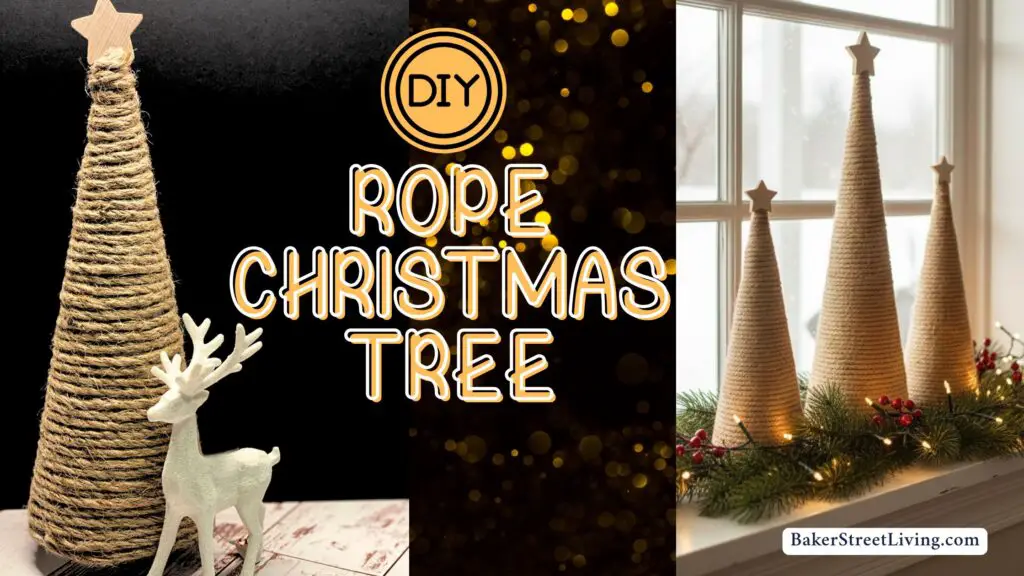
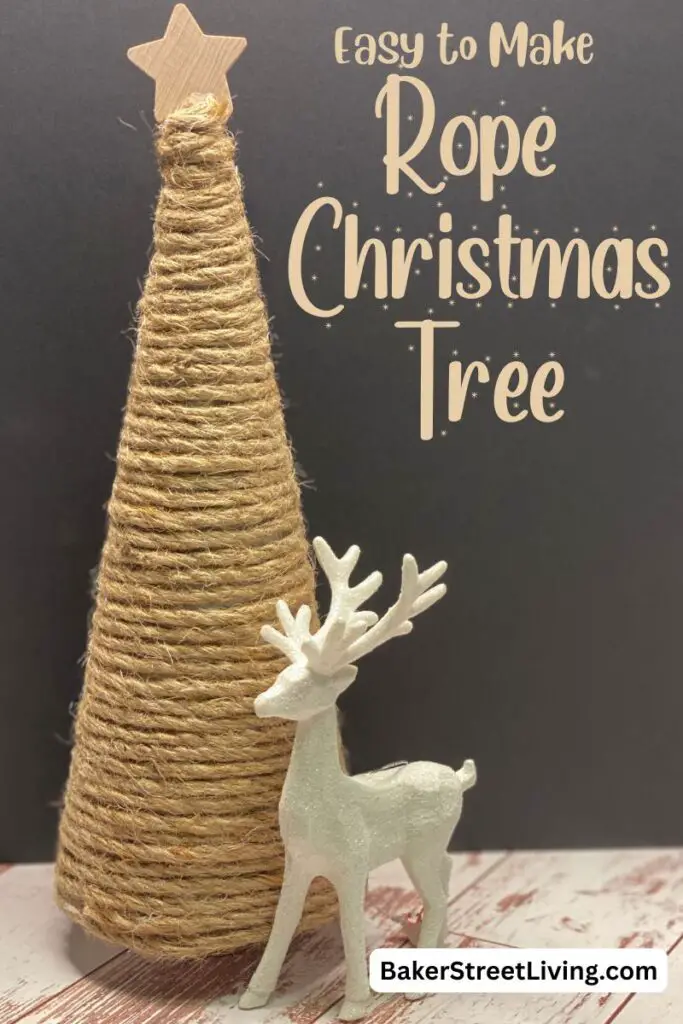
If you’re looking for a charming, rustic Christmas decoration that’s easy to make and budget-friendly, this wrapped rope Christmas tree is the perfect project! This DIY craft adds a cozy farmhouse touch to your holiday décor and can be customized to match any colour scheme or style
What You’ll Need
This website contains affiliate links. As an Amazon affiliate, I earn a small commission from qualifying purchases (at no cost to you).
- Styrofoam cone
- Jute rope
- Hot glue gun and glue
- Scissors
- Small Wood Slices
- Burlap Fabric (optional)
- Optional decorations: small ornaments, ribbon, mini lights, glitter, or faux greenery
How to Make a Rope Christmas Tree
1 – Add hot glue to the bottom edge of your cone and press the end of your rope firmly into it. If the rope tries to pull away from the cone, use a straight pin or long tack to hold it in place until the glue sets.
Begin wrapping the rope around the cone, working slowly and keeping the rows tight together with no gaps. Add more glue as you go to keep the rope secure.
2 – Continue winding until you reach the top of the cone, making sure lines are straight as you go. Add dots of glue randomly as you move up the cone.
3 – Once to the top of the tree, trim, leaving a piece long enough to wrap into a point.
4 – Add hot glue to the top of the cone and wrap it into a point. Hold it for a few seconds to secure.
5 – If the bottom of your rope Christmas tree has styrofoam visible, cut a piece of burlap and cover the bottom with it. Glue it in place and trim off and edges that are sticking out.
6 – Glue two small wood slices together for the base of the tree and adhere them to the bottom of the cone.
7 – Add a bit of hot glue to the top of the tree and adhere a wood star
8 – If desired, add small confetti-sized ornaments and a set of LED wire lights.


Tips and FAQs

How to get rid of hairs from the jute.
Some jute ropes have little hair, and some have almost none. The looser the weave, the more hairs there will be. Once your rope tree is completely dry, you can quickly singe it with a kitchen torch or cut the hairs off. If you choose to singe, be quick and careful. Alternatively, you can press them into the rope and secure them with hairspray.
Display Ideas
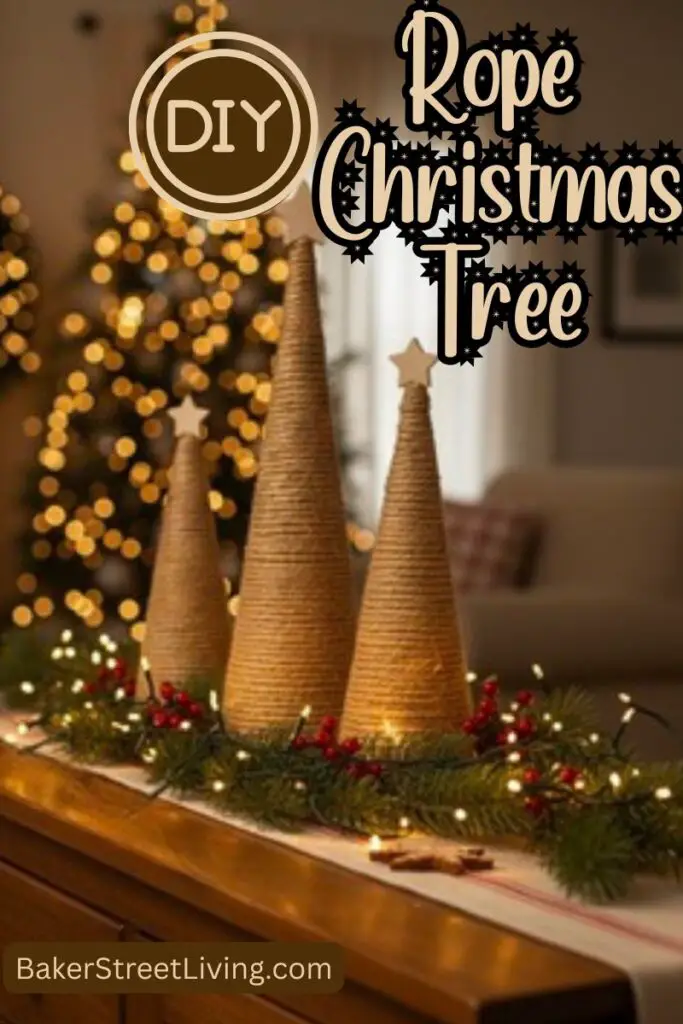
- Make multiples and use as a centerpiece or on a farmhouse-style table. These look amazing!
- Place a set of three on a window ledge with a little greenery around them and a few twinkling lights.
- Create multiples in different large sizes. Line a mantle with them and add a garland with lights in front of it. For this display, use large gold stars on the top of each tree.
- Display on a sudboard in a set of three.

Cautions for Pet Owners
Cats will be attracted to these trees; there is no way around it! The jute rope is often the same as that found on scratching posts. Be mindful of where you are placing them, as they can get knocked over or damaged.
Storing your Rope Christmas Tree
These trees are easy to store. Just wrap in tissue and place in a box. ve miondful to protect the point from being bent.
I hope you enjoy making these easy rope Christmas trees. Their simple, handcrafted charm brings a touch of warmth and texture to any holiday space. Whether you make one as a statement piece or several in varying sizes for a festive display, this easy DIY project is sure to become a favourite part of your seasonal decorating. Add a few twinkling lights or a dusting of glitter for extra sparkle, and enjoy the cozy glow of your handmade holiday creation.

This website contains affiliate links. As an Amazon affiliate, I earn a small commission from qualifying purchases (at no cost to you).