
Content Created by Tracey of Baker Street Living 
Get ready to add a pop of patriotic flair to your Canada Day celebrations and dive into the exciting world of creating custom printable chip bags. Whether you’re throwing a backyard bash or simply want to add a festive touch to your snack time, these DIY Printable Canada Day chip bags are sure to impress. These chip bags are resealable, which makes them much more versatile.,
Supplies List
This website contains affiliate links. As an Amazon affiliate, I earn a small commission from qualifying purchases (at no cost to you).
- Brochure Paper
- Printer
- Double Sided Tape
- Resealable Ziploc Bags (4 by 6 inches) – Optional
- Paper Crimper
How to make Printable Canada Day Chip Bags
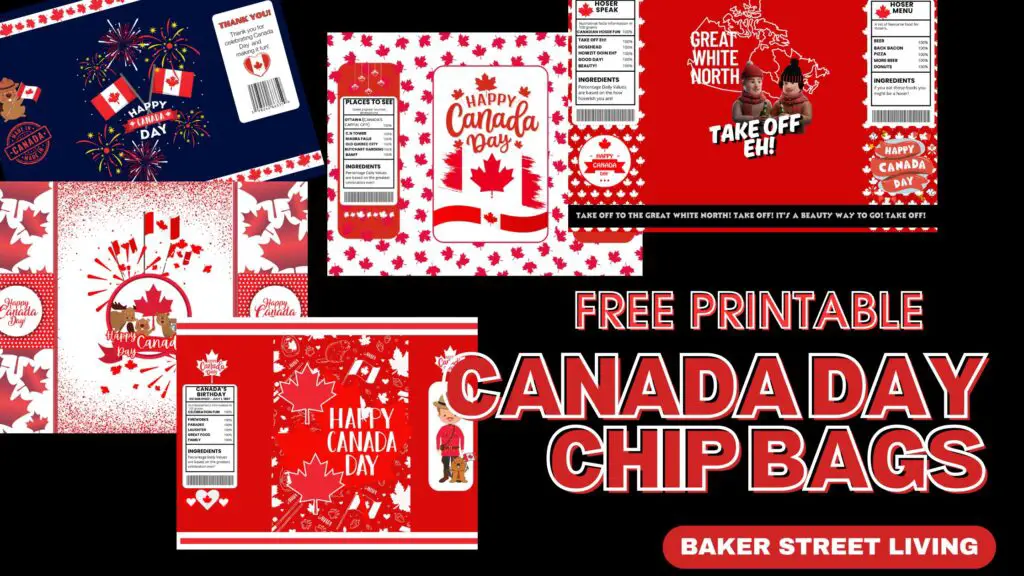
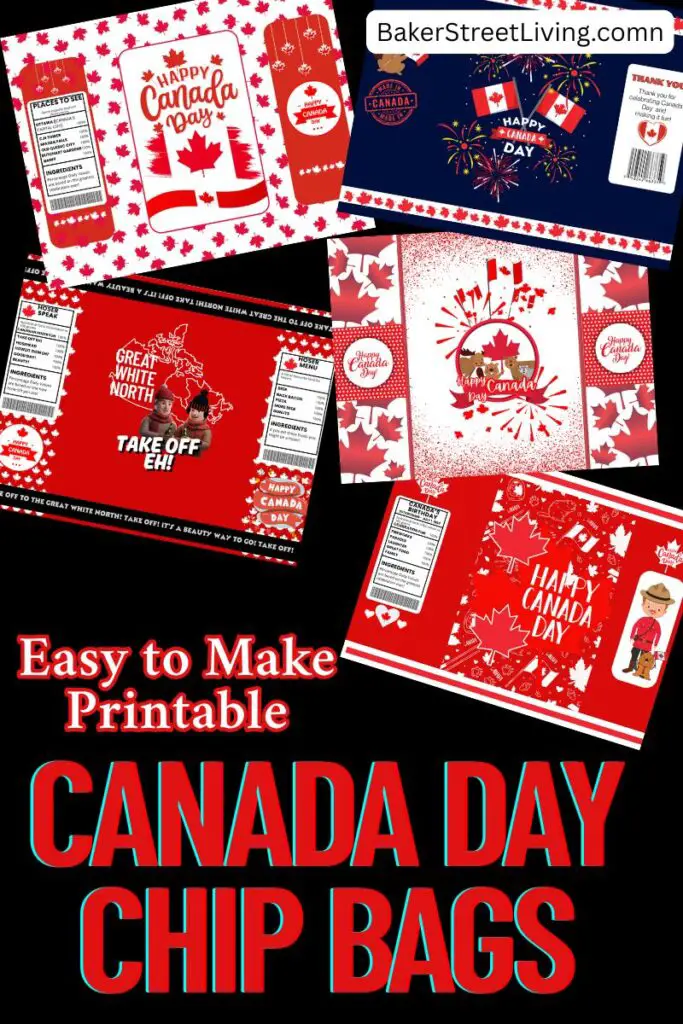
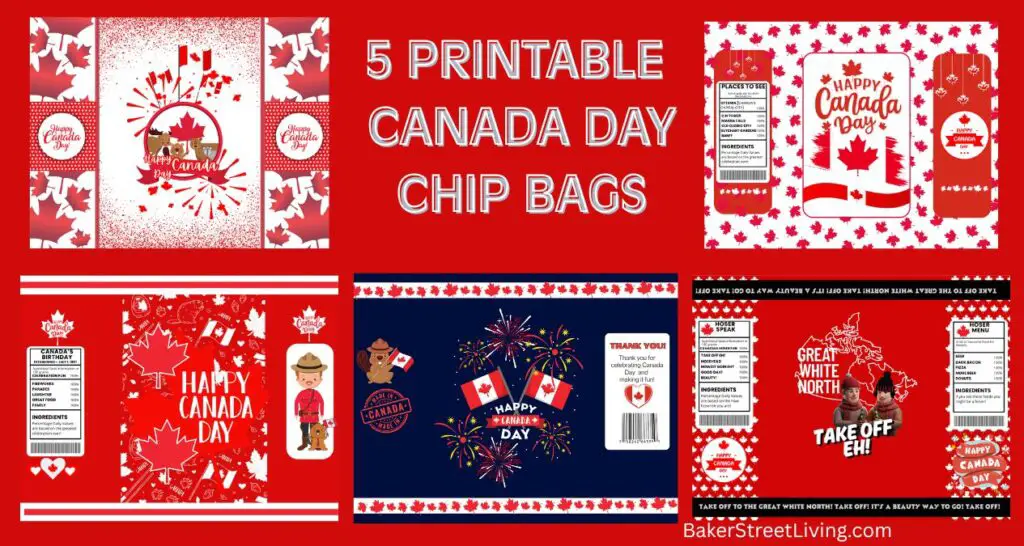
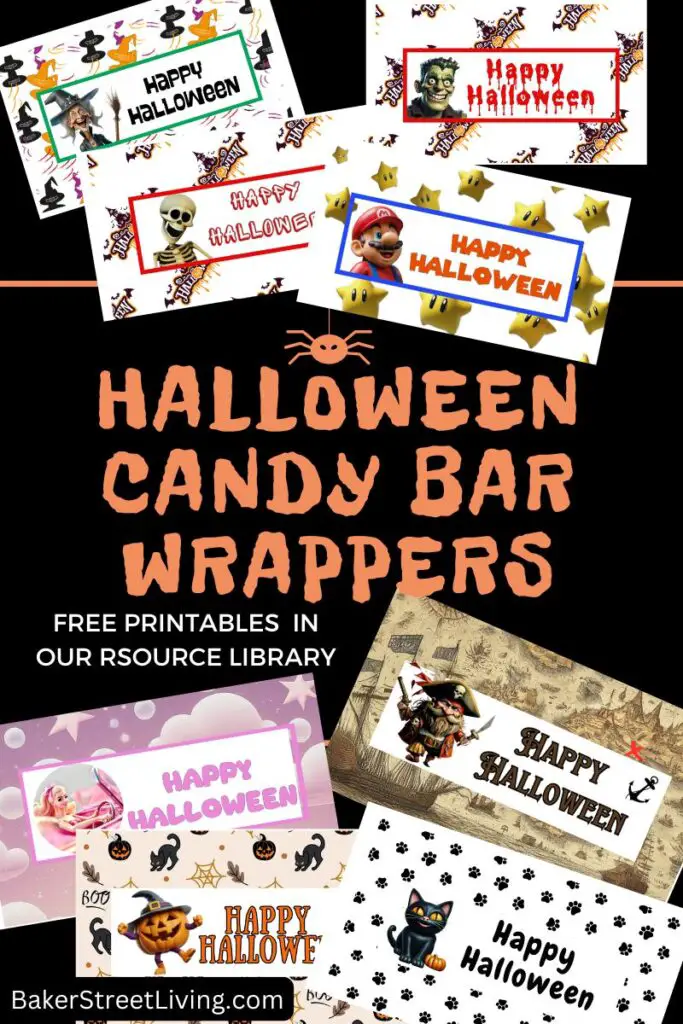
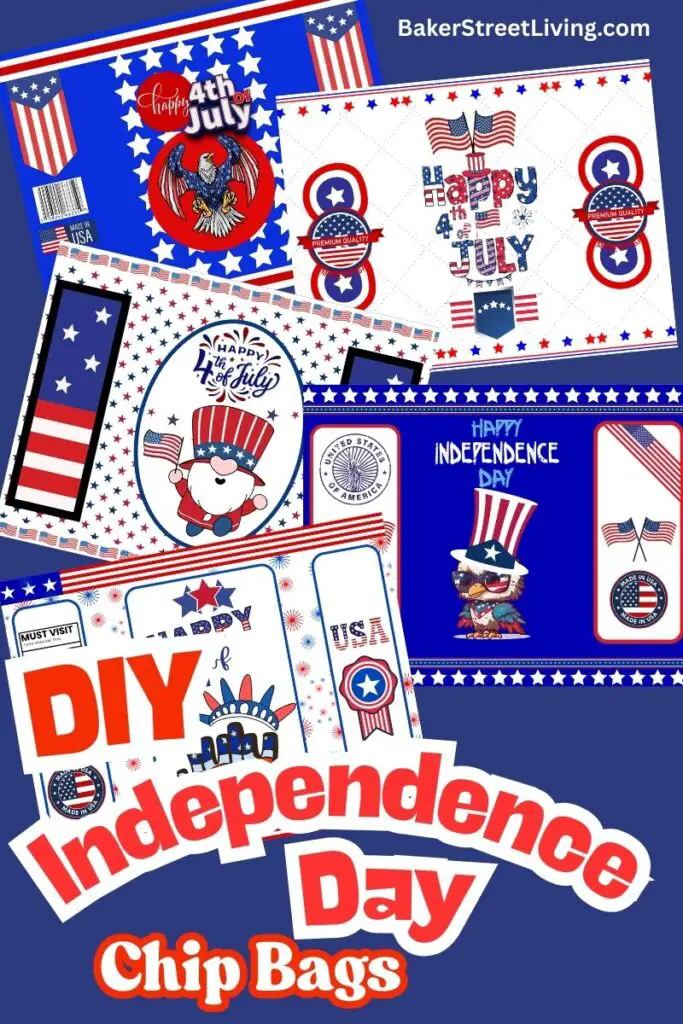
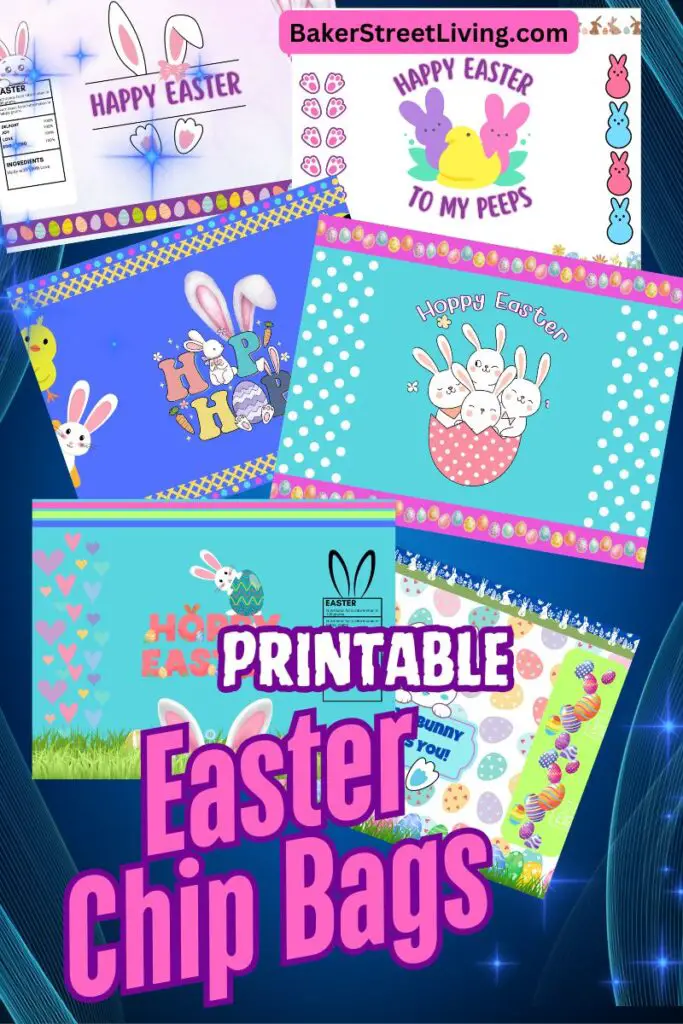
1 – Start by downloading our free designs. We have 5 free Canada Day printables for you to use. They are located in our free resource library under the Patriotic DIYs. Our free designs are for personal use only. Selling or commercial use is prohibited without prior consent.
2 – Print the Printable Chips Bags (There are 5 to choose from – use them all or just one.)
Reccomended Printer Settings :
- Highest Quality available
- Fill the page – or “Borderless “to avoid white borders
- Choose the proper paper type. It varies between printers (specialty, glossy, photo paper, etc…)
3 – Trim off any white edges if desired. (This occurs when you do not fill the page on the print menu)
4 – Fold the printed sheet, creating creases, making sure the back seams meet, and the image on the front of the bag is centred.
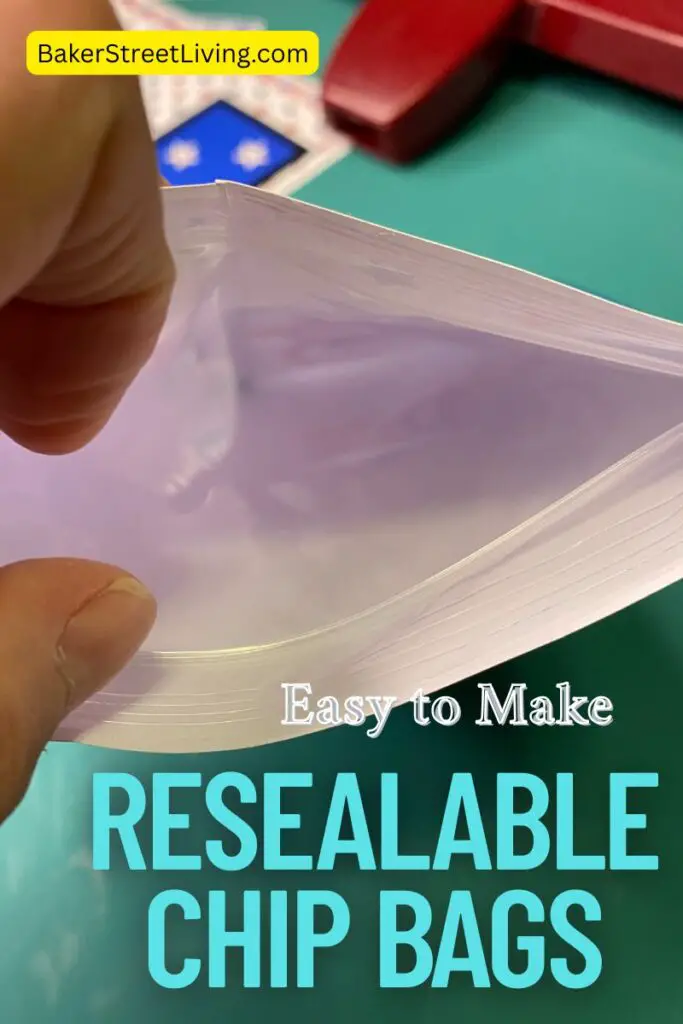
5 – Make sure the chip bag is folded open and run a bead of tape across the top and bottom of the bag.
6 – Place the resealable bag in the center and press on the tape. Make sure it doesn’t stick out the top or bottom. (see notes)
7 – Run a bead of tape on one side of the center back seam.
8 – Fold the bag closed, pressing the seams together and making sure the tape is adhered to the bag.
9 – Using a paper crimper, add crimping lines to both ends.
10 – Unseal the inner bag and fill it with your favourite snack.

FAQs and Helpful Tips
Making Liner Bags.
Did you know that you can easily resize Ziploc bags? This is a great hack if you can’t find the 5-by-7-inch size or you only want to make a few bags, and you don’t want to go out and buy a new box of bags. Here are 2 easy ways to make bags smaller.
Using a heat sealer – mark with a Sharpie where you want to shorten the bag. Press in your heat sealer for a few seconds (the time varies by brand and temperature). Remove the bag from the sealer and discard the excess.
Using a hot knife – make sure you have a heat-resistant glove or potholder. Heat the knife blade and run it over the area you want to resize. The hot edge will melt a new seam, and you can discard the
The obvious filling is candy or chips, but if you are looking for optional fillings, check out this list of a few ideas.
Suggestions for filling bags.
- Small Canada Day Trinkets – blowouts, horns, handkerchiefs, pencils
- Mini toys – loot bag-sized
- Dietary-restricted candy and snacks
- Trial-sized makeup items
I hope you have been inspired to make these cute Canada Day Chip bags for your celebration.

This website contains affiliate links. As an Amazon affiliate, I earn a small commission from qualifying purchases (at no cost to you).