
Content Created by Tracey of Baker Street Living 
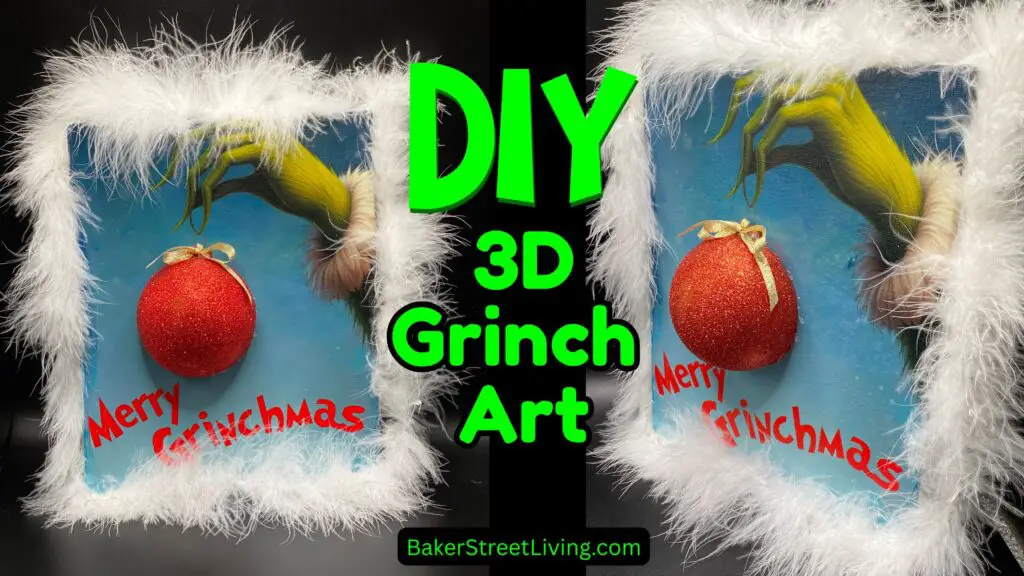
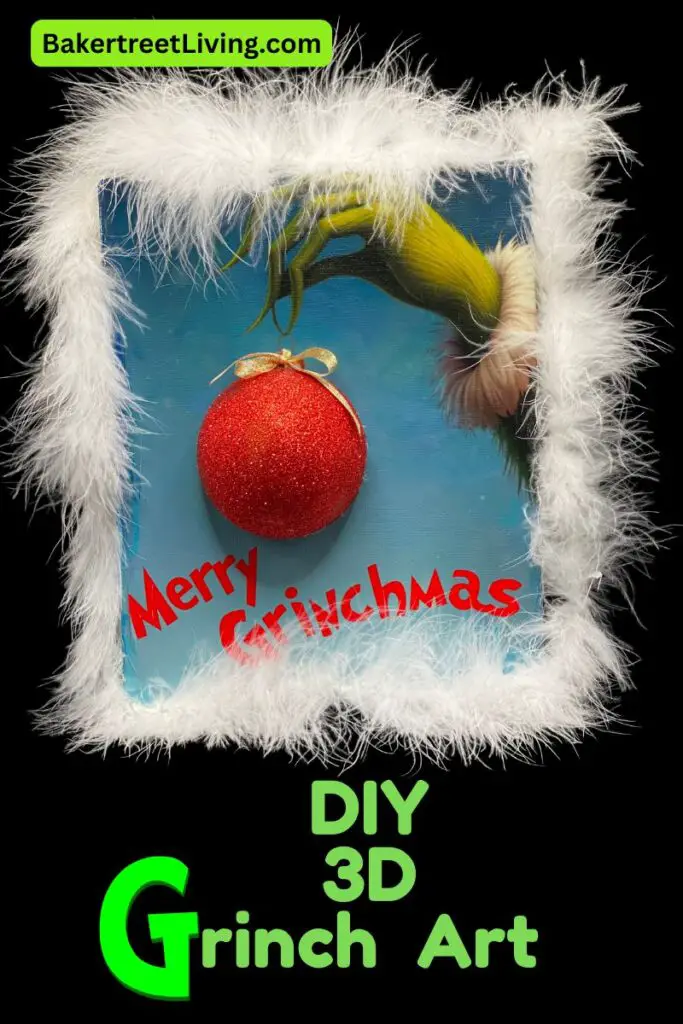
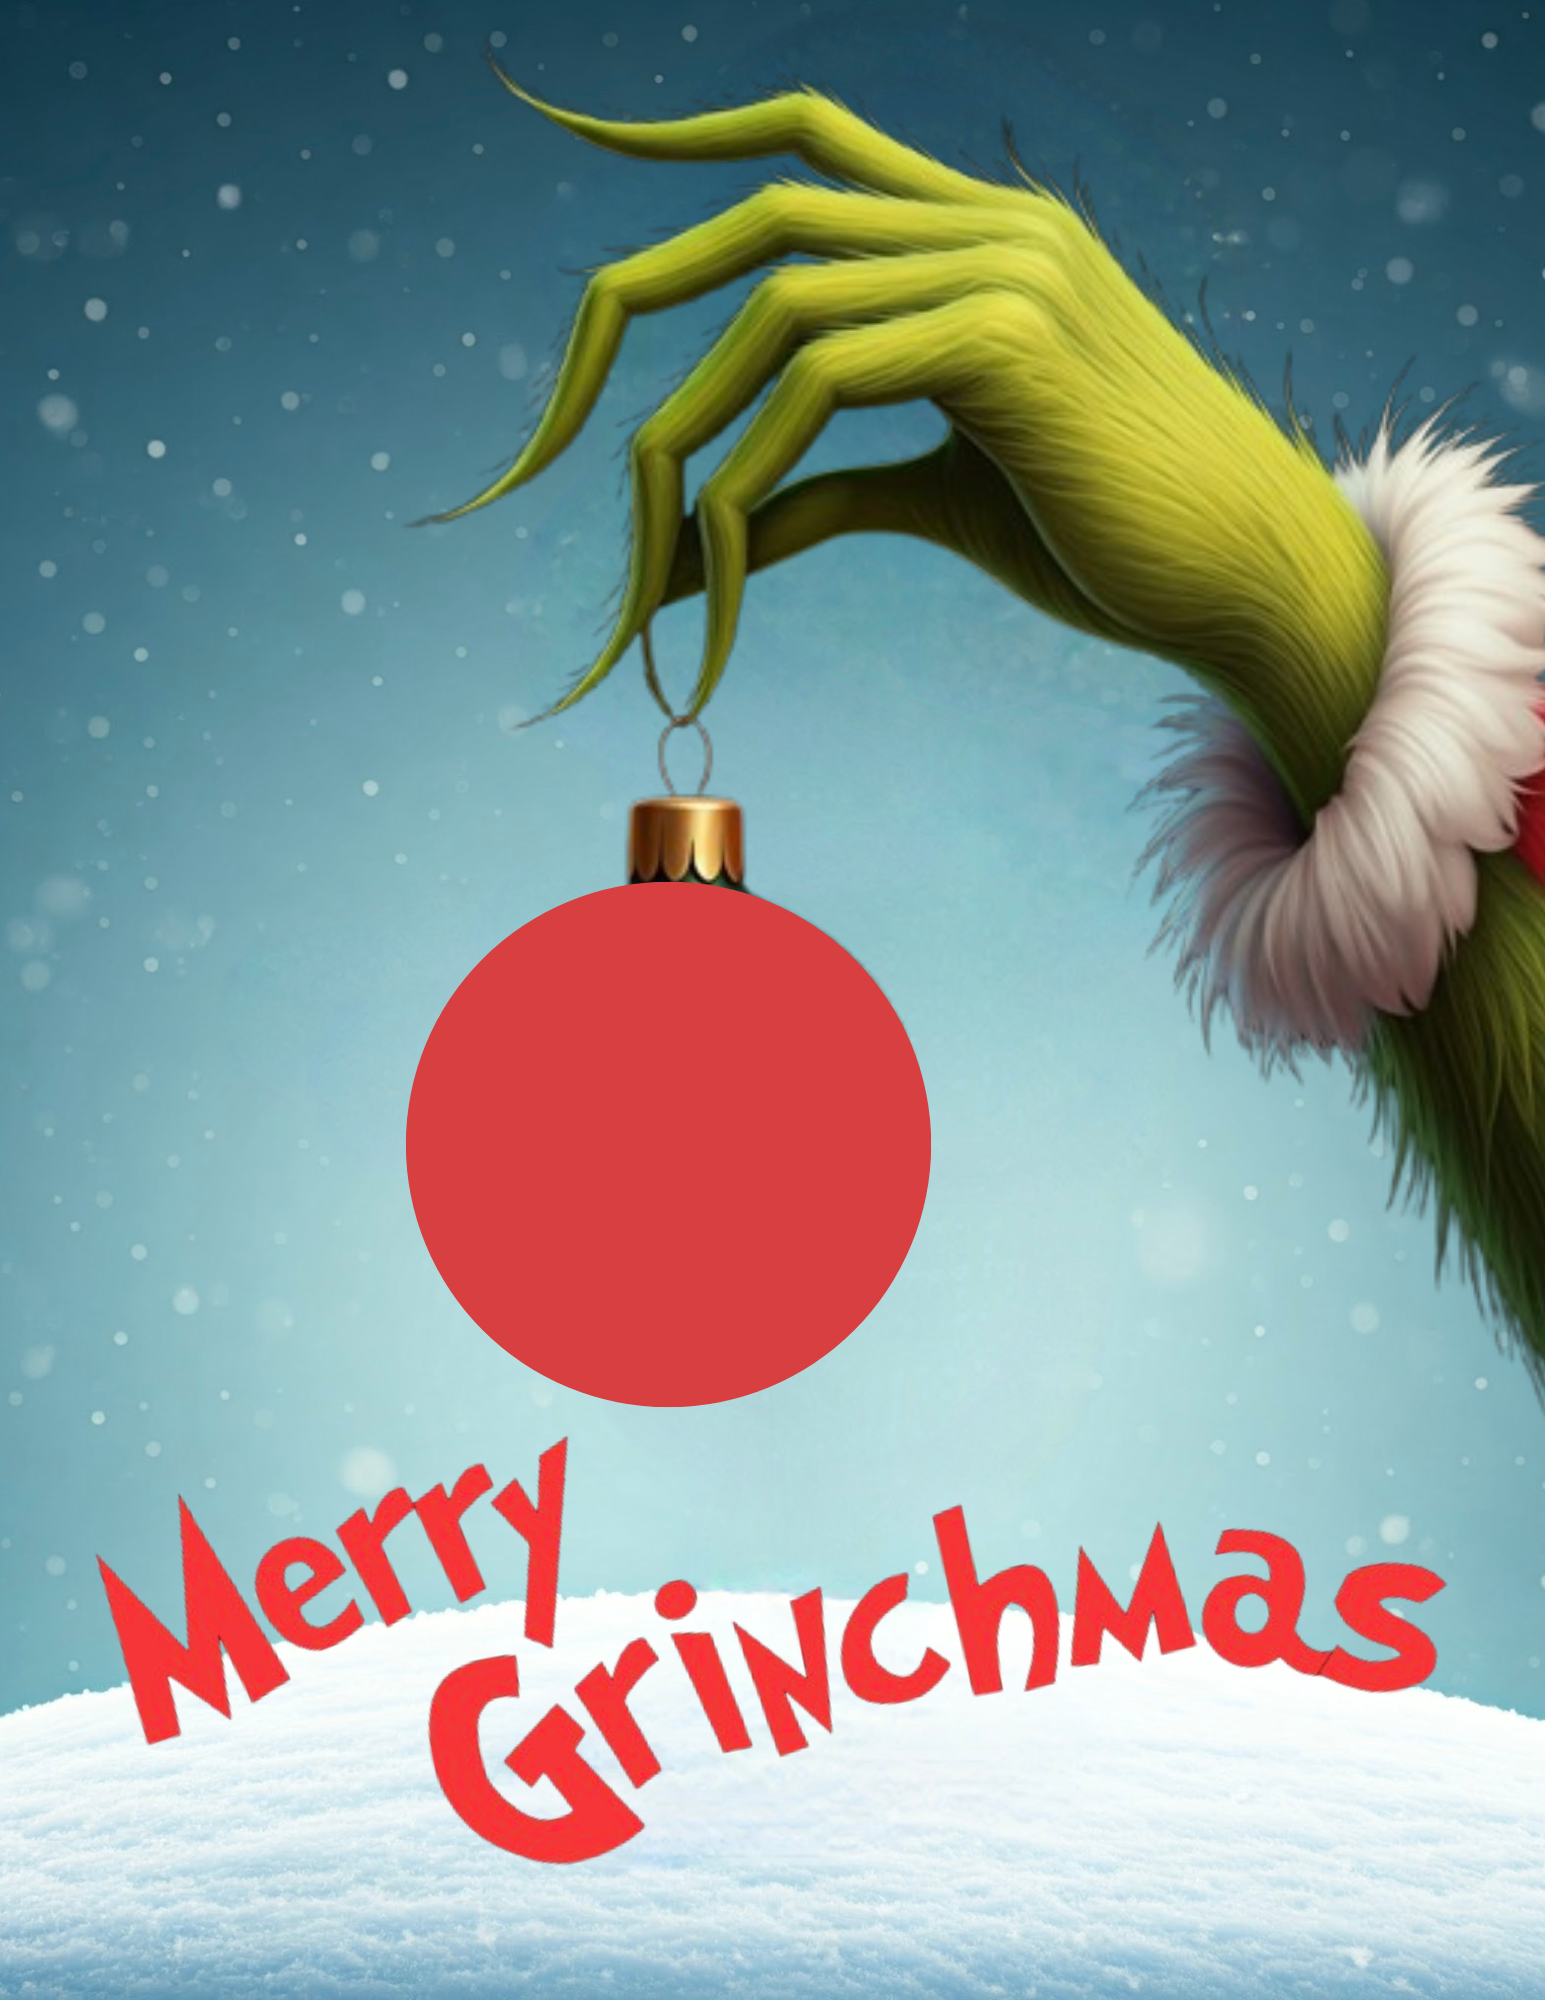
Bring a touch of Whoville into your holiday décor with a fun and festive DIY Grinch art project. This Easy DIY Grinch Art on Canvas takes your creativity to the next level. It is whimsical and fun. Just what every Grinch lover needs at Christmas.
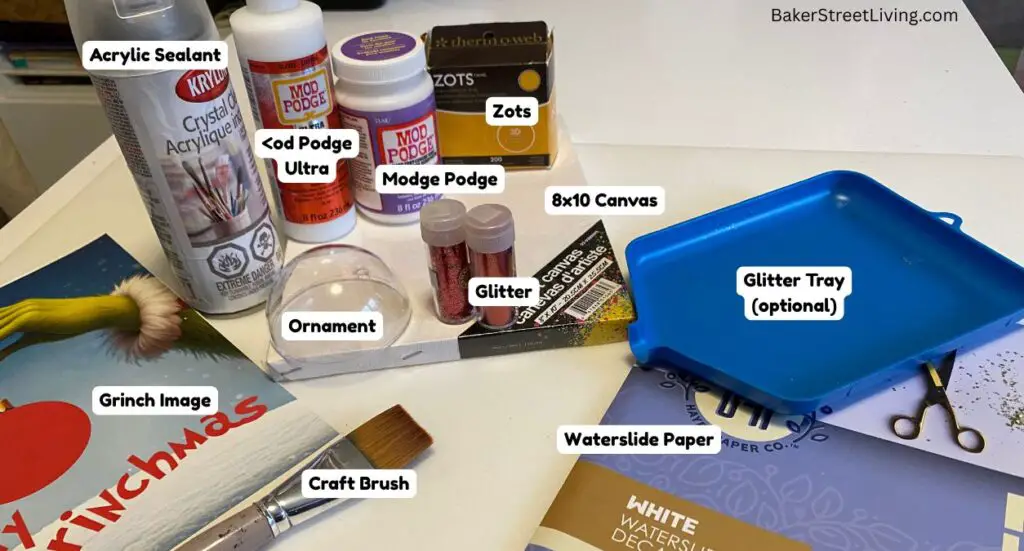
Supplies List
This website contains affiliate links. As an Amazon affiliate, I earn a small commission from qualifying purchases (at no cost to you).
- Waterslide Paper. (compatible with your printer)
- Plastic Ornament – The fillable ones that split in half.
- Thin Gold Ribbon
- Printer – Inkjet or Laser
- Large dish for a water bath
- Mod Podge Gloss
- Modge Podge Ultra – Spray
- Tacky Glue
- Red Glitter – Fine
- Clear Acrylic Spray Sealant
- Zots Adhesive Dots
- Maribou Boa or trim (optional)
Step-by-Step Instructions for DIY Grinch Art
Download the printable from our Free Resource Library
Transfer the Image to the Canvas
1 – Print the Image onto the waterslide paper.
2 – Add a generous coat of Mod Podge to your canvas, covering the entire surface. Allow the canvas to dry completely before moving on to the next step.
3 – Use a cardboard box as a spray booth. Place an adhesive Zot in the bottom of the box.
4 – Place your image, face up, in the box and lightly press it onto the Zot. This will hold the image in place while sealing it.
5 – Coat the printed image with Acrylic Spray Sealant, following the instructions on your product, and then allow the image to dry. (Most require 2-3 coats)
6. Prepare your work area. Ensure you have sufficient space and can work uninterrupted for a few minutes. Applying Waterslide paper is an unforgiving task, so once you start, you need to be quick about it, without distractions.
7 – Add warm (not hot) water to a dish large enough to soak the image in. I am using a 9-inch by 13-inch glass baking dish.
8 – Add a few drops of water to the surface of the prepared canvas or spritz with water. Move the water around with your finger to make sure that the surface is wet and a little slippery.
9 – Soak your image in the water. Follow the package instructions. (It is usually about 30-60 seconds.)
10. Check the image to see if it starts to slide off the backer paper. Do this by gently moving the paper between your thumb and finger.
11 – Once ready, remove the paper from the water.
12 – Place the waterslide paper on the canvas and gently slide out the backer paper. It is difficult to reposition later, so it is best to go slow and get the image where you want it before removing the backer paper.
13 – Once applied, use your fingers to smooth out the surface and add a few drops of water to the surface while you work to prevent ripping.
14 – Allow the canvas to dry completely before adding the ornament.
Prepare the Ornament
1 – Divide the ornament in half.
2 – Wipe the surface with some rubbing alcohol.
3 – Apply a layer of Modge Podge.
4 – Sprinkle the surface of the ornament liberally with red glitter.
5 – Shake off any loose glitter and then allow it to dry.
6 – Spray on a coat of Mod Podge Ultra Gloss. This will keep the glitter from shedding. (This is an amazing hack)
7 – Allow the ornament to dry/cure for at least 4 hours.
Add the Ornament to the Canvas
1 – Using tacky glue, run a bead around the edge of the ornament.
2 – Place the ornament over the ornament on the image.
3 – Press down and allow the glue to dry.
4 – Give the entire artwork a coat of Mod Podge Ultra Gloss.
5 – Give your DIY Grinch Art at least 4 hours to cure.
Display and Enjoy!!
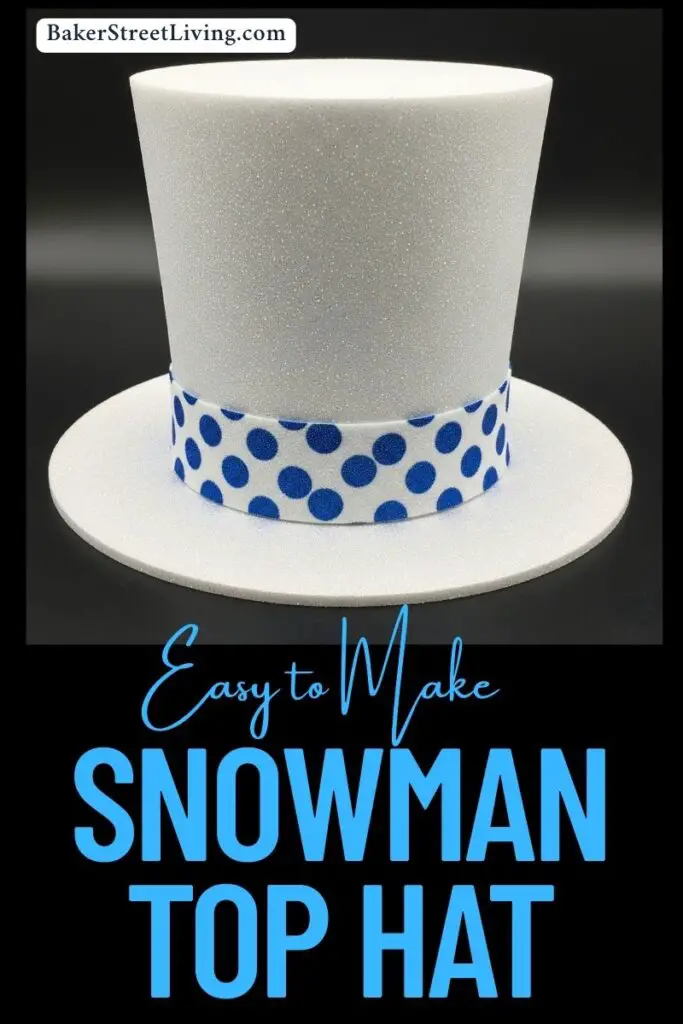
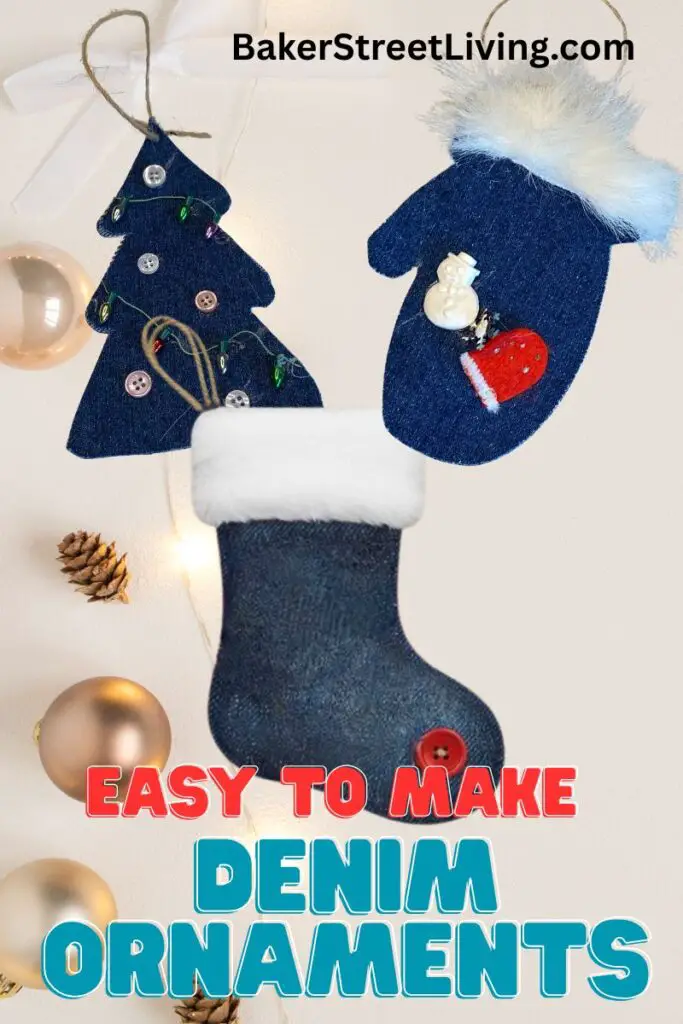
Guess what we did with the other half of the ornament! Check it out!!!
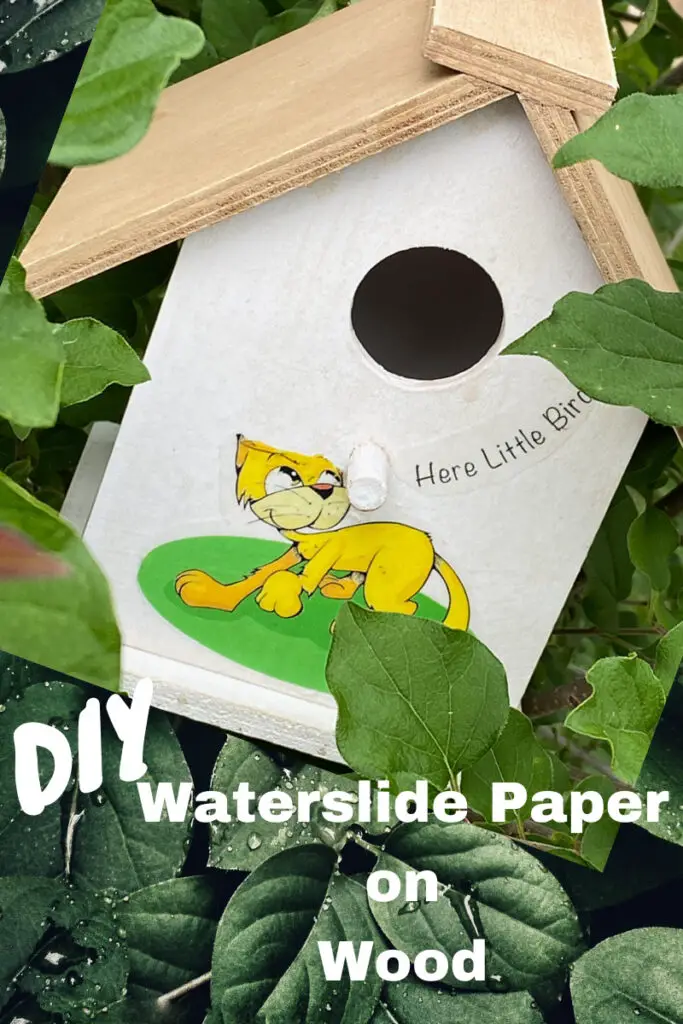
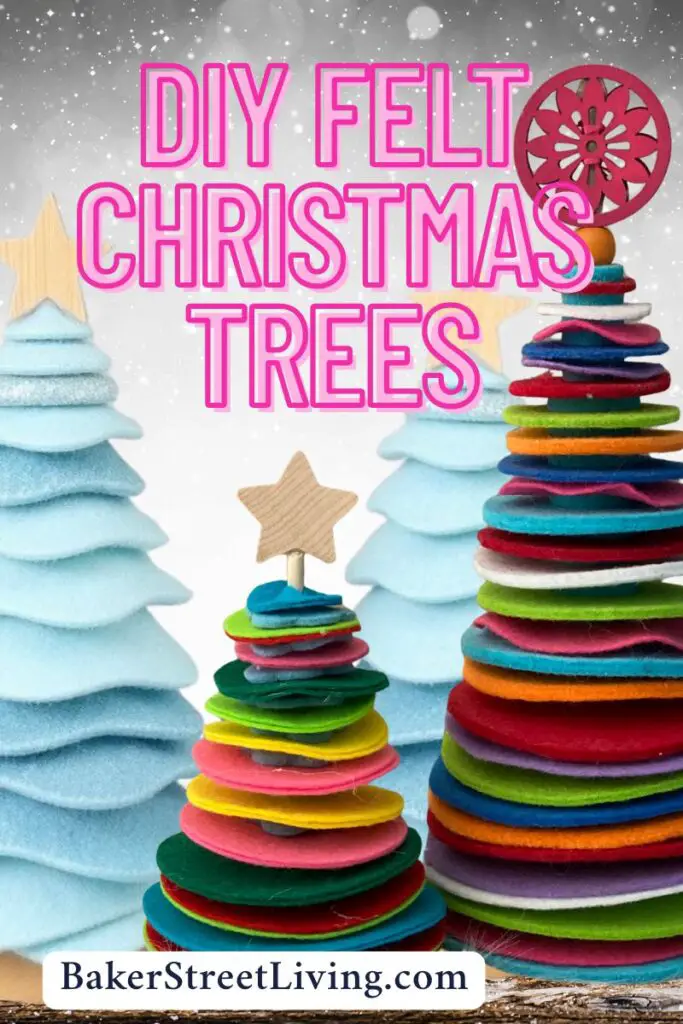
More Great Waterslide Paper Projects!
Helpful Tips and FAQs
Store your artwork in a clean, dry place. To keep the ornament in place, wrap some crumpled tissue paper around it and, if possible, place it in a shirt box or photo box.
Why did the Waterslide Paper tear?
Waterslide paper is temperamental and has to be done according to the package directions without deviating. If your waterslide paper rips or tears, it could be because:
- Improper Sealing. Most brands require 2 or 3 coats over the entire image. Make sure you get the edges and that there are no gaps. Make sure that you are moving your hand back and forth while sealing to prevent uneven spots.
- Too long drying time – I have found that if I let the sealed image dry too long, the results are not favourable. Follow the exact recommended time on the product.
- Surface is too dry – The waterslide paper is designed to slide onto the surface. Wet the entire surface with your hands, making sure it is smooth and slippery.
- Soaked too Long – Waterslide paper, when sealed properly, creates a thin membrane with your image on it. Soaking too long can cause the membrane to weaken.
- Overworking – Waterslide paper is fragile, and overworking it can cause damage and tears to the membrane. If you need to reposition the membrane, keep the surface wet and slippery to minimize damage.
Fixing rips or tears
Rips or tears cannot be fixed, but in most cases, they can be hidden, depending on the size of the tear. For small tears, try using a marker that matches the colour and fill in the area. You can also try using acrylic paint. Using paint is one of my preferred methods, as I can mix a colour to match and even create ombre and shading if needed.
If you are adding dimension to the surface or 3D effects, use mixed media to cover tears. For example, a tear on the cuff of the Grinch’s hand could be covered with a small amount of texture paste or Snö-Tex.
Alternatives to Glitter on the Ornament
Some great alternatives to using glitter include:
- Flocking – this is a beautiful, soft alternative.
- Paint – acrylic spray paint works best.
- Decoupodge – Use Modge Podge and a coloured napkin, or thin tissue.
- Fabric – Use thin fabric and decoupage onto the ornament.
Alternatives to Waterslide Paper
Using Brochure paper (very thin photo paper) is a good alternative; however, you will not get the canvas surface effect. If you don’t want to lose the canvas look, Waterslide paper is the best choice.
I hope you enjoyed and are inspired by my DIY Grinch Art. Now it’s off to the craft room for some busted canvas projects!

This website contains affiliate links. As an Amazon affiliate, I earn a small commission from qualifying purchases (at no cost to you).