
Content Created by Tracey of Baker Street Living 
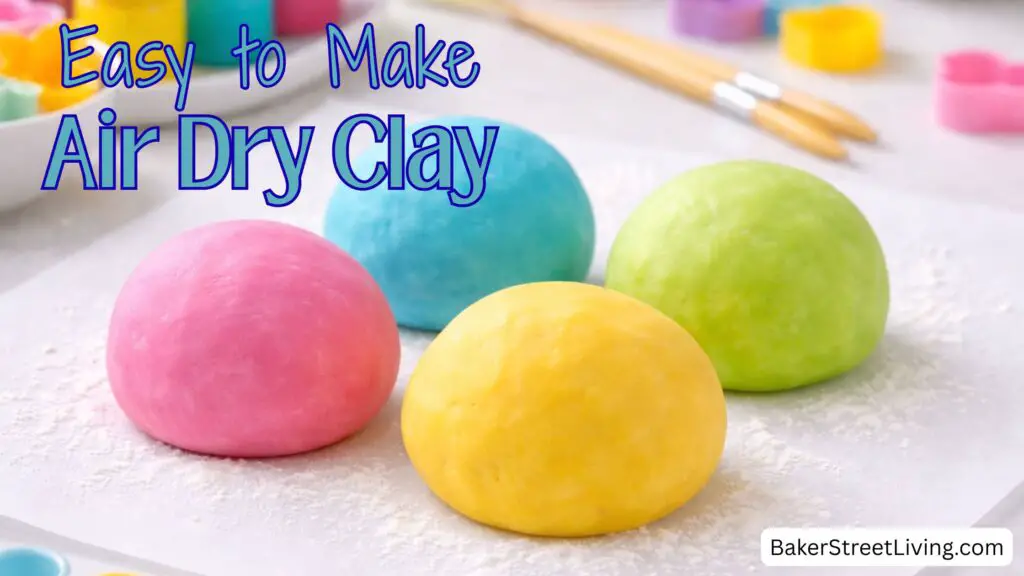
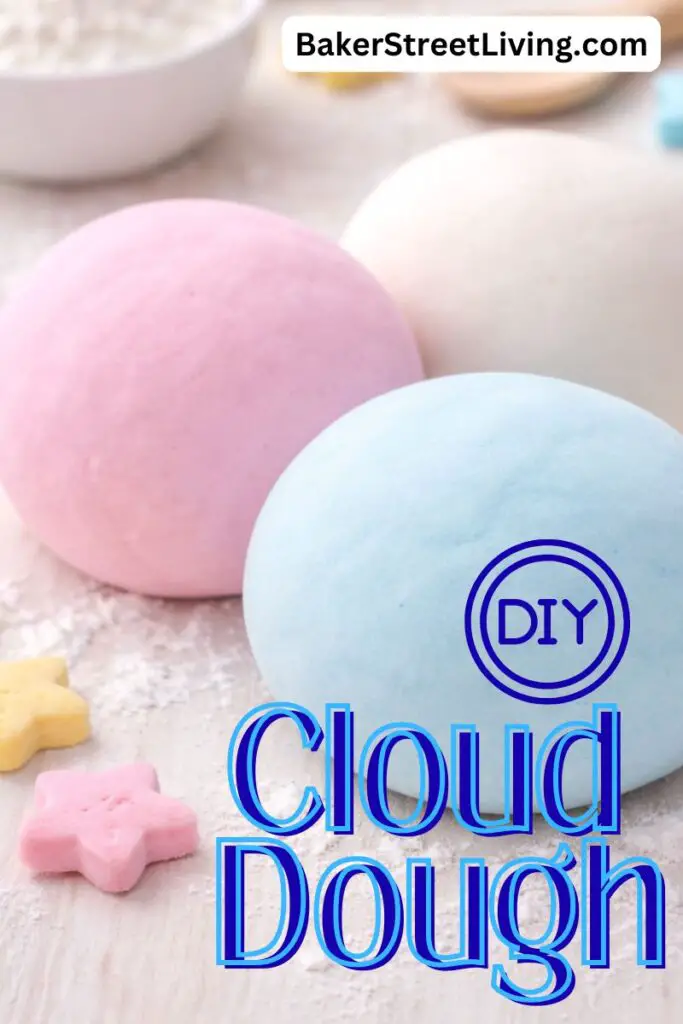
Making crafts with kids doesn’t have to be complicated or expensive. This easy DIY air dry clay recipe uses just three simple ingredients you probably already have in your kitchen. It’s soft, smooth, and perfect for little hands to shape into fun creations. Best of all, it air dries naturally, so there’s no oven required.
This homemade air dry clay is great for rainy days, classroom projects, birthday parties, or anytime creativity strikes.
What You’ll Need
This website contains affiliate links. As an Amazon affiliate, I earn a small commission from qualifying purchases (at no cost to you).
- Cornstarch
- Baking Soda
- Water
- Medium-sized saucepan
- Food Colouring (Optional)
Why Kids Love This Air Dry Clay
- Soft and easy to shape
- Safe and non-toxic ingredients
- No baking needed
- Dries hard for keepsake crafts
- Budget-friendly and mess-friendly
How to Make Air Dry Clay for Kids
Step 1: Mix the Ingredients
In a medium saucepan, combine 1 cup of baking soda, 1/2 cup of cornstarch, and 3/4 cup of water. Stir/whisk until smooth and lump-free.
Step 2: Cook the Mixture
Place the saucepan on the stove over medium-low heat. Stir constantly for about 10-12 minutes, as the mixture warms up. After a few minutes, it will thicken and start to look like thick mashed potatoes.
Step 3: Cool the Dough
Once thick, remove the pan from the heat and spoon the clay onto parchment paper or into a bowl. Let it cool completely before kids start handling it.
Step 4: Knead Until Smooth
When cool, gently knead the clay with your hands until it’s smooth and pliable. If it feels sticky, sprinkle in a little extra cornstarch. Work in as much cornstarch as needed until it is smooth and doesn’t stick to your hands.
Storing Instructions
Wrap the air dry clay tightly in plastic wrap. Eliminate as much air as possible. Place the wrapped clay into a ziploc bag (with air squeezed out) Air dry clay may last up to 10 days. If air gets in, the time will be much shorter.


How to Make Air Dry Clay
Equipment
- Medium Saucepan
Materials
- 1/2 cup Cornstarch
- 1 cup Baking Soda
- 3/4 cup Water
- Food Colouring (Optional)
Instructions
- In a medium saucepan add all ingredients. and whisk until there are no lumps.
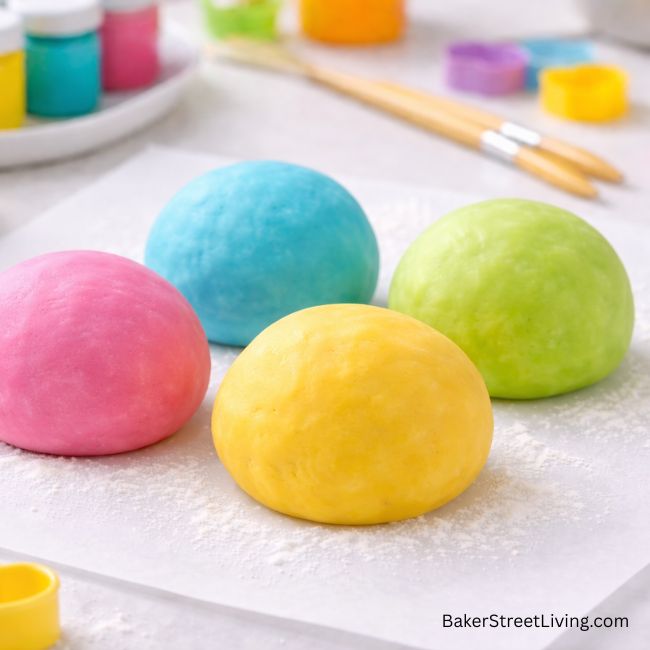
- If you want the dough to be all one colour, add drops of food colouring to the mix until you get the desired colour.
- Heat over medium heat until the mixture starts to thicken.
- Once the mixture is the conbsistency of mashed potatoes, remove it form the heat.
- If the mixture doesn't thicken up, add a little more corstarch a tablespoon at a time. (It will get thicker when cooling)
- Pour into a bowl and allow the mix to cool before handling.
- Store tightly wrapped in plastic wrap in an airtight container.
Notes
What the Kids Can Make with Air Dry Clay
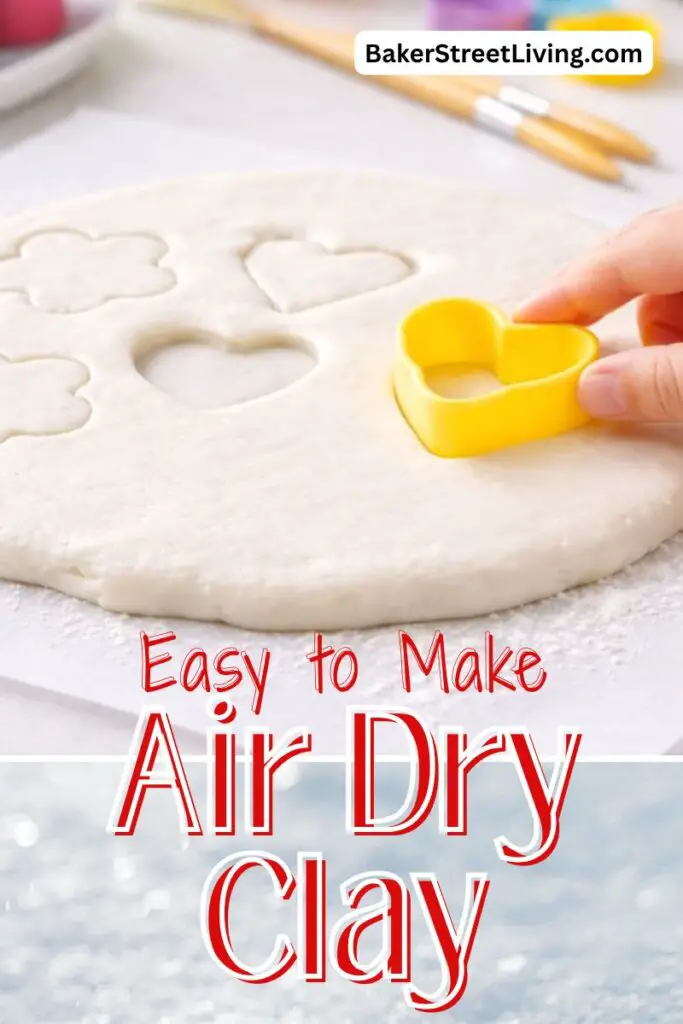
Now the fun part begins! Kids can roll, flatten, pinch, and mould the clay into:
- Animals
- Ornaments
- Handprint keepsakes
- Beads and charms
- Letters and numbers
Use cookie cutters, plastic knives, or craft tools to add details.
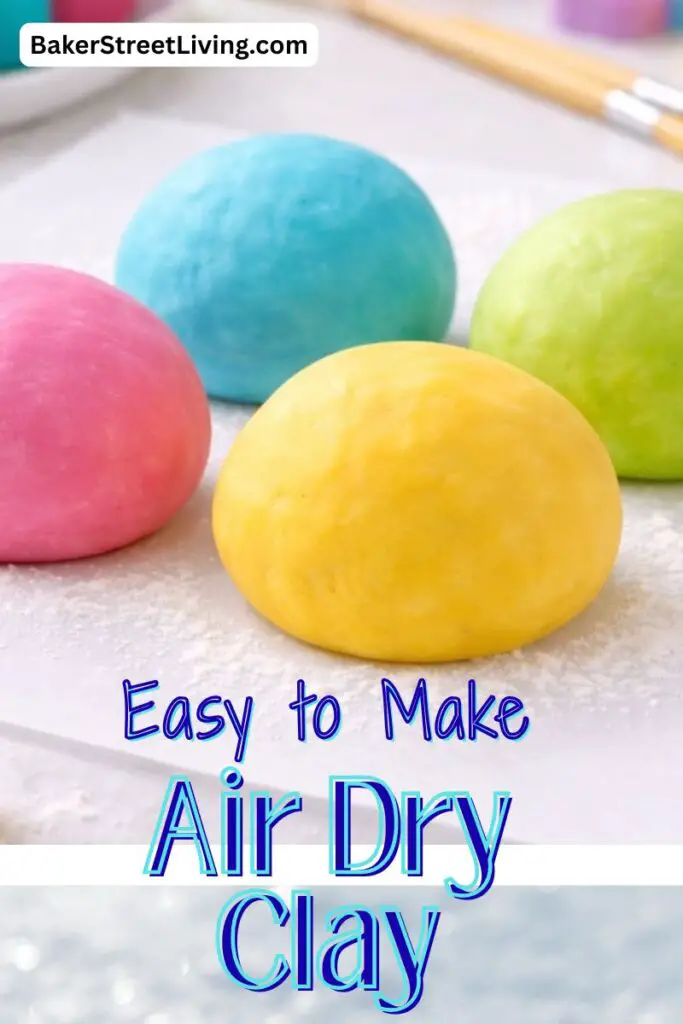
Colouring Air Dry Clay
When colouring the already made aitr dry clay, wear disposable gloves to prevent colour transfer to skin. To colour air dry clay. Add a drop or two of food colouring and knead it until well mixed in. If you want a deeper, richer colour, add more drops of colouring. Start light and add more as needed.
Marbeling Air Dry Clay
Kids love this one!
- Colour, separate pieces of clay.
- Gently twist colours together.
- Knead just a little to keep the swirl effect.
Form into beads, pendants or ornaments (candy canes, etc.) and allow to dry. Once dry, further decorate or add a coat of acrylic sealant.
Painting Air Dry Clay
Use Acrylic or Washable Paint After Drying. Perfect for adding details or painting finished projects.
Steps
- Let the clay dry completely (24–48 hours).
- Paint with acrylic or washable paints.
- Allow paint to dry fully.
- Seal with a clear craft sealer (adult step) for durability.
Great for: Ornaments, figurines, and keepsakes.
This homemade air dry clay for kids is a simple, fun way to encourage creativity without complicated steps or special supplies. Whether you’re crafting at home, in a classroom, or hosting a playdate, this recipe is sure to become a favourite go-to activity.

This website contains affiliate links. As an Amazon affiliate, I earn a small commission from qualifying purchases (at no cost to you).