
Content Created by Tracey of Baker Street Living 
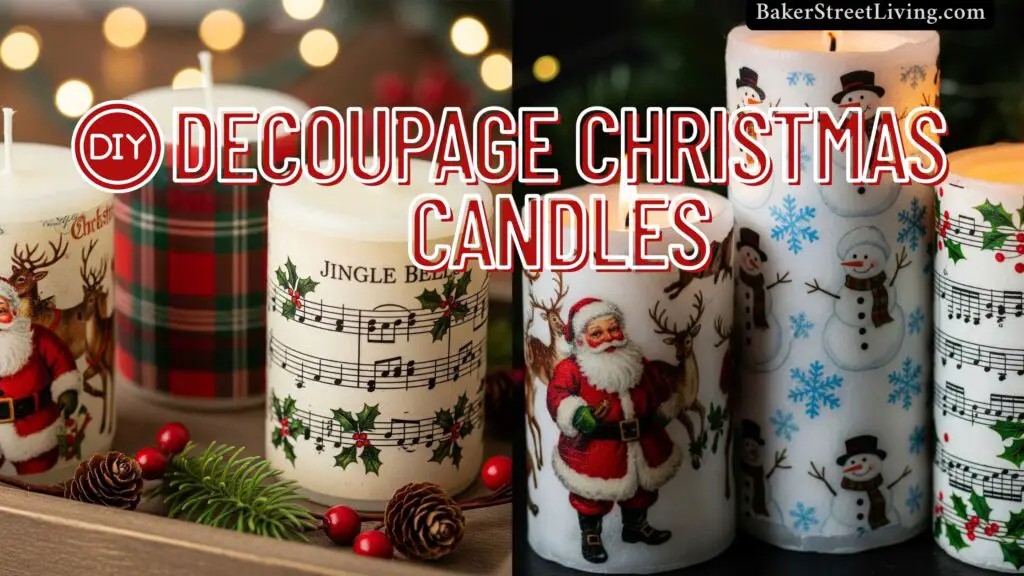
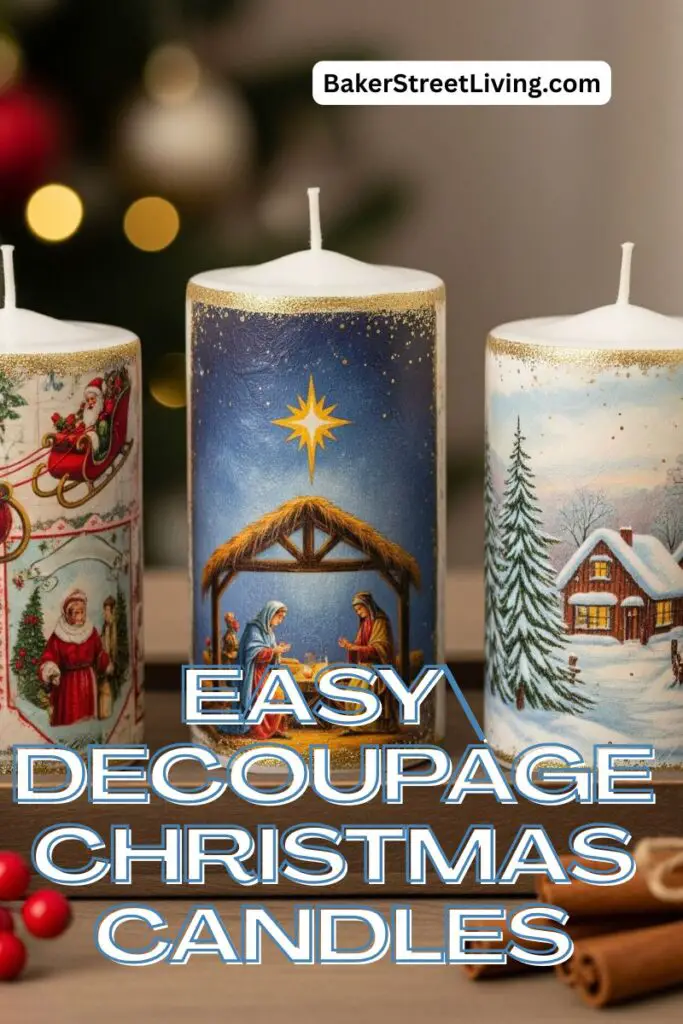
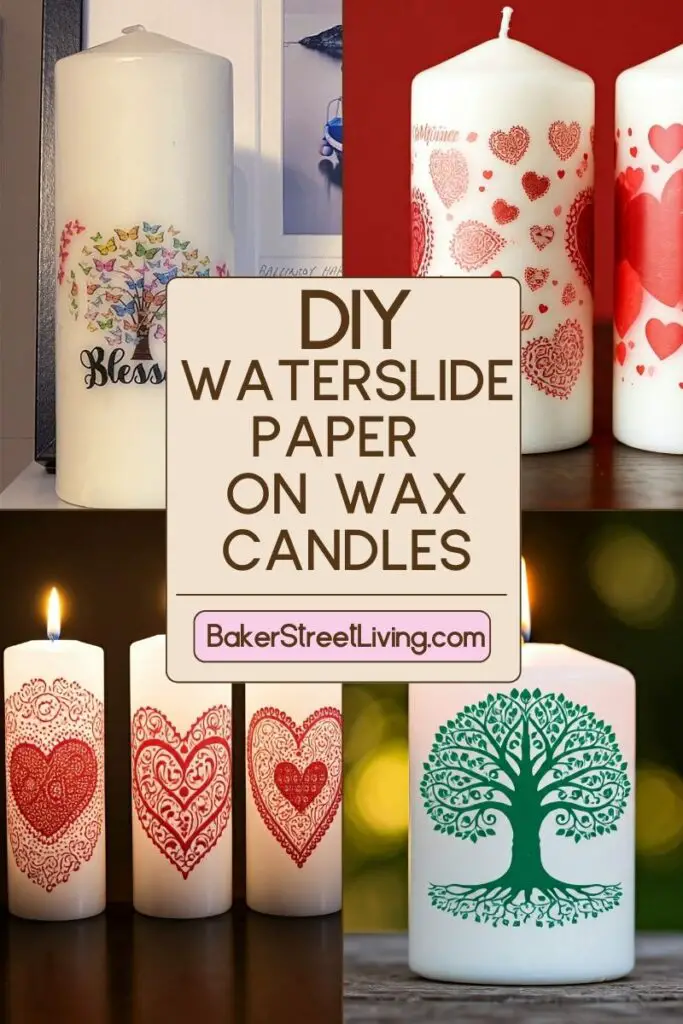
Looking for a simple yet beautiful way to add a personal touch to your holiday decor? Decoupage Christmas candles are an easy and affordable DIY project that brings festive charm to any space. Whether you want to create a cozy tablescape, a charming mantel display, or handmade gifts, this craft is a wonderful way to celebrate the season. I don’t know many people who don’t like candles, but sometimes it is hard to find just the right design, and this may be the perfect solution.
Supplies List
This website contains affiliate links. As an Amazon affiliate, I earn a small commission from qualifying purchases (at no cost to you).
- Pillar candle(s)
- Christmas Napkins (see notes below)
- Parchment Paper
- Scissors
- Embossing Gun
- Heat-resistant gloves
- Smoothing tool (optional)
How to Make Decoupage Christmas Candles
Step by Step Instructions
Step 1
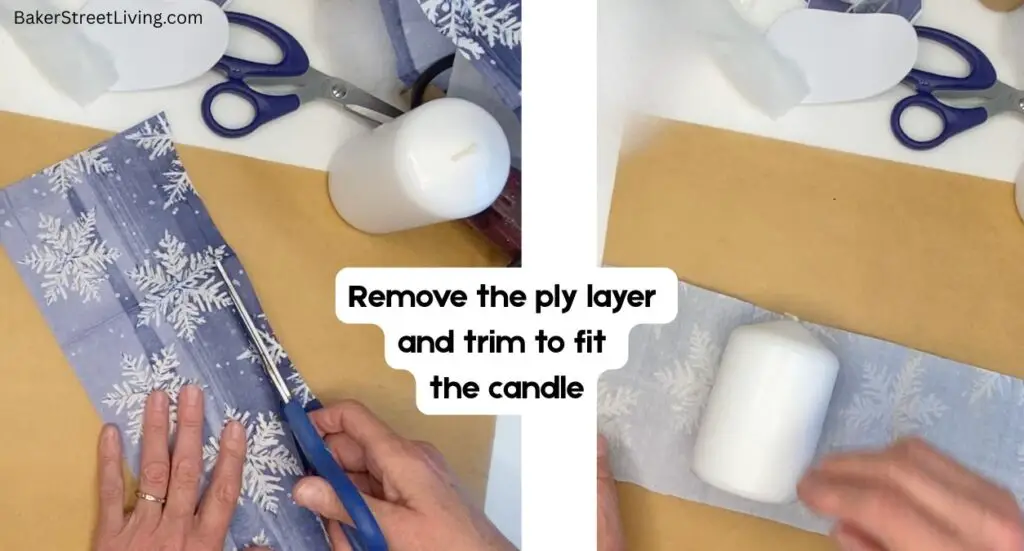
Separate the napkins’ ply. Keep the thin top layer with the printed design. Some napkins will have 2-ply, but thicker ones may be 3-ply. Be sure to remove and keep only the top layer.
Using a household iron, press the top ply to remove any wrinkles.
Step 2
Cut around the designs you want to use, snowflakes, reindeer, trees, or even script. You can go for a collage look or place a single large image on each candle. Before cutting, ensure the pattern is oriented in the correct direction. This is especially important if the napkin has a scene, script or image on it that has a defined bottom or top. (such as a nativity scene, holly or candy canes, etc…) If you want a more blended look, you can tear the edges of the napkin.
Step 3
Wipe off the candle to remove any debris or dust. Even if you don’t see anything, little bits will show up under the design. I usually use a lint-free cloth and rubbing alcohol.
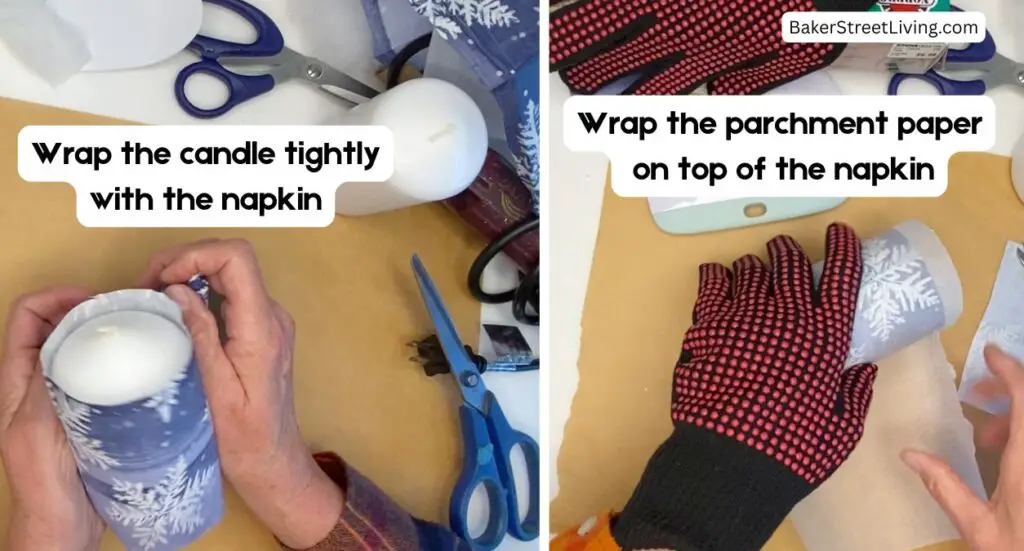
Line up and place the napkin onto the surface of the candle.
Cut a piece of parchment paper and wrap it around the candle.
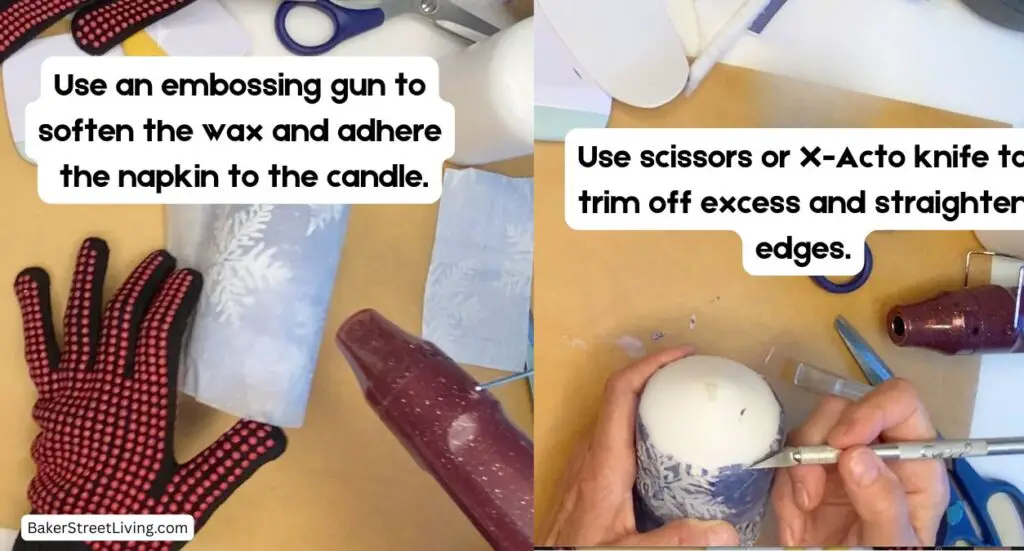
While wearing heat-resistant gloves, continue applying heat over the napkin, adhering it to the surface of the candle. Smooth out the napkin as needed with a smoothing tool or your fingers. Keep moving to prevent too much wax from melting.
Heat the bottom of the candle, fold under the excess and press into the wax to make it flat.
Allow the candle to cool.
Step 4
Trim any excess napkin bits. Generally, scissors will work well, but for tight spots or to straighten crooked lines, use an X-Acto Knife.
Rub the surface with parchment paper to smooth it out.
Add a printed label to the bottom of the candle if desired. This is a great step, especially if you are making these decoupage candles for mom for Mother’s Day or a birthday. The sticker is the final professional touch to your special gift.
Tips for Success
Choosing candles
Choose white or very light coloured candles. Look for a smooth surface. Rough or textured surfaces can appear messy, and it can be challenging to achieve a smooth and even pattern.
Choosing Napkins
Choose napkins with a background similar to your candle. Darker backgrounds have a bright, visible image and are suitable for dark coloured candles. Often, the pattern disappears once it is adhered to the side of the candle if it is not already on a dark background. The wax can make the colours darker, which may not give you the look you are going for.
The size of your candle will dictate the napkin size. Many shorter pillar candles are perfect for cocktail-sized napkins. Large candles may require full-sized dinner napkins.
Doing this project with just a household iron
If you don’t have an embossing gun, you can use a hair dryer. You could also use a household iron, but this method can flatten the sides of the candle. Apply the napkin to the candle, covering it with parchment paper. Go over the surface with a household iron or mini heat press at a low temperature. Always keep the iron moving and avoid allowing the wax to melt too much, as this can cause the surface of the candle to distort. Always use parchment over the design to protect your iron.
Burning your Decoupage Candles
As with any candle, don’t burn unattended. If burning these candles, be aware that the napkin is flammable. I’ve never had a problem with them, to be honest, I don’t like to burn my decorative candles.
For the safest option, use LED flameless candles, which have a wax coating on the outside; you’ll still get the glow without the worry.
My candle is done, but it looks rough. What do I do?
Cut a piece of wax paper and wrap it around the candle, shiny side down. Gently apply heat using your embossing gun. The wax from the paper should help smooth out the surface. While warm, smooth out with a folded piece of parchment or your fingers.
Adding Embellishments
I like to add a little glitter to my decoupage Christmas candles. This is easy to do. Make sure that the Mod Podge napkin is fully dry before adding glitter. Use a tin paintbrush and add lines or details in Mod Podge, and then sprinkle with fine or extra-fine glitter. Shake off the excess and let it dry.


This website contains affiliate links. As an Amazon affiliate, I earn a small commission from qualifying purchases (at no cost to you).