
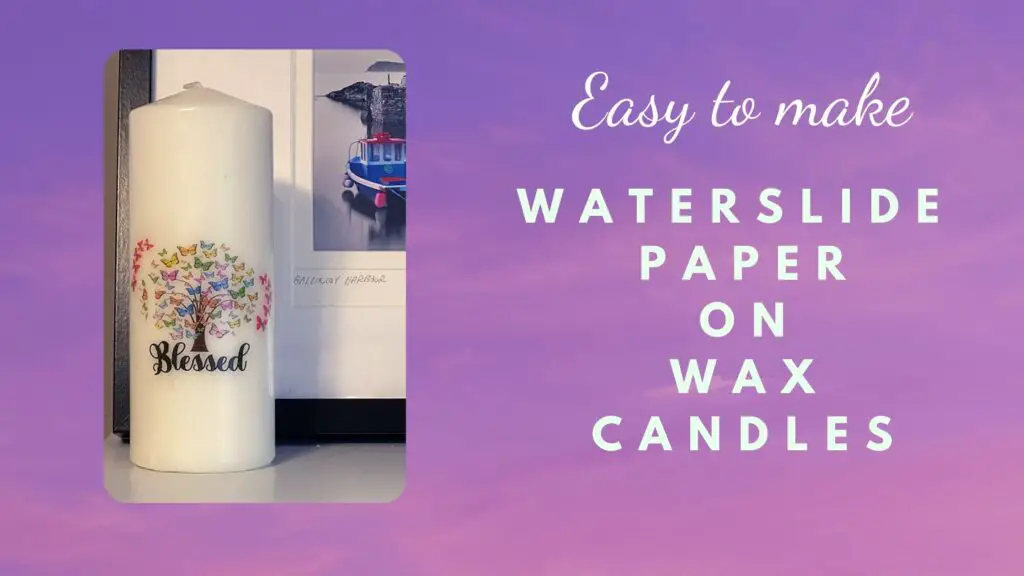
Custom candles make an excellent gift idea. This easy DIY using Waterslide paper on candles is the perfect way to easily make personalized candles for gifting or for keeping for yourself. These are perfect decor ideas for a wedding, with a custom decal on each candle.
What is waterslide paper?
This website contains affiliate links. As an Amazon affiliate, I earn a small commission from qualifying purchases (at no cost to you).
Waterslide paper is a water transfer paper. You can print your own custom image and/or text onto the waterslide paper and transfer it, after sealing, onto a suitable surface.
Any image that you can print can be transferred to a suitable surface. (High-quality images yield the best results)
Waterslide paper feels and looks similar to photo paper. Waterslide papers are available for both inkjet and laser printers.
What surfaces can I use waterslide paper on?
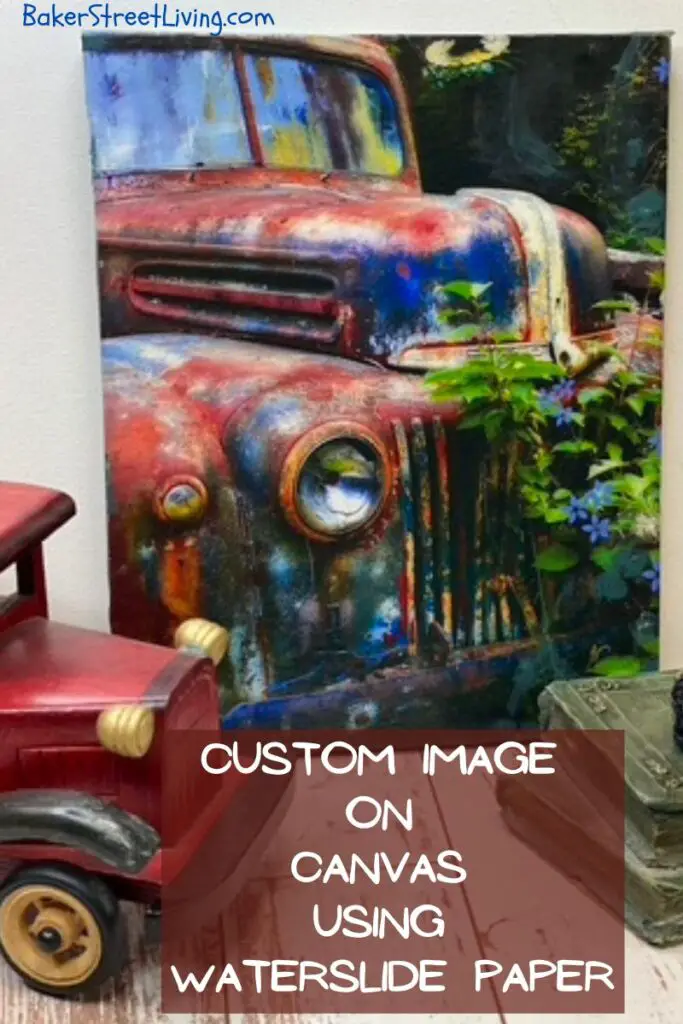
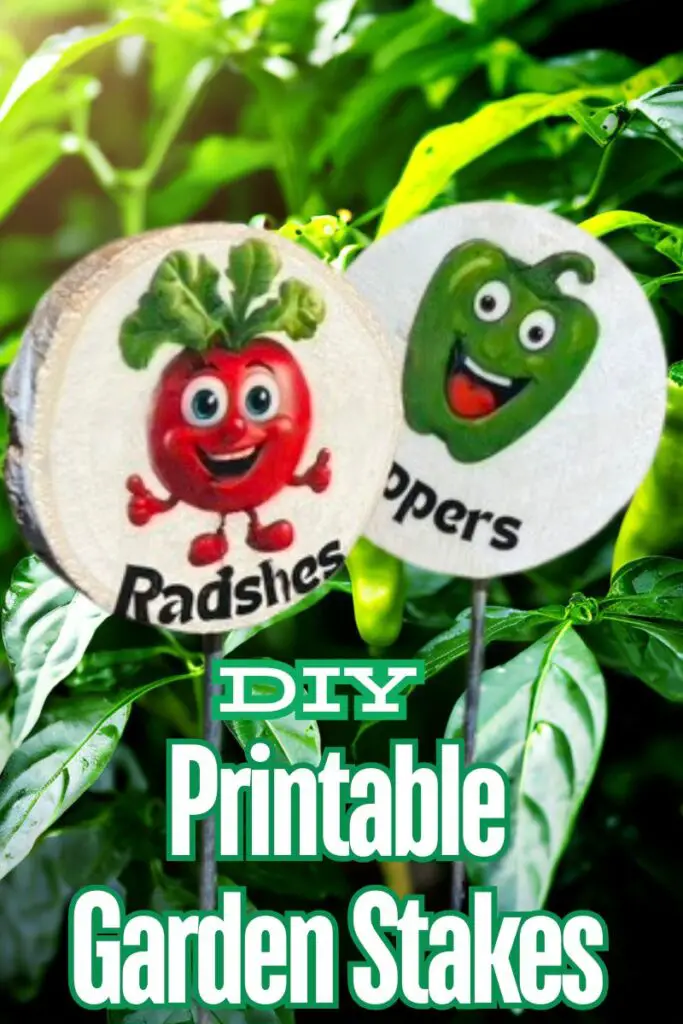
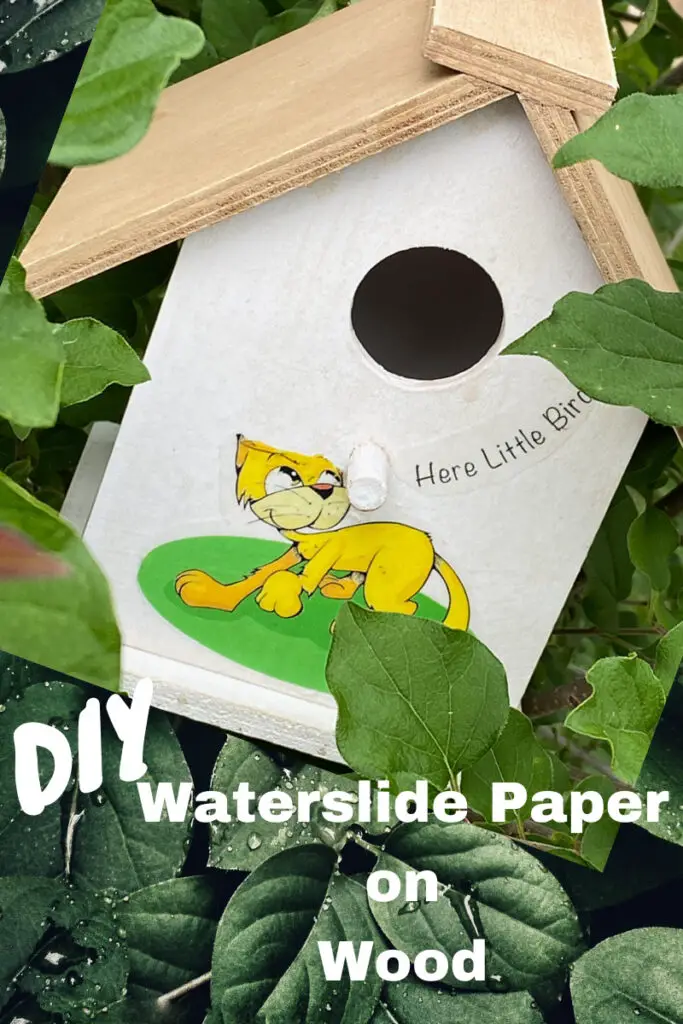
Waterslide paper can be transferred onto many surfaces, as long as they are smooth. Some popular surfaces, for waterslide paper, are glass, ceramics, mirrors, stones, galvanized metal, smooth plastic surfaces, wax candles, smooth wood, canvas, fingernails, some book covers and even some shoes.
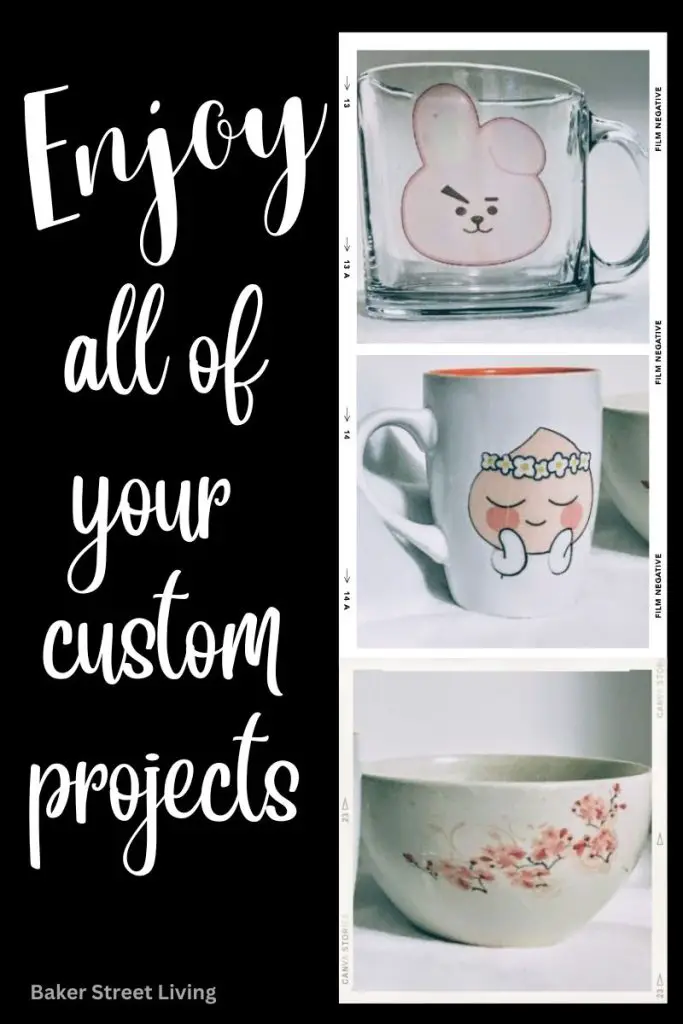
Some common waterslide paper projects that you’ll find are mugs, mason jars, water bottles, tumblers, canisters, planters, watering cans, wine glasses, party decor, jewellery and serving trays
What types of waterslide paper are available?
Waterslide paper is available in two colours, clear and white. It is available for inkjet or laser printers in both colours.
Clear works best on white surfaces or light-coloured surfaces.
White works best on dark surfaces but does have a white background..
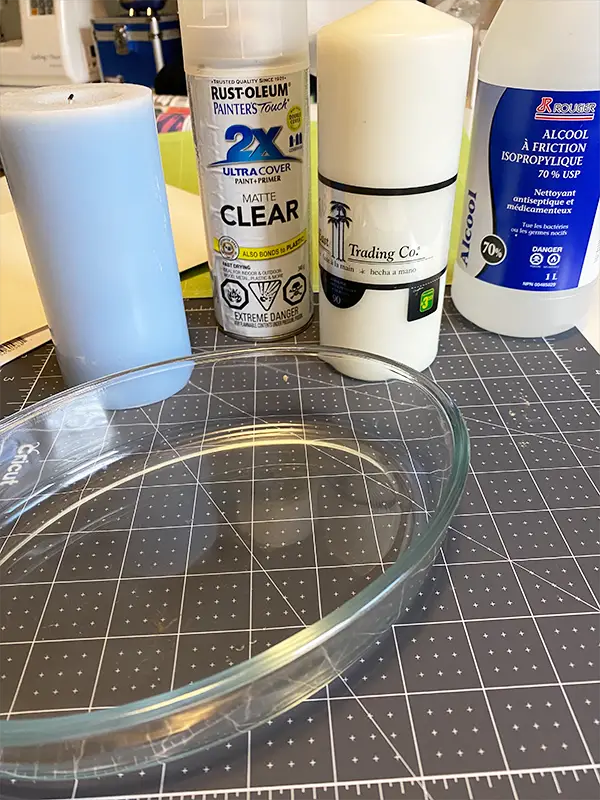
Supplies List
- Waterslide paper – clear or
- waterslide paper – white
- printer
- wax pillar candle
- shallow dish
- rubbing alcohol
- lint-free cloth
- hairdryer
- scissors
Additional Supplies are needed if using a Cutting machine. (Cricut)
Selecting the appropriate waterslide paper
There are two things to consider when selecting the right waterslide paper for you.
Firstly, You need to choose the correct type for your printer. Waterslide paper is available for both inkjet and laser printers. Make sure you get the right one.
The second and final thing you need to consider is colour. If your wax candle is white or light in colour, clear waterslide paper is the best option.
If your wax candle is a darker colour, then white may be the better option for you. The white waterslide paper will have a white background in whatever you print. The waterslide paper with the white background works well on a cutting machine, where intricate cuts can be made to remove the background, but it can be difficult to slide out the background paper when wet.
Steps to making our design with waterslide paper on wax candles
Enter your password for our library and get the free design HERE.
If you don’t have a password, click HERE and then enter your free resource library password
Download the design
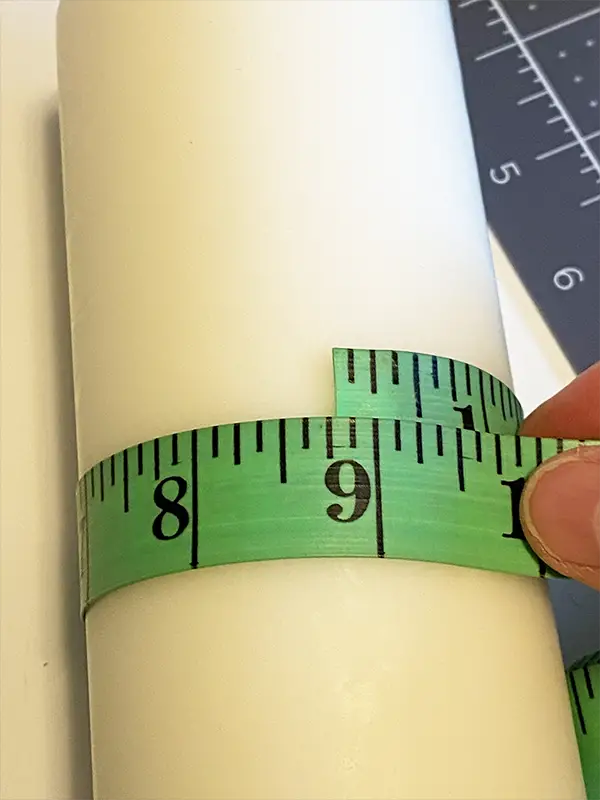
MEASURE
Measure your candle and decide the size you want for the design.
Print the design onto the waterslide paper. The printed design would be printed onto the shiny side of the waterslide paper. Ensure you have loaded the paper correctly into your printer.
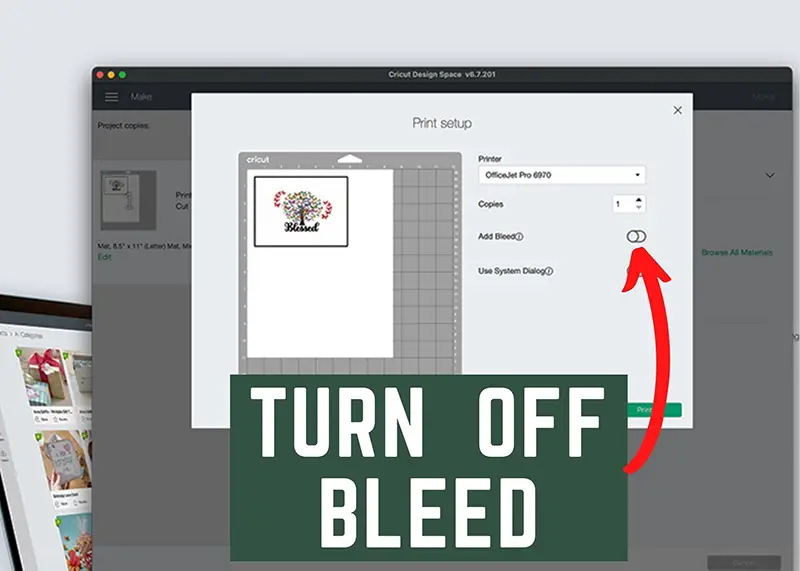
When sending to your printer – if you have a bleed or no bleed option -Set the printer to No Bleed.

Using a pair of scissors, trim around the design.

Check out our handy guide on Everything you need to know about using waterslide paper
Cutting Machine Steps
If using a Cricut cutting machine, follow the following steps
Upload your design to Cricut Design Space
Select ‘Print and Cut”
Load your design onto the design space canvas.
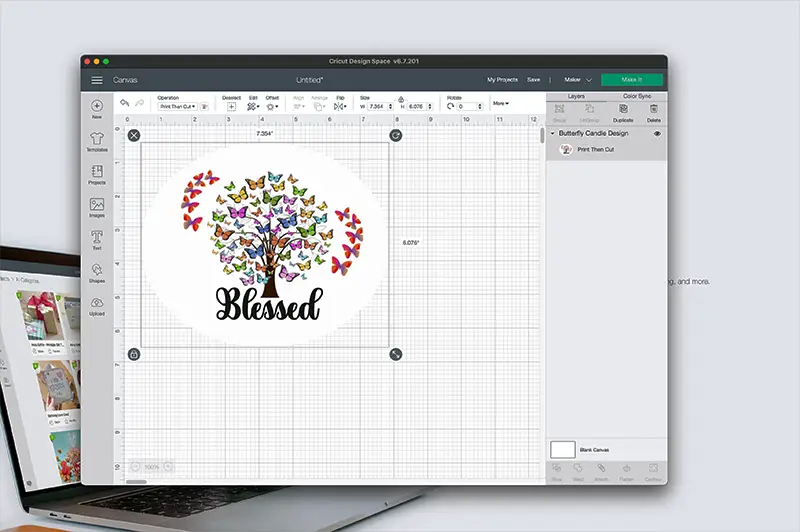
Resize the design to fit the measurements of your candle
Select “Make It”.
Make sure you turn off Bleed ( keeps a nice clean line on your text)
Send to printer.
Adhere to a standard grip cutting mat.
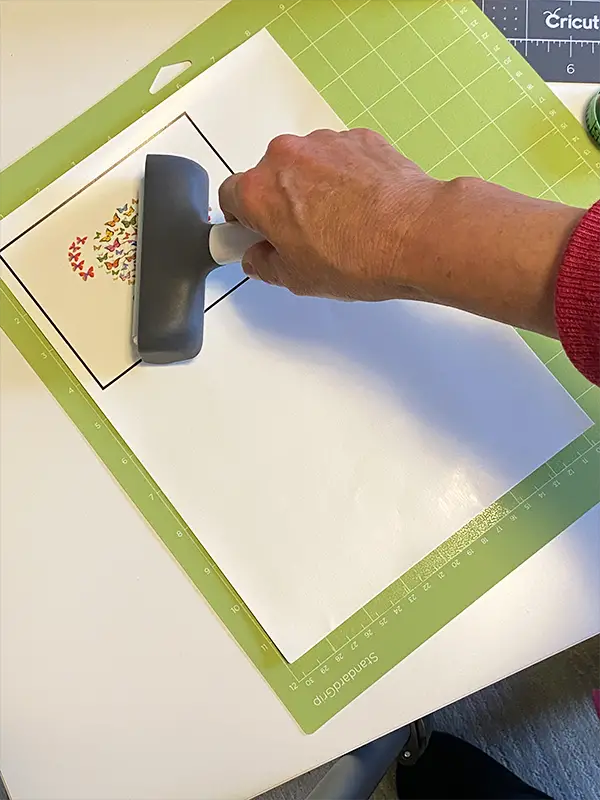
Load your mat into your cutting machine.
On the cutting mat screen, choose ‘Premium Vinyl for the selection of the material being cut.
Remove your cut design from the cutting mat.

Remaining steps for both the cutting machine and scissors
SEAL YOUR WATERSLIDE PAPER
Using a small piece of removable adhesive, such as a Zot or sticky tack, stick the cut waterslide paper into the bottom of a clean cardboard box.
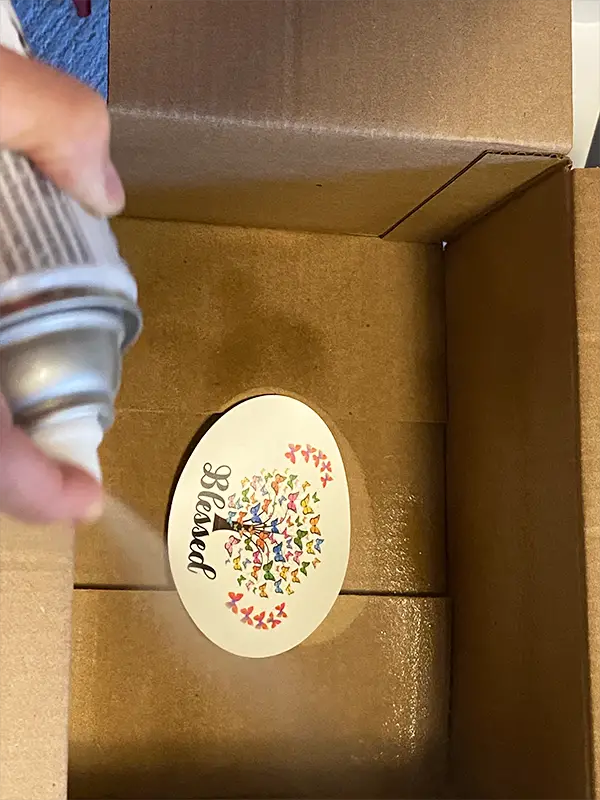
Spray the waterslide paper with 3 coats of sealant (or the number of coats your product requires). allowing to dry thoroughly in between coats. Sealing locks the ink onto the paper so that the ink won’t run when soaked.
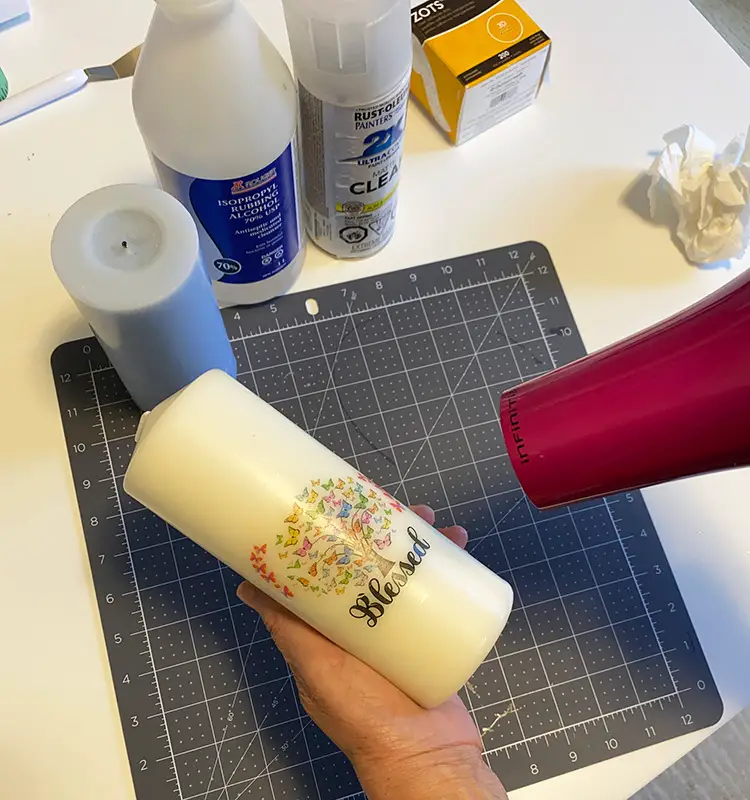
PREPARE CANDLE
Prepare the candle for the design by wiping the sides with a clean, lint-free cloth and rubbing alcohol.
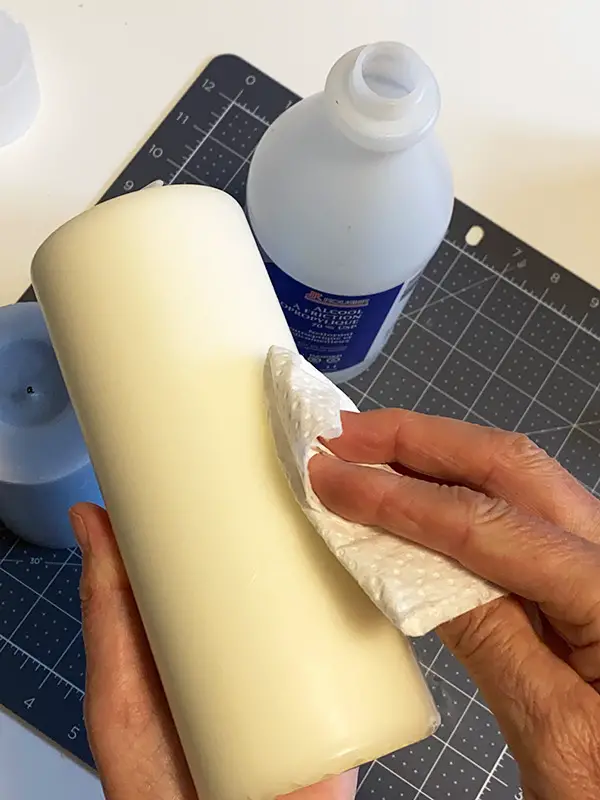
When applying waterslide paper on candles, be sure to check the candle for colour-fastness. Occasionally, a candle that has a colour coating on the outside may smear with rubbing alcohol. If you are not sure about the coating, do a small test on the bottom of the candle before using rubbing alcohol.
For best results, when using coloured candles, use candles that are fully dyed and not ones that have a thin coat of colour on the surface.
Let the candle dry.
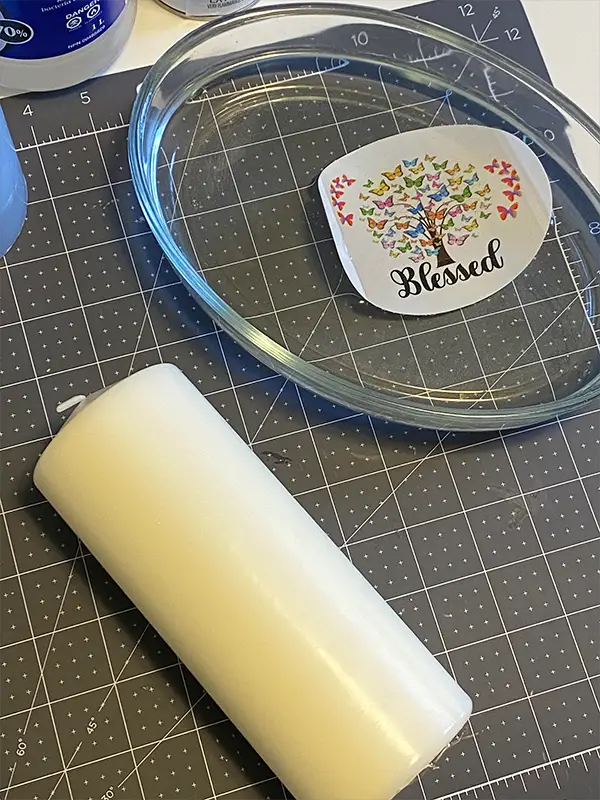
PREPARE THE WATER
In a shallow dish, large enough for your design, fill it with lukewarm or room-temperature water.
Cold water extends the length of time that the adhesive takes to activate, and hot water can make it activate too fast.
PLACE WATERSLIDE PAPER IN THE WATER
Soak the Waterslide paper according to your product instructions, usually 30 to 60 seconds.
TEST THE WATERSLIDE PAPER
Test the paper between your fingers, along the edge of the decal, to see if the backing can slide off. Do not slide it off, this is just to check it to see if it is ready to be applied. If it does not move easily, wait a few more seconds.
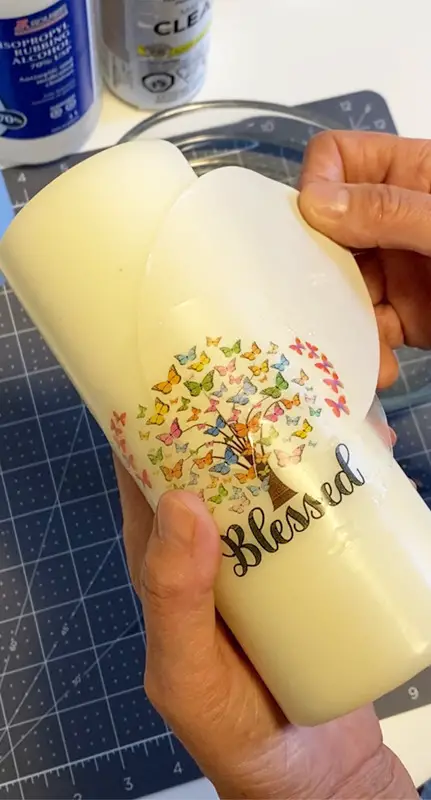
APPLY WATERSLIDE PAPER ONTO THE CANDLE SURFACE
Position the waterslide paper onto the candle in the spot where you’d like it to be. Gently slide out the backing paper, while holding the top layer in place. The backing should slide out from under the decal.
SEALING WATERSLIDE PAPER ON CANDLES
When sealing waterslide paper on candles, use a hairdryer on medium to high heat. Be sure to move the heat constantly and do not melt the candle. Apply heat for about 5 – 10 seconds.
Waterslide paper is a very versatile, easy-to-use product. For more information on how to use waterslide Paper on other surfaces, check our Complete guide to using Waterslide Paper


Disclaimer – this post contains affiliate links. We receive a small commission on purchases made through our links. Thank you for your support.