
Content Created by Tracey of Baker Street Living 
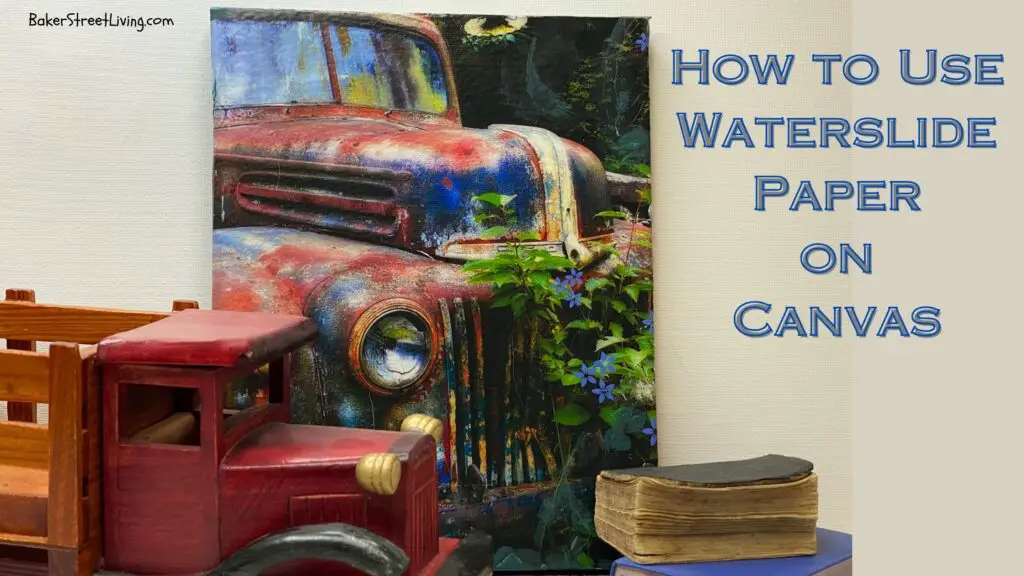
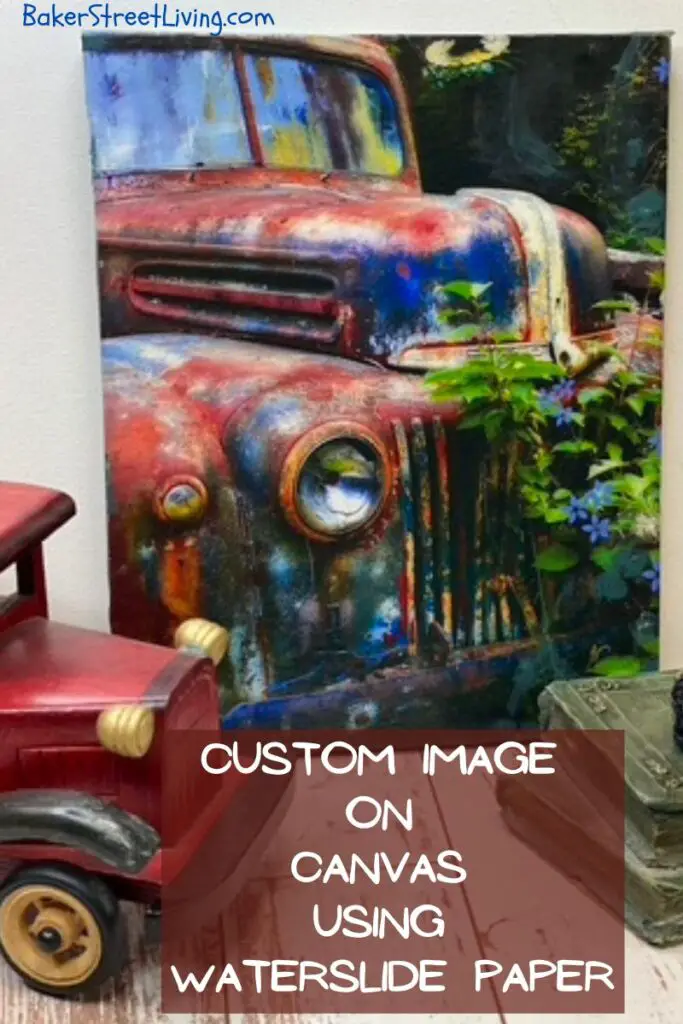
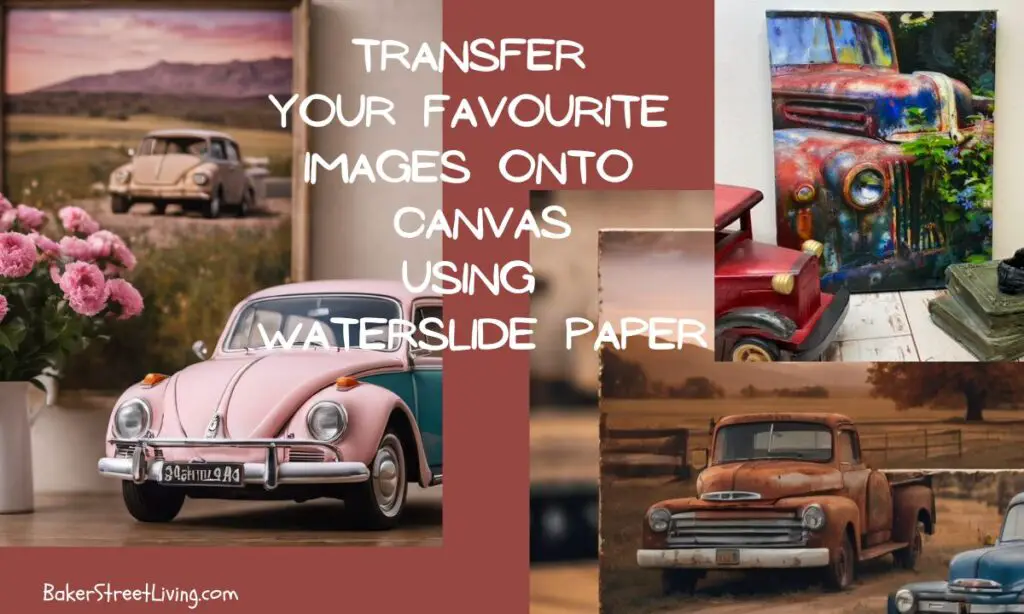
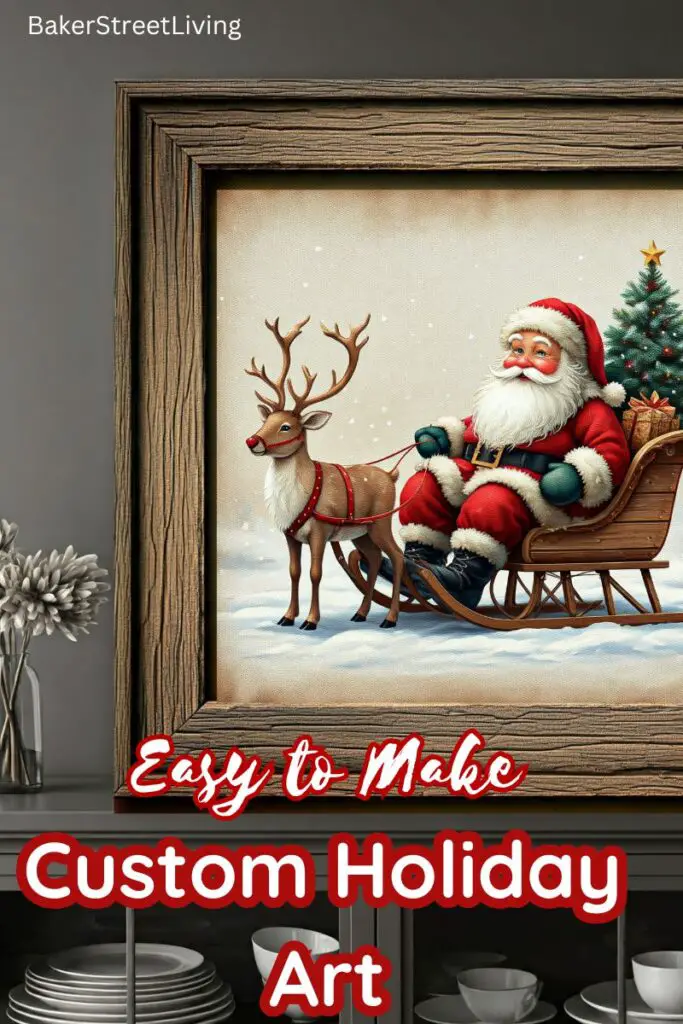
If you haven’t guessed by now, we love waterslide paper. It can be used on many surfaces, such as glass, ceramics, wax candles, wood, and even canvas. The creativity options are endless when you use Waterslide Paper. In this tutorial, we will show you how to use it on canvas and make your own custom artwork.
All of the images on canvas shown in this tutorial are available for your personal use in our free resource library.
How to Use Waterslide Paper on Canvas – The Video
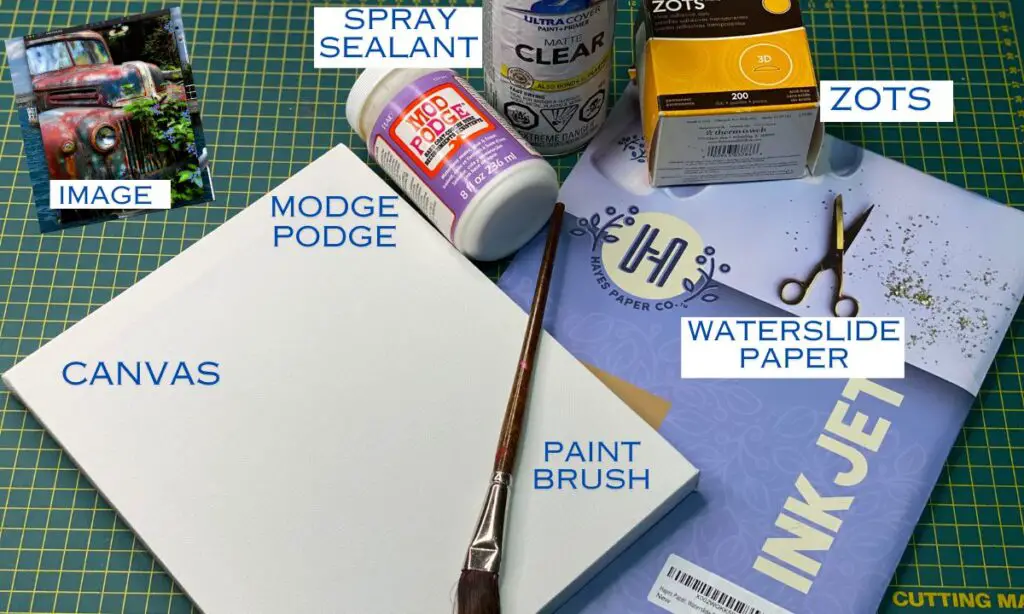
Supplies List
This website contains affiliate links. As an Amazon affiliate, I earn a small commission from qualifying purchases (at no cost to you).
- Waterslide paper
- Canvas – Stretched or a board
- Scissors or cutting machine
- Printer – Inkjet or laser
- Mod Podge
- Clear Sealant Spray
- zots – glue dots (optional)
- cardboard Box ( for use as a spray booth) that is larger than your image
- dish to soak your image – will need to be bigger than the image
- Spray Sealant for Sealing Images on Paper
- Spray bottle for spritzing water – I am using the Ranger Mini Mister Bottle
Helpful Tips and FAQs
What is Waterslide Paper?
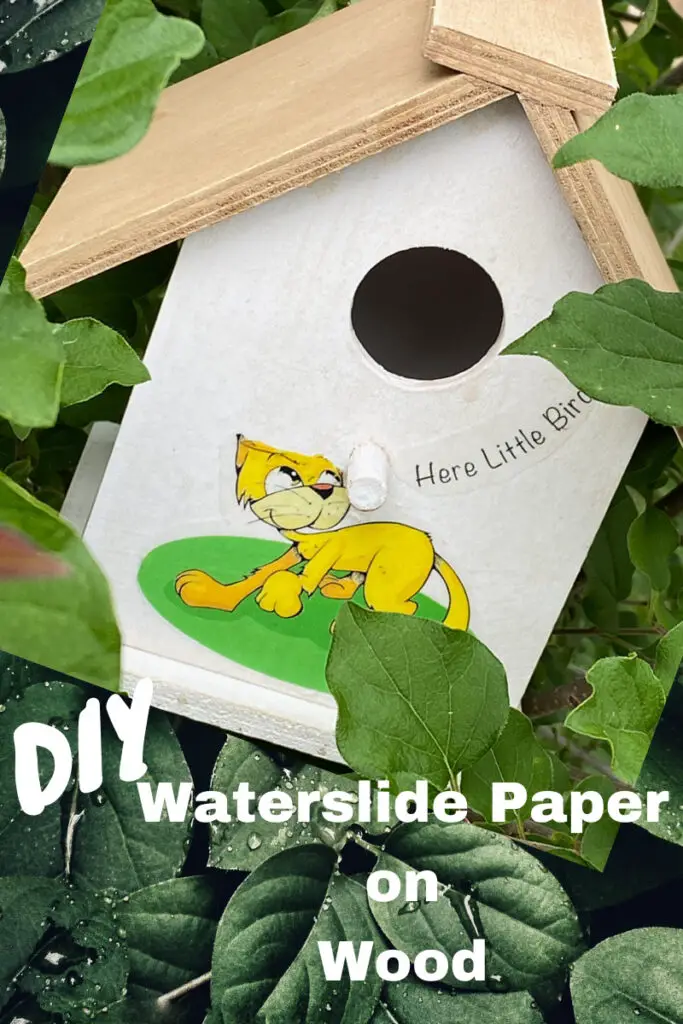
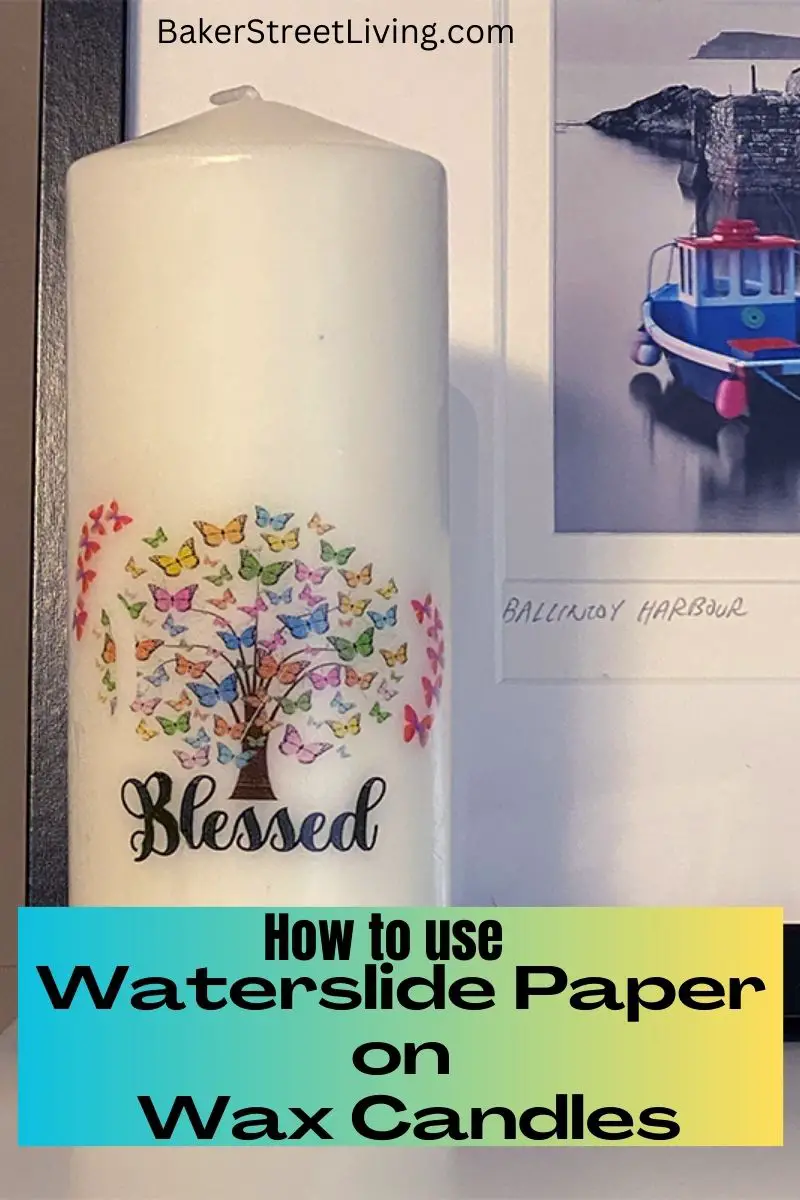
In a nutshell, Waterslide paper is an image transfer paper. It is versatile and can be used on many surfaces. I have used it on candles, wood, glass and more. You can use any image with waterslide paper. It is available in translucent and white. The decision on which one you use will depend on the surface and the desired look.
Can I make a piece of art bigger than the waterslide paper?
Yes, you can. We are working on a project where you section your pieces and join them up in the final piece. This is a great way to make large artwork. Watch for our upcoming post to learn how!
What type of waterslide paper is best for canvas?
The two choices you have when choosing waterslide paper are printer type and background colour. Choose waterslide paper that is suitable for your printer, either laser or inkjet.
When choosing a paper colour, there are a couple of considerations. The first is the background colour. If you have painted the canvas and the background will be dark, you will need to use white waterslide paper. Using translucent paper will result in your image being lost in the background. If the canvas is not painted or is painted in a light colour, you can use either white or translucent.
When would I use translucent waterslide paper on a dark background?
There is one occasion that I recommend using translucent on a dark background. This is a great way to lay out a template for painting on or adding a design that you will be adding texture or other media, paint, glitter, papier mache, etc… For example, If you’d like to make a scenic painting, with a dark background, you could print the design on translucent paper in a lighter colour ink. You would apply the waterslide paper to the surface of the canvas. You can see the design, but it is not overbearing. You can now apply the media (paint etc) over the design. Since the design was not printed on white waterslide paper, the background of your p[paper will not stand out. The result is a more natural-looking painting.
Why use Zots?
This is an optional step. When you are applying the spray sealant to your artwork, the spray can cause the paper to move. Using a removable adhesive will prevent the paper from moving. Any removable adhesive will work, such as sticky tack or other brands. It is especially important when spraying small pieces of Waterslide paper.
Where to get free images for making custom artwork.
If you choose images for your personal use, Pixabay.com, Vecteezy.com, and Unsplash.com are great resources.
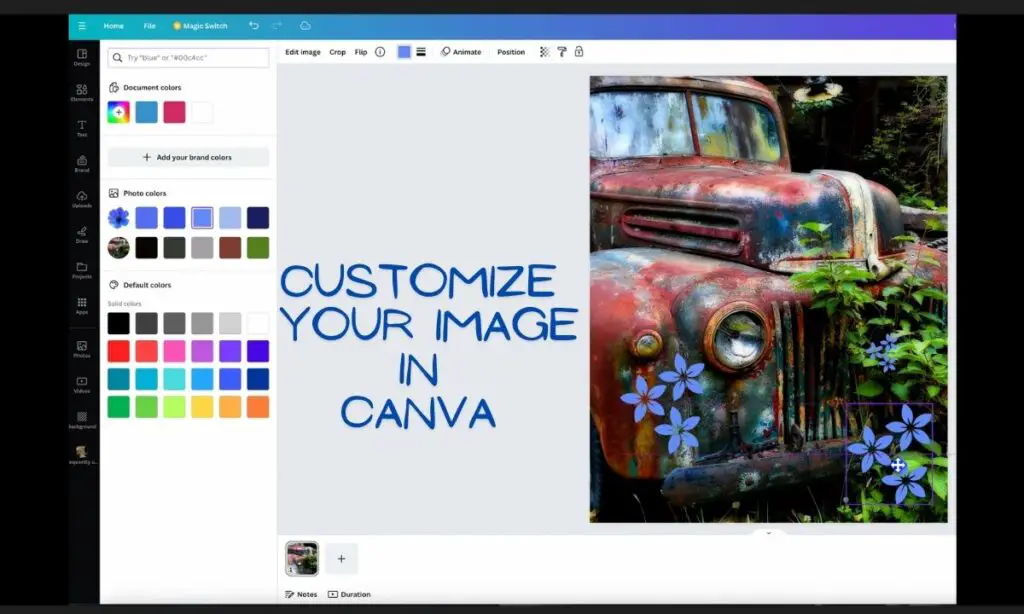
Upload your own images, photos or downloaded images into Canva.com and add free graphics.
Shutterstock.com offers free images, but it is only a free trial.
For animated images, try websites such as Clipart.com. or freepik.com or create your own with free AI image-generating sites, such as Gencraft.com
Many other sites offer the use of free images. Always make sure that you are complying with the terms and conditions. Most allow for personal use only.

How to Prepare the Canvas for Waterslide Paper.
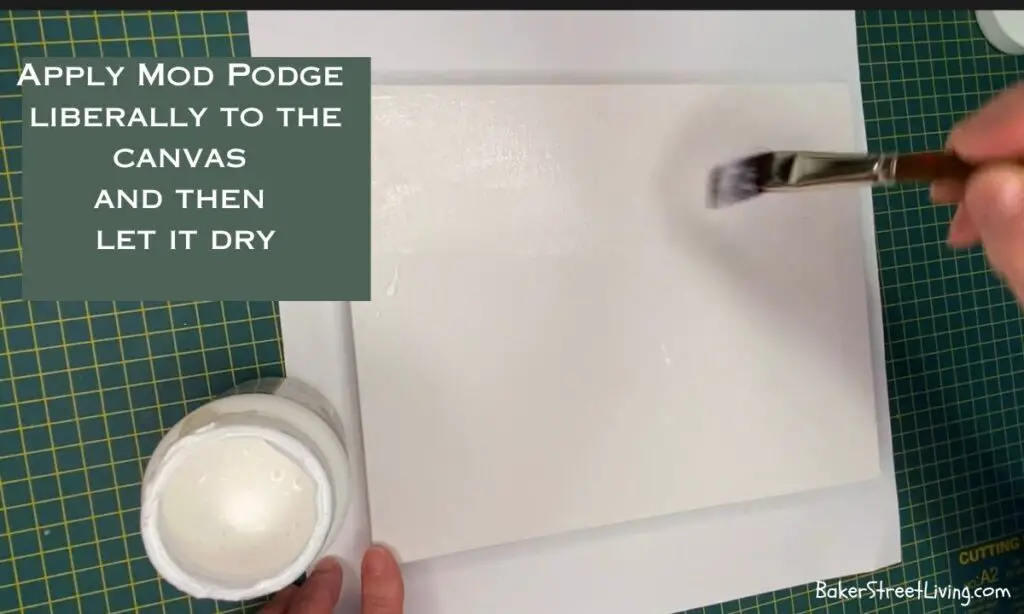
Some people say you don’t need to do anything to the surface, but I disagree. Waterslide paper works best when it can slide over the surface. An off-the-shelf canvas is usually covered in gesso. Gesso is not a smooth, slippery surface. I get the best results when I apply at least one layer of Mod Podge clear gloss to the surface. The Mod Podge makes the surface smoother, resulting in making it easier to slide the paper onto the surface. This also makes repositioning your image easier.
IMPORTANT NOTE – If you are going to wrap your image around the sides of the canvas, be sure to add Mod Podge to all edges. If you are not going to wrap your image around the sides, you can paint the sides with an accent colour if you don’t want the white sides.
How to Use Waterslide Paper on Canvas – Step-by-Step
1 – Paint the background in your desired colour. You may need to add a second coat if using a dark colour. Allow to dry.
2 – Apply one coat of Mod Podge liberally to the surface of the canvas.
3 – Select your image and resize it according to the size of your canvas.
4 – Print your image onto the waterslide paper. Let the ink dry before proceeding to the next step.
5 – Trim around the image if desired.
6 – Apply a Zot or two in the cardboard box. Do not press hard, as they can be hard to remove.
7 – In a well-ventilated area, apply three coats of spray sealant (or whatever the package recommends) allowing the spray to dry in between coats. If your waterslide paper products provide different instructions, follow the product instructions.
8 – Remove the zots and check your design for placement onto the canvas.
9 – Fill your dish with enough warm water to cover the image.
10 – When you are ready to apply the image to the canvas, soak the image for the time specified on the package instructions. (usually 3- to 60 seconds)
11 – Test the corner of the image to see if the backer paper is released from the image. Soak it for a few more seconds if it doesn’t easily slide.
12 – Spritz the canvas with a little water to dampen the surface.
13 – Place the image onto the canvas and position it where you want it.
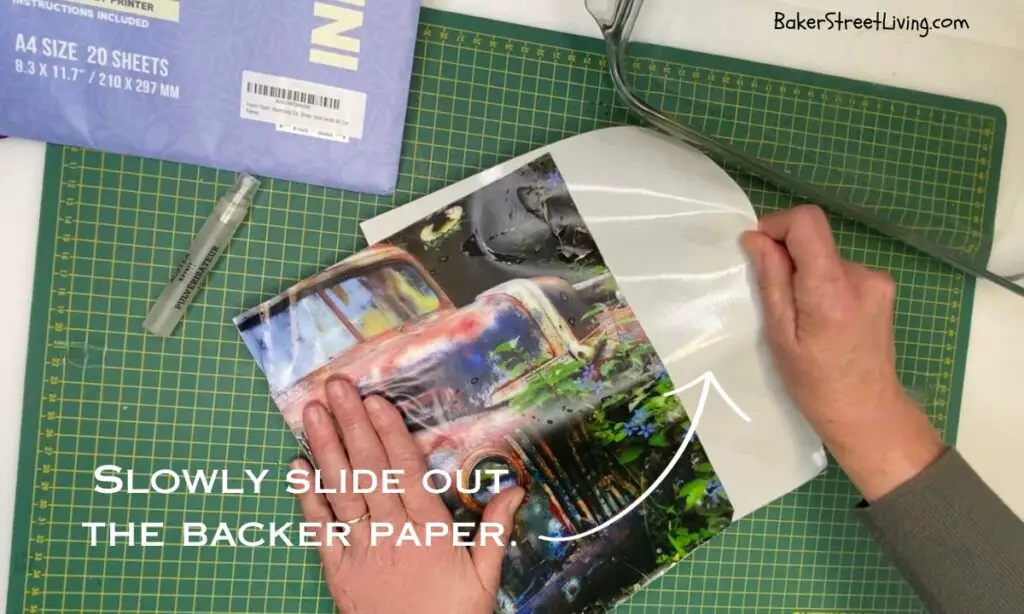
14 – Slowly slide out the backer paper. Hold the image in place with the palm of your hand. Do not push too hard, as the paper will rip easily. The backer paper will slide out easily when it has soaked long enough.
15 – Remove any air bubbles or wrinkles by gently smoothing it with your fingers. Spritz a little more water if necessary.
16 – Allow the image and canvas to completely dry before adding embellishments or sealant.

How to Seal the Waterslide Paper on Canvas.
Once the waterslide paper on canvas has completely dried, you can apply a sealant. Recommended sealers are spray sealers or Mod Podge, as they provide a good seal. If placing your canvas in a sunny location, consider using a UV protectant spray.
Can I embellish the Waterslide Paper on the canvas after finishing?
Once your design is complete, you can customize it to suit your preference. The options are endless.
A few embellishment ideas.
- Add glitter or flocking
- Add beads, buttons or pearls.
- Add sand or tiny pebbles – this is great on a beach scene
- Add dimensional paint, such as puff paint for snow.
- Add small charms or dimensional items.
I hope you enjoy this easy tutorial on how to use Waterslide paper on Canvas. Watch for more great Waterslide paper tutorials
