

This website contains affiliate links. As an Amazon affiliate, I earn a small commission from qualifying purchases (at no cost to you).
This super cute no-sew Valentine Gnome Garland looks adorable on your mantle or classroom bulletin board. It is easy to make and customize.
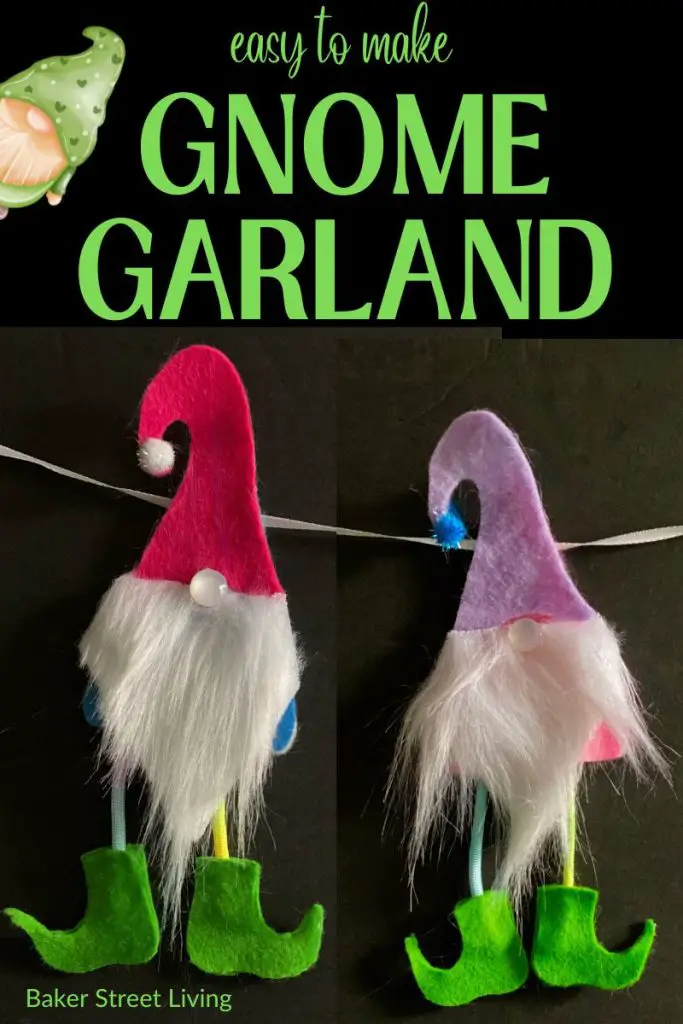
If you saw and liked our Christmas Gnome Garland, you are going to love our Valentine Gnome garland.
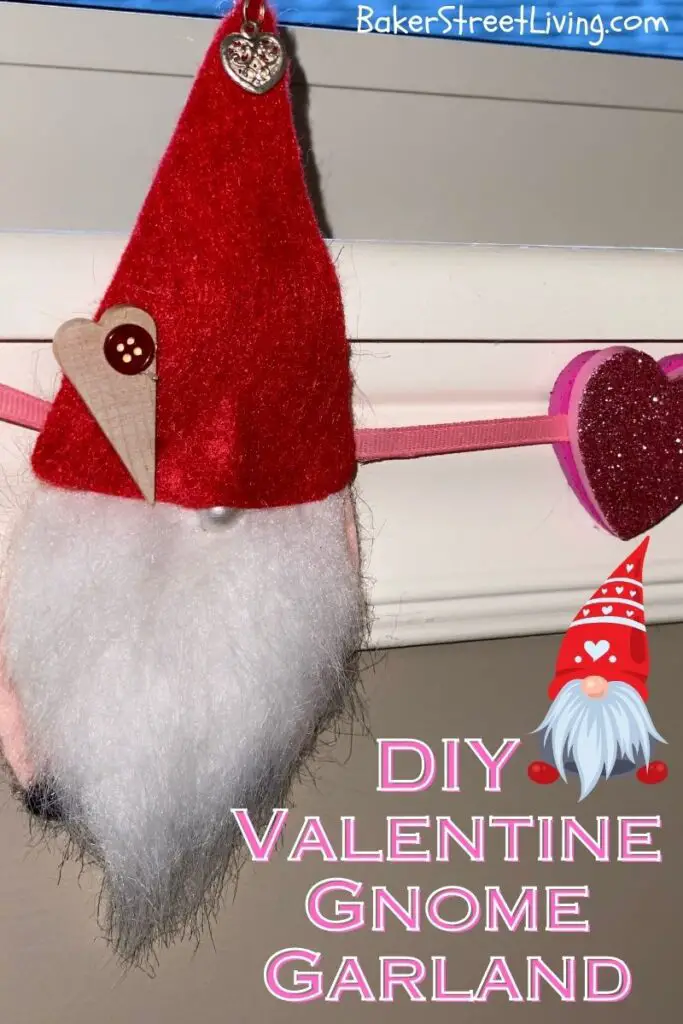
Table of Contents
How to Make a Valentine Gnome Garland – The Video

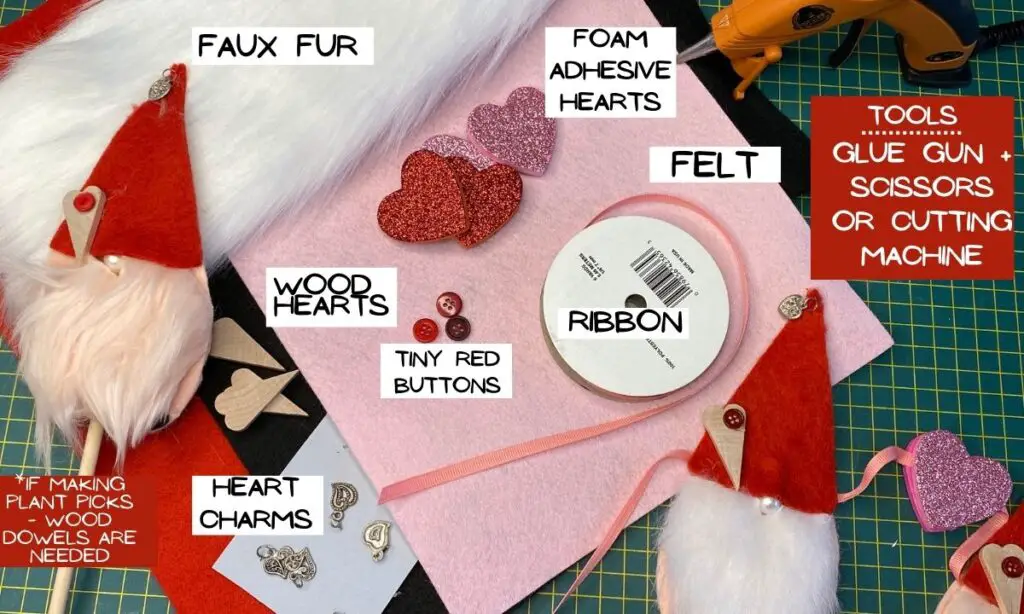
Craft Room Tools
- Scissors or
- Cricut Cutting Machine (optional)
- Hot Glue Gun or Alene’s Fabric Fusion for Felt
If using a Cricut Cutting Machine
- Fabric Grip Mat
- Rotary Cutter or Fine Tip Blade (depending on the Cricut model)
- Spatula Tool
- Brayer.
Craft Supplies List
- Stiff Felt – Pink
- Stiff felt – red
- Stiff felt – black
- Small Button or wooden ball
- Pink Ribbon – Thin
- Faux Fur
- Small red buttons
- Small wood hearts
- Small foam glitter hearts (adhesive back are preferred)
- Small heart Charm – 1 per gnome
- Pom Poms
Helpful Hints and FAQs
Can I use other fabrics instead of the felt?
If you have a fabric that you’d prefer to use, feel free. Craft EVA foam works very well, as it is quite stable. For less stable fabrics, such as burlap, quilters cotton or satins, add a layer of stabilizer between the bottom body and top body layer.
Weatherproof your Valentine Gnome Garland for hanging outdoors
The Gnomes – If you decide that you would like to make the Gnomes in our DIY Gnome garland and use them on an outdoor wreath or outdoor pot, substitute the stiff felt for a weather-friendly option. I recommend Craft EVA foam sheets. They will not sag if they get wet from the rain.
Glue – Use a weather-friendly Glue – Gorilla Waterproof Glue is a good option
How to store your garland.
Store your garlands stacked on top of each other. Wrap them in tissue paper if they will be stored next to other decorations. The tissue will keep the faux fur looking nice.
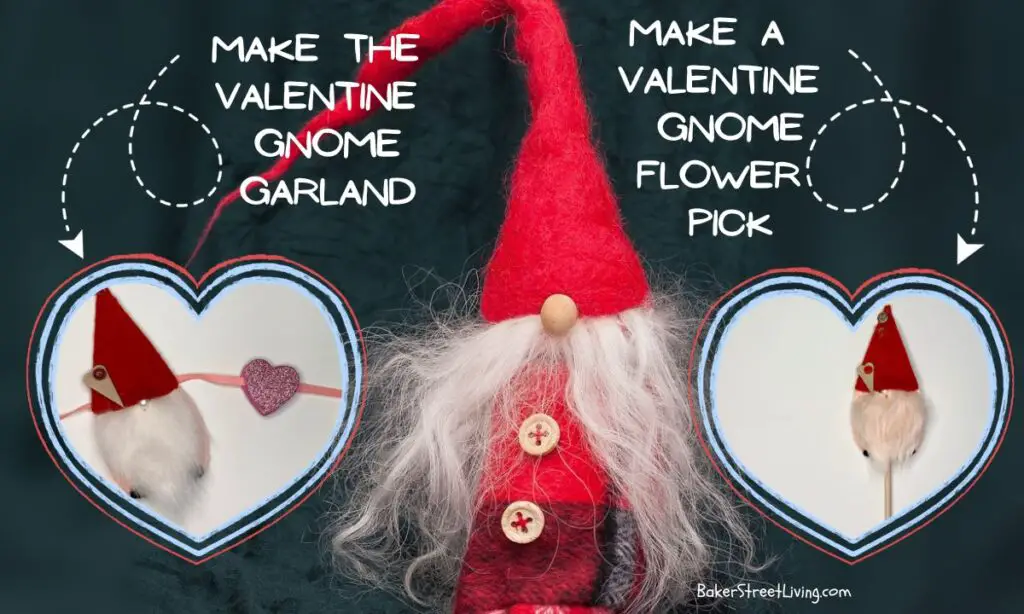
How to alter the Valentine Gnomes.
For flower picks – Do not add the ribbon. Add a long skinny wooden dowel the length you want, in between the body layers in place of the ribbon. If you are planning on adding the pic to a bouquet with water, use plastic skewers or coat the wooden dowels with a sealant, such as Modge Podge outdoor sealant.
For wreaths – Replace the ribbon used in the garland with a piece of wire. Cut two small slits in the back piece of the body. Thread the wire through the slits and then apply glue and the top layer (body piece). Adding a piece of wire will make it easy to add to a wreath without damaging the gnome.
Instructions for How to Make a Valentine Gnome Garland
Download the Pattern from our Free Resource Library – Valentine’s Day Projects
For Cricut Users
1 – Download the Valentine Gnome Garland Pattern and Upload it into Cricut Design Space
2 – Load the design onto the Cricut Canvas.
3 – Resize the Gnome and the hearts according to the desired size.
4 – Duplicate the gnome for every gnome in your Garland. In our design, we placed one heart between each gnome.
5 – For the faux fur beard, I chose to cut the pattern from cardstock on my Cricut, and then use it to cut my fur for the beard. You can cut faux fur on a Cricut Maker, but I find it messy and easier to cut by hand.
6 – Select “Make It”
7 – Before cutting, check the placement on the cutting mat and ensure the pieces to be cut are in the appropriate place. This is important if you are using more than one colour of felt on one mat.
** If you are using Cricut Maker, I find the Fleece setting in the materials drop-down menu, works best with the rotary cutter. If you are not using a make, use the fine point blade for the felt and the felt setting. Trim any pieces on the mt that remain uncut, using an X-Acto knife.
8 – Select from the Materials drop-down menu, and select “More” Pressure
9 – Cut the Valentine Gnome Garland pieces and remove them from the cutting mat, using the spatula tool.
Proceed to “Putting your DIY Valentine Gnome Garland together” (below)
Using the Valentine Gnome Garland Printable Pattern
1 – Download the Printable Valentine Gnome garland pattern from our free resource library.
2 – Print the pattern sheet on your home printer.
3 – Using the pattern pieces cut the following Gnome pieces from your felt.
- 2 body pieces
- 1 hat piece
- 2 shoe pieces
- 1 beard piece
4 – Cut 2 heart (body) pieces. These will be glued together and attached in between the gnomes. Cut enough to go between all of your gnomes. (each heart gnome = 2 felt pieces)


Putting your Valentine Gnome Garland together
For each Gnome on your Valentine Gnome garland, you will need the following pieces.
- 2 Gnome body pieces- cut from felt
- 1 faux fur beard
- 2 felt shoe pieces
- 1 hat piece
- 1 small heart charm
- 1 small glitter heart
- 1 small flat button
- 1 small round button or wooden ball
For each heart in between the Gnomes on the garland, you will need – 2 foam, adhesive-backed glitter hearts.
In addition to all the pieces mentioned above, you will need a length of ribbon for the garland.
Step-by-Step Instructions
1 – Lay the Gnome Body piece on a flat surface and attach the ribbon for the garland, using hot glue or felt glue.
2 – Glue on the top Gnome body piece, being careful to line up all edges.
3 – Glue on the shoe pieces, lining up with the edges of the body.
4 – Cut a small notch in the beard piece. The notch will be a small slit that will surround the nose.
5. – Glue a tiny bit of poly-fil under the hat area. Just a small bit will do. This will give the hat some dimension.
6 – Glue the hat piece on top of the poly-fil, taking care to cover it completely.
7 -Glue on the beard.
8 – Pull open the slit in the beard and glue on the button nose. Push the fur against the nose.
9 – Using a needle and thread, attach the heart charm to the top of the hat. For a complete no-sew Valentine Gnome, apply the charm using hot glue!
10 – Attach the small glitter heart and flat button onto the base of the hat, as embellishments. (this is optional)
11 – repeat for every gnome on the garland, placing the hearts in between each Gnome
For each Heart on the Garland
1 – Space the glitter hearts evenly between the Gnomes on the garland.
1 – Remove the paper backing from the heart
2 – Attach the second heart to the first heart, lining up the edges.
3 – Repeat between each Gnome.
Allow all of the Gnomes and hearts on your Gnome Valentine Garland to fully dry before hanging.
I hope you enjoy making this fun DIY Valentine Gnome Garland. Hang them on a mantle, or bulletin board or add them to your Valentine’s display.
