
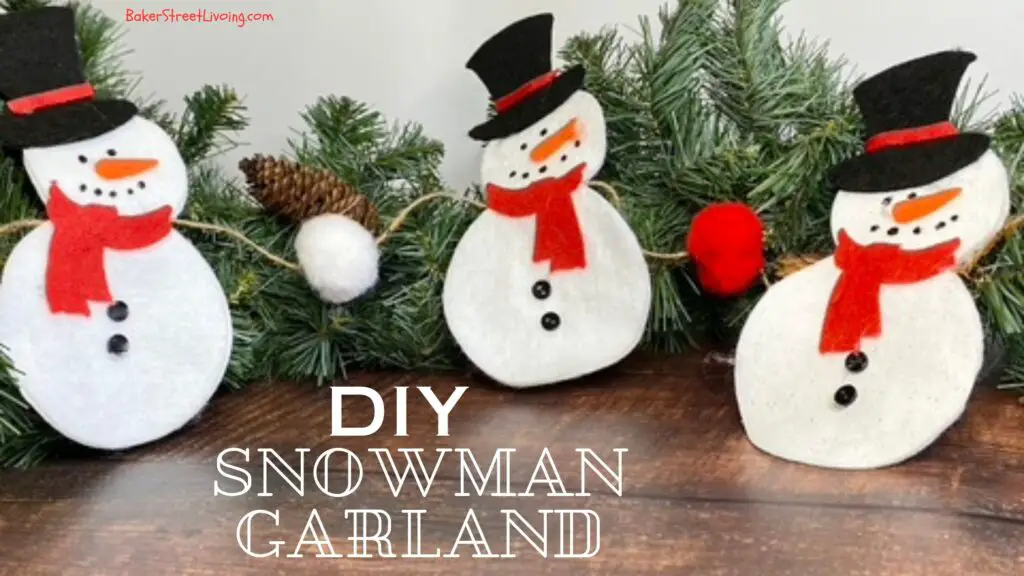
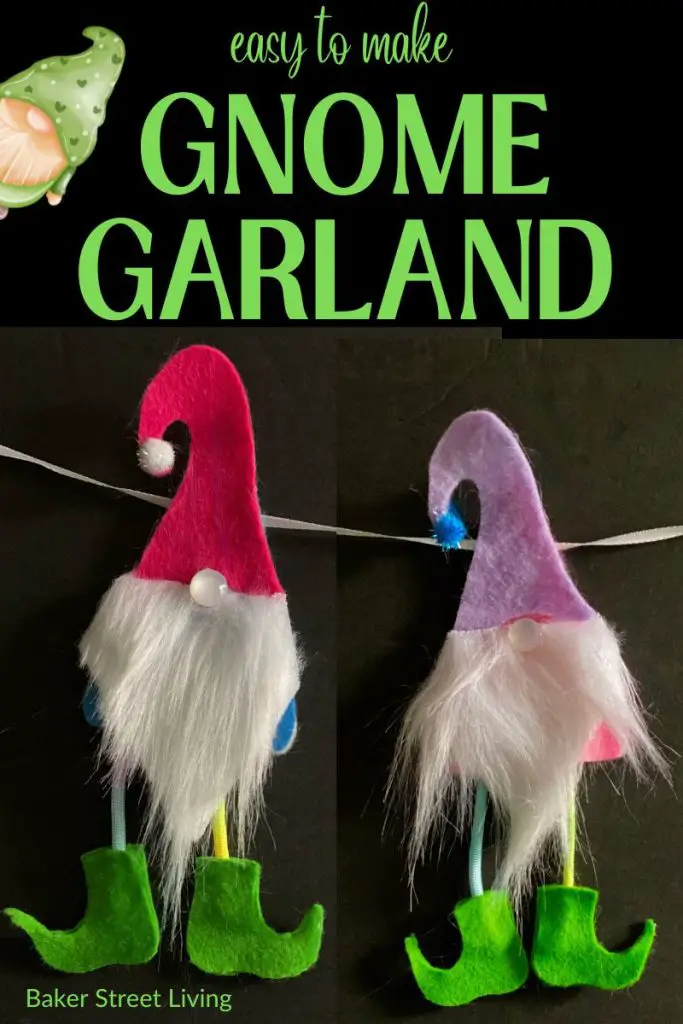
This super cute DIY Felt Snowman Garland is a must-have for your Christmas Tree or Mantle. It is easy to make and adds a bit of whimsy to your decor.
How to Make A Felt Snowman Garland
Craft Supplies Needed
This website contains affiliate links. As an Amazon affiliate, I earn a small commission from qualifying purchases (at no cost to you).
- white felt
- orange felt
- red felt
- Black Puff Dimensional Fabric Paint
- twine
- Pom Poms
- Hot glue
- Black Buttons – mini-size
Recommended Craft Room Tools
- Cricut Cutting Machine with fabric grip mat and rotary cutter, or
- Scissors
- Printer – If using the free printable pattern
- Large darning Needle


How to make a DIY Felt Snowman Garland
For Cricut Users
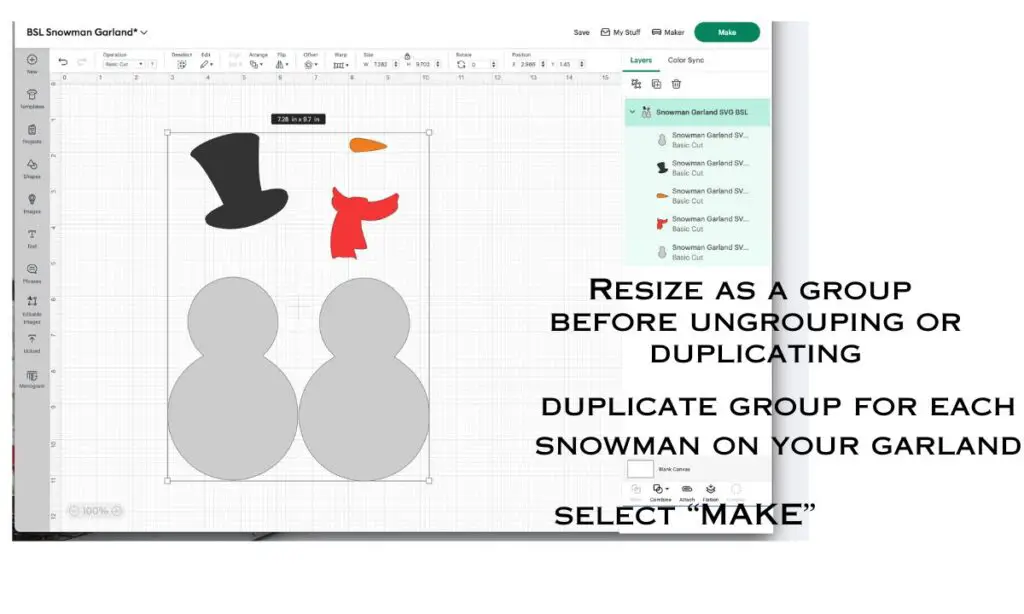
Download the Free SVG Snowman Pattern from our resource library to your computer
Upload the pattern into Cricut Design Space.
Resize according to the size you want.
Duplicate for every snowman you want on your garland.
Pieces you should have for cutting the felt snowman
- One hat Piece (can be made with two if desired, as in the video )
- one carrot nose
- 2 snowman bodies
- one scarf
For Printable pattern Users
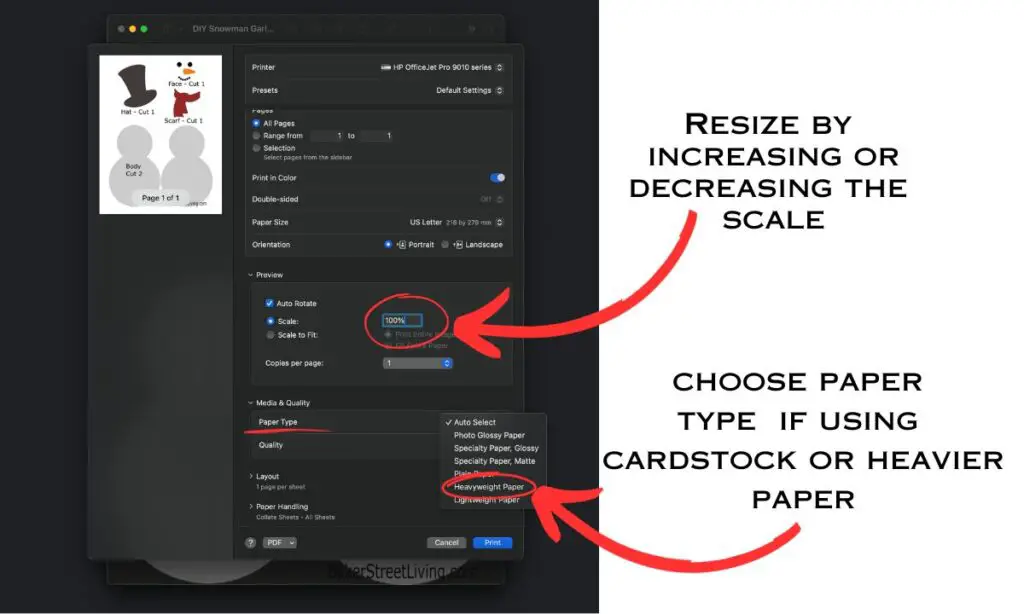
Download the printable pattern.
Note – The face on the pattern was provided as a guide, and the only piece you will be cutting is the carrot nose.
To change the size of your pattern pieces, select the print option.
You will get a pop-up window with your printer information in it.
Go to the “Page Sizing” information and select “Custom Scale.”
You can reduce or increase the image size in the custom scale box.
Not all printers have the same pop-up window, but customization options are almost always available before printing.
For repeated use of the pattern, print on cardstock or transfer onto cardstock.
Assembling the Snowman Garland
Once you have cut all of your snowman pieces, lay them on a flat surface.
Step 1 – Lay the felt pieces in place without gluing to see the placement.
Step 2 – Apply a bead of hot glue to the top of the snowman for the hat and attach the hat.
Step 3 – Apply a small amount of glue to the carrot nose and adhere in place.
Step 4 – Apply hot glue to the back of the scarf and adhere in place.
Step 5 – Apply two small dots of glue to the belly and add buttons.
Step 6 – Using the Puffy Dimensional Fabric paint, add the eyes and mouth.
Step 7 – Set the felt snowman aside to fully dry.
Step 8 – Add a small bead of glue above the hat brim and attach the ribbon.
Step 10 – Optional – Add a second hat cutout to the back of the hat. This is not necessary if the back of the snowman will not be seen. If the back is seen, adding a second hat piece will complete the overall look.
Repeat for every snowman you add to your garland.
NOTE: THE FABRIC PUFF PAINT CAN TAKE SEVERAL HOURS TO DRY. ALLOW THE SNOWMEN TO SIT IN A SECLUDED SPOT TO AVOID SMUDGING WHILE DRYING.
The Pom Poms
Using a darning needle and twine, thread through the center of the pom poms. There will be one pom pom between each snowman and at the end of the garland.
Putting the DIY Felt Snowman Garland together.
On a flat surface, lay out the twine with pom poms.
Place the back of a snowman in between the pom poms and move the pom poms, so that they are spaced evenly apart between all of the snowmen on the garland.
Secure the twine to the back of the snowman, using a bead of hot glue ( Make sure that the twine is on the upper part of the snowman to avoid it being top-heavy and flipping over when hanging)
Run a bead of hot glue around the edges of the back section of the snowman.
Place the top section of the snowman onto the back, lining up the edges. Press down onto the glue.
Repeat for all of the snowmen on the garland.
Allow all of the snowmen to fully dry before hanging.
How to Store Your Felt Snowman Garland
Store the snowmen stacked on top of one another to keep your garland looking fresh every time. This will prevent curling or fold marks when you use them again. If possible, wrap in tissue and place in a small box.
I hope you have fun making our DIY Felt Snowman Garland and get many years of enjoyment out of it.
