
 Created by Tracey of Baker Street Living.
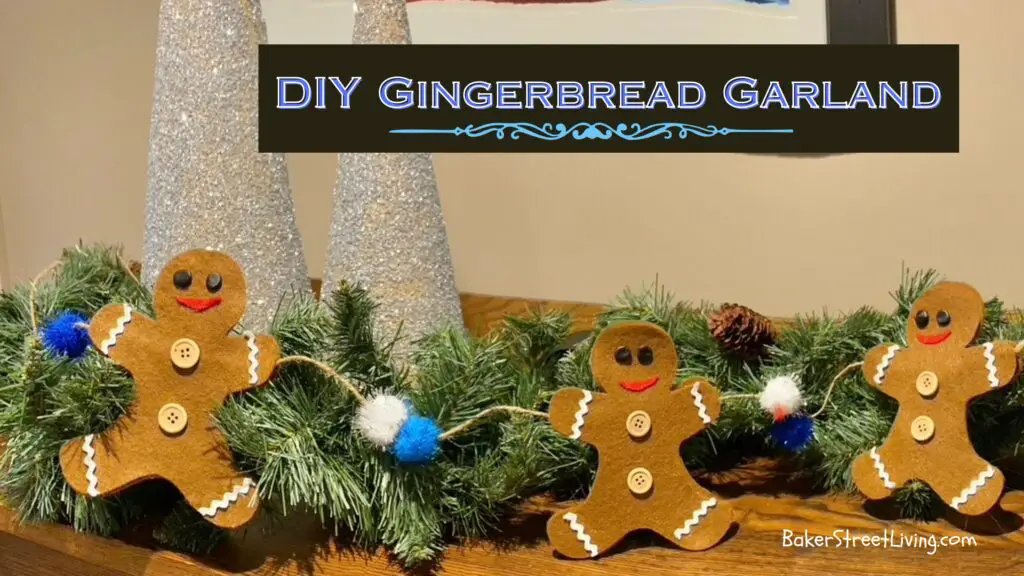
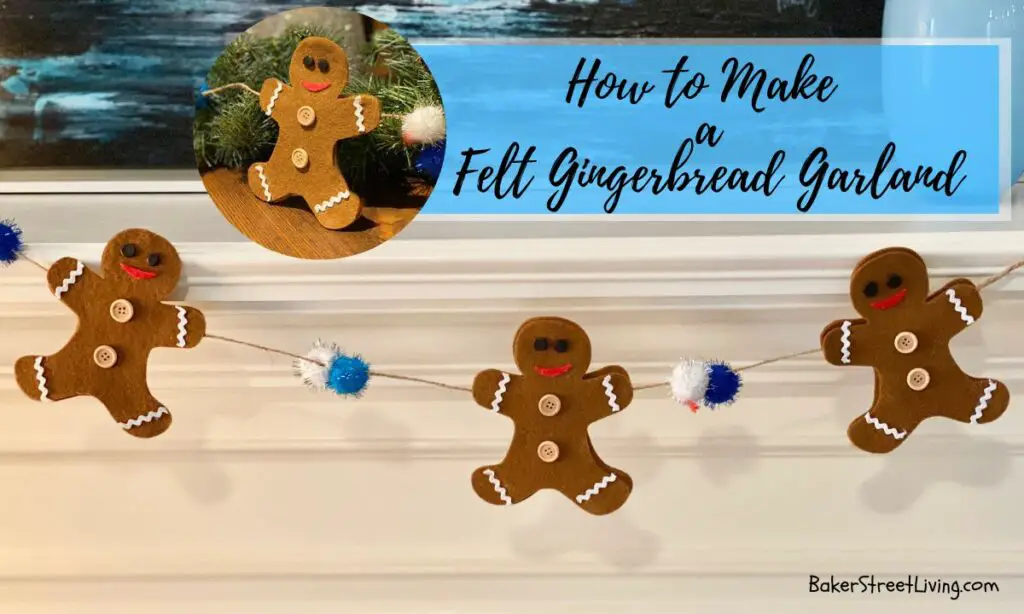
Who doesn’t love a whimsical garland? Why pay high prices in-store when you can make your own? This easy-to-make felt gingerbread garland is super cute. Hang it on your mantle or make multiples and wrap them around the tree.
Looking for a Free SVG or printable Pattern for our DIY Felt Gingerbread Garland? Head over to our free resource library or keep scrolling down to the link and instructions!
How to make a Felt Gingerbread Garland – The Video
Supplies List
This website contains affiliate links. As an Amazon affiliate, I earn a small commission from qualifying purchases (at no cost to you).
- Brown Felt
- Red felt
- White RickRack Trim
- Pom Poms (1 inch) – your choice of colour
- Black air-dry clay – for eyes
- small wooden buttons
- Darning Needle
Craft Room Tools
- Cricut Cutting Machine with rotary tool. (You can also use the printable pattern and scissors)
- Scissors
- Tweezers
- Fabric Fusion Fabric Glue
- Tacky Glue
- * If using scissors, sharp scissors are a must.


Helpful Tips and FAQs
Making the Felt Gingerbread garland without a cutting machine
You can easily make this DIY felt gingerbread garland by using our printable pattern. The downside of using the printable pattern is that adjusting the pattern for size is a little more difficult.
To easily resize a printable pattern, you can use Canva. if you don’t have an account, you could open a free account and follow their helpful tips on making a design. You can resize the pattern and make duplicates easily in Canva.
Cut two felt gingerbread out at a time. This makes sure that when cutting, if there are any not-so-perfect cuts, you won’t have to trim the felt gingerbreads up during the assembly of the garland.
Make sure you are using sharp scissors. This will help in getting those clean cuts.
Using a rotary cutter – If using a rotary cutter, use a smaller size one that will allow for smooth cuts around the curves of the gingerbread.
How to transfer the Gingerbread pattern onto the felt (super easy)
For easy transfer of the pattern onto the felt, you will need a heat transfer pen and a regular home iron. If you have never used a heat transfer pen, you are going to love how easy and versatile these pens are.
Simply print out the Printable DIY Felt Gingerbread Pattern.
Trace around the design with a heat transfer pen.
Place the design with the ink side down onto the fabric and iron, following the heat instructions that came with the pen,
Repeat for as many gingerbread men as you are cutting.
NOTE ** – I recommend you place the drawn side of the felt on the inside of the gingerbread pieces of the garland to prevent any lines from showing.
Heat Transfer Pens are available in many colours. A contrasting colour is recommended.
Using Alternative Types of Glue
Some glues are unsuitable for use with felt and other fabrics. Avoid glue, like Elmer’s All Purpose school glue or similar school type glue. They tend to seep through the fabric, leaving marks and may become crusty.
Hot Glue is an option. Use a low-temperature glue and do not use large amounts.
Connecting Multiple Garland Sections
Plan the length that you want your garland to be before assembling. It is easy to make an extra-long garland or a short garland. Just multiply the number of gingerbread men you need by the extra pom poms.
Storing your felt Gingerbread Garland
Store your DIY Felt Gingerbread Garland flat. Stack the gingerbread pieces on top of one another and place them in a small box for storage. Stacking them in a box helps to maintain their shape for the next use.
Instructions for making a felt Gingerbread Garland
Download the free Gingerbread pattern from our Free Resource Library
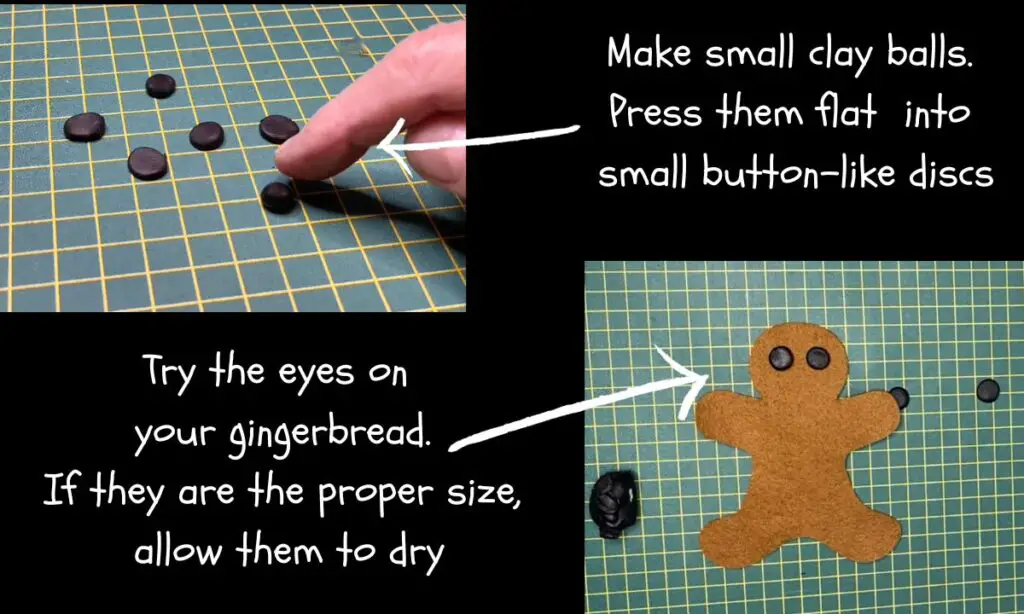
Make the eyes
I am using an air-dry clay for the eyes. You can use a baking style of clay or even small beads if you’d rather.
Take a tiny piece of clay and roll it into a ball. Set the ball on a flat surface and press down with your finger. make multiples,(enough for all your gingerbread) and allow to dry according to package instructions
For Cricut Users
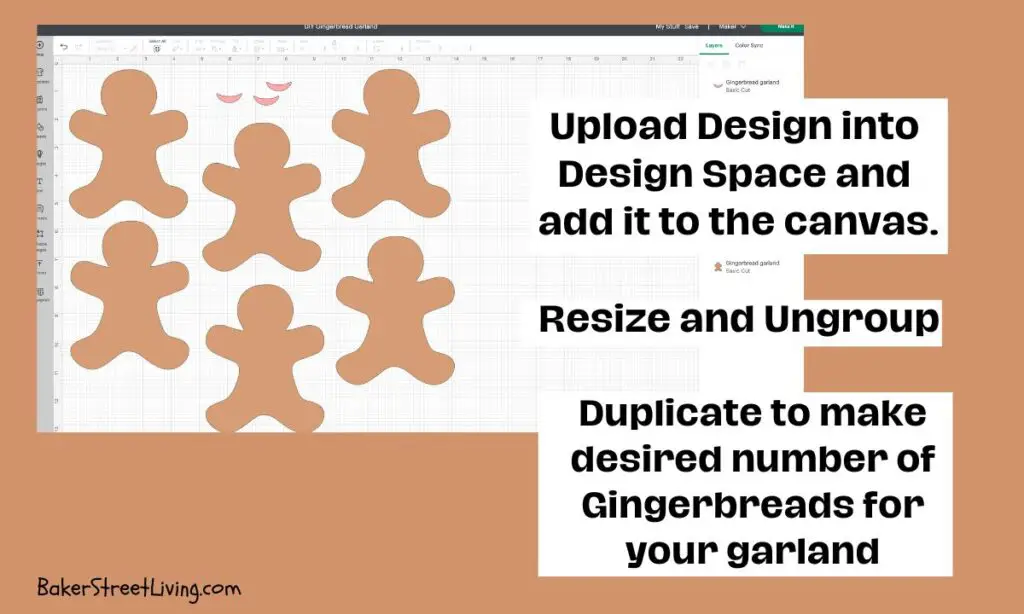
Upload the design into Cricut Design Space.
Choose the Cut file option and load the design onto the Design Space canvas.
Resize to your Gingerbread man size. It is important to resize before you ungroup the design, to keep the mouth in proportion.
“Ungroup” the design
Duplicate to make the desired number of gingerbread for your garland. Each Gingerbread will require
- two pieces (a front and a back)
- One mouth section.
Continue to “Preparing each Gingerbread”
For Printable Pattern Users
The printable pattern is for a 4.5-inch wide and 5.5-inch tall gingerbread. Resizing is easy if you are using Canva, Photoshop or another editing program.
Download and print the printable gingerbread pattern. – Using cardstock will make a sturdier pattern, making cutting multiples easier.
Cut 2 layers of felt at a time. This ensures that each gingerbread is the same and there is less trimming required in the end.
If you find it difficult to cut the small mouth piece, consider using a piece of yarn, dimensional fabric paint or a small button in place of the mouth.
Continue to “Preparing each Gingerbread Man “
Preparing the Gingerbread Man
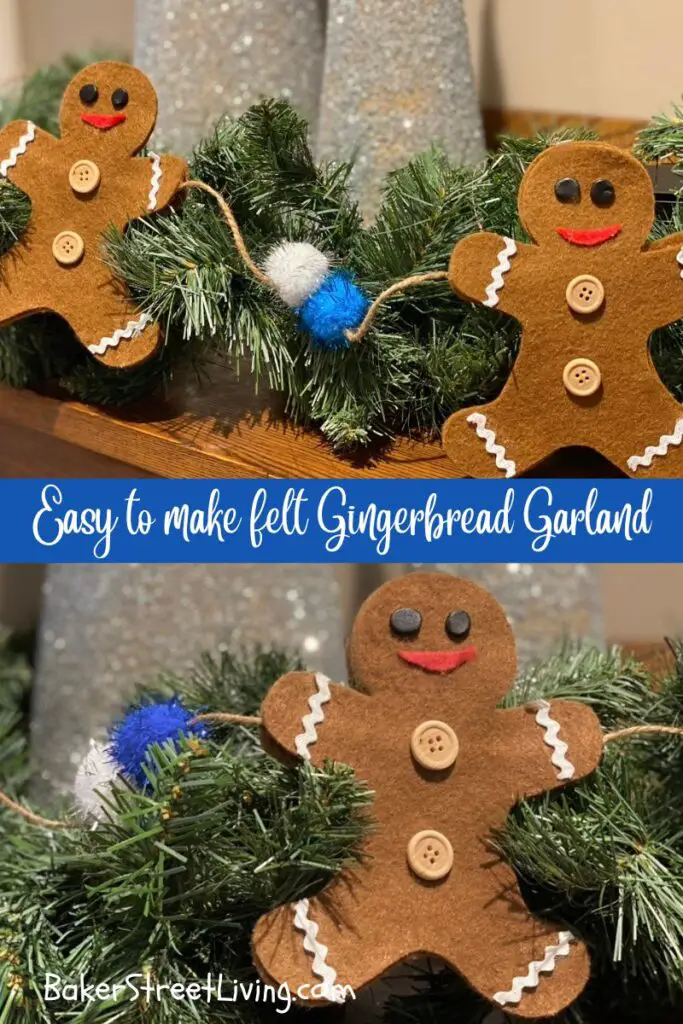
Each gingerbread on the garland will have a front and a back. The garland twine will be sandwiched between the two layers. This means your garland looks finished on both sides.
Attach the following
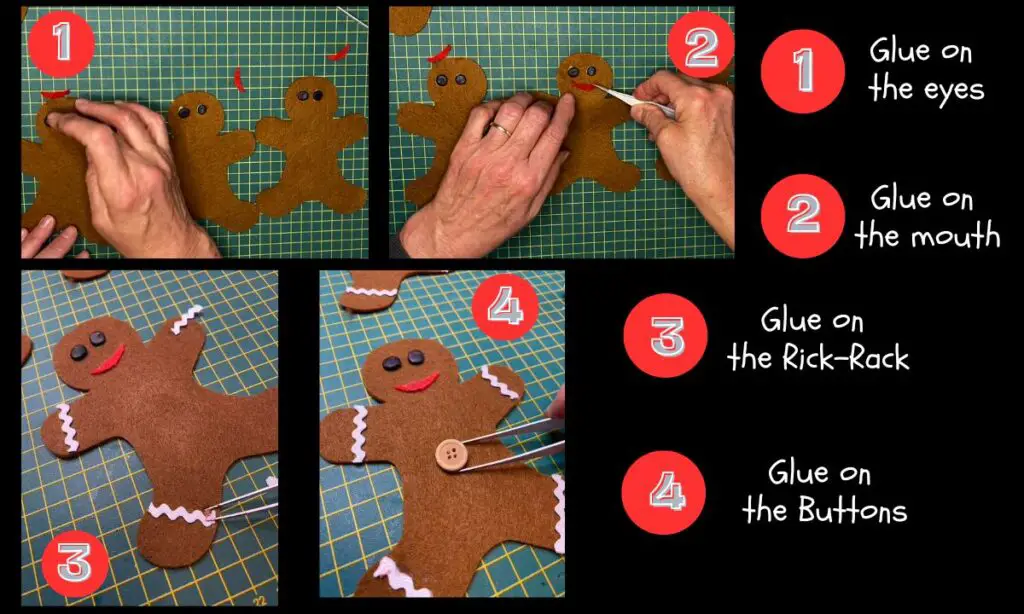
- Eyes – Using tacky glue, attach the eyes to the felt gingerbread man on a flat surface.
- Mouth – Using tacky glue or Fabric glue, add the mouth. Tweezers are helpful when placing the mouth onto the face.
- Run a bead of glue on the Rick Rack and place one on each arm and one on each leg. Tweezers are helpful when handling the rick rack.
- Buttons – Attach the belly buttons to the gingerbread man, using tacky glue.
Allow the gingerbread men to dry completely before moving on to the next step.
NOTE – When applying the rickrack, put the glue on the rickrack and not on the felt. The felt tends to absorb the glue making it difficult to get it to stick.
Assembling the Felt Gingerbread Garland
Using a darning needle and the twine, thread the twine through each pom pom.
Lay the twine with the pom poms out in a line on a flat surface.
Move the pom-poms along the twine, making sure they are spaced evenly across the length of the twine, leaving space for the gingerbread men.
Place the Gingerbread back under the twine, spacing evenly along the length of the garland. (If you are making a long garland, you may need to work in sections.)
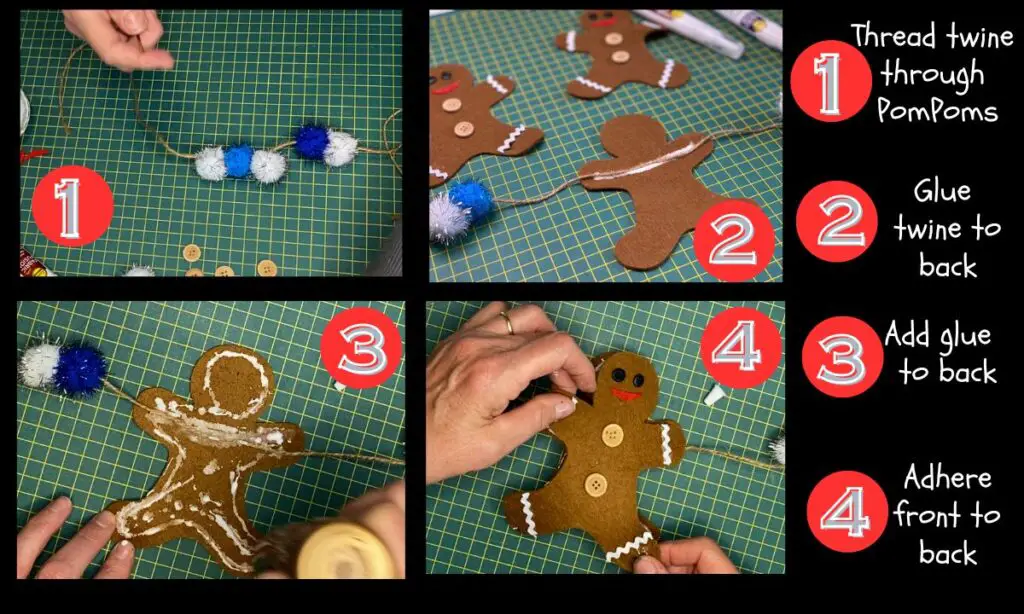
Attach the twine.
Glue the twine to the back of the gingerbread piece, using tacky glue.
Add more tacky glue to the back of the gingerbread man and place the top body piece onto the back.
Press around the edges to make sure the glue is touching both the front piece and the back piece together.
Allow everything to dry fully before hanging.
Display and enjoy your homemade felt Gingerbread Garland on a mantle, Christmas tree, doorway or window ledge.

This website contains affiliate links. As an Amazon affiliate, I earn a small commission from qualifying purchases (at no cost to you).