
Content Created by Tracey of Baker Street Living 
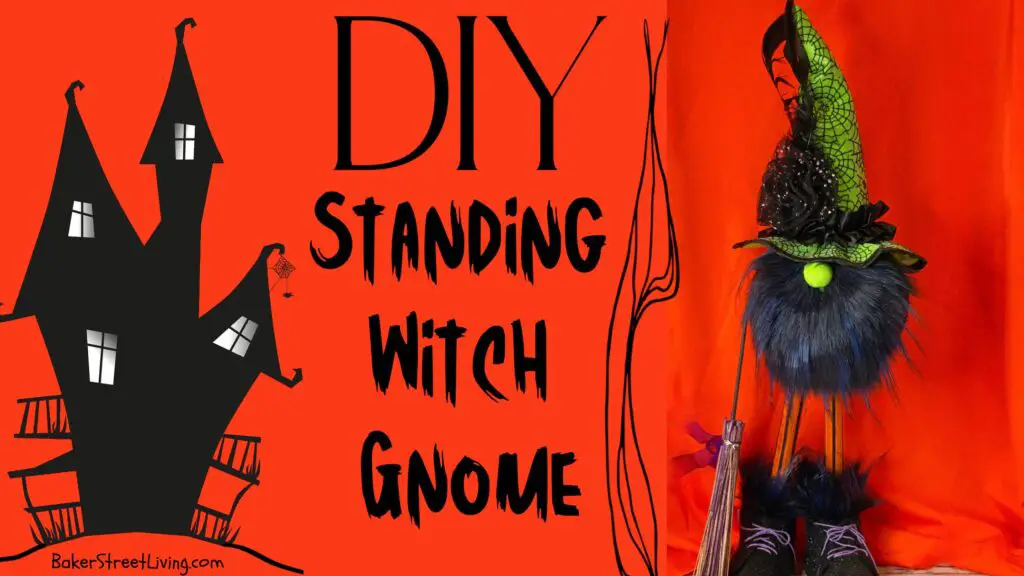
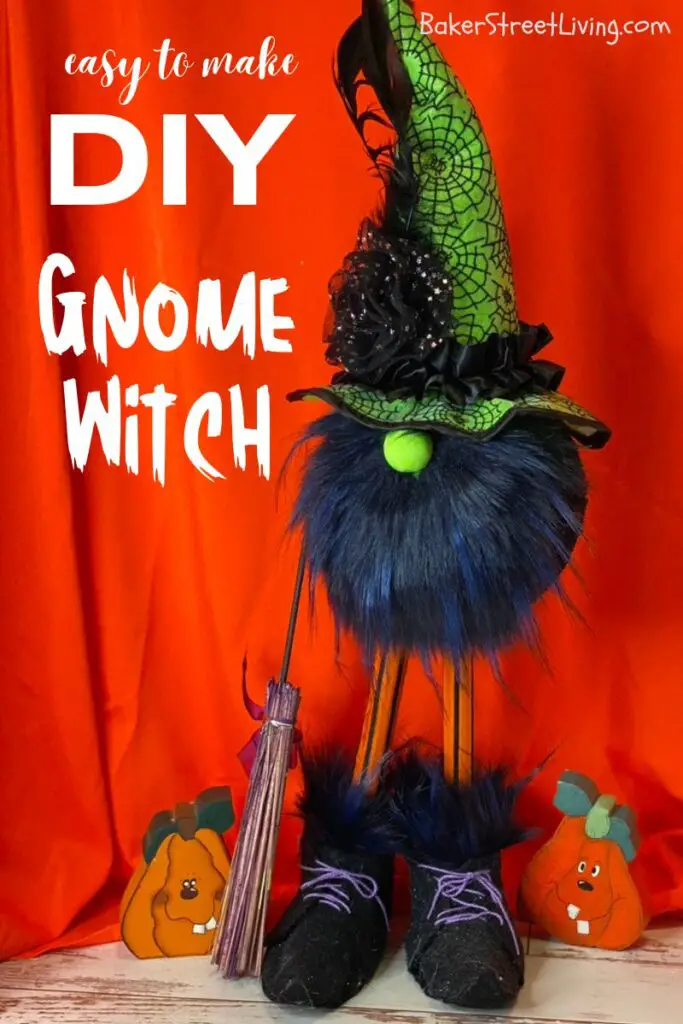
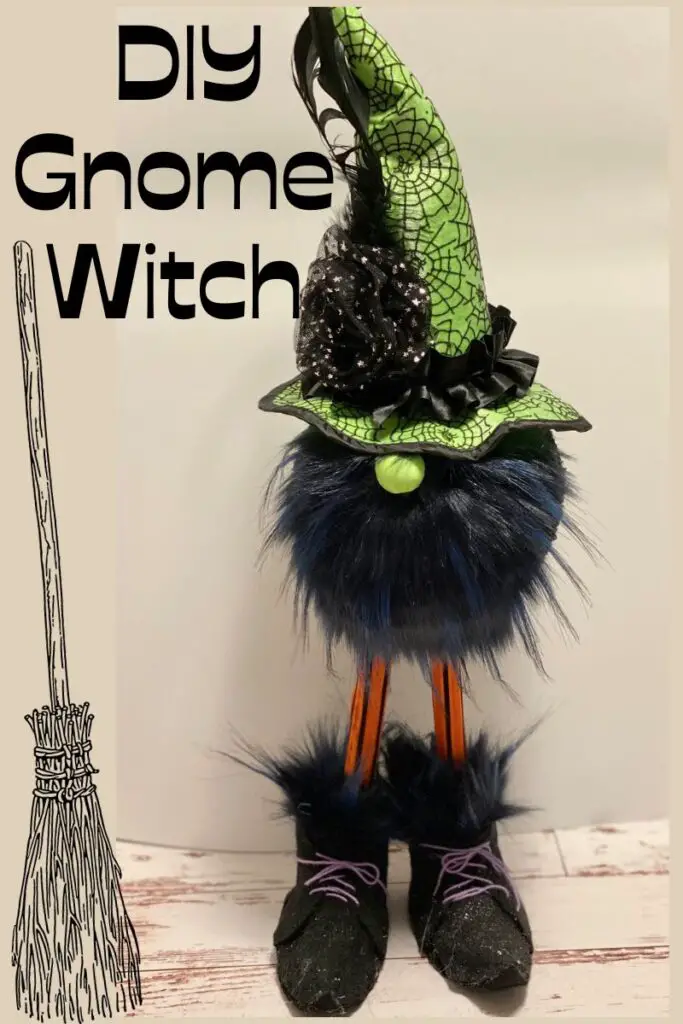
Who doesn’t love cute Gnomes? We make them year-round, and Halloween is no exception. This easy-to-make DIY Gnome witch is not only cute and whimsical, but we are also using up some leftover scraps of fabric. Our DIY Gnome Witch tutorial can be made using a pair of scissors, some glue and an hour of free time.
Supplies List
This website contains affiliate links. As an Amazon affiliate, I earn a small commission from qualifying purchases (at no cost to you).
(All the items listed below are clickable links – should you need supplies, click for resources)
- 6-inch Styrofoam ball
- 2 – 6-inch wooden dowels
- 1 black sock (see notes below about choosing socks)
- Contrasting fabric for legs
- small 1/2-inch wooden ball
- Green clay for nose warts (air-drying clay) or a small green bead – optional
- 2-inch square of green fabric for the nose
- faux fur
- Miniature witch hat. (hair clip size is perfect)
- Gnome Witch Boots ( see pattern and instructions here)
- small witch’s broom – optional
- A small amount of sand or rice (optional if needed)
- Poly-fil stuffing (small amount for hat)
Craft Room Tools
- scissors
- Hot glue gun and hot glue
- X-Acto knife
- tacky glue
- Small glue brush
How to make DIY Gnome Witch – The Video
Choosing Socks and Leg Fabric for a Gnome Witch
A plain-coloured thick tube sock works best for our Gnome witch. If you use a Halloween-themed sock, be aware that the pattern may be stretched over the ball, resulting in some distortion. Socks with checks, plaid or lines must be kept straight on the Gnome Witch’s body and some patterns can make it difficult.
Many Halloween-themed socks are thin and can look transparent when stretched over the styrofoam ball. If using a thinner sock, consider putting a dark-coloured sock underneath to avoid seeing the ball through the sock. The sock used in this tutorial is a black glitter fuzzy sock.


How to make a DIY Gnome Witch
Prepare the Witch Hat
I used a witch hat hair clip because it is the perfect size for this project, but you can choose whatever suits your fancy.
Remove the hair clips from the hat. Attach any embellishments, such as buttons or bows to the hat with hot glue.
Stuff the hat with some poly-fil stuffing and set it aside.
Prepare the Styrofoam Ball
Hold the wooden dowels against the ball, where the legs will be.
Mark the ball with a marker where the legs will be.
Using your X-Acto knife, cut a hole where each leg will go. Make sure that the dowel will fit in each hole.
Cover the Ball
Insert the styrofoam ball into the sock.
Ensure that any seams in the sock are on the bottom of the Gnome body or on the back, where they won’t be seen.
Pull the sock tight and secure it using a zip tie.
Using your X-Acto knife, cut a small slit over the leg holes. (This should only be small, as it will stretch.)
If the sock fabric starts to fray, add some glue and push it into the leg hole.
Prepare the legs
Cut two strips of fabric that will be glued onto the wooden dowel legs.
Be mindful of stretch and pattern. For strips (like mine), be sure to cut the fabric straight so that the pattern lines up on the legs and is not crooked. (A rotary cutter and mat will give you a nice, straight cut)
Add a bead of glue to the length of the dowel. Using your glue brush, brush the glue around the dowel, covering the entire surface.
Place your dowel onto the leg fabric and secure the fabric, making sure it is straight.
Set aside to let it dry.
Attach the Legs
Add a generous amount of hot glue into the holes that you cut for the legs.
Insert a leg into the hole and make sure you push it in.
Set aside and let the glue dry.
Prepare the nose.
Brush glue onto the wooden ball.
Wrap the green fabric around the ball and secure it with an elastic band.
Trim the fabric, leaving enough to glue onto the Gnome’s face
OPTIONAL – Make a small wart with a tiny bit of art clay (the kind that air dries and doesn’t require baking). Just roll a little bit into a ball and then let it dry. (Don’t attach it to the nose yet)
Glue on the nose
Place the hat onto the Gnome Body and determine where you want the nose to be.
Add hot glue and place the nose piece in place (as shown in the image)
Hold in place for a couple of seconds and set aside to dry for a few moments.
Prepare and attach the beard
Cut the faux fur into a triangular piece for the beard.
Cut a small notch along the side that will be up against the nose ( as in the image)
Run a small amount of hot glue under the nose on the Gnome body.
Place the faux fur beard under the nose, making sure that the notched area surrounds the bottom of the nose.
Add glue where necessary to hold the beard in place.
Attach the Wart (Optional)
Using a small dab of hot glue, attach the ward to the side of the nose.
Allow to dry.
Attach the boots
Add a generous amount of hot glue to the inside bottom of the witch shoe.
While holding the witch gnome in an upright position, allow the glue to set. This should only take a few seconds.
Allow the glue to dry by laying down or placing a weight onto the shoe to hold the gon=me upright
Fill the witch shoe with some rice or sand and add some fur around the top of the shoe to cover the edges.
Display your fabulous Gnome Witch!
Check out more fun gnome projects
- Easter Egg Gnome
- Long-Legged Standing Gnome
- Gnome Christmas Garland
- St Patrick’s Day Leprechaun Gnome

This website contains affiliate links. As an Amazon affiliate, I earn a small commission from qualifying purchases (at no cost to you).