
Ever since the first gnomes made it into the stores in the Christmas decor aisles, I have been searching for just the right one. There was always something that I wanted to change with just about every single one I saw. So the easy solution for a crafter is to make their own.

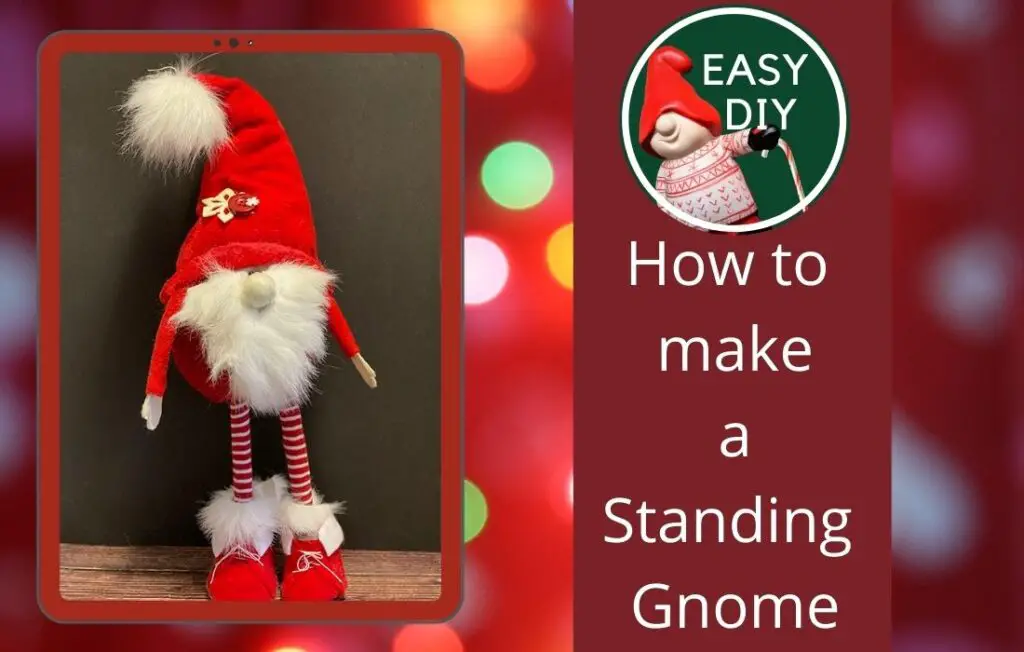
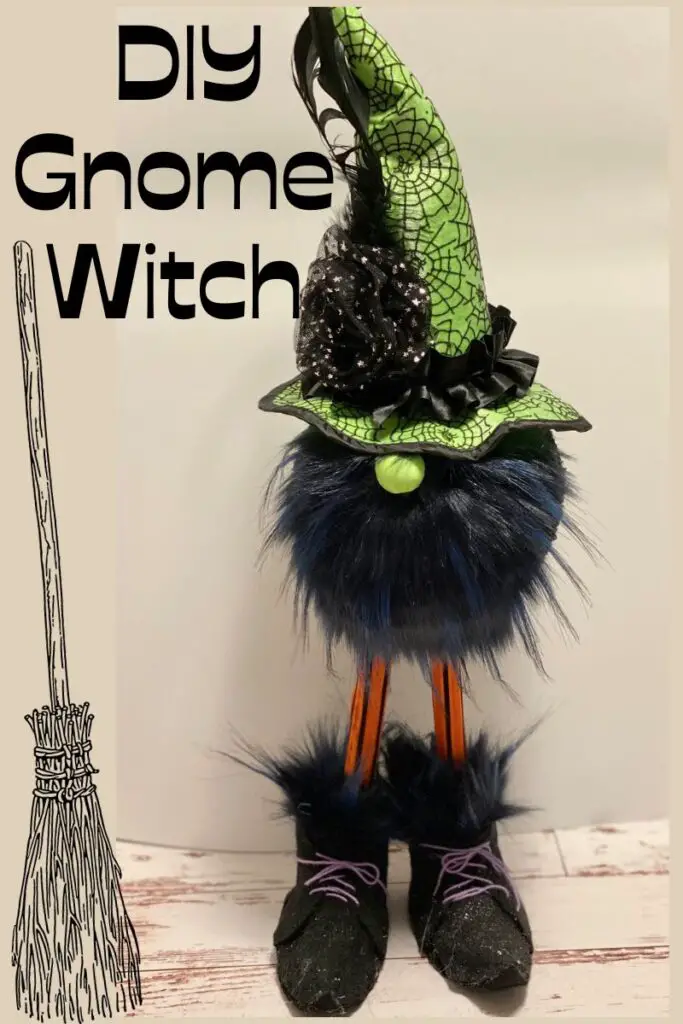
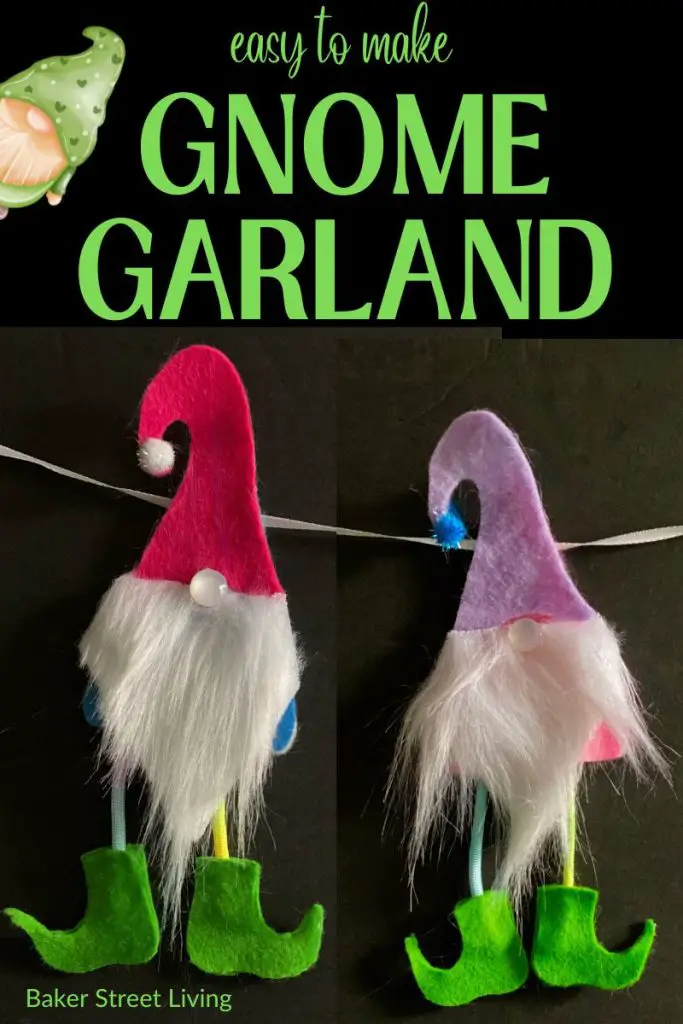
I have a few sitting gnomes, but I just think that the standing gnomes are so cute and they add some much-needed height to my Christmas displays. I add my Gnome boots, and it is just right. If you like a shorter gnome, try our DIY Leprechaun Gnome and change out the costume for a Christmas theme.
Supplies List for a Standing Gnome
This post contains affiliate links. As an affiliate, I earn a small commission from qualifying purchases (at no cost to you).
- 6 inch styrofoam ball
- 2 – 1/2 inch wooden dowels. (Each is cut to 7 inches in length)
- 8-inch by 5-inch piece of fabric (for the legs)
- faux fur (for the beard – the colour of your choice)
- fleece (17″ by 12″) for the hat – resize if desired.
- 4-inch square of felt or stretchy fabric (for the nose)
- large jingle bell or pom pom (optional for the hat)
- a small toque or a large woolly or fuzzy sock. See below for tips on what kind of socks to use or small toque (for the body)
- 2 small black safety eyes (used to make stuffed animals) or small round beads
- large wooden bead/ball for the nose
- button for the hat (optional)
- foam snowflakes (optional hat embellishment)
- zip tie
- elastic band (small)
- 20 gauge wire – length of hat plus 2 inches
- poly-fil stuffing
- weight for gnome shoes (notes below)
This is a great opportunity to recycle some bits of leftover fabric. The beard can be made from the fur off of an old stocking or coat, the hat and arms can be made from old sweaters, and easily recycle anoutdated hat for the body
Craft Tools
- Scissors. or
- rotary cutter and cutting mat. (If not using a cutting machine)
- straight edge ruler. (If not using a cutting machine)
- hot glue gun and glue
- hot knife (optional)
- x-acto knife
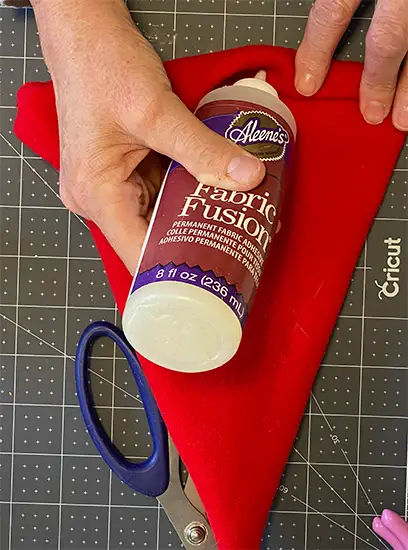
- fabric glue or tacky glue
- wire cutters
- Sewing machine (if not available – use fabric fusion glue)
Cricut Cutting Machine Tools
This project will require a cutting machine that can cut fabric, such as a Cricut Maker or Cricut Maker 3 or 4.
Supplies
- Cricut machine
- rotary cutter blade (comes with your machine)
- fabric grip mat or standard grip mat.
A note about the Glue
In this tutorial, I use a variety of glue types. I like to use fabric glue on fabric, but if you want to use hot glue for all the applications, feel free. The only caution is that some styrofoam melts when hot glue is applied to it. Be careful, it doesn’t seep through your fabric.
Wooden Dowels
If you purchase your wooden dowels at a home renovation store, like Home Depot or Lowe’s, have them cut before leaving the store. Most Home Reno stores have a tree-cutting service.
What kind of sock or hat can I use to make standing Gnomes?
The sock should be thick and stretchy and large enough to fit over your Styrofoam ball.
The sock should be a tube sock (No heel or toe in the sock)as the toe of the sock will be visible on the finished gnome.
A sock that has a tight weave is good. It will be stretched over the styrofoam ball, so the tighter the weave, the more opaque it will appear. If the sock has a thin weave, you will see through it, and the final result will not be attractive. A thick fuzzy sock is ideal if you can find one large enough for your Styrofoam ball.
Be careful of patterns. Stripes are cute on the legs, but if they are on the body, they can look wonky if they are not straight. Solid colours work best for the body, or a pattern that does not need matching.
Using Hats – If your styrofoam ball is big, most socks won’t fit around the ball. Using a small knit winter beanie-style hat is perfect. be careful of hat seams. A short seam on the hat is easily hidden on a large ball, but if the seams are too long, it will not look as appealing on your gnome.
For the legs. – I like to have a striped pattern on the legs, to add some character to the gnome. When using a patterned fabric, make sure that you are careful to get it straight, especially if using a horizontal stripe.
Getting the right styrofoam ball for your standing gnomes.
There are usually three types of Styrofoam balls available in local craft stores. There are rough-surface styrofoam balls, smooth-surface styrofoam balls, and floral foam styrofoam balls.
Rough surface styrofoam balls are not as dense and are easy to poke into. They are notorious for melting when coming into contact with hot glue. These are my least favourite as they melt and are lighter and easier to damage during the assembly of my standing gnomes. If using a hot knife for cutting the leg holes, this type of styrofoam also melts when in contact with the hot knife and is messy. If you are using this type of ball, use an X-Acto knife for cutting the holes.
Smooth Styrofoam balls, are denser and nice and smooth. They are better for our standing gnomes project as the gnome body will be smoother when finished. Low-temperature hot glue can be used (most of the time) with these balls. The smooth surface does not damage easily when constructing the standing gnome. These Styrofoam balls cut very nicely using a hot knife. This is the type of Styrofoam ball I used in this tutorial.
Floral foam balls are very lightweight. They are the softest styrofoam balls of the three. They are damaged very easily when handled. These are great for projects like ourCedar Kissing Balls, but I don’t recommend them for use in standing gnomes.
The Free Printable pattern and the SVG cut file are both available in our free resource library.
How to make a standing Gnome – Step by Step
Cut out pattern pieces
Using our printable Pattern
The Printable Pattern is provided. Adjust it to the size of your styrofoam ball. The printed hat pattern is designed to print on a standard 8.5×11 sheet of paper. Depending on the size of the ball you have chosen, you may need to widen the base of the hat and make it a bit taller.
For the Hat – Cut a triangle with a rounded bottom. Place the hat pattern on the fold and cut with a rotary cutter on a cutting mat or with scissors. Pin or use pattern weights to hold the pattern in place.
For the arms, cut four rectangles – each is 4 inches long and 2 inches wide.
For the legs, cut two pieces of fabric that are each 8 inches long and 2 inches wide.
For hands/mittens – cut out four fleece or felt mittens (2 for each hand)
Using a cutting machine (Cricut Maker or Maker 3)
SVG Cut File – SVG provided in our resource library.
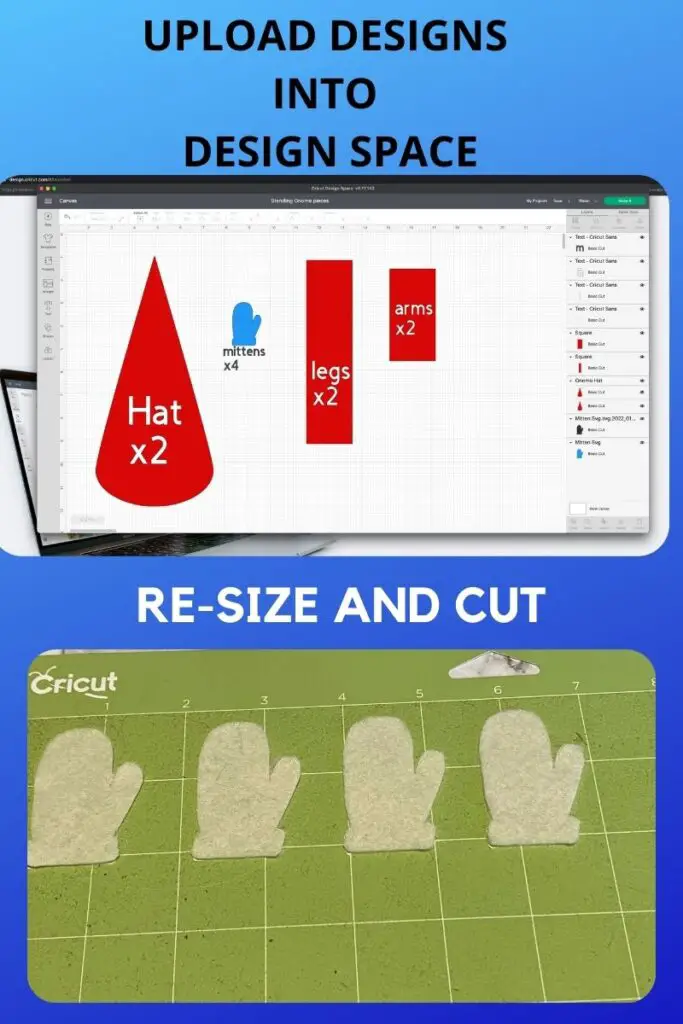
Upload the design into Cricut Design Space. If you get a message saying incompatible, select Ok.
Select Ungroup
Resize if needed.
These sizes are for the 6-inch styrofoam ball. If you choose to make a standing gnome that is larger or smaller, adjust sizes accordingly.
Duplicate the following:
- Hat – cut 2 (8.5 by 11.5 inches)
- legs – cut 2 ( 2″ by 8 inches)
- arms- cut 2 (2 ‘ bu 4 inches)
- mittens cut 4 – (1.5″ by 2.5″)
Select Make
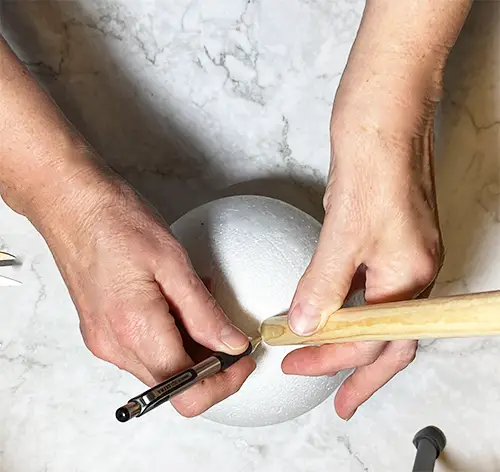
Mark Leg holes on a Styrofoam Ball
Place the wooden dowel on the surface and, using a pen or marker, draw around the dowel, marking where the legs will go.
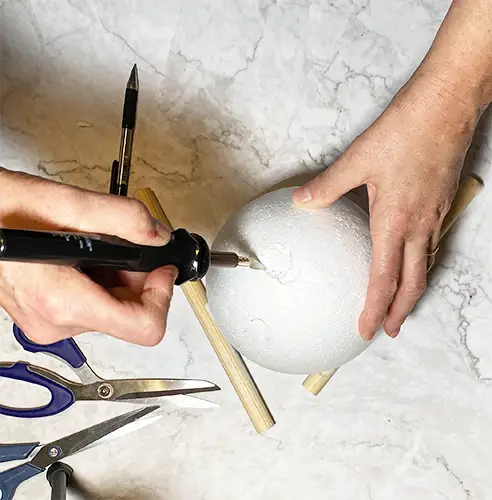
Cut Holes in the Styrofoam ball
Using a hot knife or an X-Acto knife, cut out the holes where the legs will go. A hot knife is the easiest way, as it cuts a smooth line and makes a smooth cut. If you don’t have a hot knife, an X-Acto knife is fine; it just takes a little more work.
My Hot knife is a Walnut Hollow Hot knife. It is a great product that makes cutting all types of foam and some vinyl smooth and simple. If you make Cosplay costumes, a hot knife is a must.
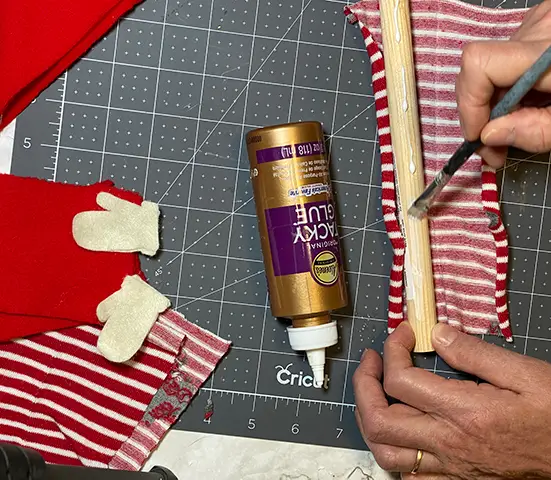
Glue fabric onto the Leg dowels
Using tacky glue or fabric glue, run a bead of glue vertically on the wooden dowel. Using a craft paintbrush, spread the glue over the wood dowel. Adhere the cut fabric pieces to the leg dowels. If you are applying a patterned fabric, such as a plaid or stripe, be sure to take the time to line up the pattern.
Let them dry completely.
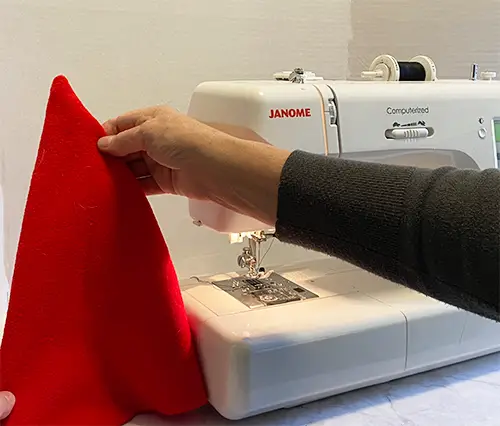
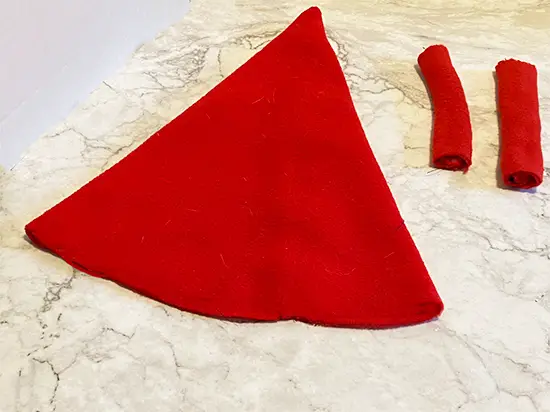
Sew the Hat and arms
With the right sides together, sew the side seam on the hat. Turn right side out and push up the point. If you use fabric fusion glue instead of sewing, allow drying completely before turning right side out.
For each sleeve: Fold the sleeve piece in half with the right sides together ( should be 1 inch by 4 inches). Sew along the longest side and turn it inside out.
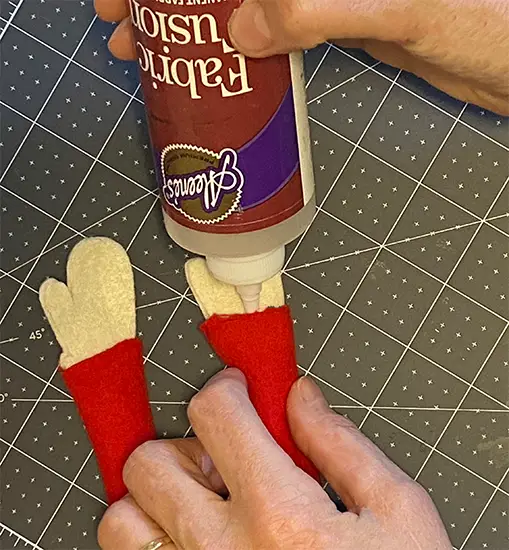
Attach mittens: Insert the mitten into the sleeve end and either glue with fabric fusion glue or sew. (I find that gluing allows me to keep the mittens straight.) Allow to dry completely.
Insert a styrofoam ball into a knitted hat or sock
Place the ball inside the sock/hat and pull it snugly around the ball.
If using a hat, make sure that the seams are centred on the bottom of the styrofoam ball.
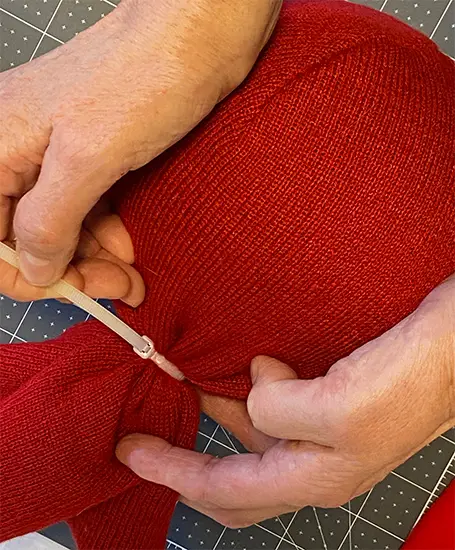
Using the zip tie, pull it tightly on the top of the ball. (This part will be hidden inside the gnome hat.) Trim the zip tie, if needed.
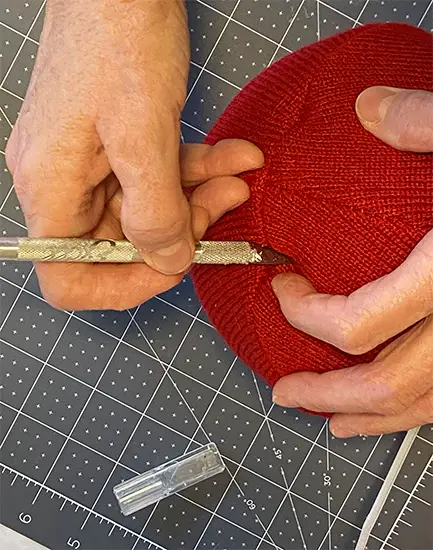
Cut small slits into the leg spots on the foam balls
Using an X-Acto knife, cut small slits in the hat or sock, where the leg dowels will go. If you are using a hot knife, check the fabric type of the hat. Anything containing. Nylon and spandex tend to melt and can leave a mess.
Using fabric adhesive or fray check, seal the fabric edges so that the slits that you have cut will not run. This step is only necessary if the hat contains nylon and starts to run or spread.
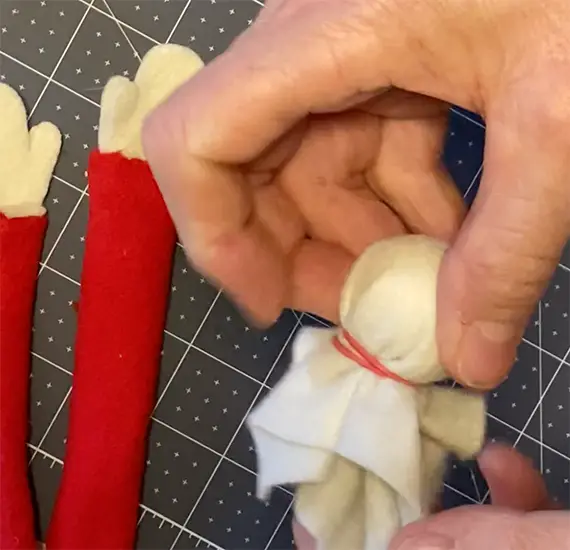
Make Gnome nose
Place the wooden bead inside the 4-inch square piece of felt or fleece. Wrap it and secure it with an elastic band.
Attach nose
Using hot glue or fabric glue, attach the gnome nose to the ball, where the nose should be (as in the pic below). Allow a piece of the fabric to show above the nose. This will be where we add the eyes.
Allow time for drying.
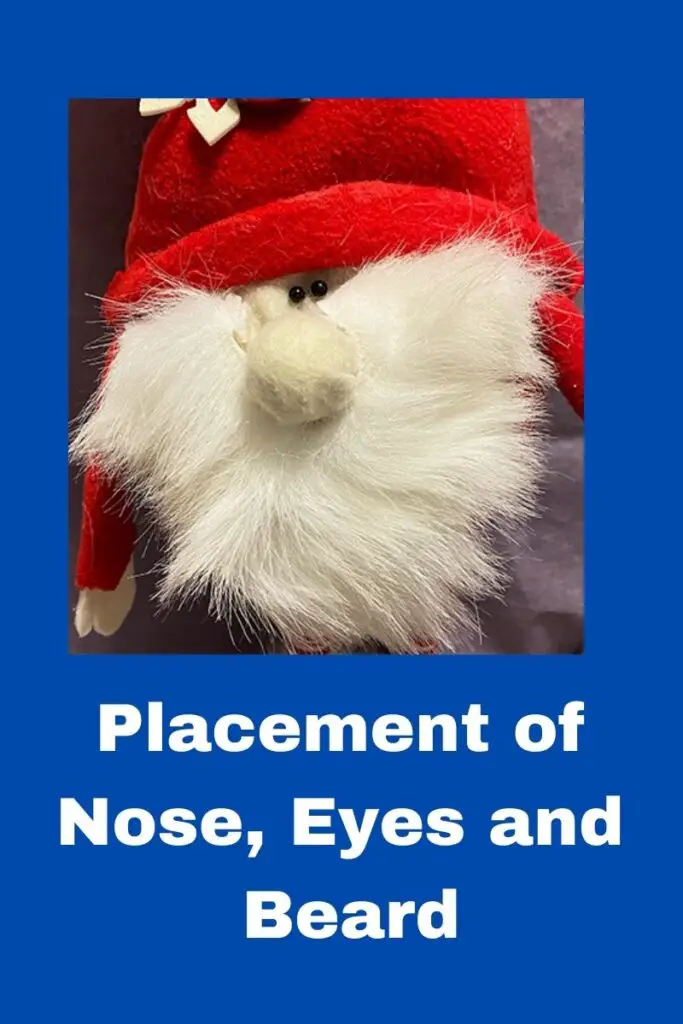
Add eyes
Using fabric fusion or tacky glue, adhere your eyes just above the nose, fairly close together. Allow the eyes to dry completely
Attach the beard
Cut a triangle out of the faux fur for the beard. You can make the beard as long or as short as you want.
Attach with hot glue to the face under the nose and coming up beside the nose (as in the image). The best way to do this is to cut a slit or a small triangle out where the nose goes. I did not supply a pattern because the size of the slit or triangle varies, based on the size of the beard and nose. Start with a small cut and enlarge as you go, to make it fit. Faux fur is expensive, and this is the best way to stay on budget.
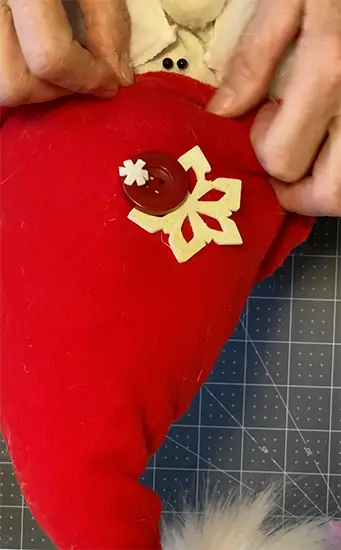
Hat Brim
Roll up the brim of the hat/and secure it in place with fabric fusion glue. Allow the brim to dry before adding embellishments.
Embellish hat
This is an opportunity to add a personal touch when you make a standing gnome. You can add buttons, fabric patches, raffia bows, burlap or whatever you would like to decorate your hat.
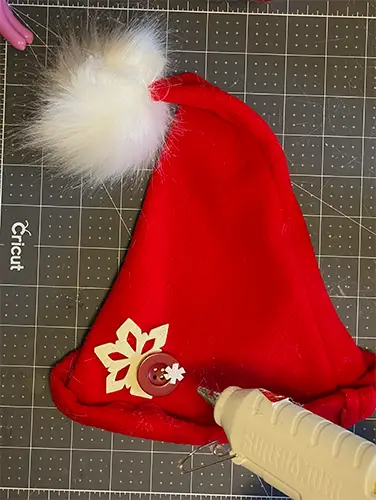
Add a pom-pom or jingle bell to the top of the hat.
Stuff the hat and insert the wire
Add enough poly-fil fibre fill to the hat to make it stand up, but don’t overstuff it.
Fold over the end of your wire (so it won’t poke through the top) and insert it into the hat, so that the end of the folded wire is right up to the tip and about an inch or more sticks out the bottom. This piece will be inserted into the styrofoam ball through the zip tie.
Attach the arms.
The top of the arms will be hidden under the hat. Be sure to put the hat in place to make sure that you are covering the top edge of the arms before you glue them on. Do not glue the hat yet, just check to make sure you have the right spot.
TIP – When attaching the arms, insert a pin into the arms to hold them in place while the glue dries.
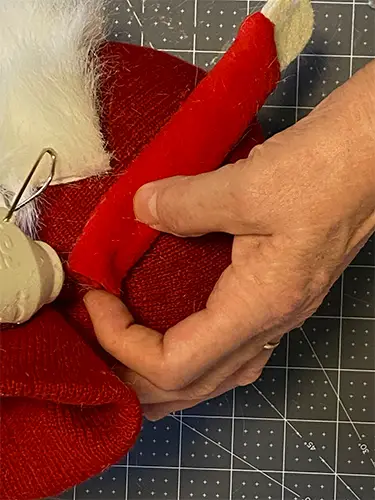
Attach the Hat to the Gnome
Insert the wire into the top of your gnome. Insert the wire through the center of the zip tie and into the foam ball. The zip tie (pulled tightly) will help keep your wire in place.
Pull the hat into place and glue it to the body, and use pins to hold it in place until dry.
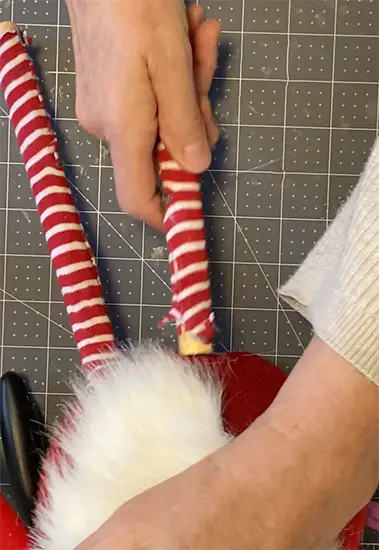
Insert legs into the body
Squeeze some tacky glue into the cavities where the legs will go. Insert the legs and make sure they are pushed in tightly. Allow the glue to dry.
Prepare weights for shoes.
You will need something in your shoes to add enough weight to keep your standing gnome standing straight. Use a small snack-size Ziploc bag containing rice, beans or sand. You can use anything in the Ziploc bags that you can mould around the bottom of the legs. If you don’t have any of these on hand, check our list of ideas for weight for the gnome shoes below.
Important note – If you are planning on making and selling these Gnomes, I recommend you use air-drying clay. Wrap it around the bottom of the legs and secure it inside the shoe.
Ideas for mouldable shoe weights.
- Sand
- Modelling clay (wrap around the bottom of the legs)
- cat litter
- Aquarium stones
- small beads
- dried lentils or beans
- rice
- small pebbles
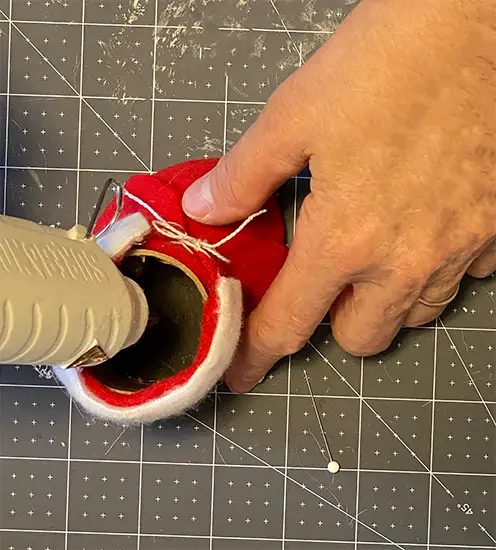
Insert legs into gnome boots
Apply a generous amount of hot glue to the Gnome’s shoes. Place the Gnome’s legs into the shoes and reposition them so that the legs are straight. Add weights to fill the shoes and hold them up. I also put a little extra faux fur around the top of the boots to fill them in.
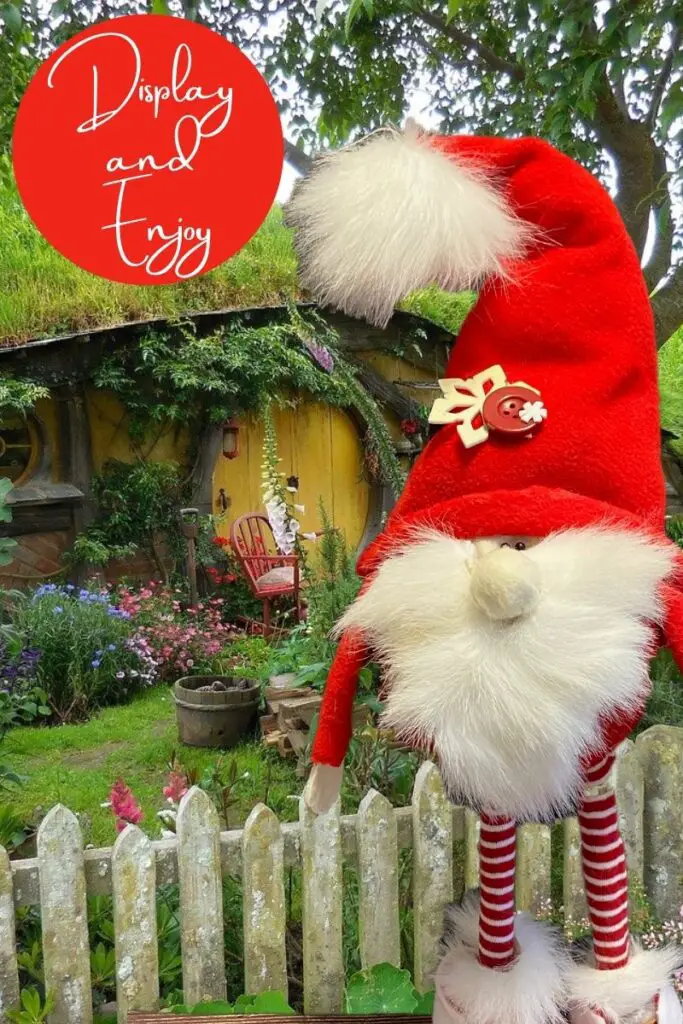
Enjoy your standing, Gnome!


This website contains affiliate links. As an Amazon affiliate, I earn a small commission from qualifying purchases (at no cost to you).