
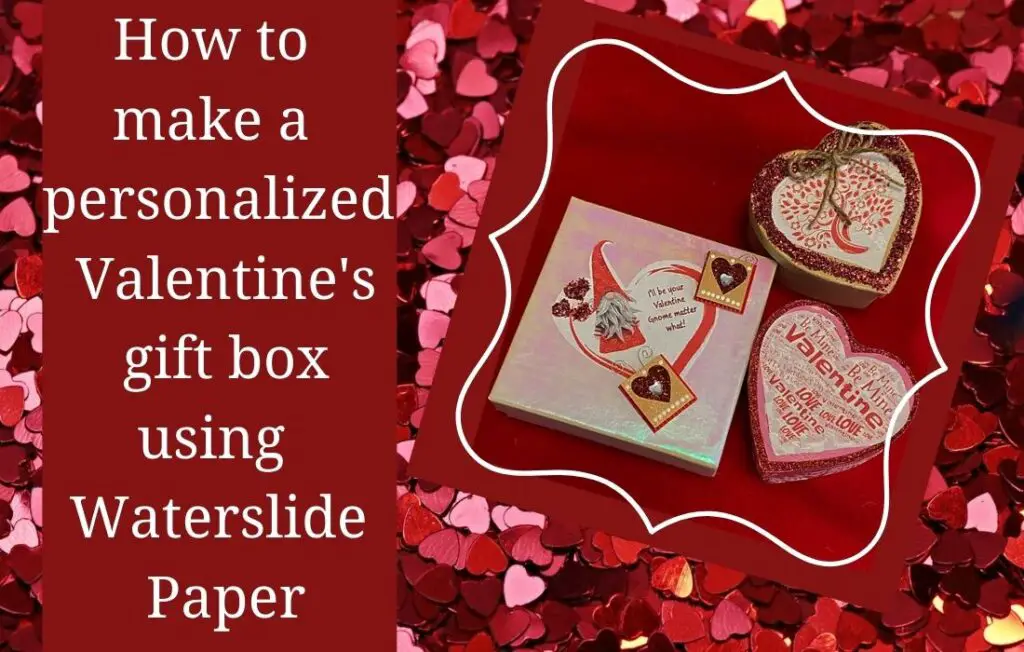
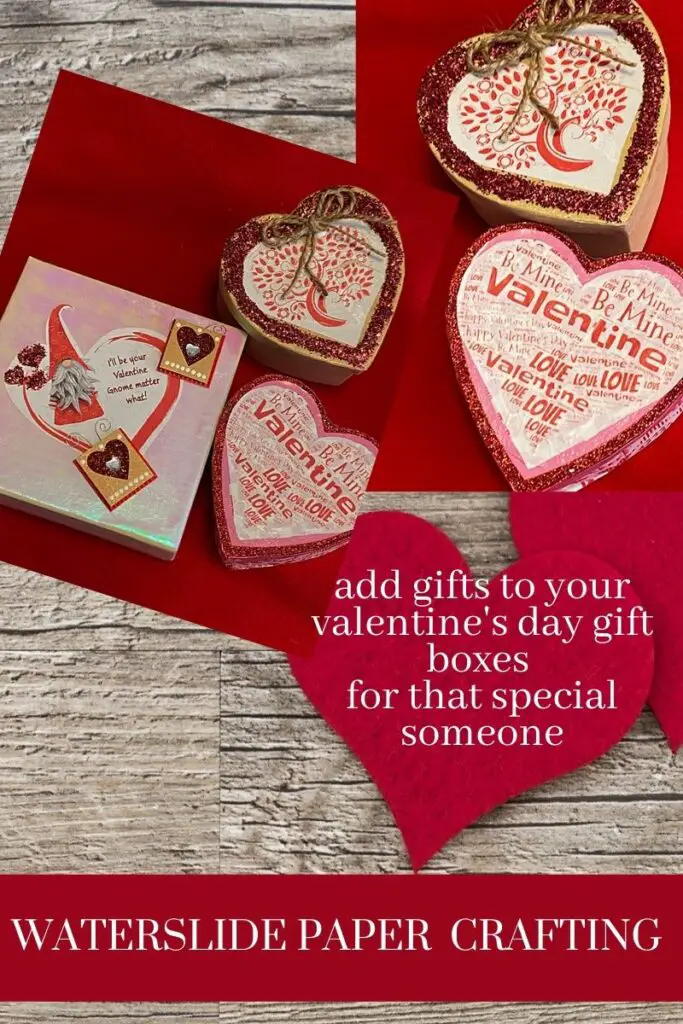
Have you ever wanted to take a dollar store heart box and customize it, but just weren’t sure where to start? You want your box to stand out and be special because it is going to someone special, isn’t it? It is so easy to make apersonalized Valentine’s Day gift box, all you need is waterslide paper, an image and a few supplies.
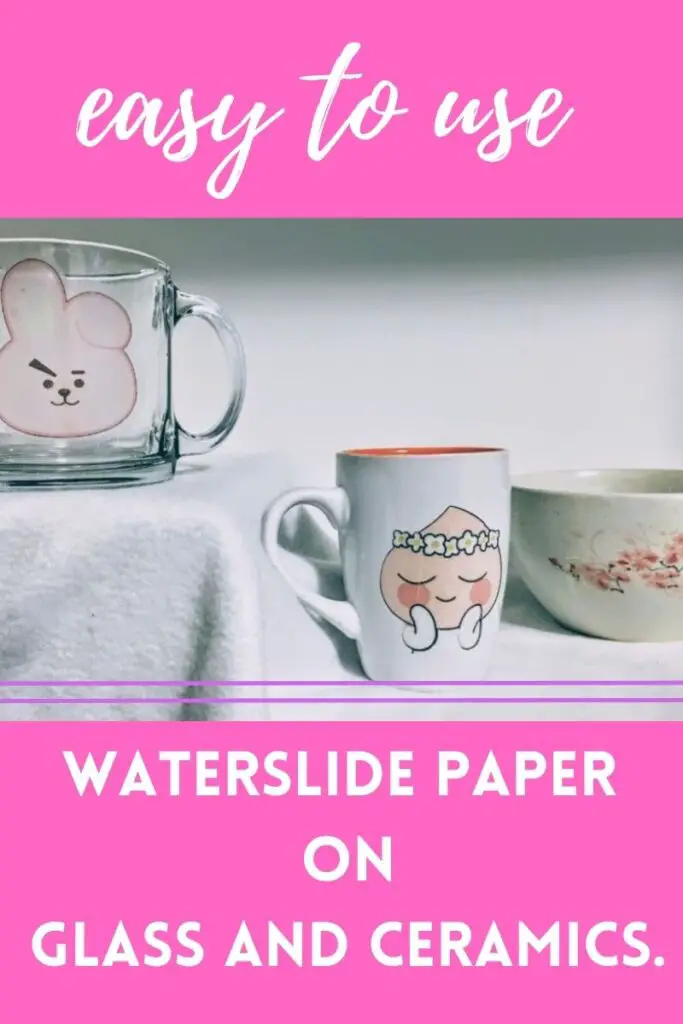
Did you know that you can use waterslide paper on cardboard boxes? With a little prep work and some know-how, it can be done. We will show you how to use waterslide paper to make personalized Valentine’s Day gift boxes. Waterslide paper is one of my favourite products and is very easy to use. You may often see it used on ceramics and glassware, but it can be used on many surfaces. We have used waterslide paper on wood, wax candles to make custom candles, mirrors (perfect for making a DIY Halloween Haunted Mirror) and many other surfaces.
One of the great things about this project is that you can use any shaped box, and you can even change the design and make birthday boxes, Christmas boxes, and so on. It is a perfect way to make personalized wedding boxes and more, with your favourite image.
In this post, I will share a list of supplies needed, tools needed, a downloadable image for you to use, a list of links to resources (if needed) and step-by-step instructions to make a personalized Valentine’s Day gift box for yourself.
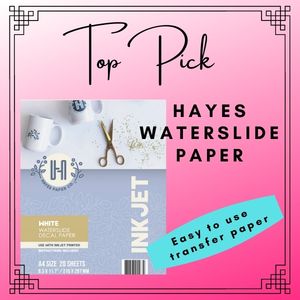
Hayes Waterslide paper is excellent. Choose Inkjet Clear, Inkjet White, Laser Clear or Laser White.
Supplies List
This post contains affiliate links. As an affiliate, I earn a small commission from qualifying purchases (at no cost to you).
- white Waterslide paper (see notes below on how to choose the right waterslide paper)
- cardboard gift box (with a smooth surface)
- image to transfer
- clear acrylic sealer
- Zot Removable Adhesive
- Mod Podge glossy finish
- glue
- embellishments (optional)
- lint-free cloth or paper towel
Craft Room Tools
- A bowl that is slightly bigger than your design
- craft scissors
- inkjet or laser printer
- craft brush
- cardboard box ( to use as a spray booth)
- hair dryer (blow dryer)
Supplies needed if using a cutting machine
This is a great opportunity to recycle old gift boxes. For example, a gift box that is red with a Christmas image on the top can easily be covered with a Valentine’s Day graphic and then reused to hold a special Valentine’s gift, or a blue birthday gift box can be turned into an Easter gift box. You get the idea. What a great way to save money and recycle those old boxes that you no longer need.
What is waterslide paper?
Waterslide paper is a type of image transfer paper. It involves printing an image, sealing the image and then using water to transfer it onto a surface.
Waterslide paper works well on surfaces that are smooth and do not absorb water, as the paper needs to glide onto the surface. (this is why we need to prepare our cardboard box before using waterslide paper on it.)
Choosing Waterslide Paper
Waterslide paper is available for both inkjet and laser printers. This is obvious, but make sure you buy the appropriate paper for your printer.
Waterslide paper is also available in clear or white.
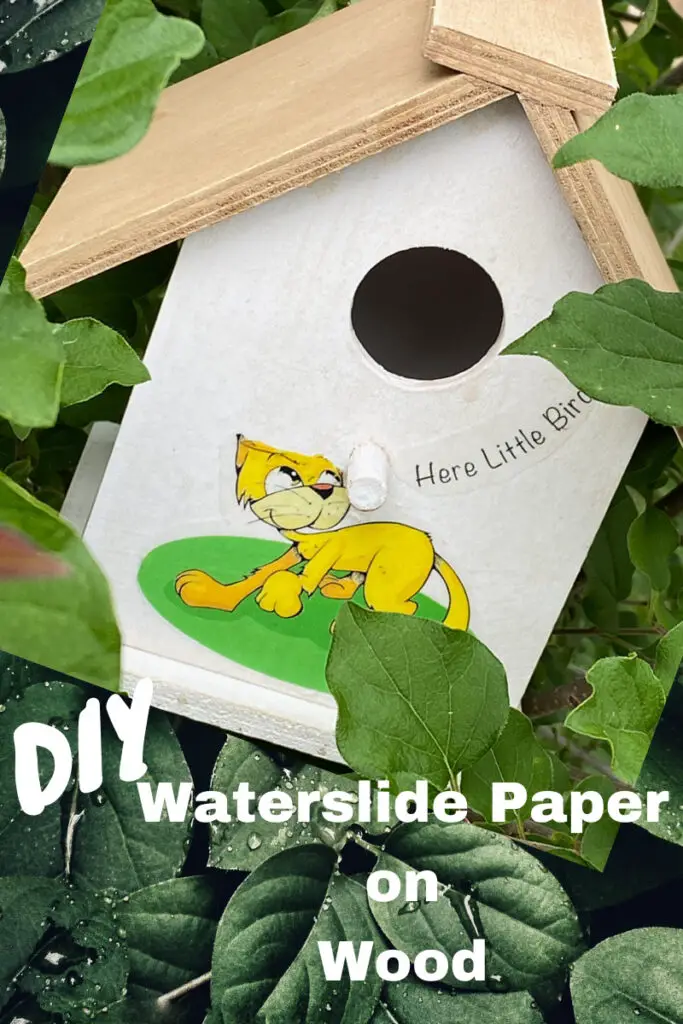
Clear waterslide paper is perfect when you are using it on a white or light-coloured background (like our white-painted wooden birdhouse design). Using clear waterslide paper on dark backgrounds can make the design difficult to see.
The white Waterslide paper works nicely on dark objects and backgrounds. The only drawback is that and spaces inside of your image or design will be white.
Important tips for printing your image.
Make sure that you have checked the guide wheels of your printer to make sure that the paper feeds correctly. This is especially important if you are using a cutting machine. When the waterslide paper prints, it has a smooth, glossy finish, and if the paper feeds on an angle, it can distort your image.
When using a cutting machine, such as a Cricut, a bounding box is printed around the image. This enables your cutting machine to read the paper and cut the image in the appropriate places. If the printed bounding box is not at a right angle, it can cause the cutting process on your cutting machine to cut over your image instead of around it. (This is annoying and costly)
Turn off bleed. This feature is on the “Make it” screen of your Cricut, and it defaults to on.
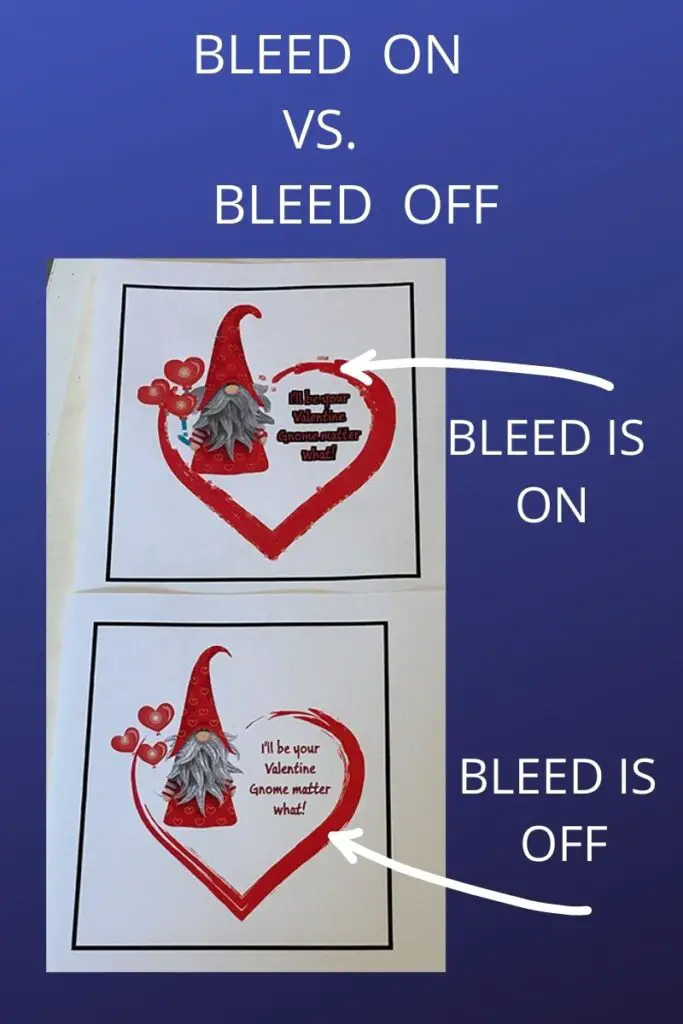
Many home printers also have an option to print “No Bleed.” This will be found in your settings menu. (see comparison using Cricut print and cut above)
Do a test Print– I recommend you do a test print on a piece of printer paper before using your waterslide paper. You can double-check the print quality, size and troubleshoot any errors, etc., before using your waterslide paper. (I don’t like to throw out waterslide paper)
Make sure you load the waterslide paper into your printer according to the printer instructions. Waterslide paper has a film on one side of the paper. This is the side that the image is printed on. And this will need to be faced the correct way. Unfortunately, waterslide paper can only be printed on one side.
How to make a personalized Valentine’s Day gift box
Measure your gift box lid or the area on your box that will hold the image. This will ensure your printed image will fit onto your box.
Choose a design that you want to use on your personalized Valentine’s Day gift box.
Download our free printable designs from our free resource library. (or use your own image)
This is a great opportunity to add a personal image, such as a wedding photo, family photo or a favourite photo.
How to make a personalized Valentine’s Day gift Box
Using a printer and Scissors
Open your document program on your computer.
Insert your image into your document.
Resize the image to fit your box lid.
Print the image. ( see notes about printing your image)
Cut around the image to fit your gift box.
Jump to Step – Prepare the box (below)
Using a printer and a cutting machine.
Download the design from our resource library ( or use your own image)
Upload the design into Cricut Design Space
Select any of the selections and then select “print and cut”. If you wish to remove the background, you can do this here, but there is no need if you are using our images.
Note: These images are not designed to cut closely around the design. The reason for this is to allow you to customize the shape to fit your box. You can choose the shape you need on the canvas. (see steps below)
Load it onto the canvas.
Select the shape you need from the shapes menu and position it over your design.
Send it to the back (right-click and choose “send to back”)
Resize to the appropriate size for your project.
Add text if desired.
Once you have the size you want, create a bounding box around both layers.
Select “Flatten” from the menu on the bottom right. You will see the project change to a print and cut.
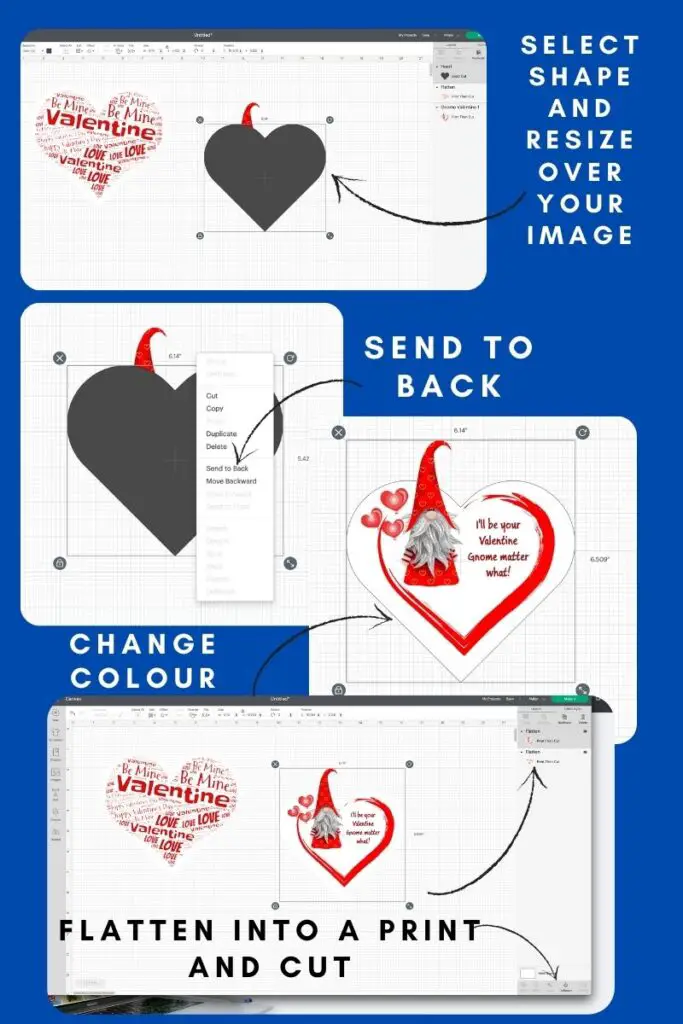
NOTE – Make sure the background shape is white (unless you want the background to be printed in colour)
Select “Make “
You will be prompted to send your project to your printer to print. You must TURN OFF BLEED before printing. (This ensures that the printed letters will not appear smudged)
When choosing materials on your “make ” screen, choose Printable sticker paper. (So far, I have had the best results with this setting. (Feel free to use a different setting if you have found something that you like better)
Jump to step – Prepare the box. (below)
Other Waterslide Paper projects you might like.

Prepare the box
Wipe the surface of the box to remove any dust.
Using a craft brush, apply a generous coat of Mod Podge to the surface of the box. ( only on the area that you plan on putting the waterslide paper on)
The Mod Podge will seal the box and make it waterproof, as well as provide a smooth surface for the waterslide paper backing to slide onto.
Apply a second coat and again, allow it to dry thoroughly.
Prepare the Waterslide paper.
Make sure you are in a well-ventilated area.
Place a Zot adhesive dot into the bottom of your cardboard box (mock spray booth)
Affix your design to the Zot. The adhesive Zot will hold your waterslide paper in place while you are applying the sealant spray.
Apply acrylic sealant spray over your design. Let dry and then repeat two more times (or according to your product instructions)
Apply the waterslide paper t
Fill a dish with warm water.
Make sure you have everything in place. Have your box ready. The next few seconds need to be undisturbed.
Soak the image for 30 to 60 seconds (follow your product instructions, if they differ)
Check the paper to make sure that it is ready for the backing paper to come off. You can do this by putting the paper between your fingers and gently pushing. You are just checking to see if it will slide. Be careful not to push too hard and crack the paper.
Once the paper is ready, remove it from the water and place it into position on your box.
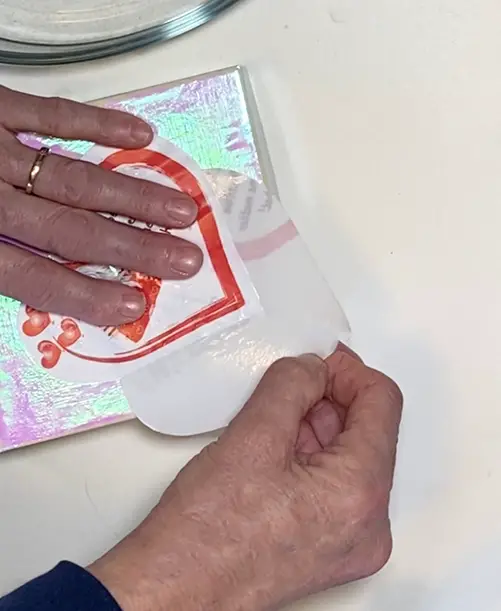
Gently hold the top of the decal while sliding out the backer paper. Go slowly, as the paper can tear if you move too quickly.
Discard the backer paper.
Blot up any excess water when finished. Allow your Valentine’s Day gift box to completely dry.
Use a hairdryer on low to medium heat to dry the surface. This will prevent rippling in the cardboard surface from the water. Even though you have sealed the surface with Modge Podge, this is an extra precautionary step; after all, the base is cardboard.
Seal the Gift box
This step is optional. If the box will be handled a lot, then it is a good idea to seal the design.
To seal, apply a coat of Mod Podge over your design and allow it to dry.
Embellish your Valentine’s Day gift box. (Optional)
This step is also optional.
If you want to add glitter, ribbon, or other embellishments, this is the time to bump it up.
To add glitter
Use Alene’s tacky glue pen to add outlines or fine details and sprinkle with glitter.
Ideas for embellishments
We hope you have fun with this project and get creative with your personalized gift boxes.

This website contains affiliate links. As an Amazon affiliate, I earn a small commission from qualifying purchases (at no cost to you).