
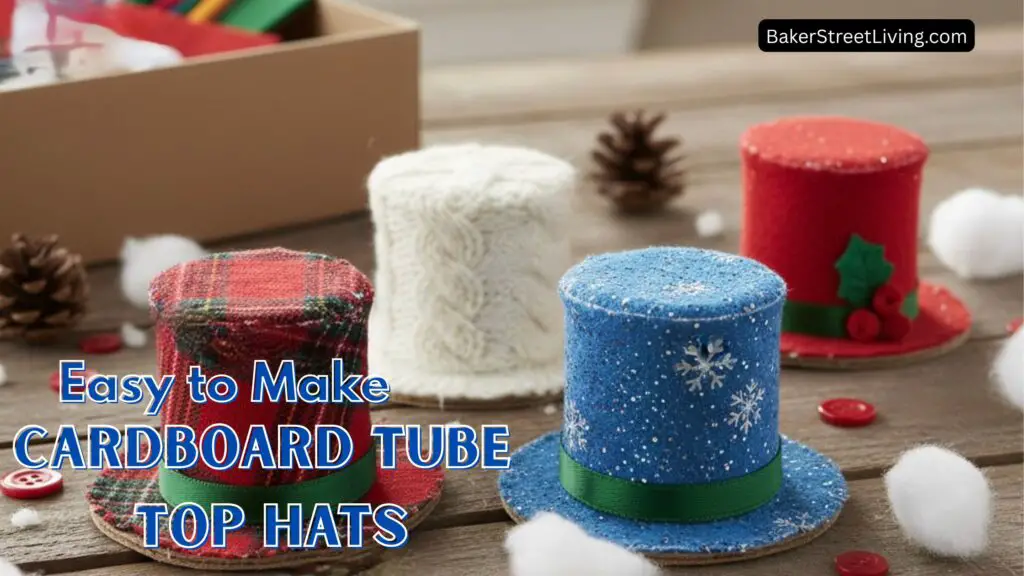
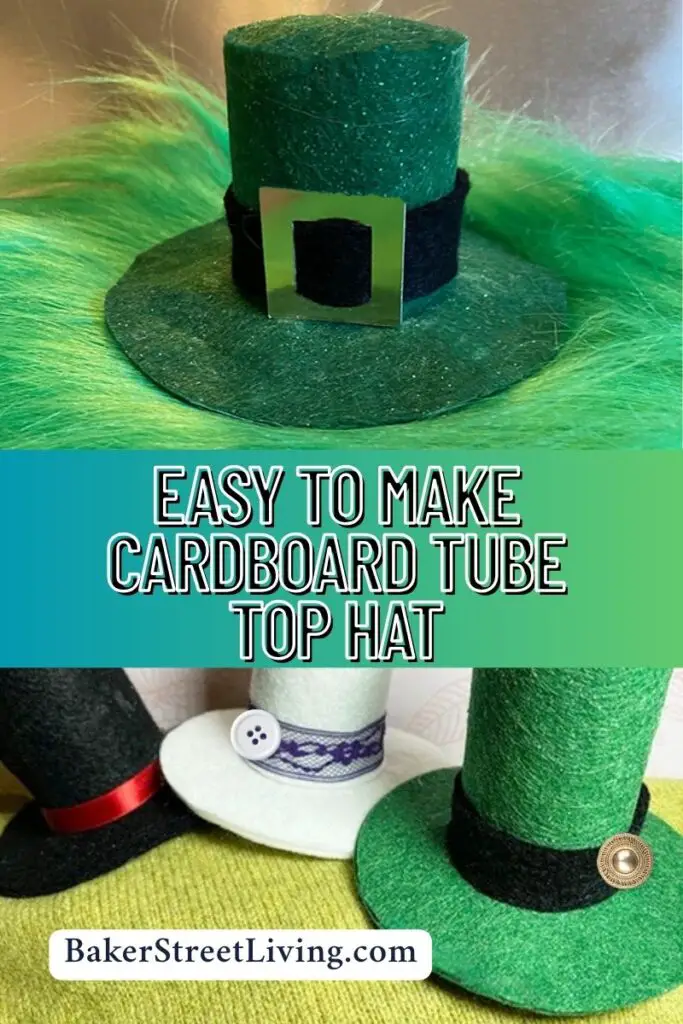
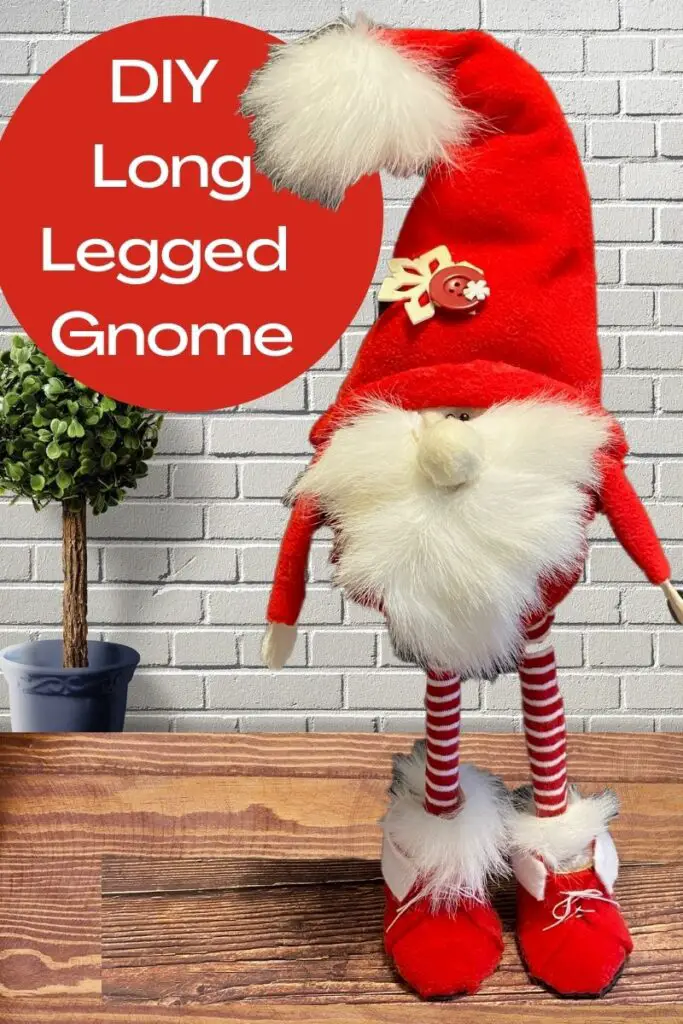
Whenever you are making our long-legged gnome or our standing Leprechaun, a top hat is a must. Our standing Long-legged Gnome has a traditional gnome hat, but it also looks cute with a top hat. Our easy-to-make cardboard tube top hat is perfect for a gnome or our standing Leprechaun Gnome.
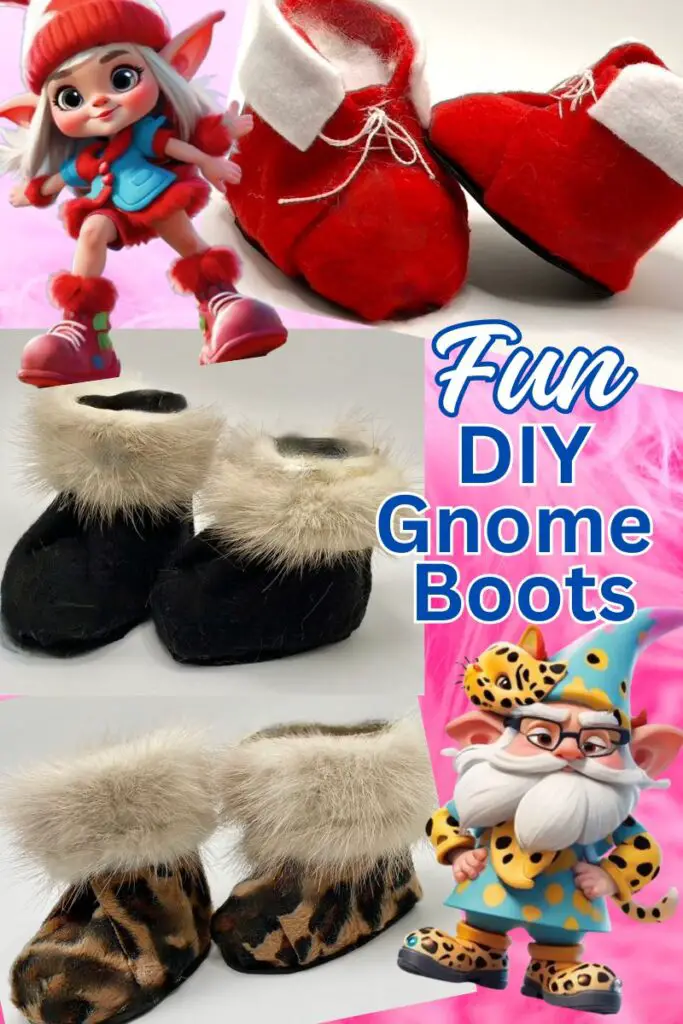
If you are a Cricut crafter, then you always have a lot of extra cardboard tubes left from vinyl, and this is a great way to recycle those cardboard tubes. They also make cute Gnome boots, for your standing Gnome or a standing Santa. If you are using a cutting machine, cutting felt and fabrics can leave a lot of fibres behind on your mats. Always clean your mats when you are finished cutting fabric.
There are some great ideas on how to use our cardboard tube top hat as well. They make great Christmas tree ornaments, leprechaun traps, hats for snowmen and Santa Claus and of course for our standing leprechaun. Another awesome use for these cool top hats is to fill them with treats and cover the bottom, perfect for parties and celebration favours.
What You’ll Need
This website contains affiliate links. As an Amazon affiliate, I earn a small commission from qualifying purchases (at no cost to you).
- Cardboard tube (Cricut vinyl tube, paper towel tube, toilet paper roll or wrapping paper tube)
- Fabric, such as felt (one cardboard tube top hat requires one 8.5″ by 11″ sheet of felt)
- ribbon (circumference of the hat)
- tacky glue. or a hot glue gun
Crafting tools
- Measuring tape. (flexible tape)
- scissors or,
- circle cutter or
- cutting machine
- cardboard knife or utility knife
Step-by-Step Instructions
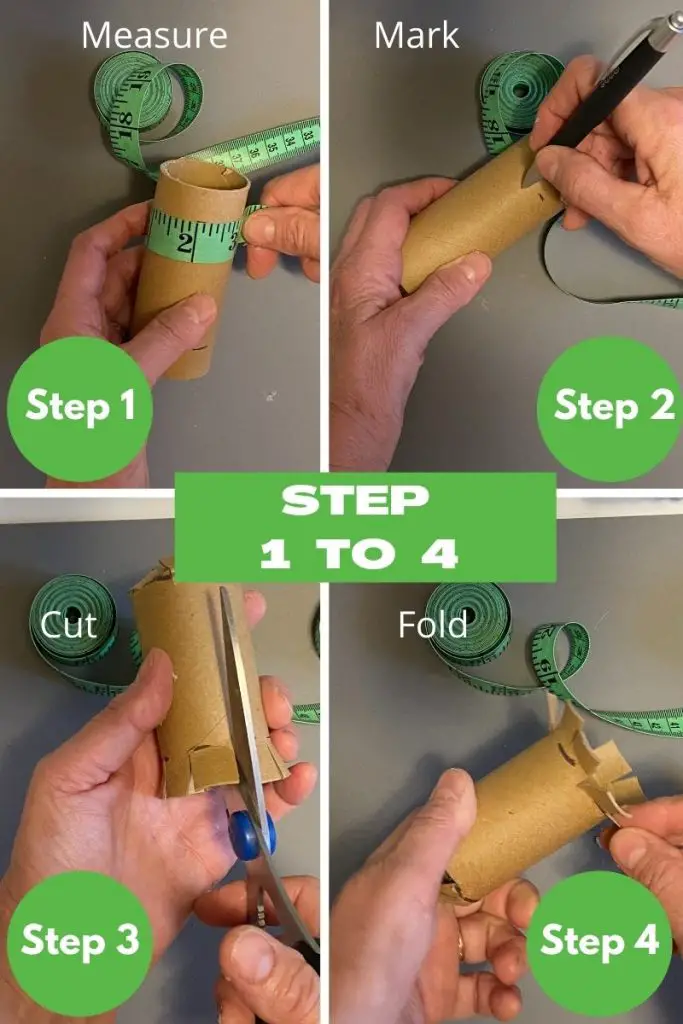
Step 1
Measure the circumference (around the outside) of the cardboard tube. Measure the diameter of the tube and add 1/4 of an inch. (write these measurements down for later)
Step 2
Mark the cardboard tube on both ends, 1/2 an inch down from each end. Mark around the tube, every inch or so. Using a marker or pen, draw a line connecting the marks around the tube. This gives you a line to mark the depth to cut each slit.
Step 3
Cut small slits in both ends of the cardboard tubes. The area between both cut ends will be the finished height of the top hats.
Step 4
Fold both cut ends. One end of the tube should be folded inward and one end outward. The inward end will be the top of the hat (the crown). The folded-out part will be used to secure the brim.
Step 5
Measure the height of the tube (just the part without the cuts.) This will be the height of the finished top hat.
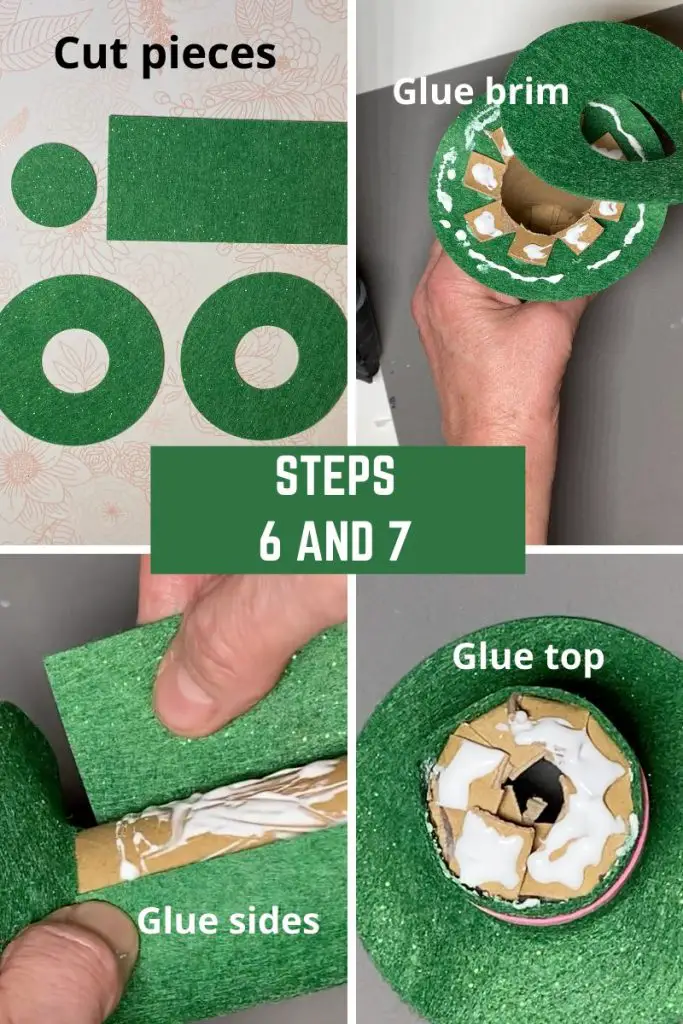
Step 6
Cut the following felt pieces.
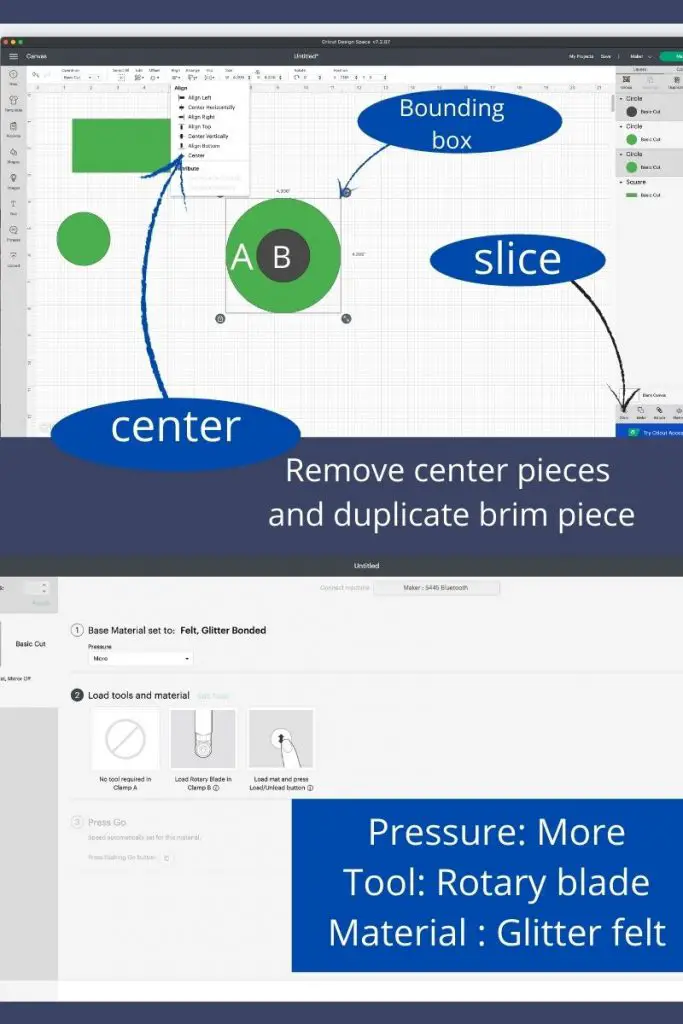
If you have a cutting machine that cuts fabric (Cricut Maker or Cricut Maker 3), you can easily cut the felt pieces using your fabric grip mat and the rotary cutting tool. This is the best way to get perfectly cut circles and shapes every single time!
- One rectangular piece – this will go around and cover the entire side of the hat. Use the measurements that you took of the circumference and height for the size of the rectangle.
- One circular piece – this will be the top (crown) of the hat. Use your diameter measurement for the size. (don’t foget to add the 1/4 inch to the measurement.
- 2 circular pieces – these will be the brim of the hat – cut a circular hole in the center of both. The holes need to be the diameter of the cardboard tube so that it will slide over the sides of the hat. (see the image below for centring and slicing for the hole). You can make your brim as large or small as you like, as long as it covers the cardboard.
Using a cutting machine.
If you have a Cricut cutting machine, use it to cut your pattern pieces.
1 – Open design space.
2 – Choose shapes.
3 – Select a rectangle and adjust the size to the measurements that you took for the sides of the hat.
4 – Select a circle and adjust it to the size of the top (crown) of the hat.
5 – Select another circle (circle A in the above image) and adjust it to be the size of the finished brim.
6 – Select another circle (circle B) and adjust it to the diameter of the tube.
7 – Move circle B over circle A, and left-click and drag a bounding box around circles A and B.
8 – Select “center” from the align menu across the top. You should see the small circle line up with the center of the larger circle
9 – Make sure that the bounding box is still around both circles (A and B)
10 – Select “slice”, from the menu located at the bottom right side of the design space canvas.
11 – Move the larger circle away. You should be left with a donut shape. Delete the sliced portions and keep the donut-shaped circle. This will be the brim.
12 – Duplicate the brim piece
13 – Make it. (you should have one small circle, one rectangle and two circles with holes in the center)
Caution – You can also use a hot glue gun in place of the tacky glue. Check before you use it to make sure that it does not melt your fabric or soak through it. For this tutorial, I used tacky glue, as the hot glue tends to penetrate the felt, which leaves marks on the finished hat. I recommend testing your fabric on a scrap piece before using hot glue.
Step 7
Assemble and glue the cardboard tube hat together.
Apply tacky glue to the top side of the cut cardboard brim pieces.
Slide one brim piece down the sides and adhere to the pieces on the brim.
Apply glue to the other side of the brim pieces.
Adhere the second brim piece to the underside of the brim, covering the cut slits of the brim and creating a nice finished look. (see note below if making treats or favour holders)
Apply glue around the side of the cardboard tube, covering it all the way around and from top to bottom.
Apply the felt around the sides onto the glued surface. Make sure that the rectangle is straight. If the felt is stiff, use a rubber band to hold the felt in place while it dries.
Apply glue around the top slit pieces and cover with the round piece that was cut as the top (crown)
Press everything to make sure the glue is adhering. Allow the finished cardboard top hat to dry completely.
Step 8 (Optional)
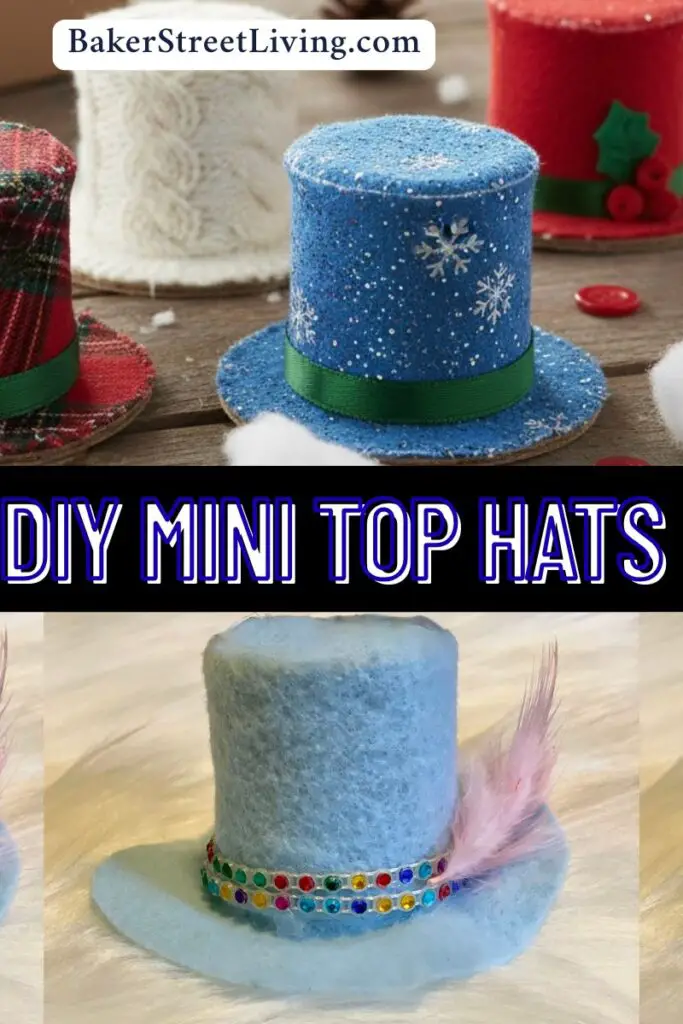
Add embellishments
Once the hat is completely dry, add a piece of ribbon or different colours of felt for the band.
Insert feathers, hat pins, playing cards, a buckle, flowers or whatever embellishments go with the theme of your top hat.
This is a great opportunity to use up scraps of ribbon, leftover buttons or other craft supplies.

Using a cardboard tube as a top hat for a table favour.
For parties, weddings, or other celebrations, a cardboard tube top hat is a great little accessory to fill with candy, treats, or small mementos.
When using our top hats as favours, cut a piece of clear plastic or vellum and place it between the brim pieces. This creates a window to see the treats or favours on the top hat.
Notes on extras used when making a cardboard tube top hat.
When making top hats for certain crafts or characters may need some extra craft supplies. Some typical hats that we have used these for are listed below.
- Snowman hat – add a red ribbon as a band, and for the hat, use black felt
- Leprechaun Hat – Use gold cardstock for the buckle on the hat and black ribbon for the hat band. Use dark green felt for the hat.
- Easter Bunny Top Hat – add a pale green or pink ribbon and ears on each side of the hat (slip the ears under the ribbon and glue) – use pink or green felt for the hat.
- Alice in Wonderland – add a red ribbon and small miniature playing cards under the ribbon. (Use black or purple felt for the hat.
- Magician‘s hat – black glitter felt for the hat and white or black satin ribbon for the band.
- Wedding favours – Black satin fabric with coordinated wedding colour hat band.
- Victorian Gentleman – Black satin with a black band. (Make the hat taller- they’re called stove pipe hats)
- Christmas Ornaments – Use glitter felt in a colour that goes with the colour theme on the tree, and use a coordinating colour band. Add a string hanger by using embroidery floss and a large needle. Sew a loop up through the center of the hat.
We hope you have enjoyed another up-cycling project. Who doesn’t love a budget-friendly project that is kid-friendly and fun to make?

This website contains affiliate links. As an Amazon affiliate, I earn a small commission from qualifying purchases (at no cost to you).