
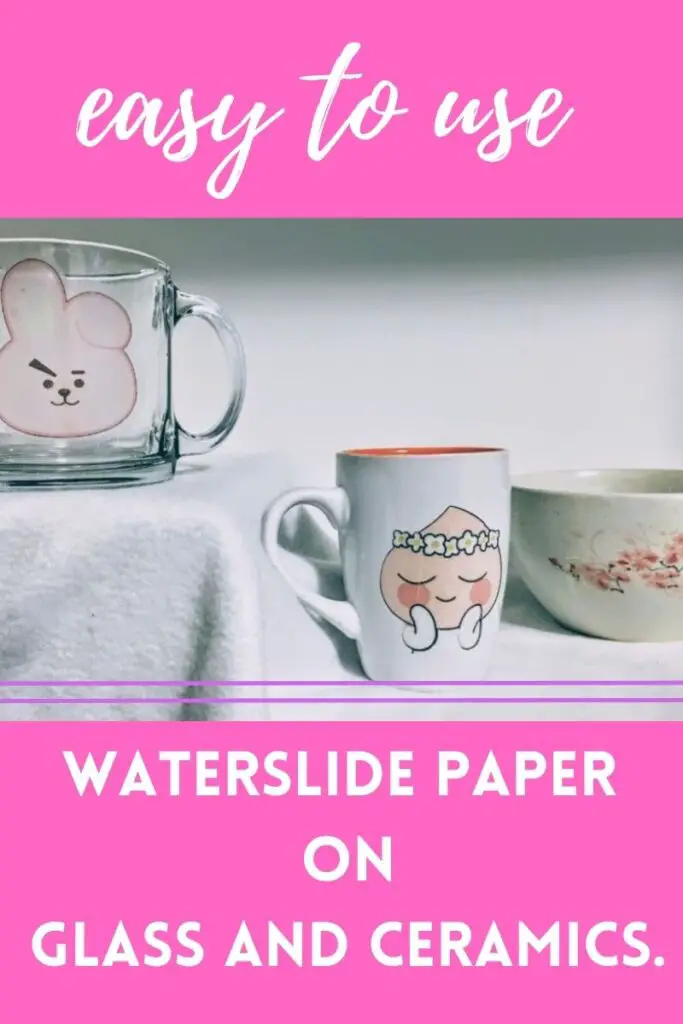
A while ago a friend told me about Waterslide paper. Of course, it was time to research this nifty craft invention! I was pleasantly surprised. Waterslide paper is super easy to use. One of the easiest things to learn about using is how to use waterslide paper on glass, and mugs.
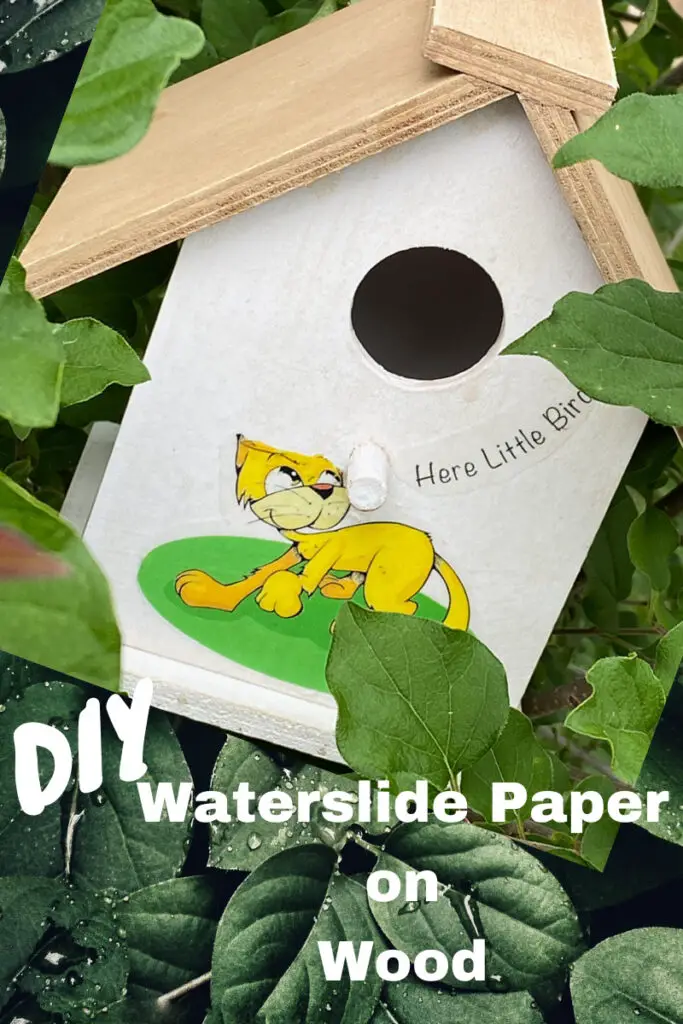
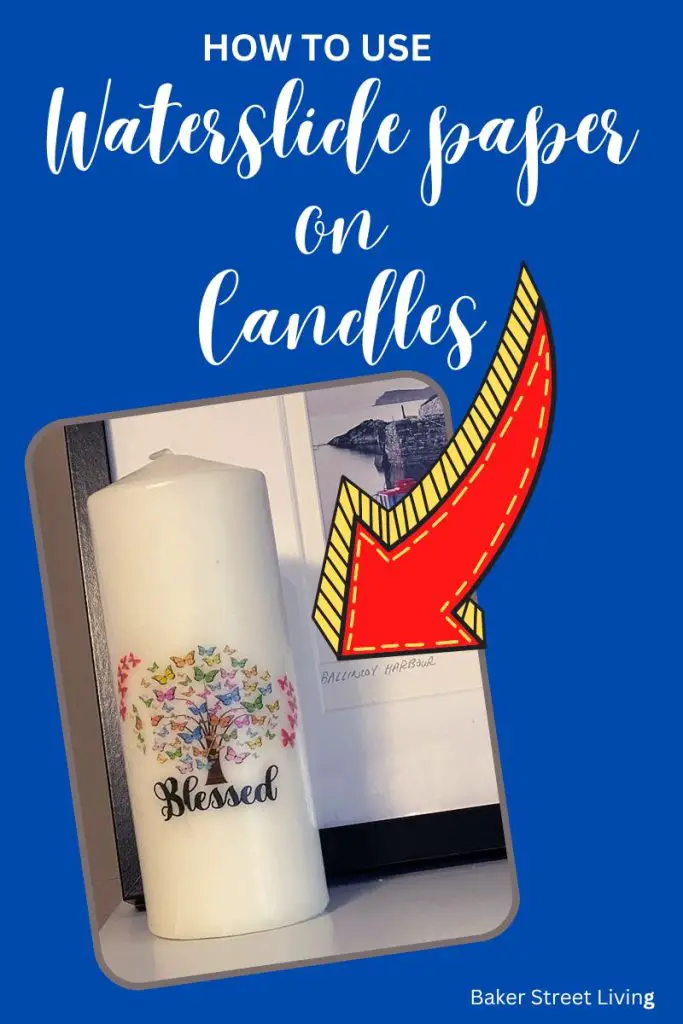
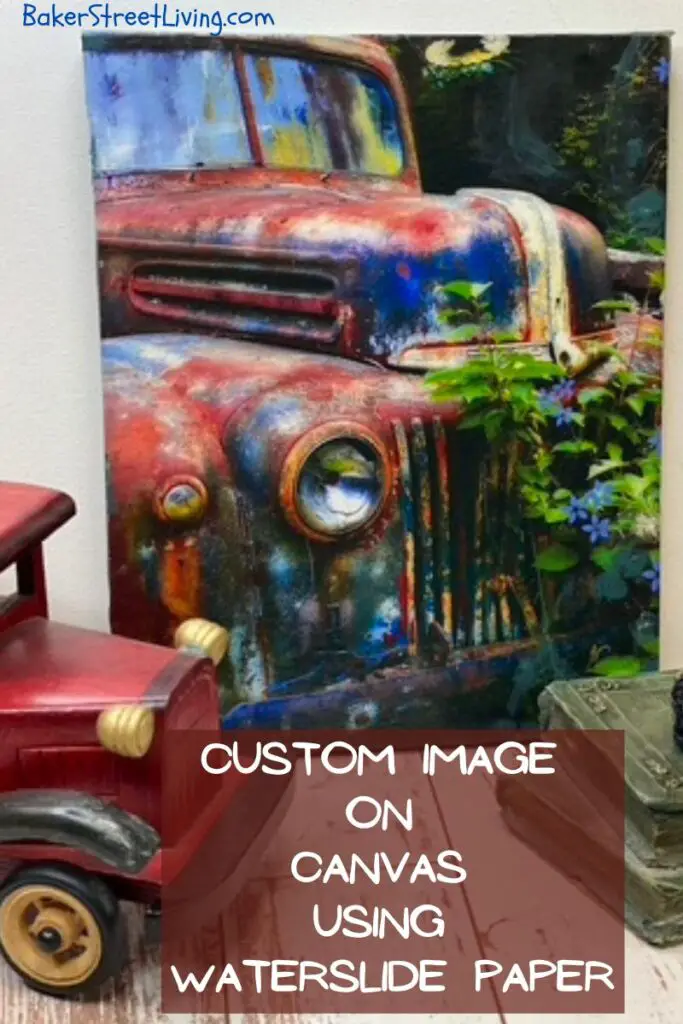
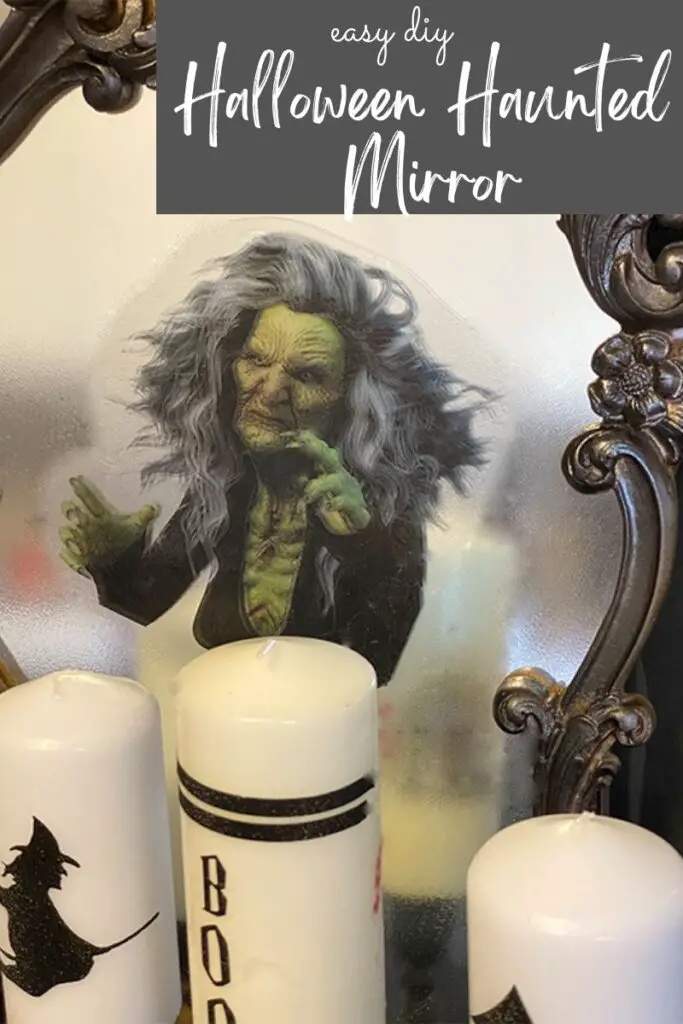
Waterslide paper can be used on mirrors, wax candles, wood (check out our waterslide paper on wood birdhouse project), canvas and many other surfaces. You can even make a temporary design, just like the one in our Halloween Haunted mirror project.
You simply choose your design, print and cut, seal, soak and apply. After you’ve soaked it, the backing slides off, leaving your lovely design on your surface. Hence the name Waterslide. You must give this a try!
This website contains affiliate links. As an Amazon affiliate, I earn a small commission from qualifying purchases (at no cost to you).
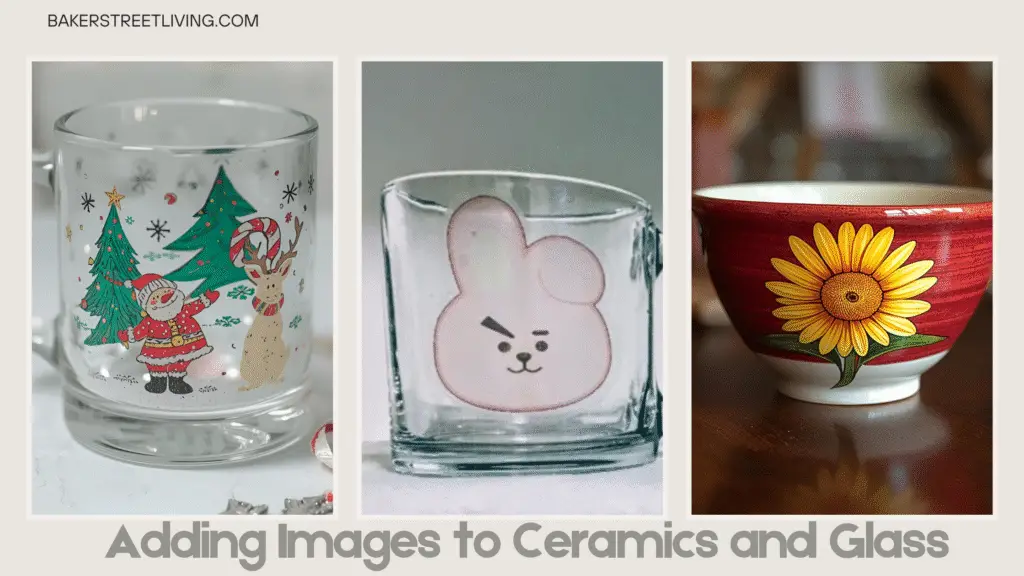
How to Use Waterslide Paper on Glass and Ceramics
What is waterslide paper?
Waterslide paper or waterslide decals are image transfer papers that you print on, and they are sealed and activated in water. It is then applied by sliding it onto a surface while removing the backing paper.
Choosing Glass and Mugs.
What to look for :
Smooth Finish
For the best results, choose items such as drinking glasses, glass vases, ceramic or glass bowls or mugs that have a smooth finish. Learning how to use waterslide paper on glass, ceramic, plastic, and even wood is easy as long as you prep the surface and you follow the manufacturer’s instructions. One of the most important things you need to look for is a smooth surface.
In this project, the items I used were purchased at a local thrift store. (Fun time up-cycling!) Getting items at the thrift store saves you money, too, especially when you are learning how to use waterslide paper on glass and other surfaces.
When learning how to use waterslide paper on glass plates and serving dishes, it is a good idea to put your decal on the underside of the dish. When applying waterslide paper to the underside of the glass, mirror the image when printing. When the piece is finished, the image will show clearly and correctly from the top of the glass dish. There will be no contact with food and the waterslide paper.
Colour
When choosing your surface or your design, keep in mind colour. If your design has a lot of dark elements, such as lettering, words or dark images. it is best to apply it to a light-coloured surface. Waterslide paper comes in white and clear. White can be used on dark surfaces, but you will have a white background on your design.
Which Type Of Waterslide paper should you choose
Waterslide paper is available in clear or white.
Using clear waterslide paper is the best option on clear glass or light-coloured surfaces as the details of your design will show through. When you are learning how to use waterslide paper on glass, a good option is to start with a simple design on clear waterslide paper.
If you are using a dark surface, such as a black mug, the white waterslide paper, which has a white background, would ensure that all of the elements of your design are visible. Keep in mind that the background of your printed design will still be white. If you are using clear waterslide paper on a dark surface, make sure your designs are bright so that they don’t fade into the background. I have not had much success using clear waterslide paper on a dark background.
Want to learn more about waterslide paper and its uses? Check out our Complete Guide To Using Waterslide Paper
Choosing the right waterslide paper for your printer
Waterslide paper is compatible with both inkjet and Laser printers. It specifies on the package. Make sure you read the package instructions and get the paper that is compatible with your printer before you buy.
There are many brands of waterslide paper. When you are purchasing Waterslide paper, be sure to check the instructions and make sure it is the right fit for your project. Most brands are very similar, and the variations can be in times to soak or sealing recommendations. be sure to read the package instructions.

Supplies List
- Waterslide decal paper
- Acrylic spray sealer
- Rubbing alcohol
- Box to spray the sealer in
- a towel or lint-free cloth
- A dish for soaking the decal in water (must be bigger than the design)
- Items with a smooth surface. (mug, vase, bowl, etc…)
Get the free cherry blossom design in our free resource library. Log in here with your password.
You will also need a printer. I printed my designs on an inkjet printer. There are brands of Waterslide paper available that are compatible with a laser printer. Choose the right one!
Using Cricut Design Space for Waterslide Paper
Waterslide paper can be easily used in a cutting machine. I am using a Cricut cutting machine, so I uploaded my design into the Cricut Design Space. If you are using a Cricut cutting machine, follow these simple steps.
- Upload your design to Cricut Design Space.
- Select open, then choose complex and then continue. You can now remove parts of your image (if desired)
- Save as a print-and-cut file.
- Select insert, and your design will be loaded onto the canvas.
- Make any additions to your designs here, such as lettering, other shapes, or uploading and combining other designs.
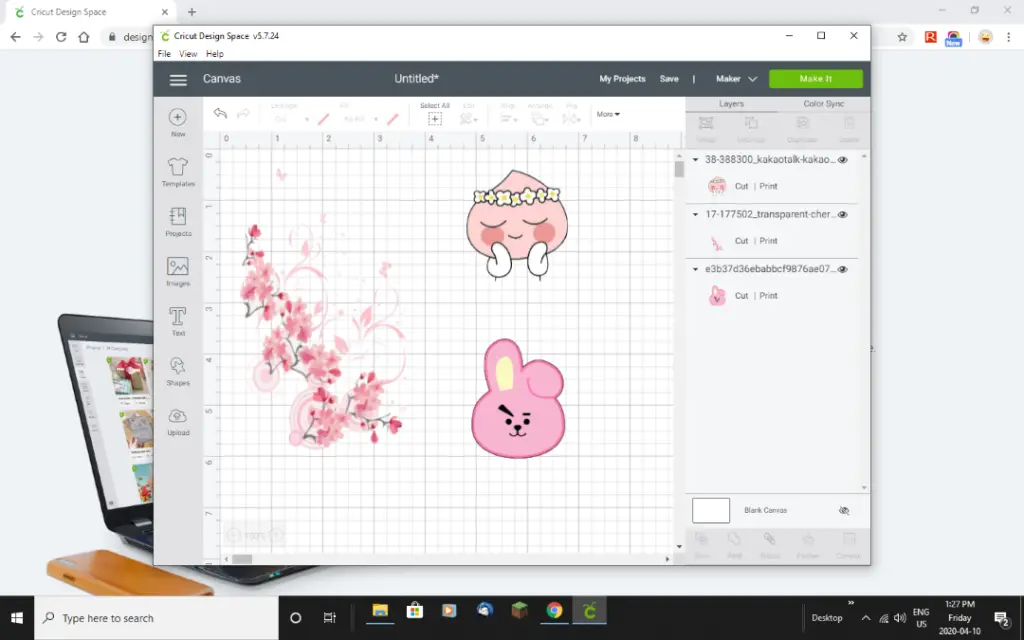
- Resize now. Using the grid on the canvas will allow you to make sure the size will fit your object.
- Resize using the arrow in the bottom right corner of the box.
- To avoid intricate cuts on your decal, select “OFFSET” from the top menu. Use the toggle in the drop-down menu to add the desired size around your decal. This is the perfect way to add an invisible border around your decal and maintain the design.
- In the offset menu, you can choose weld or no weld. Welding in the offset menu puts everything on one layer. It saves you a step later. Depending on your project and if you have other items that need to be grouped, you may also need to weld other parts of your design as well as flatten them before printing.
If you do not have the offset option, you can also add a shape to the background and weld the design to the shape. You may not have the offset if you are not running the current version. Try updating the design space before moving on.
- Next, select “flatten”. (This will bring all the layers together into one layer for a single print and cut image)
- Make sure you have the image at the correct size before you make it.
- If it is to your liking, select “Make “
- Send to your printer (be sure to load the paper correctly according to your printer instructions, so the image is printed on the correct side.
- TURN BLEED OFF. – You will get the option on the screen that will appear in Cricut Design Space that prompts you to choose your printer.
- Let the image completely dry.
NOTE- Choose when to cut. If you are making a small design and want to save the remainder of the paper for a future project, cut your design before sealing. If your design fills the page, the cut will be made after the sealing process is complete.
Once the waterslide paper is sealed, it can not be printed on again for another decal.
Creating your design (without a Cricut)
To create a design for printing on waterslide paper, you can use a design program or an image editing program such as Photoshop. It will also print from any Word document. Just follow the same steps for sealing, sizing and adhering.
Some great places to get images from the internet are Pixabay, Unsplash and Pexels or use your own images. These three websites offer free images for personal use. Be use and check the usage rules before using their images.
Sealing your printed waterslide design
- Use a cardboard box as a spray booth. (to protect your area when spraying with an acrylic sealer.)
- Use a removable adhesive tape or Zot to hold your design at the bottom of the box. If you skip this, the paper will blow around with the force of the aerosol spray.
- Give your waterslide paper three light coats of sealer. Be sure to wait 30-35 minutes between sprays and then wait 45 minutes before you cut them. If you are in an area that has a high humidity level, wait as long as necessary for the paper to completely dry.
Cutting on a Cricut machine
- Once fully dry, place your waterslide paper onto the green standard grip mat. (Image facing up) Be sure that the printed bounding box around the decal is straight on the cutting mat, to allow the Cricut to easily read and cut the line at the appropriate place.
- When selecting your base material, waterslide paper is not on the list. I chose Printable sticker paper and have had success with that setting.
- REMINDER – if you are putting the waterslide paper on the bottom of a glass dish and want the image to show through, don’t forget to mirror the image.
- Select the cut on your machine.
Using waterslide paper without a cutting machine
- Choose your image.
- If you want to add lettering or other designs, edit your image in a photo editing program such as Photoshop or gimp.
- Send to your printer (be sure to load the paper correctly according to your printer instructions, so the image is printed on the correct side.
- Let the image dry completely
- Use a cardboard box as a spray booth. (to protect your area when spraying with an acrylic sealer.)
- Give your waterslide paper three light coats of sealer. Be sure to wait 30-35 minutes between sprays and then wait 45 minutes before you cut them.
- Once dry, cut around the waterslide paper images.
Adhering your Waterslide Paper to glass.
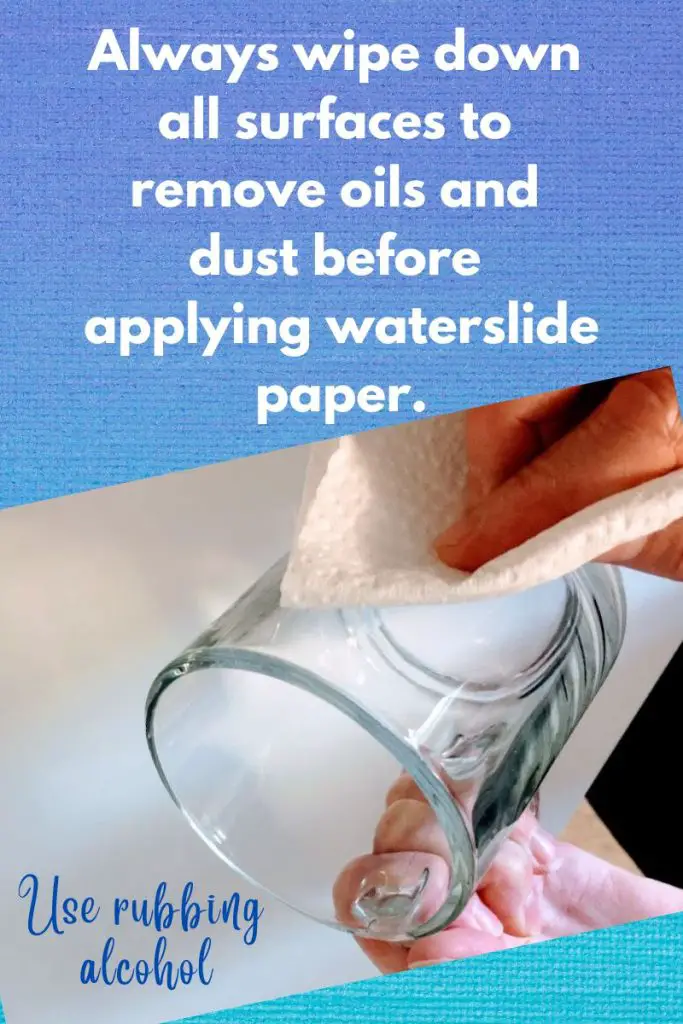
PREP your surface
- Use the rubbing alcohol and wipe down the surfaces of the items you will be applying your stickers to.
- Let your surface dry for a few seconds.
Soak your sealed design
- Soak your Waterslide stickers in warm water according to the instructions on the package. Time varies with different products. Most brands recommend 30-60 seconds.
Position and adhere your design to the glass
- Position your image in the location on the surface you want, and slowly slide out the backer paper
- Reposition the image and gently push out any bubbles with your fingers.
- Using a lint-free cloth, blot over the image to remove excess water
- Let dry.
Seal your glass
- Following the product instructions, bake in the oven to ensure the design. (For ceramics or glassware (after drying) you can bake in a 250-degree F oven for 10-15 minutes. (following instructions on your package if these differ from yours)
Enjoy your finished product.
These make great personalized gifts and home decor.
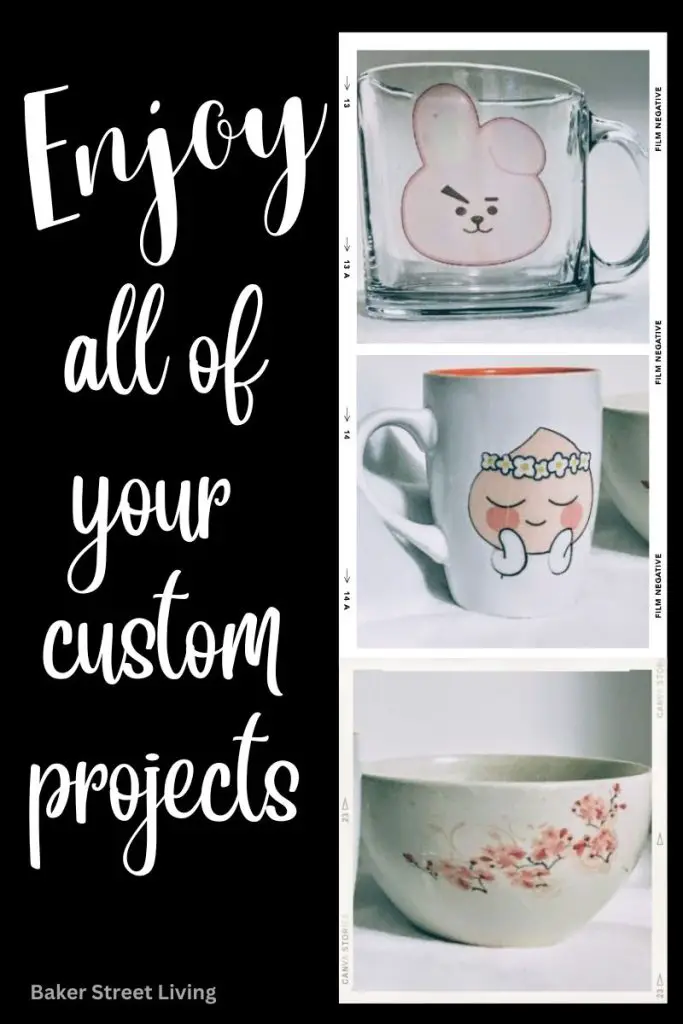
A note about these designs
The bunny and the angel face are licensed designs that I used for demonstration. purposes only. The Cherry blossoms are available for you to use free of charge in our resource library.

Disclaimer – This post contains affiliate links. We do receive a small commission if you buy through our link. The commissions enable us to continue to create new designs and tutorials to share with you.