
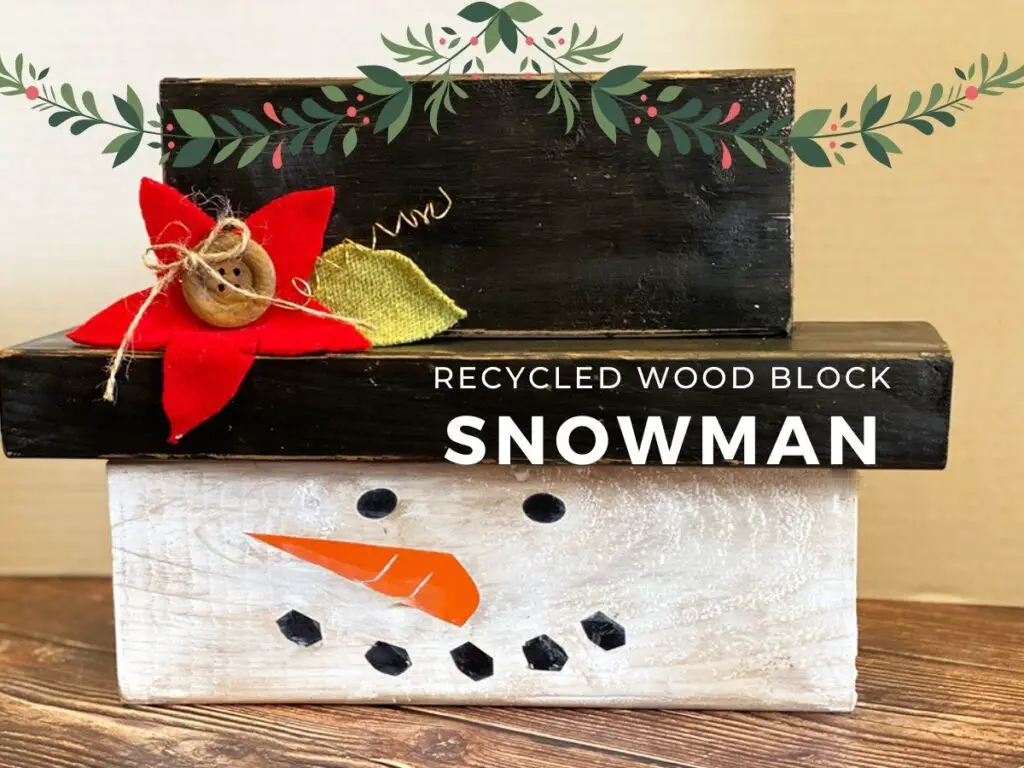
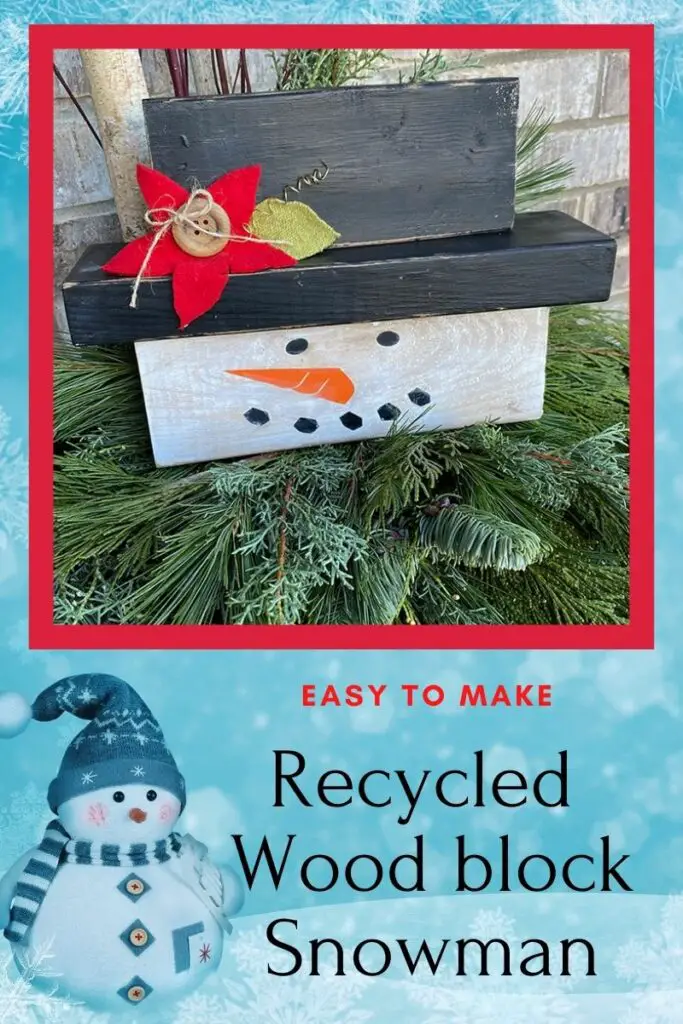
Snowmen are one of my favourite Christmas ornaments. I think my family gets sick of them, but I love their jolly little faces. This easy DIY wood block snowman is no exception. My snowman is made from some leftover wood (2 by 4’s), so that makes it almost free. Who doesn’t love free?
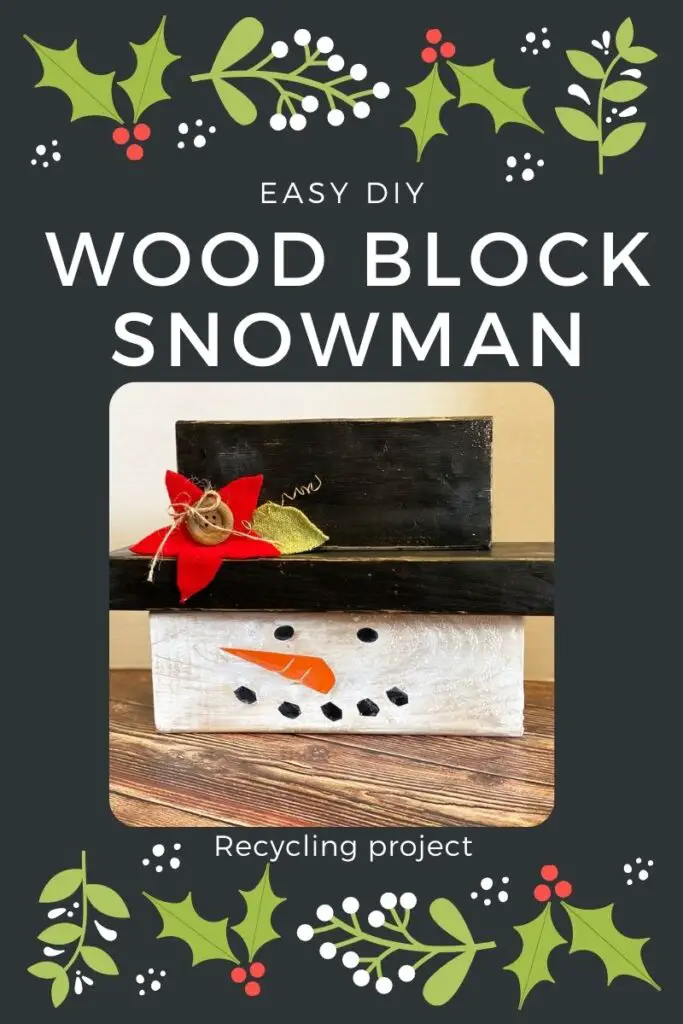
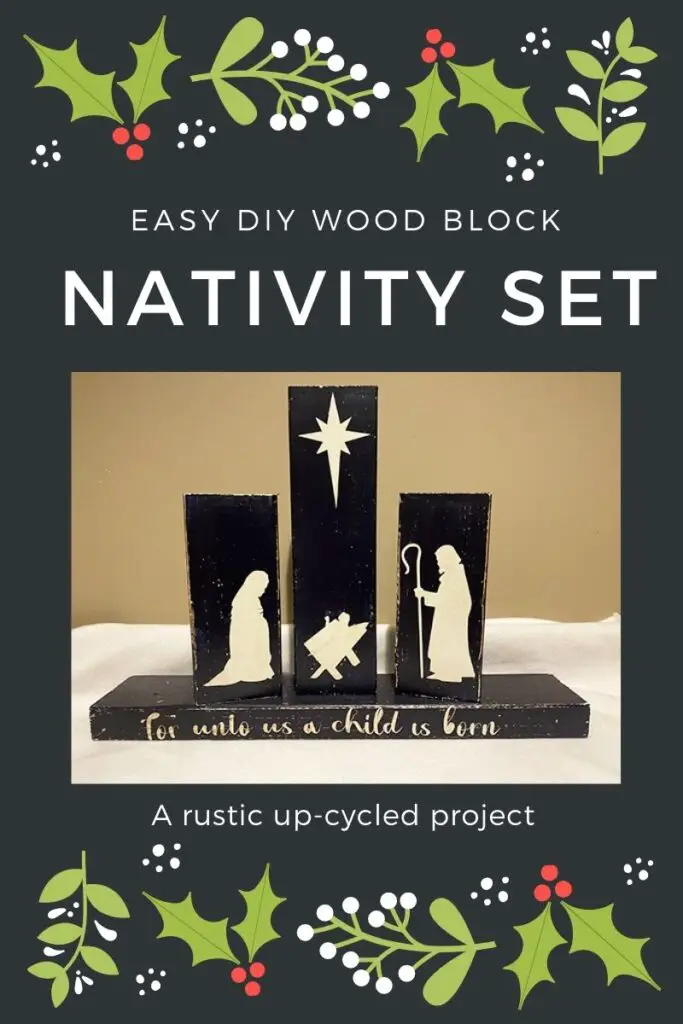
This DIY wood block snowman project is a great way to recycle leftover wood, just like our last project (the Wood Block Nativity scene) We love to recycle, and making festive decor is very rewarding. Using leftover wood from home renovation projects is a cool way to put your own personal stamp on your Christmas decor. You can easily personalize your snowman to match your decor, just add your favourite colours and personal touches. If you like recycling too, check out some more projects below in this post.
Supplies List
This website contains affiliate links. As an Amazon affiliate, I earn a small commission from qualifying purchases (at no cost to you).
- wood pieces (see measurements below)
- white acrylic paint
- orange acrylic paint (only needed if you are painting on the face)
- black acrylic paint
- Black adhesive vinyl (if using a cutting machine)
- orange adhesive vinyl. (if using a cutting machine)
- burlap or fleece. (flower)
- felt (left)
- jute twine
- wood button
- craft wire
- antique wax
- fine grit sandpaper
- construction adhesive or wood glue
- brown craft paper (or paper from a grocery or lunch bag)
Tools List
If using a cutting machine, additional supplies needed are listed below.
Measurements for wood pieces needed
I am using leftover 2 by 4’s for this project. If you want to get some ideas of where to find leftover wood pieces for projects, see below.
The following pieces are used in this tutorial
- Snowman top hat piece – 8 inches long
- Snowman hat brim – 12 inches long
- Snowman face – 10 inches long
Supplies List (if using a cutting machine)
My hat embellishments are cut using a cutting machine that cuts fabric, such as a Cricut Maker or Cricut Maker 3 or 4. If you are using a cutting machine that does not cut fabric, cut the flower and leaf pieces from cardstock or paper and use them as pattern pieces.
In addition to the supplies above, the following supplies are needed when using a cutting machine:
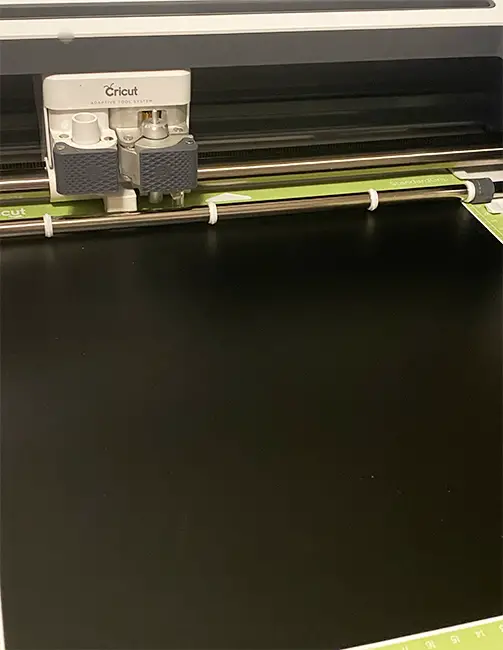
- cutting machine (I am using a Cricut maker)
- standard grip mat
- rotary tool ( if cutting fabric – only the Cricut maker or maker 3)
- fabric grip mat ( for fabric – is using a Cricut maker
- weeding tools
- transfer tape – light grip
- smoother/scraper tool
How to make a DIY Wood Block Snowman- Step-by-step
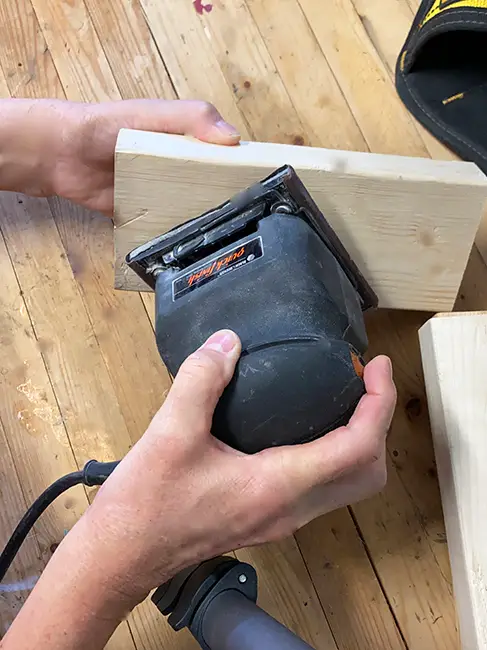
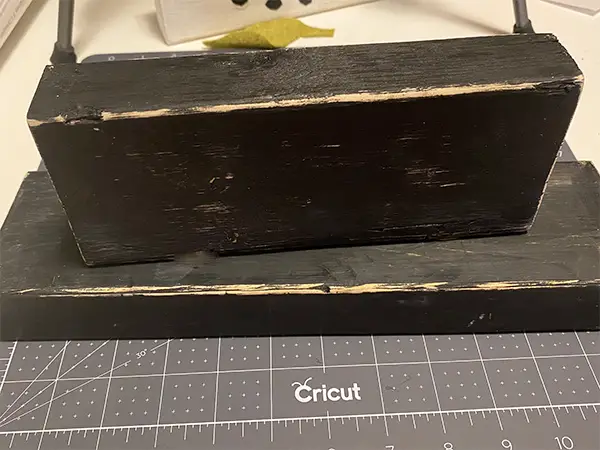
Sand the blocks
Remove any rough edges or slivers from your wood block pieces, using a palm sander or belt sander. If you don’t have access to either type of sander, use sandpaper and sand by hand until all the edges are smooth and there are no burrs or rough spots.
Don’t worry if the wood has imperfections and spots where you may not be able to get the wood perfectly smooth. These little imperfections are what give your finished snowman its character and rustic look.
Paint
What type of paint is best for this project?
A water-based paint, such as acrylic craft pain,t works the best. I was asked if oil paint was ok, as it was going outside. Oil can be used but the sanding is not as easy as it is with acrylic paint. Cleaning your brush is also much easier with water-based acrylic paint. Chalk paint also works well, as long as you are putting the wax coating on it.
Paint the snowman face piece with white acrylic paint and the hat pieces with black acrylic paint. Apply one generous coat of paint and make sure the wood is completely covered and none of the grain is showing through the paint.
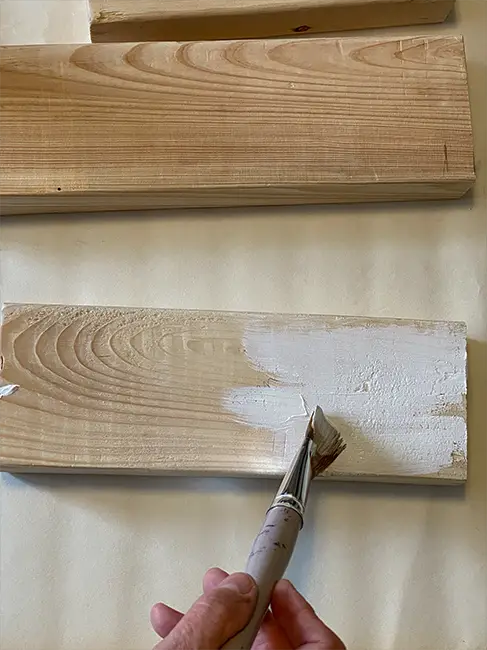
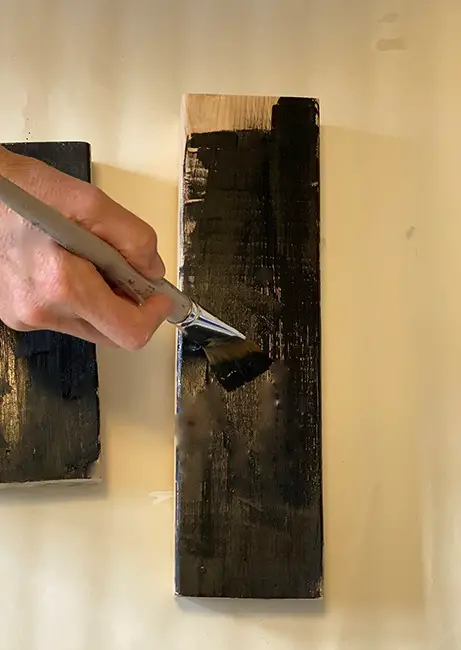
Allow all pieces to dry completely. Apply a second coat if needed. (if you see a lot of the wood grain through the paint) Don’t worry, we will strategically remove some of the paint so it is not so dark.
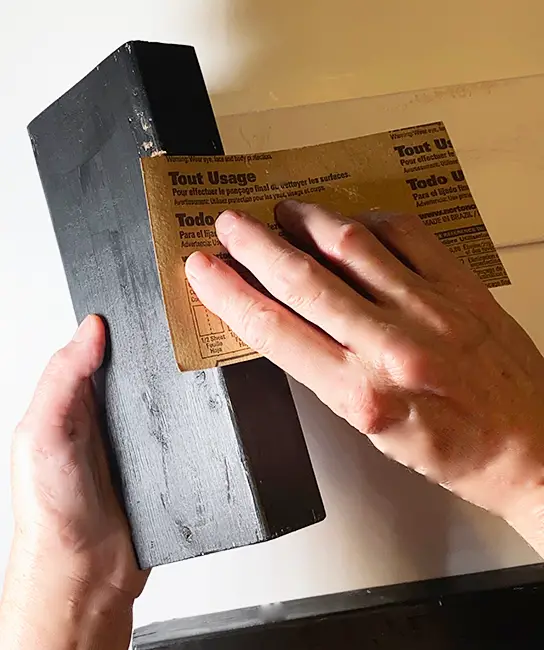
Distress your painted pieces.
Using some fine-grit sandpaper, remove some of the paint by sanding around the edges and in spots where you think it should show wear. It doesn’t have to be perfect, but sanding in a few spots will help give the snowman a rustic look and dimension when you are done.
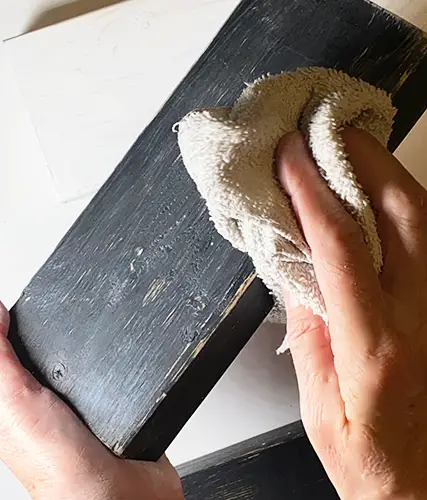
Remove Dust
Using a lint-free cloth or tack cloth, wipe off all pieces and remove any dust left behind from the distressing.
Apply the Face
If painting your snowman face- Steps
You can download the printable pattern for our snowman face, and the flower and leaf on the hat, or freehand draw your own. The face is super easy to draw, and you can make whatever expression you want.
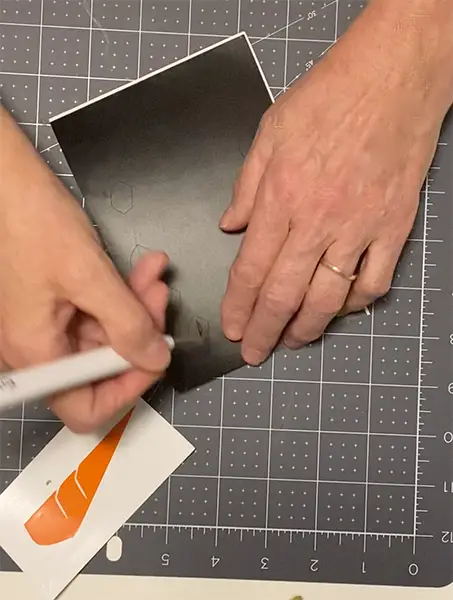
Draw in pencil (lightly) where you want the facial features to be.
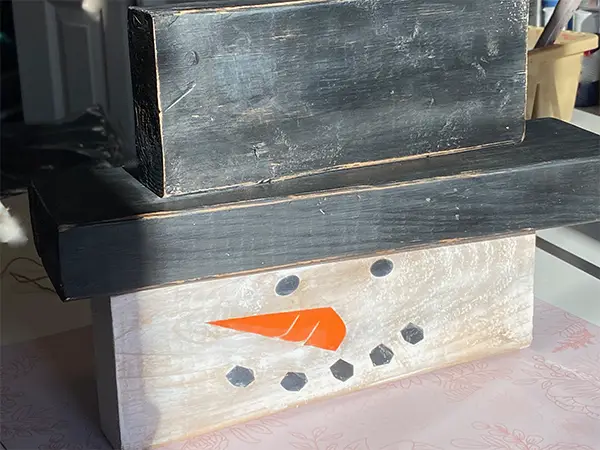
Apply black paint for the eyes and mouth, and orange for the nose.
Let the paint dry completely before moving on to the next step.
cutting machine – steps
Download the image from our resource library for the snowman face and hat flower.
Upload the design into Cricut Design Space (or your cutting machine software)
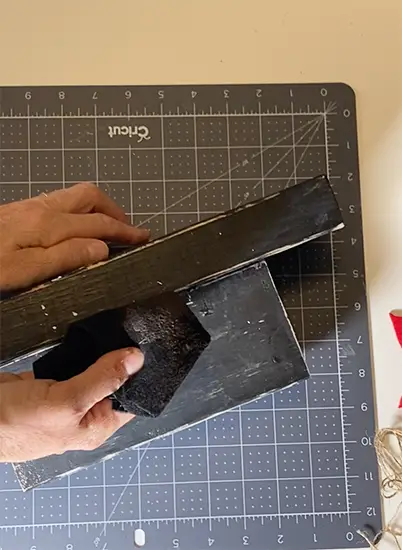
Using brown craft paper (or paper from a grocery bag or lunch bag), sand lightly over the painted wood blocks. This removes the brought texture of the paint and makes a nice smooth finish.
Download the snowman face and hat embellishment patterns from our resource library
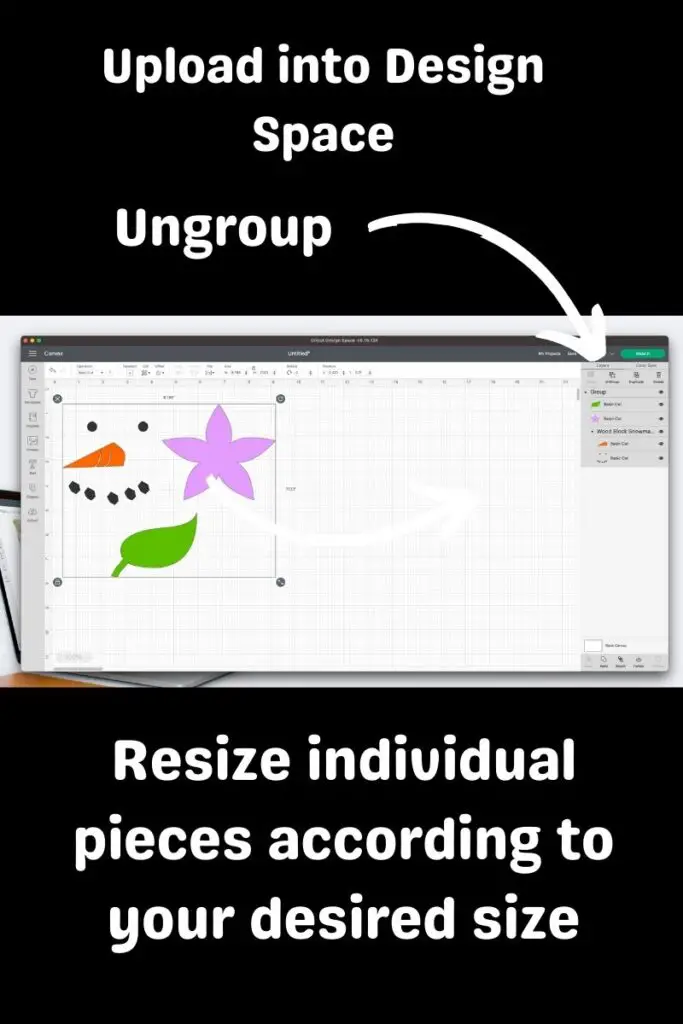
- Upload the design into Cricut Design Space.
- Once you have loaded the design onto the canvas of Cricut Design Space, Ungroup the design.
- Make size adjustments as desired
- Cut the eyes and mouth from the matte black adhesive vinyl.
- Cut the carrot nose from the matte orange vinyl.
- Cut the flower from fleece or burlap (some burlap weaves do not cut well on the cutting machine- consider making a pattern from cardstock and cutting it, and cutting the burlap by hand)
- Cut the leaf pattern from fleece or the desired fabric. (Mine is cut from leftover wool pieces from my recycled sweater pumpkins.
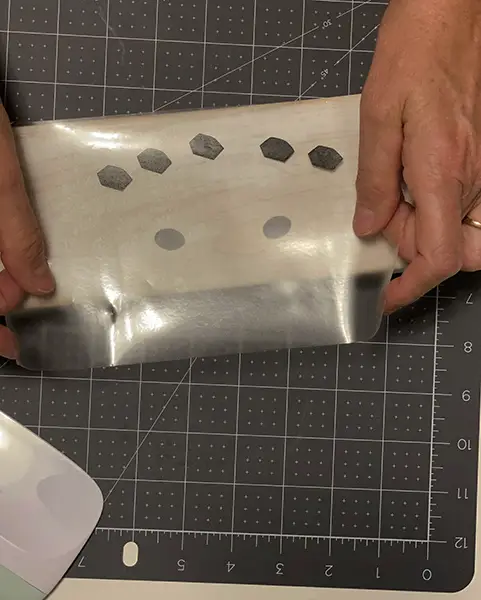
- Weed the adhesive vinyl designs
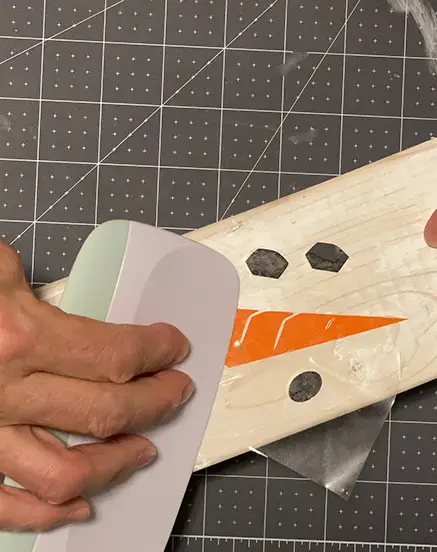
- Using the transfer tape, apply black coal eyes and mouth and then the orange carrot nose.
- Using a smoother/scraper tool, make sure that the adhesive pieces are secured to the surface.
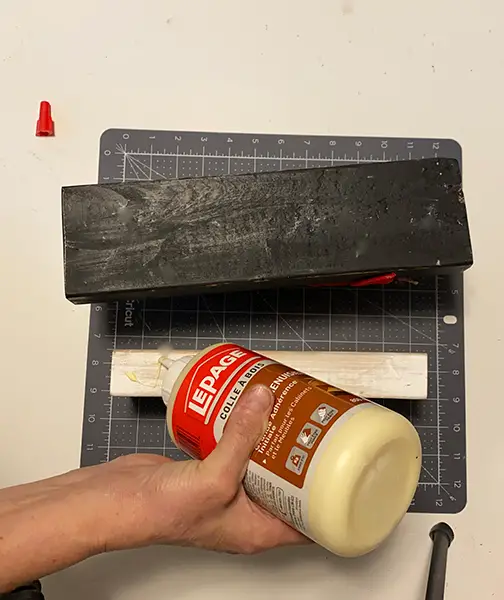
Glue hat pieces
Run a bead of glue along the underside of the top piece of the hat block.
Place the top of the hat block on top of the brim block, at a slight angle. (as in the image below)
Allow the glue to dry completely.
Apply Wax
Apply a coat of antique wax, using a clean lint-free cloth. Rub the wax into the paint finish. using the antique wax will add depth to your paint and help it to look aged. It will also add a protective coating to it.
Allow the wax to dry for 24 hours.
Buff
Using another clean, lint-free cloth, buff the wax to a deep shine. It will not likely be very shiny, but that is ok. That is how it should look. The wax will just provide a subtle sheen and some depth to the painted finish. (and a protective coating)
Add the hat embellishments
To make the curly wire: Cut a piece of wire with wire cutters and wrap it around a wood dowel or pencil. Stretch it out a bit and you’re done.
For the wood button: Rub some of the antique wax onto it and rub it in. This will give the button an aged look, which goes well with the overall look.
For the Jute twine: Tie a piece of twine string into a small bow and trim the ends. Adhere it to the top of the button (as stated below)
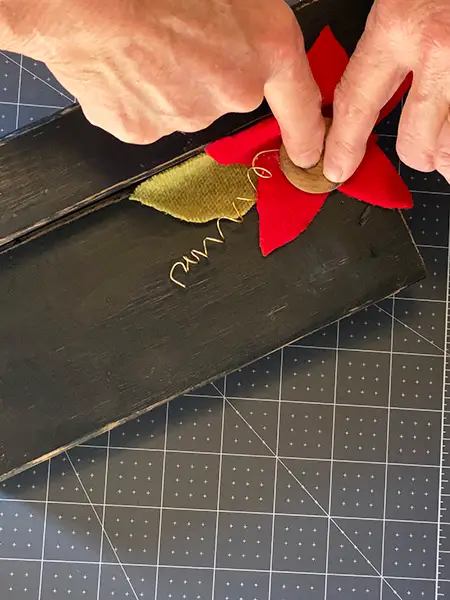
Using construction adhesive or wood glue, adhere the burlap or fleece flower cut out, buttons, desired embellishments and curly wire to the block that will be the hat top. Allow the glued embellishments to completely dry.
Adhere the embellishments in the following order:
- Leaf
- Curly wire
- Flower
- Button
- Jute twine bow.
Glue the blocks together.
Use construction adhesive or wood glue to adhere the hat block and face block together.
Apply a bead of glue onto the top edge of the face block, where the hat brim will go.
Place the brim piece on top of the face block at a slight angle and let it dry. Let your wood block snowman dry completely.
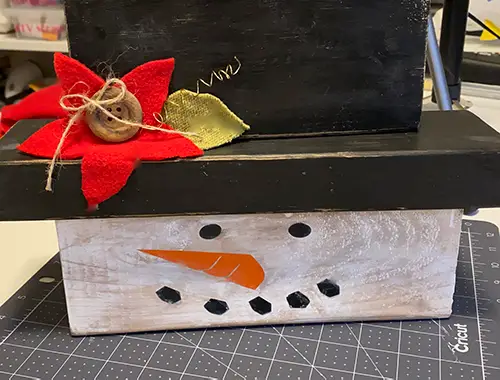
You are now finished making your DIY Wood Block Snowman.


Where can you find spare pieces of wood to make a wood block snowman
Construction and reno projects
The best places to get spare pieces of unused wood are from leftover construction and renovation projects. You can certainly have 2-by-4s cut to your own desired lengths in stores, but if you are looking to stay budget-friendly, then finding spare wood is your best bet. If you know anyone who is completing a project or you are completing a project of your own, consider saving the pieces of wood that remain for future craft projects, such as this.
Contact Contractors or local building companies
When most companies complete building projects, the excess wood pieces are thrown in the dumpster. Most builders have hired staff who routinely clean the construction site. This is a safety practice that is done to reduce the chance of injury.
Contact the company and ask permission to pick up any unused wood. Do not go onto the construction site without permission and proper safety wear. Depending on where you live, rules differ, but most areas have rules and regulations regarding entering a construction site.
When wood is thrown into dumpsters, there is also other building debris thrown in as well, such as nails, insulation, metal and other items that can cause injury. Asking ahead of time is always best. I know a local builder who will leave the wood by the curb and not throw it in the dumpster. This makes it easy to pick up and keeps anyone from entering the building site.
Contact building retail stores.
Stores like Home Depot, Lowe’s, and Cashway have cutting services. They often cut wood for people. Sometimes people do not want the leftover pieces, and they are tossed out. At a local building center in my area, you can sometimes purchase bulk bags of wood pieces for a reduced price
Contact local handyman services
This is where my wood p[pieces came from. Handymen often do small projects that do not require dumpsters. They have to pay to dump their leftover wood (where I live). I was able to take as much as I wanted at no cost, and it lessened the load that the handyman had to get rid of.
Check local classifieds
Sometimes people will post on Facebook Marketplace, Kijiji or Varage sale, free leftover construction materials, because, just like the handyman and others, they have to pay a dumping fee to get rid of it. This can be a win-win for both of you.
You can also post online a “looking for” ad and offer to pick it up.
Always be mindful of your safety when picking up items from people you don’t know. If you are going to a private address, take a buddy and always be safe. I never go into buildings or homes, and so my due diligence before going and I never give out personal information.
Types of wood to avoid using
Do not use pressure-treated lumber or chemically treated lumber. Many building products are treated with mould-reducing chemicals or pesticides. There can be hazardous materials in the wood. making it unsafe to sand, paint and keep on display.
Wood that has been stored outdoors can have insects burrowed into the wood that you might not see. Be sure that there are no termites, carpenter ants or other types of insects in the wood.
The best type of wood for these projects is raw, untreated new wood.
Displaying your wood block snowman outside
I have displayed my wood block snowman outside and inside. If it is covered with a good layer of wax, it should be ok. It’s best to store it in a spot outside where it won’t be in direct contact with direct sunlight, rain and snow. The wood will be ok, but it can cause the flower and leaf design to look less than attractive because the wet weather makes the fabric droop.
If you choose not to wax your wood block snowman and you want to display it outside, add. protective coat or outdoor Mod Podge or another sealant that is suitable for outdoor use.
We hope you have enjoyed our post on making a wood block snowman for your winter decor. (These are great sellers in craft shows)

This website contains affiliate links. As an Amazon affiliate, I earn a small commission from qualifying purchases (at no cost to you).