
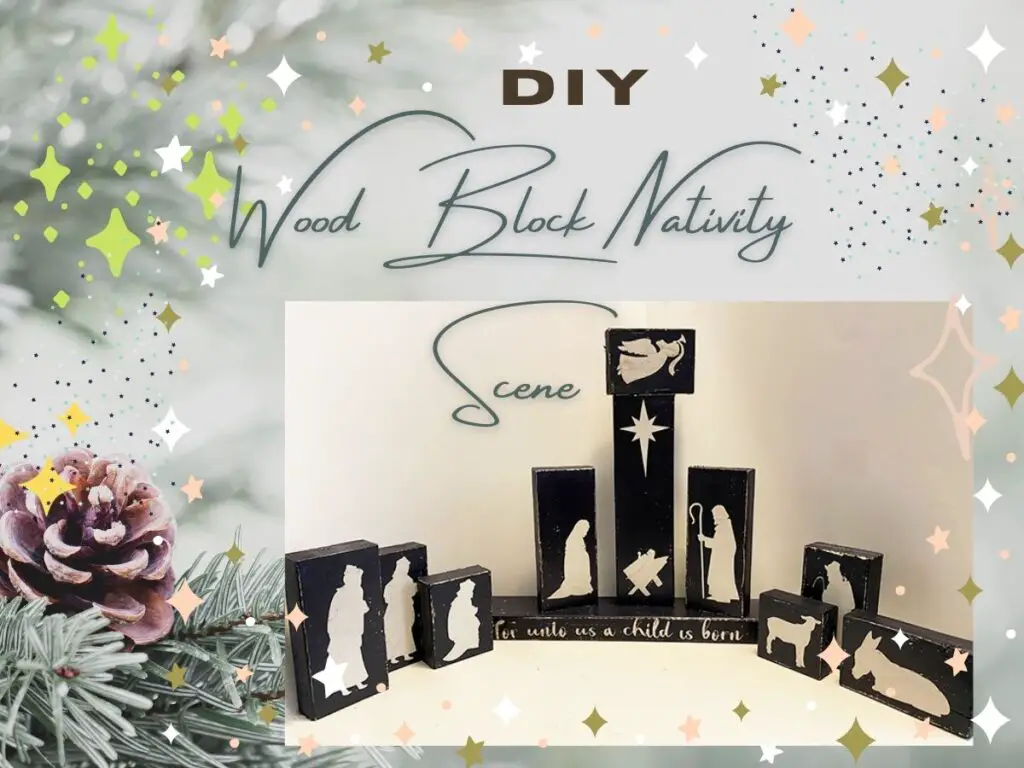
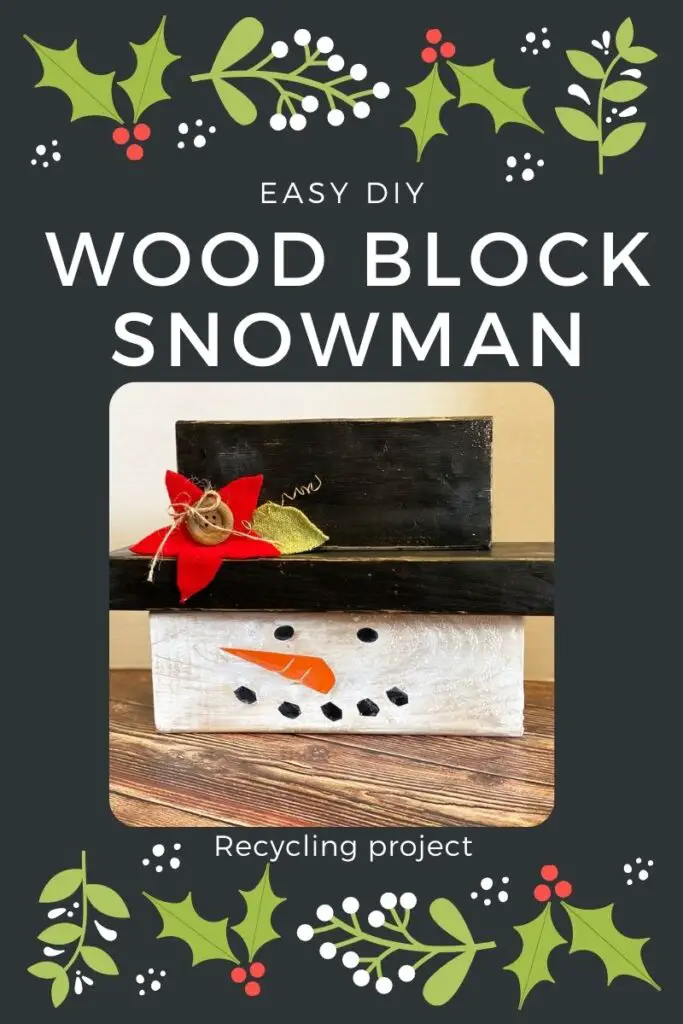
Decorating for Christmas is always fun. It is always great to make and try new decorations every year. The price of decorations keeps going up and up, so this year we decided to do some more recycling. We made our DIY wood block nativity scene set using some wood 2 by 4’s that were left over from a construction project.
Content Created by Tracey of Baker Street Living 
Supplies List
This website contains affiliate links. As an Amazon affiliate, I earn a small commission from qualifying purchases (at no cost to you).
- Pieces of raw wood 2 by 4’s (list and measurements listed below) – not pressure-treated wood.
- lint-free cloth x2. or tack cloth
- acrylic paint for a base colour ( your choice of colour- I am using white)
- acrylic paint for top colour ( your choice- I am using navy blue)
- Dark antique wax
- permanent adhesive vinyl
- fine grit sandpaper
- Drop cloth or newspaper to cover the work surface
- brown craft paper ( or use a brown paper lunch or grocery bag)
Craft Tools List
- palm sander ( or small sander)
- cutting machine ( I am using a Cricut Maker)
- vinyl smoother / scraper
- standard grip-cutting mat
- large craft paint brush
- brush basin ( or something to clean brushes in)
HTV vinyl is not recommended for this project, due to the painted surface. Getting the paint hot can cause bubbling and burning on the paint surface.
Great places to find scrap wood blocks?
If you have leftover wood from projects at home that can be cut to the right sizes, that is always the easiest and cheapest.
If you don’t have leftover wood available in your home, try the following places:
Contact a local builder or construction company.
Did you know that a lot of companies have dumpsters where the leftover wood and building supplies are put? Most builders do not save scraps of wood. It is not cost-effective to sort through bits of wood for small pieces. These are often tossed out. Always ask first, and get permission to take the wood before you remove anything from a dumpster. Most building sites do not allow people on site without hard hats or safety gear.
Many construction companies have someone who is hired to go through the site and clean up debris and leftover building materials. They are required in many places to keep the job site clean and free of hazards (which include leftover wood).
Always keep safety in mind, as construction debris can have hard pieces of metal, nails and other dangerous bits that you need to be wary of.
Contact local building and supply stores.
Home Improvement Stores, such as Home Depot, Lowe’s, and other retail building outlets, do installations and sell cut wood. Sometimes people go into a store and ask to have a piece of wood cut to a specific length. That is the only piece of wood they want, and they might leave the remainder behind. Some stores sell packages of wood ends or pieces, just like the fabric stores send bolt ends.
Contact stores that sell exterior building supplies, such as bricks and stone. Many times orders are delivered on pallets or in large wooden boxes. Sometimes the boxes are discarded or sent out for scrap.
Contact local handyman businesses.
These businesses are often doing small projects such as bathrooms and renovations to the interior of a home. They, much like the builder, do not save the smaller pieces of wood due to the cost and time needed to use small pieces of wood.
Other types of businesses to ask.
Ask local woodworkers, furniture makers, cabinet makers or sawmills. Any business that uses wood in constructing or manufacturing products has leftover wood.
Check online classifieds.
Check for a listing of people trying to get rid of leftover wood. Places like Facebook Marketplace, Varage sale or Kijiji often have people advertising leftover supplies. Many are free to whoever can pick up, and some are available for a small fee.
Always be sure to be cautious and safety-minded when buying anything online.
What wood should you avoid?
I don’t recommend pressure-treated lumber for this project. It is soaked or injected with chemicals that are not recommended.
Do not use any lumber that has been treated for bugs or animals, such as creosote-coated boards.
Do not use wood that has been stored outside, as it may contain insects in the wood that will work their way out of the wood into your home. It can also contain mould, which is not visible to you.
List of wood pieces needed for your DIY wood block Nativity Scene
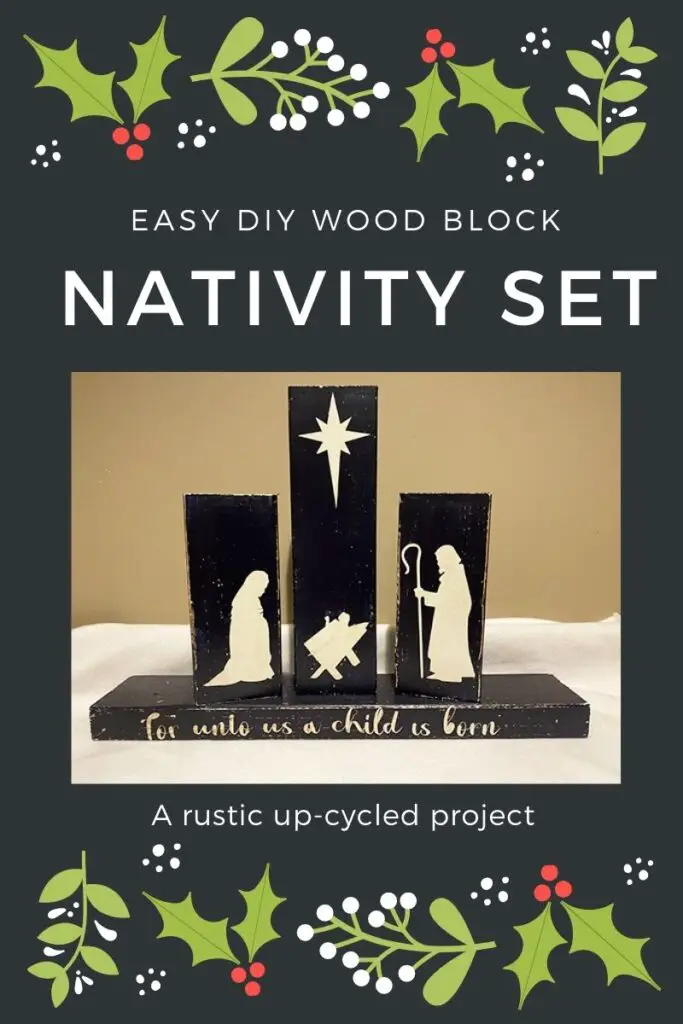
You can choose which pieces you want to make and how big a set you have. A basic display would consist of baby Jesus in the manger with the star above, Mary and Joseph and the bottom plank.
A fuller set would include the 3 Wisemen, shepherds, and animals.
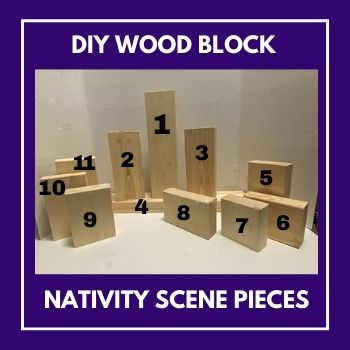
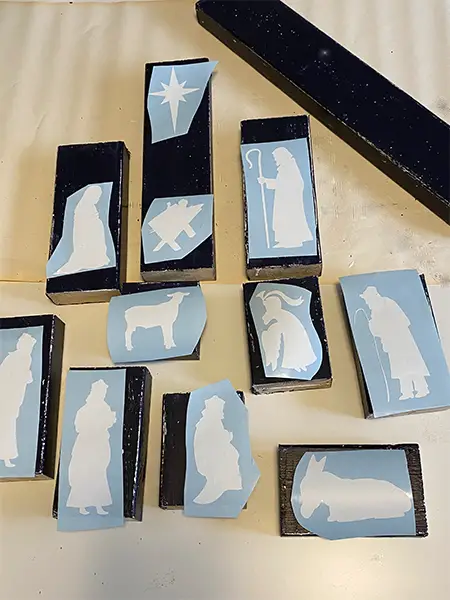
The set illustrated in the post includes:
- #1 Baby Jesus in the manger and star – 13 inches
- #2. Mary – 8 inches
- #3 Joseph – 8 inches
- #4 Base – 20 inches
- #5 Shepherd – 6.5 inches
- #6 Angel – 4.5 inches
- #7 Lamb – 4 inches
- #8 Donkey – 6 inches
- #9 Wiseman – 5 inches
- #10 Wiseman – 6 inches
- #11 Wiseman – 7 inches
- #12 Camel ( not shown)
- # 13 Cow (not shown)
How to make a wood block Nativity Scene Set
Sand The Wood
Sanding should be done away from your vinyl and paint supplies. Preferably, sand outside or in a garage, if available.
Using a palm sander, sand any rough edges and burrs on the wood. Do not worry if your wood pieces are not perfect. This set will have a rustic look when finished, and the imperfections add character to it.
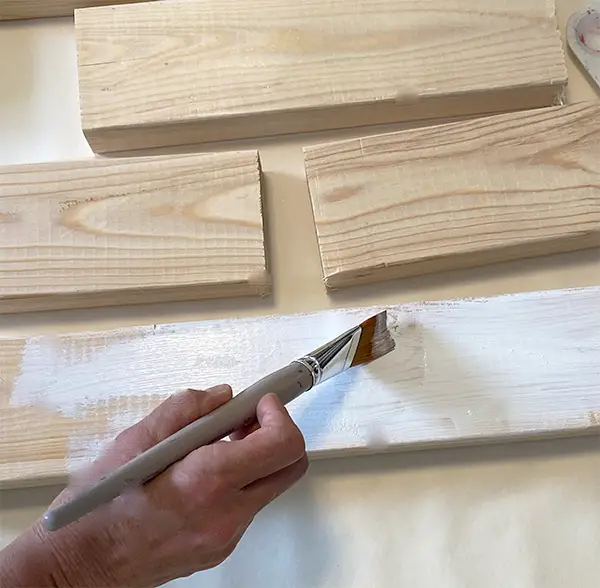
Apply a base coat of paint.
I am using a white acrylic paint base coat. This colour will show through on the corners and in some spots of your finished set after it is distressed.
Allow the wood blocks to dry.
Apply a top coat of paint.
I am using a shade of dark blue acrylic paint. This will be your finished colour. Apply a generous coat of paint. Once dry you can apply a second coat if it is not dark enough.
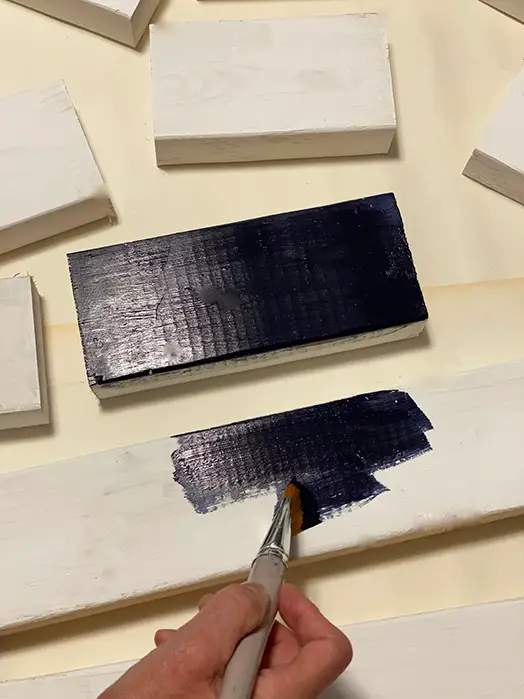
Once you have the colour you want, and it is dry, lightly sand with brown craft paper. This just removes the rough paint texture and makes the surface feel soft and smooth. This is just a light motion and should not penetrate the layers of paint.
Download the DIY Wood Block Nativity Scene set design.
The designs are free for you to use for personal use only. They are available in our free resource library.
Once you have downloaded the file, upload it into your cutting machine program. I am using Cricut Design Space and a Cricut Maker.
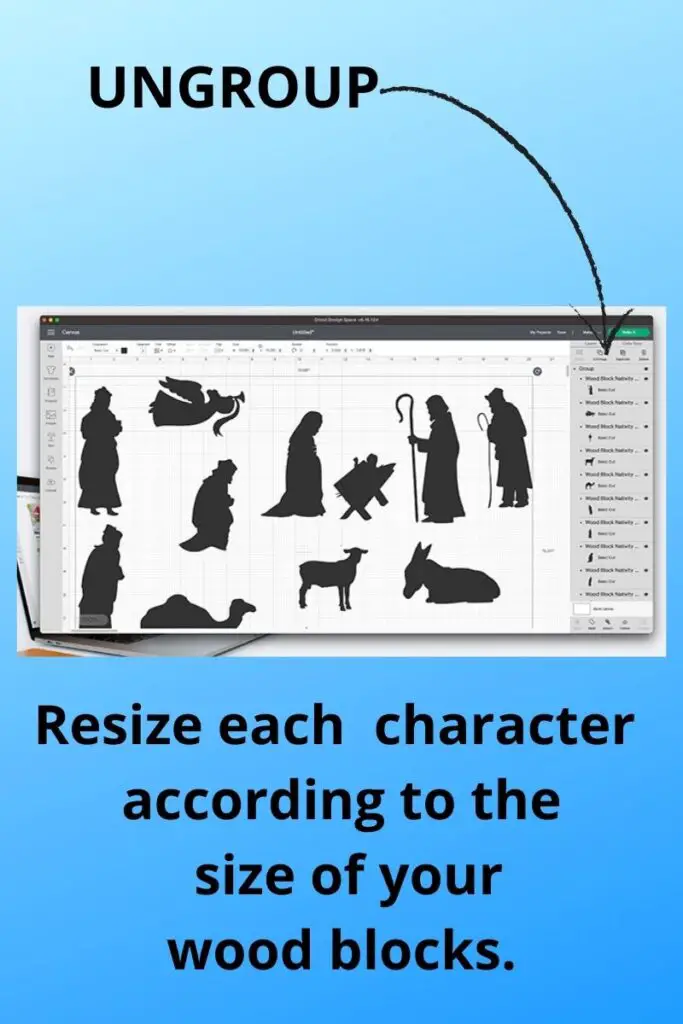
After uploading the design into your cutting machine program, ungroup and resize each piece according to your block measurements.
Cut the pieces for your nativity scene set.
My vinyl is white adhesive vinyl. These designs are not intricate and are easy to cut and weed.
When using the Cricut cutting machine, for this project, use a fine-point blade and standard grip mat.
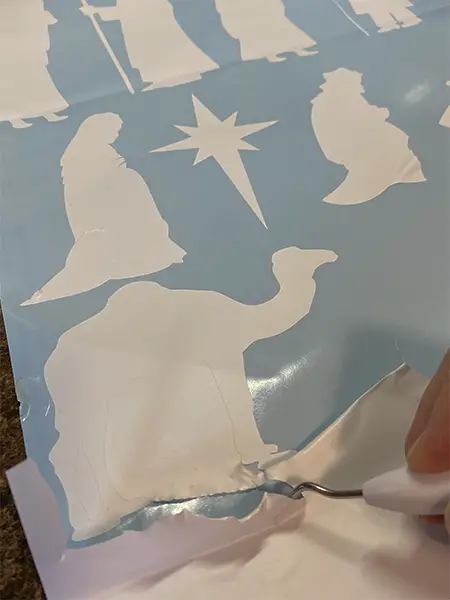
Cut the designs and weed according to your cutting machine instructions. ( I used premium vinyl with “more” pressure)
If you are changing from a standard adhesive vinyl and using glitter vinyl, flocked vinyl or any other choice, be sure to adjust the materials setting accordingly.
Distress the edges of the blocks.
Using the fine-grit sandpaper, sand around the edges of the blocks. You can sand a little or a lot; it is up to you. You will see areas of your white base coat showing through.

Once you have the desired effect, wipe off any loose dust with a lint-free cloth or a tack cloth.
Organize the cut designs
Once all of your designs have been cut and weeded, cut them into individual pieces and organize them with the appropriate blocks. This is a good time to check for size and make any changes before adhering the vinyl designs to your blocks.
Adhere Vinyl to wood blocks
Make sure the woodblocks are completely dry and dust-free. Do not adhere adhesive vinyl to damp paint.
Use a low-tack transfer tape. A strong bond or one that is very sticky can pull off some of your paint. ( I am using Con-Tact adhesive paper, as my transfer tape – it is a personal favourite)
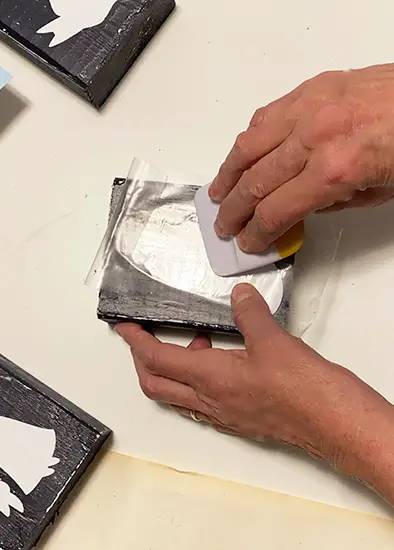
Smooth out and press down your adhesive designs.
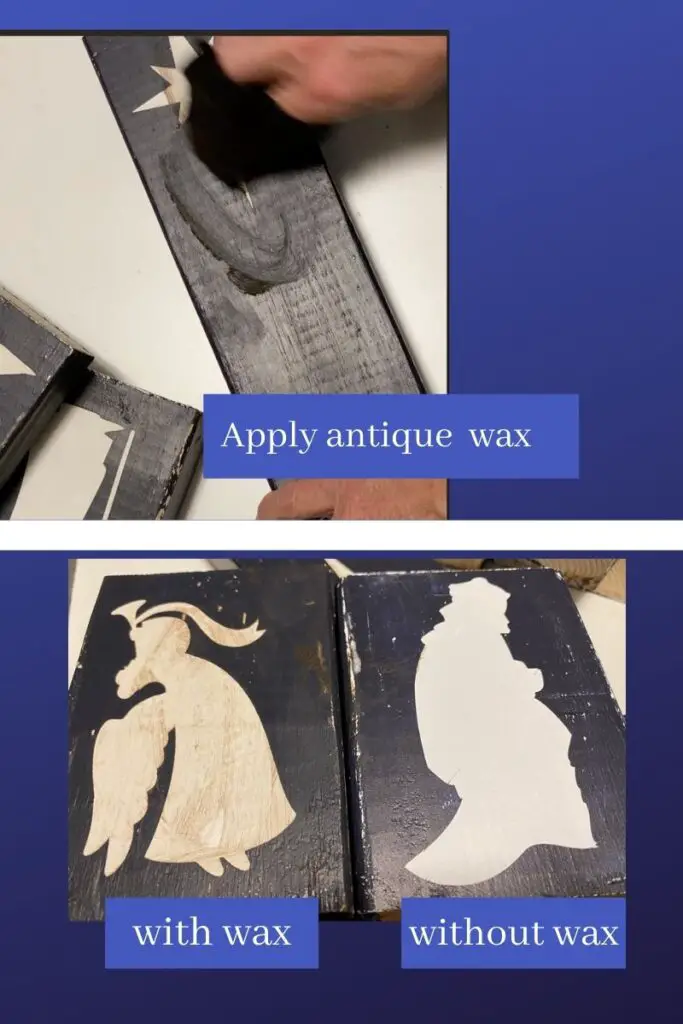
Apply the wax
This is optional. If you like the look, you can just leave them as is. Antique wax just deepens the colour and gives it a rich, aged look. This look goes perfectly with the distressed look of the wood blocks.
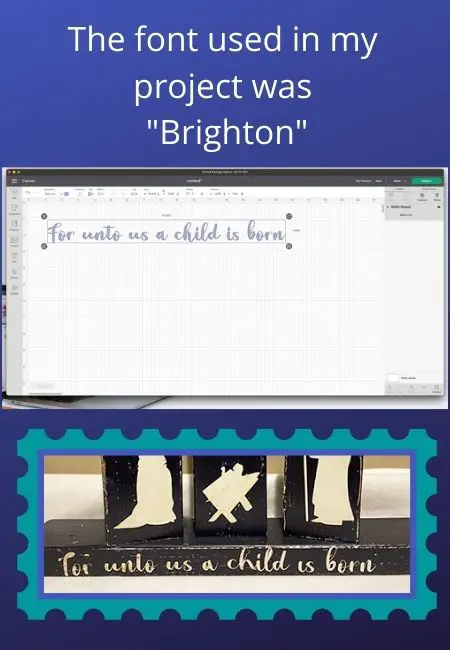
To apply the wax, take a small amount on a lint-free cloth and rub it gently onto the surface of your painted finish. Let it dry for 24 hours and then buff it with a clean, lint-free cloth. Lightly rub over your vinyl designs (if desired). See the image below for a comparison of waxed and unwaxed. It is difficult to see in the photo, but the waxed pieces have a low sheen and deeper colour.


This website contains affiliate links. As an Amazon affiliate, I earn a small commission from qualifying purchases (at no cost to you).