
Content Created by Tracey of Baker Street Living 
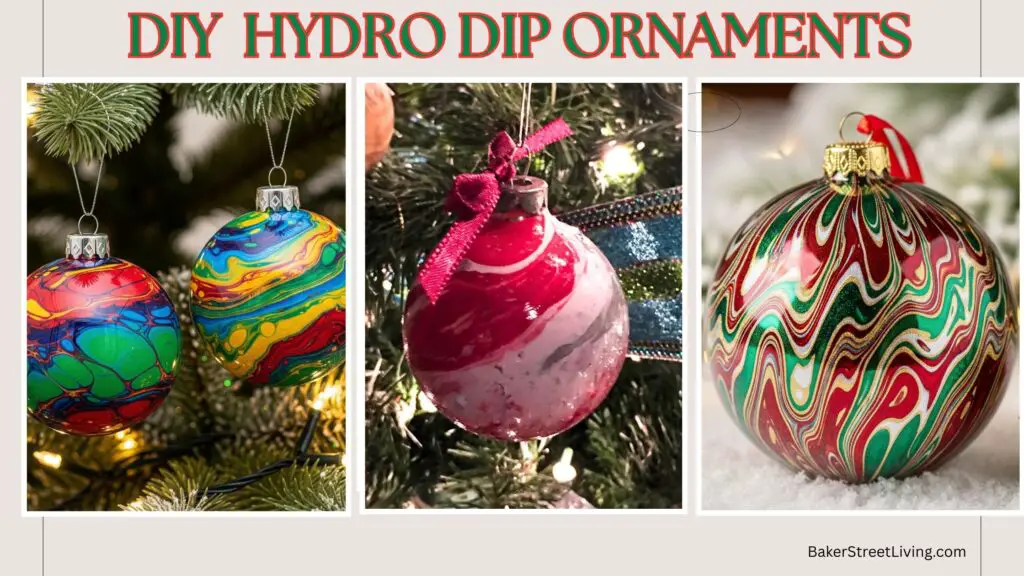
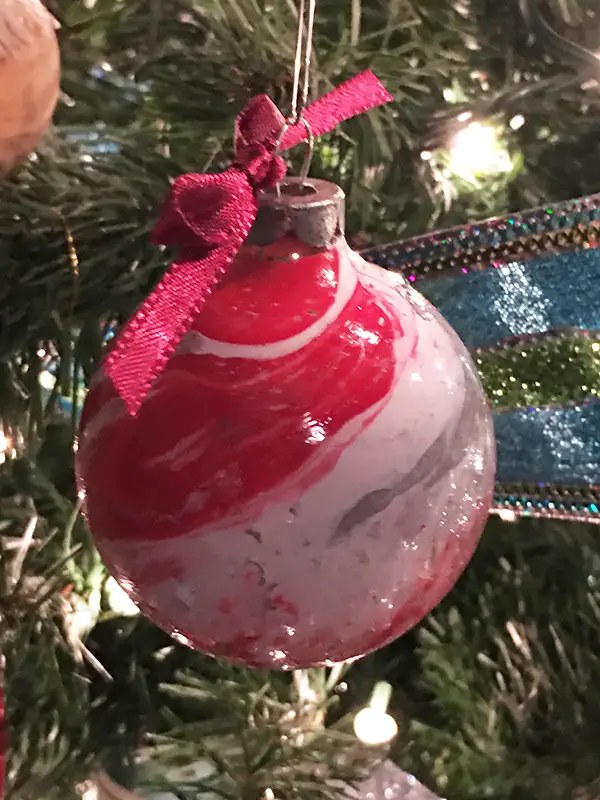
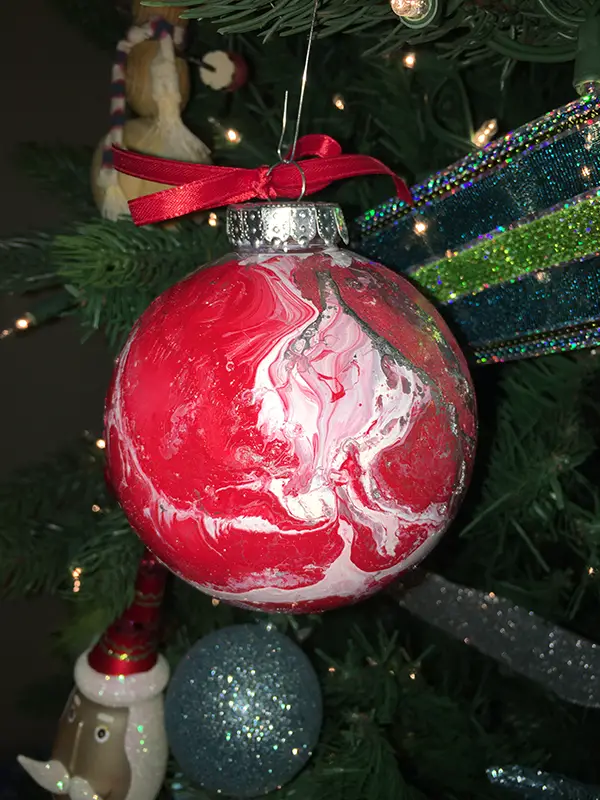
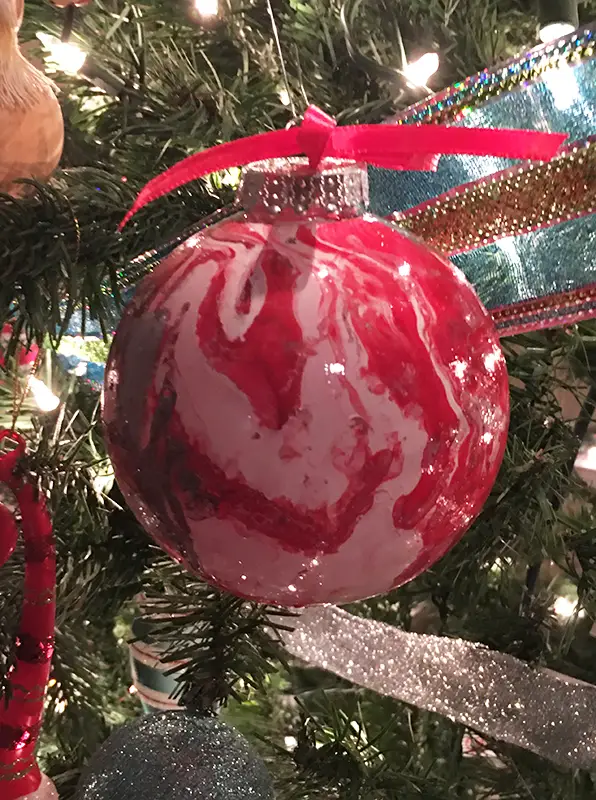
DIY Hydro dipped ornaments are super easy to make, and it is an easy way to personalize your Christmas decor. It is an easy DIY to bump up your Christmas decor and colour theme.
Hydro dipping is also known as immersion printing, immersion printing, and water transfer painting, These cool hydro dipped ornaments are a great way to recycle ornaments that are losing their lustre or fading. The principle or method behind Hydro dipping is that a film or paint is resting on the surface of the water, and an object is dipped into the water, resulting in the transfer of the paint onto the object dipped.
DIY Hydro dipped ornaments are so easy that you will be looking around the house for other stuff to hydro dip.
When choosing paint, get a good quality acrylic spray paint. We typically use Krylon or Rustoleum spray paint. These two brands work well as the paint stays on the surface of the water, which is exactly what you want and need for making these DIY hydro dipped ornaments
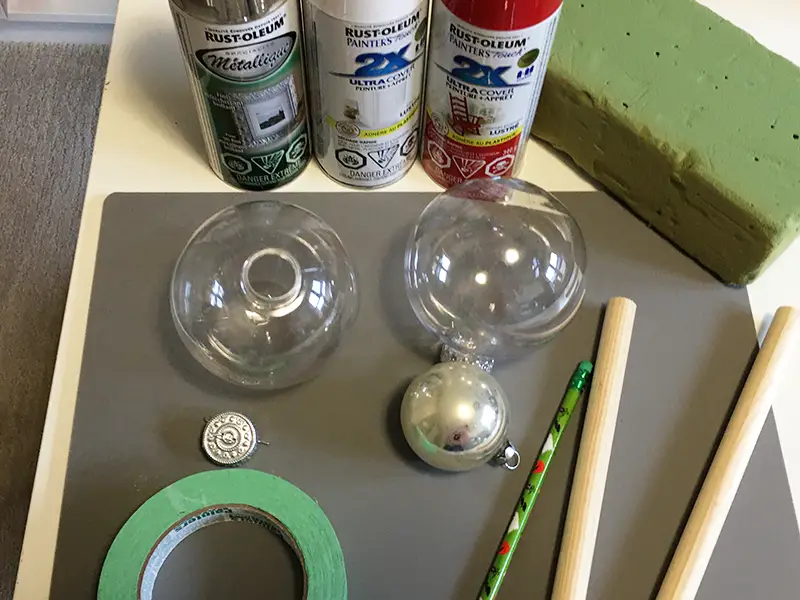
Supplies List
This website contains affiliate links. As an Amazon affiliate, I earn a small commission from qualifying purchases (at no cost to you).
- Krylon Spray paint or Rustoleum spray paint
- rubbing alcohol
- spray primer
- ornaments
- water basin (tub)
- rubber gloves
- floral foam
- thin wooden dowels
- masking tape
- water
Must-Dos before you start
- A well-ventilated area is a must for this DIY Hydro dipped ornaments project. If the weather permits, outside is great, as long as there is no wind.
- Adequate Space – Make sure that there are no things close to the area where you are spraying that might get a bit of overspray on them. It’s a good idea to spread some newspaper around or a drop cloth, just to be sure the area is protected
- Rubber gloves are also a must. You will need to move away the leftover paint bits on the top of the water when removing the ornament, and wearing gloves will protect your hands.
- Use an old container for your water bath. Since paint will be in the water, and could (and likely will) leave traces around the walls of the container, don’t use anything that you might need for other uses.
- Container Size – You don’t need a large container. A container that is about 12 inches square is a good size. It has to be deep enough for the ornaments to be submerged. If you choose a large container, you may waste a lot of paint.
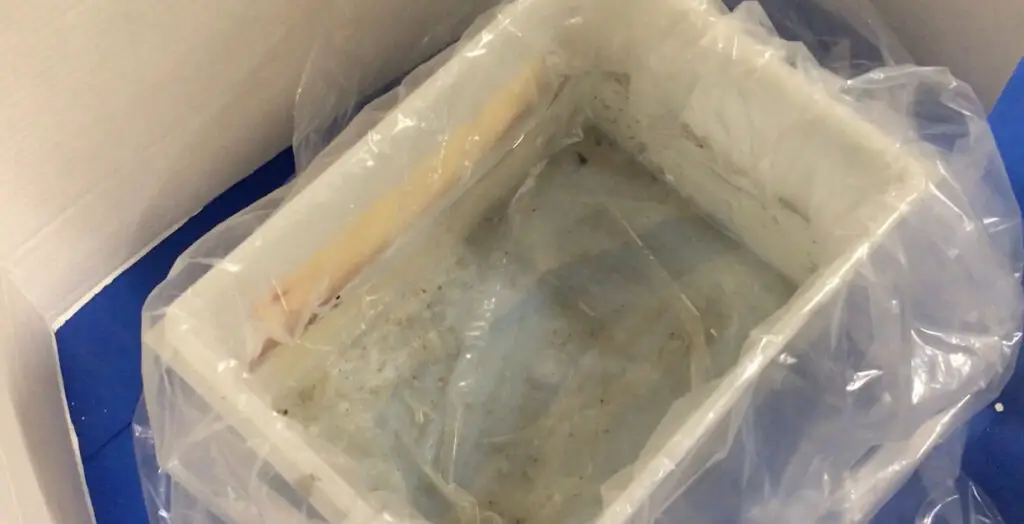
- Line your water bath container with a plastic garbage bag to keep the container from getting stained by the paint.
- Choosing paint – keep in mind the finish of the colour you chose. If you want a glossy finish, choose a gloss finish. Krylon makes a shimmer acrylic spray paint as well, which also has a nice finish.
Prepping the Ornament
- Clean the base of the ornament with isopropyl alcohol and a clean cloth or use alcohol wipes, and let it dry before taping.
- If using glass ornaments, add a rubber band over the tape. The tape adheres better to plastic than glass, and adding the elastic will help it stay securely in place.
- If the base of the ornament is too small for a wooden dowel, opt for a pencil or a thick wooden skewer.
- If the base of your ornament is too big for the dowel or pencil, add some painter’s tape first to make the dowel or pencil a little thicker.
How to make Hydro Dipped Ornaments.
- Remove the metal band and ring that the ornament hangs with, and set aside
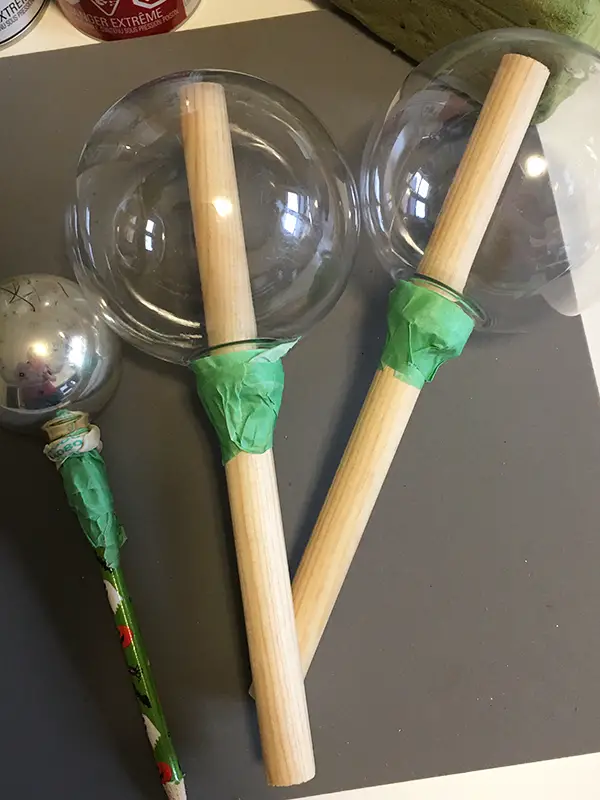
- Insert the wooden dowel into the ornament.
- Wipe the ornament off with rubbing alcohol to remove any oils or dirt that might prevent the paint from adhering
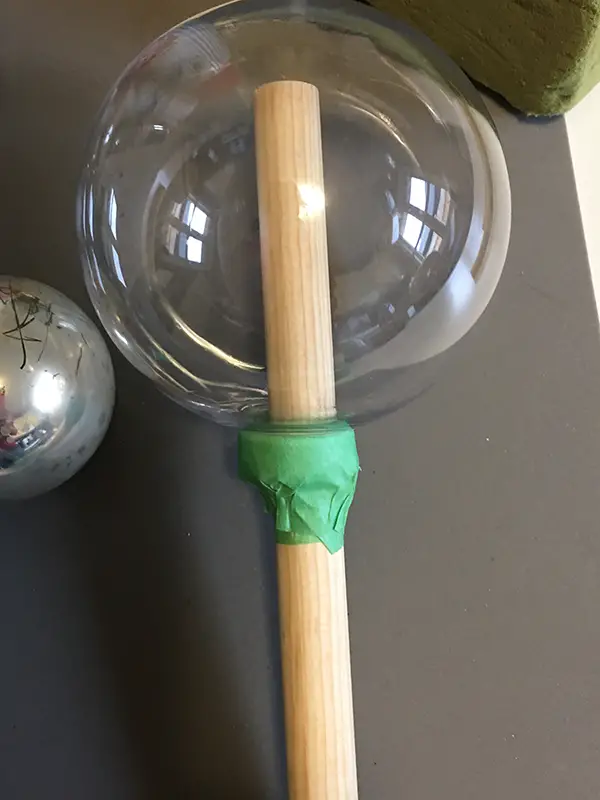
- Using masking tape, apply the tape around the opening of the ornament, securing it to the wooden dowel.
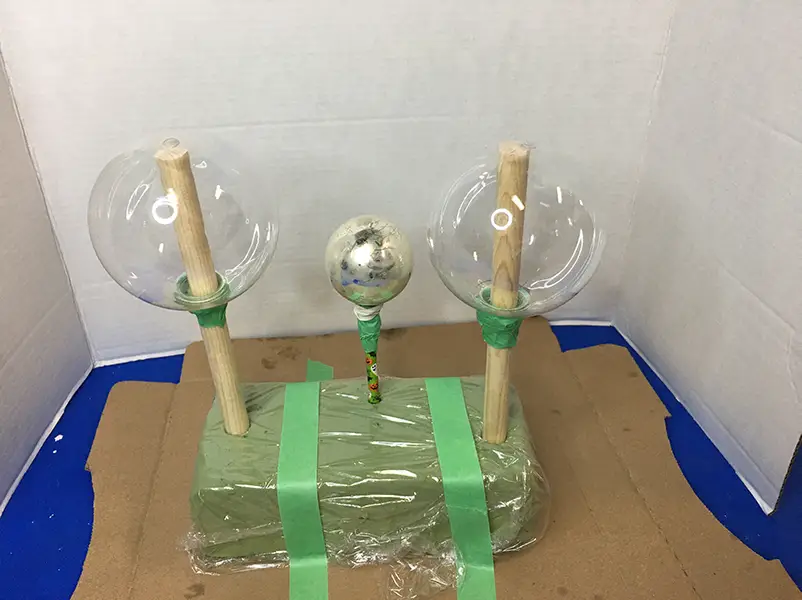
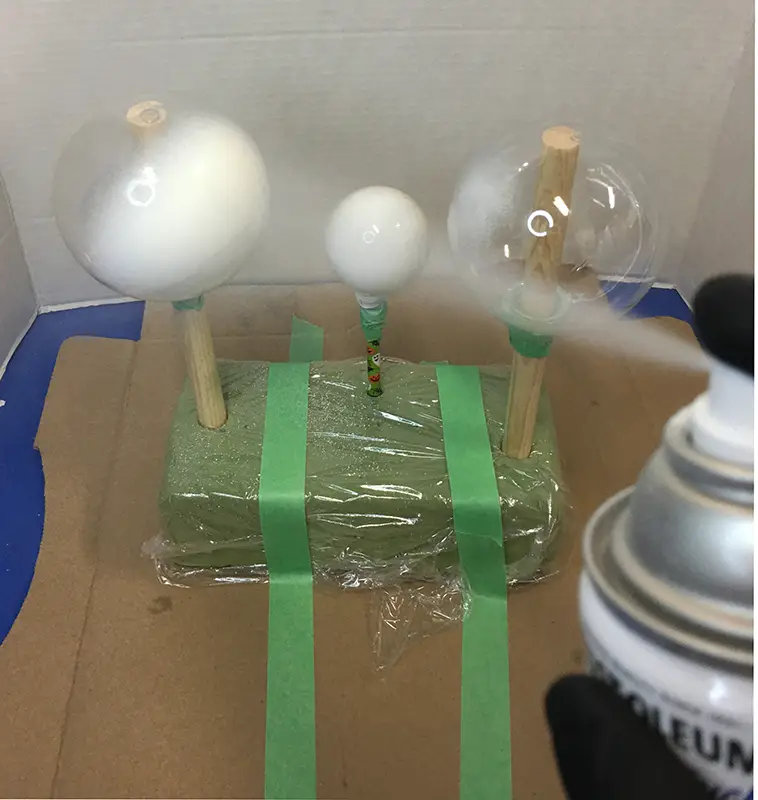
- Place your ornaments on the dowels in the floral foam. * You can cover the floral foam with a paper towel or plastic wrap to preserve it for later use. They will be covered with paint and unusable if you don’t.
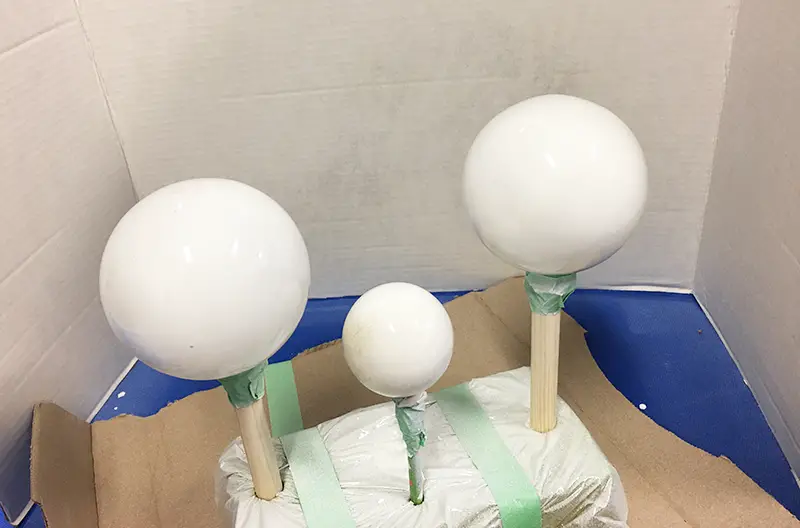
- Apply a coat of primer to the ornament and then stick it into the floral foam to dry. Don’t proceed to the next step until fully dried.
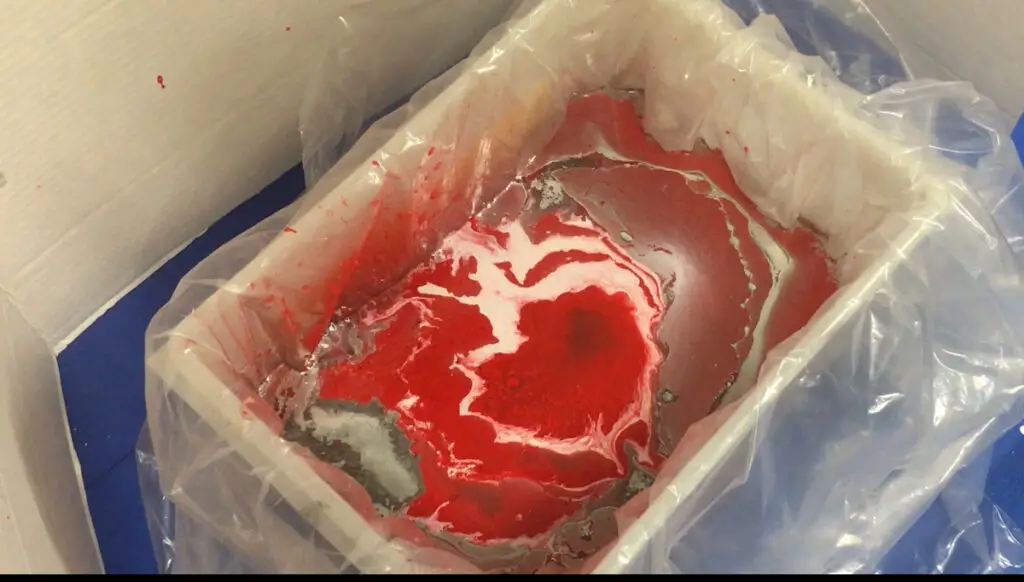
- Fill your water bath container with warm water (warm water ensures that the finish will not be dull) until it’s about 3/4 full. (Make sure it’s deep enough for the ornament to be submerged)
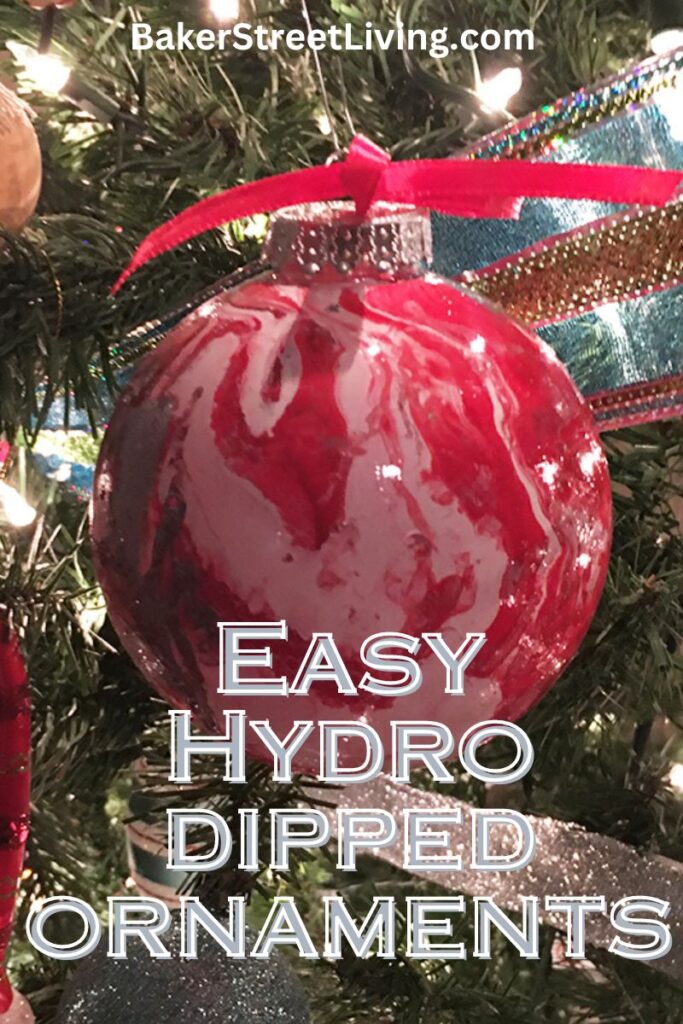
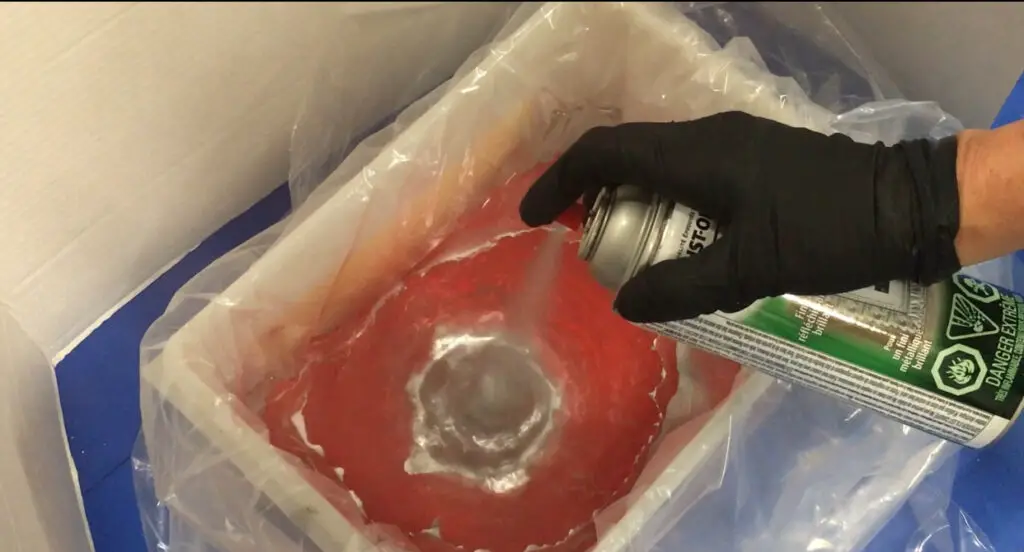
- Spray the paint onto the surface of the water. This is where you can get creative with the pattern.
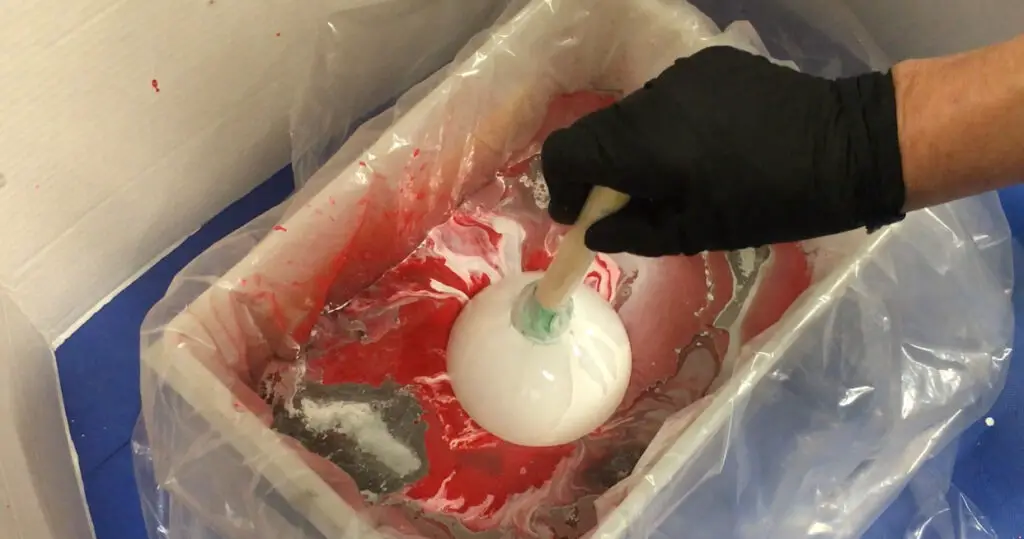
- Slowly submerge the ornament into the water, turning as you go to ensure full coverage.
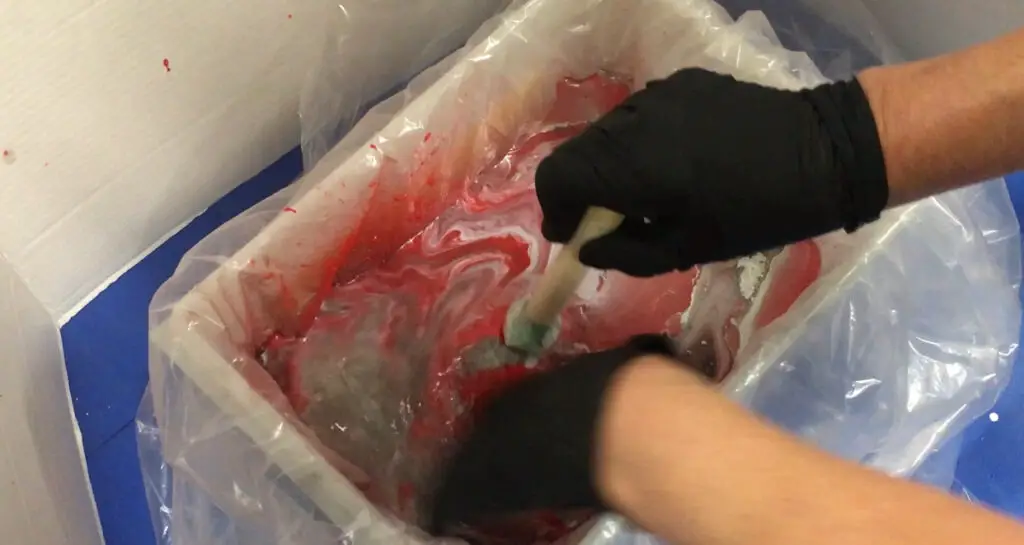
- Push the paint aside from the surface (with your other hand) before removing the ornament. (If you don’t, you will add more paint onto the ornament when removing it from the water)
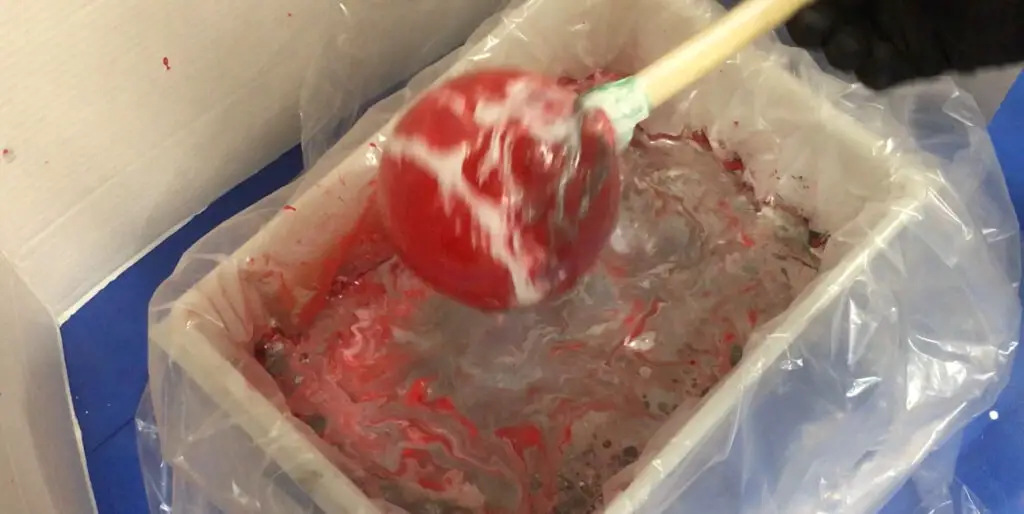
- Remove the ornament from the water and stand it in the floral foam with the wooden dowel and allow to fully dry.
- If desired, apply a light coat of sealer to the ornament. This isn’t necessary, but if you are going to have them outdoors, it’s recommended. You could also use a high gloss sealer if you want them shinier. We have done this occasionally.
- When dry, remove the tape and wooden dowel.
- Place the metal band and ornament hook ring back into the ornament.
- All done! Time to decorate!
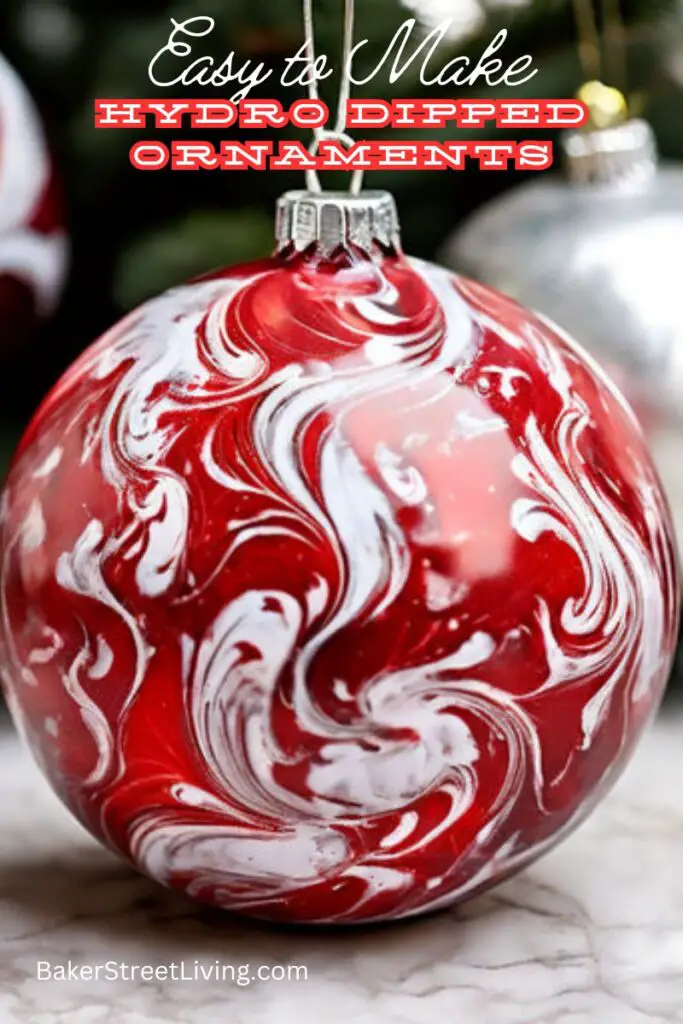
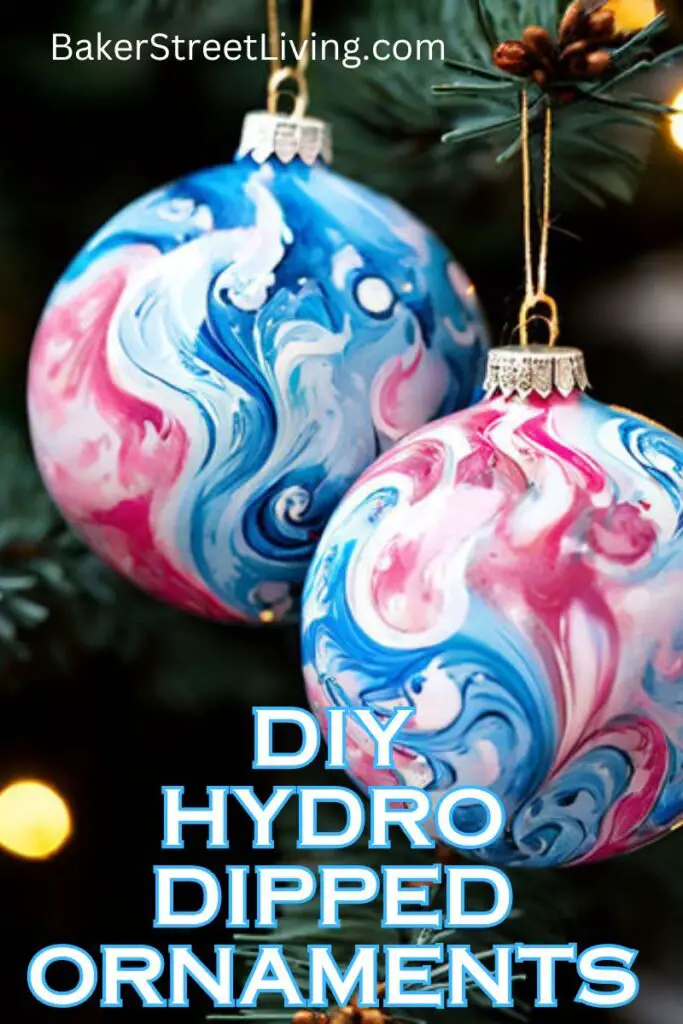
- NOTE – there is no limit to the number of colours you can use. You can make a multicoloured marbled effect or stick to just one colour. It is totally up to you
Short tutorial video – How to make Hydro dipped ornaments


Step by Step – How to Make Hydro Dipped Ornaments

Disclaimer: This post contains affiliate links. We receive a small commission when purchases are made through our links. Thank you for your support.