

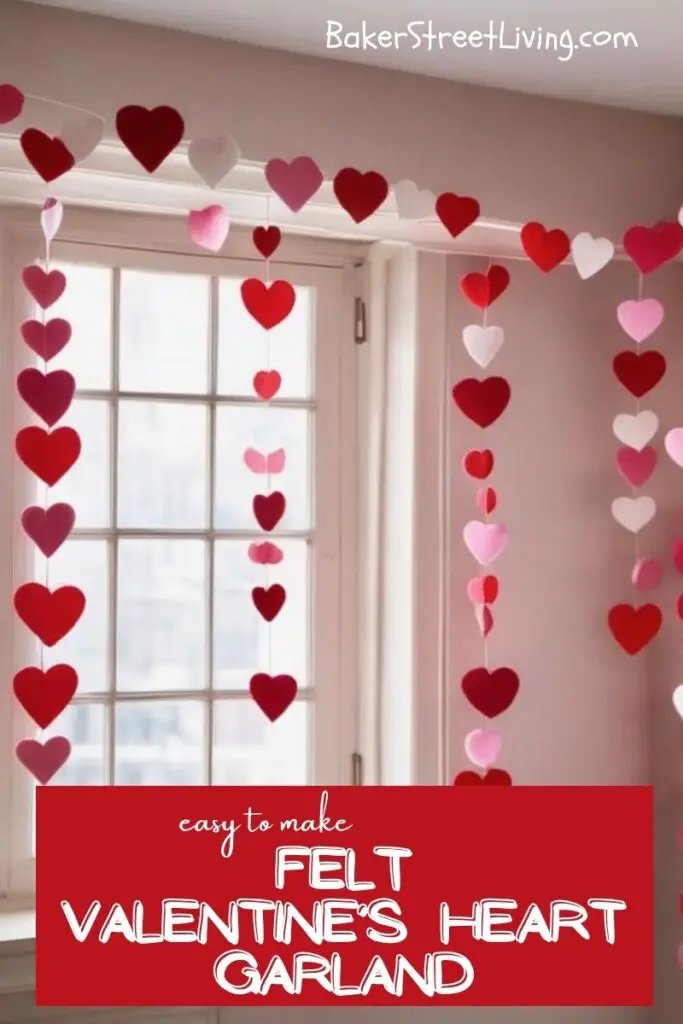
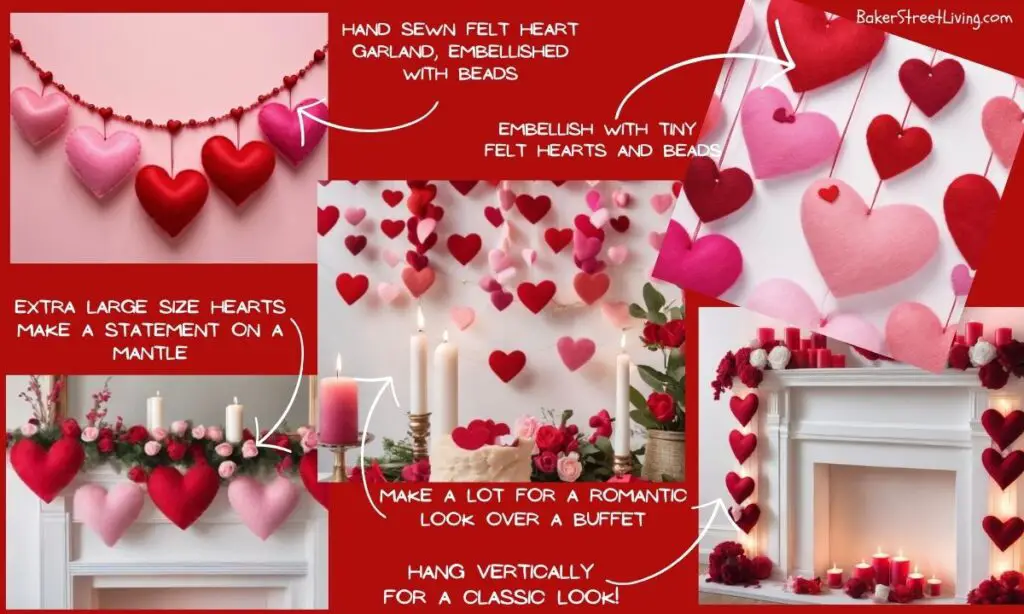
Making your own Felt Valentine’s Heart garland is a great way to bump up an otherwise boring mantle. You can choose the colour to match your decor and the size of the hearts on your garland. Large hearts look fantastic hanging from a mantle or do a lot of smaller hearts for a more delicate effect.
Content Created by Tracey of Baker Street Living 
How to Make a DIY Felt Valentine’s Heart Garland – The Video
Supplies List
This website contains affiliate links. As an Amazon affiliate, I earn a small commission from qualifying purchases (at no cost to you).
Craft Tools
- Hot glue gun and hot glue. (or needle and thread)
- Scissors or cutting machine (I am using a Cricut maker)
Helpful Tips and FAQs
Cutting Multiple Felt Hearts
- Start by folding your felt in half so that you have two layers.
- Using a heart-shaped template, trace the shape onto the top layer of felt. You can make a template by drawing and cutting a heart on heavy cardstock and cutting it out. Transfer the shape onto the felt with chalk and then cut. This will keep all of the hearts on the garland uniform
- Cut out the heart shape through two layers of felt. This will give you two identical heart shapes.
- Repeat steps 2 and 3 until you have as many hearts as you need for your garland.
If you don’t have a heart-shaped template, you can draw the shape freehand or grab our printable heart pattern from our free resource library


Sewing or Gluing the hearts
If sewing, take care to leave a small opening to fill the heart with poly-fil. You need to keep the stitches the same distance apart to keep the hearts looking uniform. If you choose to use a sewing machine, do not overstuff the hearts with poly-fil to get a nice, even stitch.
I prefer to glue my hearts together as it gives me a more uniform heart, not to mention that I can make a lot in a short time.
Assembling each heart: Sewing or Gluing
Attaching the hearts to the twine or ribbon: SEWING
If you choose to sew, thread a needle with a matching colour of embroidery floss or thread. Starting at the back of the first heart, stitch through the midpoint mark and then through the twine or ribbon. Continue sewing through each heart until all of them are attached to the twine or ribbon.
Attaching the Hearts to Twine or Ribbon – GLUING
If you prefer to glue, use a small amount of felt glue or hot glue to attach the midpoint of each heart to the twine or ribbon. Be sure to let the glue dry completely before hanging the garland.
Once your hearts are attached to the twine or ribbon, your felt Valentine’s Heart Garland is complete and ready to hang
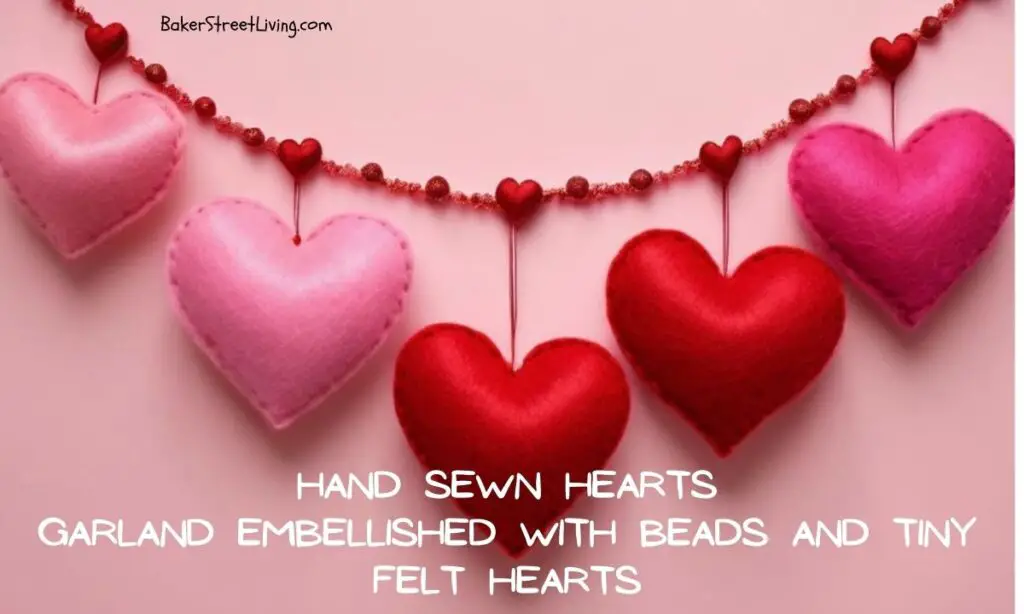
Adding Decorative Elements
Choosing Embellishments
When it comes to adding decorative elements to your felt Valentine’s heart garland, the possibilities are endless. You can choose from a variety of embellishments such as buttons, beads, sequins, ribbons, and more.
To start, think about the overall look you want to achieve. Do you want a simple and elegant garland or a more playful and colourful one? Once you have a vision in mind, you can start selecting your embellishments.
One thing to remember is to choose embellishments that complement the colour scheme of your garland. For example, if you have a pink and red garland, you might want to choose embellishments in shades of pink, red, and white.
You can also mix and match different types of embellishments to add texture and interest to your garland. For example, you can combine buttons and beads or use different sizes and shapes of sequins.
When attaching the embellishments, you can use a hot glue gun or hand-stitch them onto the felt hearts. Just make sure to space them out evenly and avoid overcrowding the garland.
With a little creativity and some carefully chosen embellishments, you can add a personal touch to your felt Valentine’s heart garland and make it truly one-of-a-kind.
Hanging the Felt Valentine’s Heart Garland
Before you glue on your ribbon, decide whether you want to hang your garland vertically or horizontally. Attach the ribbon accordingly.
Ideally, you will have a long enough length of ribbon on each end to hang your garland.
Once you have your ribbon or string, tie a knot at each end of the garland. Make sure the knots are tight so that the garland doesn’t slip off. Then, find a suitable place to hang your garland. You can hang it on a wall, a mantel, or a window.
If you’re hanging the garland on a wall, you can use a small nail or a hook to hold the ribbon or string in place. Make sure the nail or hook is securely attached to the wall before hanging the garland.
If you’re hanging the garland on a mantel or a window, you can tie the ribbon or string to a decorative hook, a removable hook or a suction cup. Make sure the hook or suction cup is firmly attached to the surface before hanging the garland.
How to store your Felt Heart garland
For best results, store the hearts in a hard-sided container with some tissue between them. Do not pack them tightly to avoid them getting flattened.

How to make a Felt Valentine’s Heart Garland – Step-by-Step
1 – Cut out the hearts
Using a Cricut cutting machine – Choose the heart shape from the shapes menu on the left side of the Canvas screen.
Resize to the size you want and then duplicate for the number of hearts you need. You will need 2 hearts for each heart on the garland.
Select “Make” and cut. I am using the fleece setting and the rotary cutter. I find that this makes a cleaner cut than using the fine-point blade. If your machine is not compatible with the rotary cutter, choose felt from the materials list and use the recommended blade.
**TIP** – for best results, use a less sticky mat. An older mat works great. A new sticky mat can cause the felt to warp and become misshapen when removing it from the mat.
Using Scissors – Cut a
2 – Arranging the Hearts
Once you have all of your felt hearts cut out, it’s time to arrange them into a garland. Lay out your hearts in the order you want them to appear on the garland. You can arrange them in a pattern or mix them up for a more random look.
1 –For horizontal hanging – To make sure your garland hangs evenly, measure and mark each heart about 1 inch from the top of each heart. Then, evenly space out the hearts along a length of twine or ribbon.
Run a bead of glue along the spot where the ribbon will go and attach the ribbon. If your ribbon has a right (shiny) and wrong (dull) side, place it shiny side up)
For Vertical hanging – run a bead of glue from top to bottom in the center of the heart. Place the ribbon onto the glue and press down (shiny side up)
2 -Run a bead of glue around the edge of the heart, leaving an opening for the poly-fil stuffing.
3 -Line up the hearts and press down the top heart onto the bead of glue.
4 -Allow to dry before inserting any stuffing.
5- Once the glued hearts have fully dried, insert a small amount of stuffing. Do not overstuff!
6 – Apply glue into the stuffing hole, along the edges of the felt and press down.
7 – Allow to fully dry before hanging. (See tips above on hanging)
I hope you enjoy this fun easy to easy-to-make Felt Valentine’s Heart Garland as much as we do. They are inexpensive and add a touch of class to your Valentine’s Day decor.

This website contains affiliate links. As an Amazon affiliate, I earn a small commission from qualifying purchases (at no cost to you).