
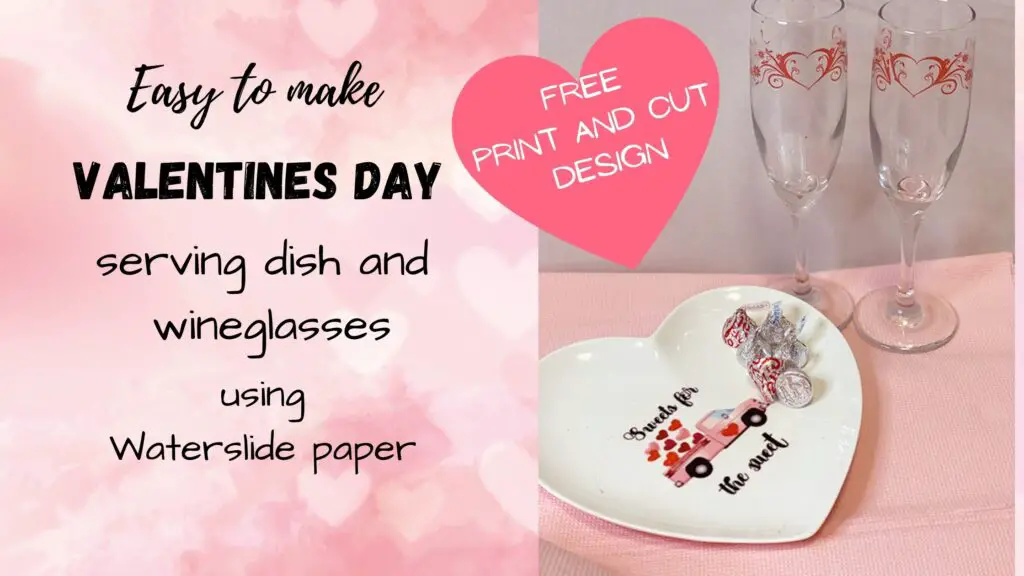
It is always fun to personalize your glassware for a special event or holiday. This Valentine’s Day waterslide paper design on glassware is an easy DIY. Make it in minutes and use it for that special Valentine’s Day dinner. If you have wondered how to use Waterslide Paper, read on.
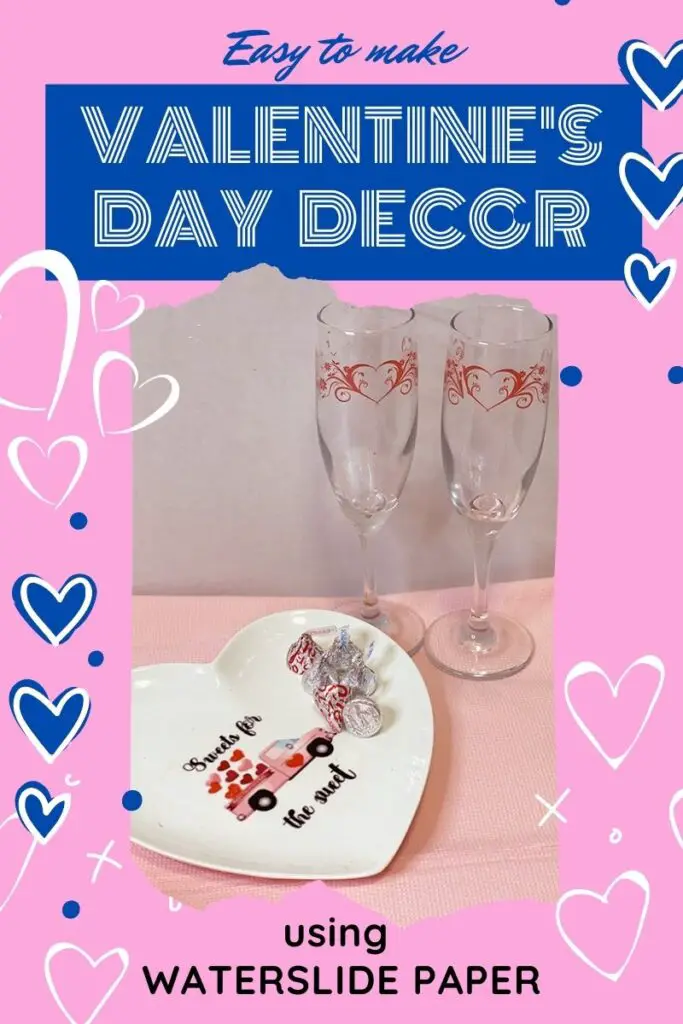
As a crafter, I always find it fun to make things that add a little customization to any event, and decorating for Valentine’s Day is no exception. This design that I am using on my Valentine’s Day serving dish and wine glasses can also be used on other items such as mugs, cookie tins to give away, drinking glasses, a flat wooden box or smooth plastic containers.
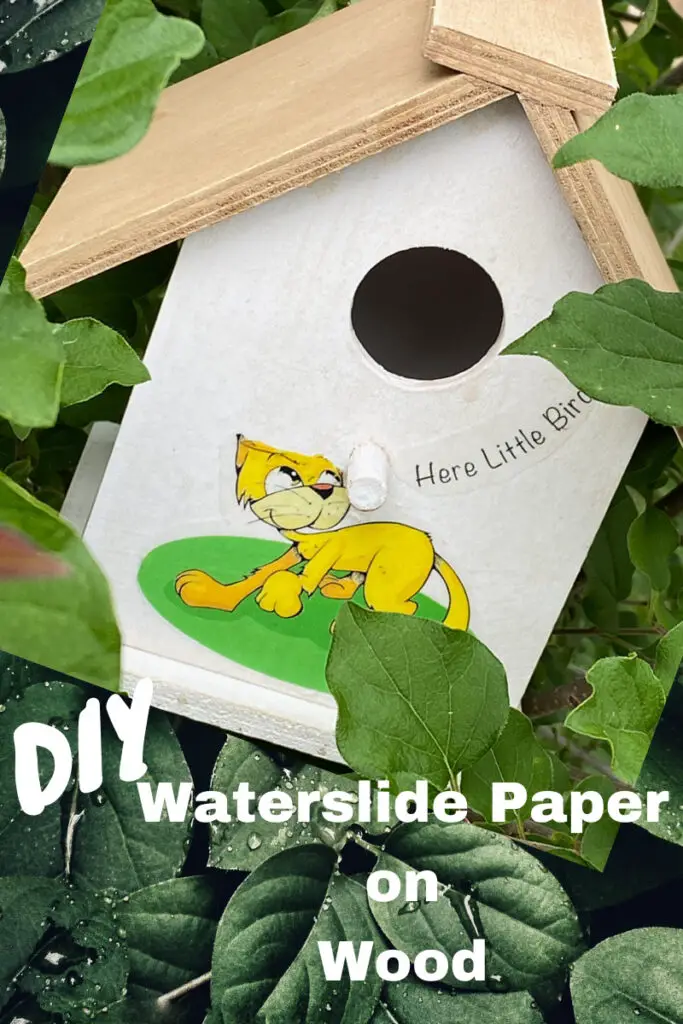
Waterslide paper is pretty versatile and will adhere to many surfaces. We have used waterslide paper on wood, wax candles, canvas, metal, mirrors and more. It is a fantastic product that expands your creativity and design options.
Valentine’s Day Waterslide Process
Supplies List
This website contains affiliate links. As an Amazon affiliate, I earn a small commission from qualifying purchases (at no cost to you).
- Heart plate ( or a plate you have chosen)
- wine glasses
- waterslide paper
- clear acrylic spray sealer ( I used glossy)
- rubbing alcohol
- paper towel
- cutting machine OR
- scissors
- dish for soaking
- inkjet printer
Choosing Glassware
Waterslide paper works on many surfaces, not just glass. The important thing is to have a smooth surface to apply the decal paper to. I have had the best results on glass, ceramics and metal. You can also apply it to wood and plastics. Waterslide paper may stick to textured surfaces, but it won’t last because it is difficult to get it to sit nicely and seal.
Colour is an important consideration. This Valentine’s Day waterslide paper design works best on clear or white items. If choosing a coloured item, be sure to consider that the colours may not show as well. If using coloured dishes or glasses, opt for the white waterslide paper with a white background.
If applying Waterslide paper to wood, such as a wood tray for Valentine’s Day, first coat the wood with a sealer, such as Mod Podge, to make the surface smoother.
Before you buy Waterslide paper
Waterslide paper comes in both inkjet– and laser-printer-compatible versions. Make sure you buy the correct paper for your printer when making our Valentine’s Day waterslide paper design.
Will your design come into contact with food? If yes, make sure that the paper is lead-free and food-safe. If you plan to seal your design before you use it, make sure your sealant is food-safe.
Our Valentine’s Day Waterslide Paper Design
This design is free for your personal use. Get it in our Valentine’s Day section in our Free Resource Library
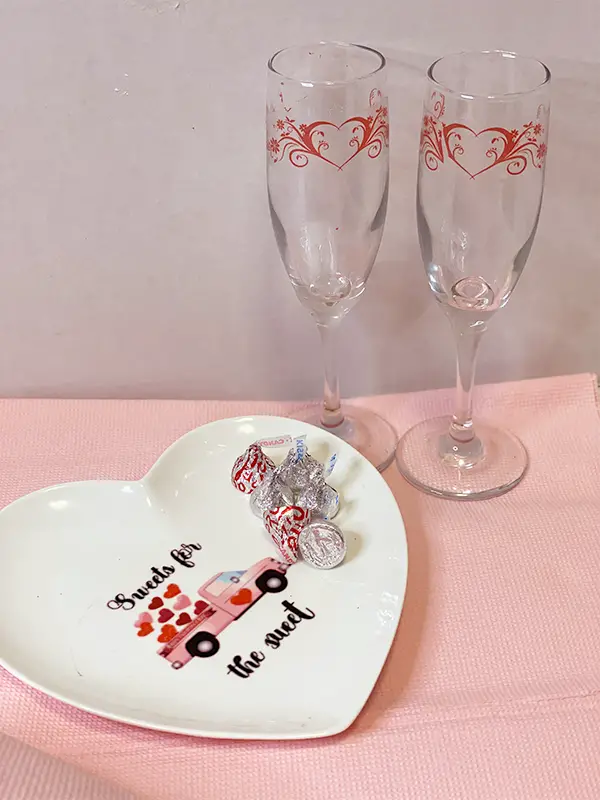
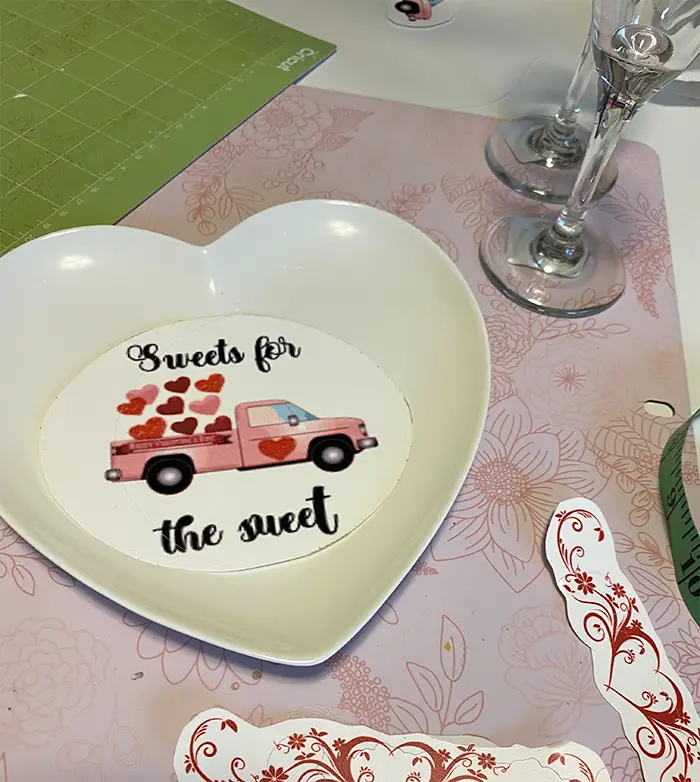
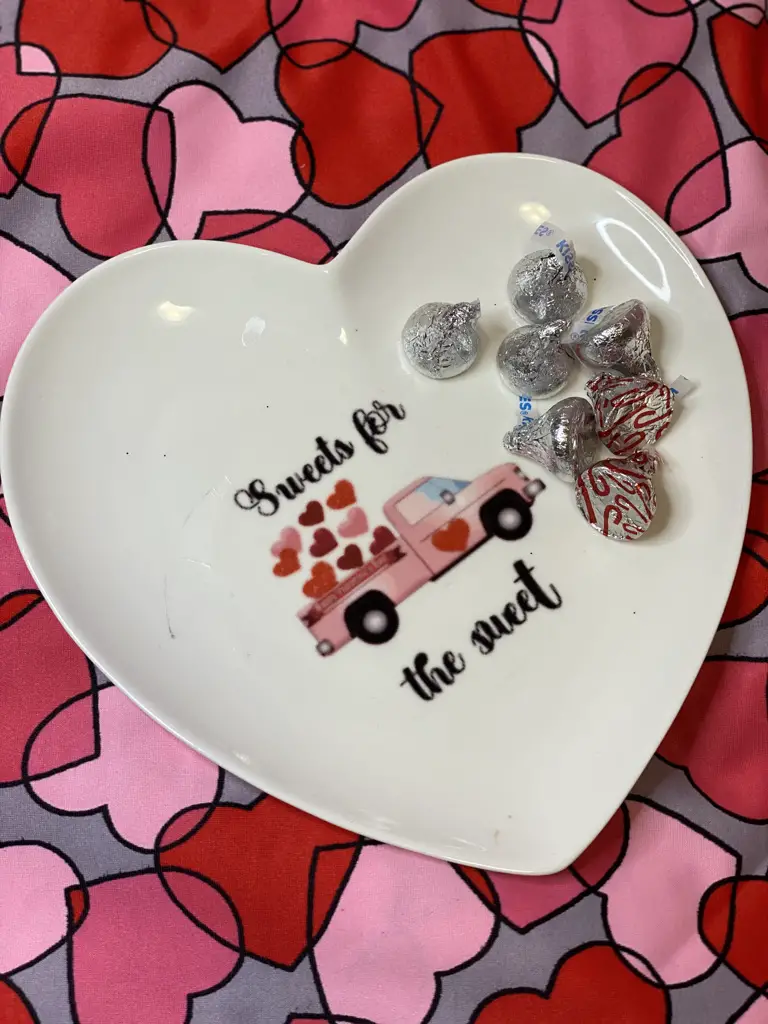
Our Valentine’s Day waterslide paper design, “Sweets for the Sweet,” in this tutorial is applied to a serving plate and a metal cookie tin. This design can easily be applied to mugs, glasses or ceramics. All you will need to do is resize and follow the instructions below.
Our Valentine’s Day “wineglass hearts” are great on mugs, drinking glasses, around a vase or even a ceramic bowl.
Both of our Valentine’s Day designs were printed and cut using a Cricut cutting machine but this is optional. If you don’t have a cutting machine, use a pair of sharp scissors. No cutting machine is needed.
Our Amazon list for this project
- Waterslide paper – Inkjet clear
- Waterslide paper – Laser clear
- clear acrylic sealer
- Standard grip Cricut mat
- Resin coating ( optional)
- scissors
- Zots – adhesive dots
Valentine’s Day Waterslide Paper Instructions
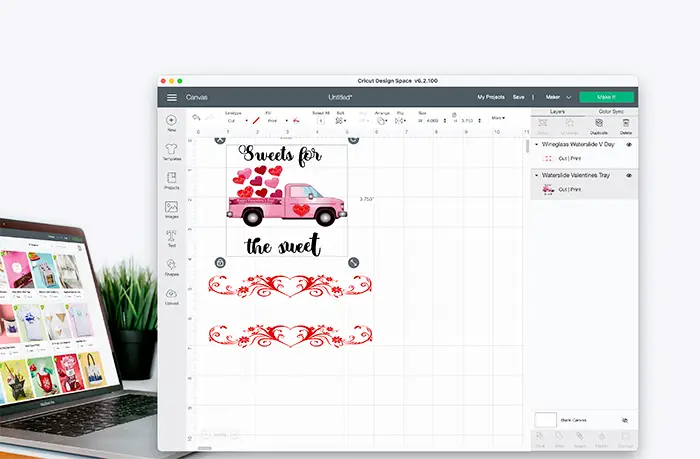
Using a Cricut cutting machine and Design Space
- Measure the surface that your Valentine’s Day decal will be applied to
- Upload your design to Cricut Design Space
- Select Open, then choose Complex, then continue. You can now remove parts of your image (if desired)
- Save as a print-and-cut file.
- Select insert, and your design will be loaded onto the canvas
- Make any additions to your designs here, such as lettering, other shapes, or uploading and combining other designs. ( you could easily customize the design by adding the name of the person that you are giving sweets to, or by putting a teacher’s name and class on a cupcake tray.)
- If adding lettering or shapes, be sure to attach everything before sizing
- Resize the image on your canvas to fit your item.
- Make sure you have flattened your object if you have added anything to the design. This will bring everything onto one layer before you print.
- Select “Make “
- Send to your printer (be sure to load the paper correctly according to your printer instructions, so the image is printed on the correct side.
TURN OFF BLEED – Before you print, make sure you don’t skip this step. If you print your image without turning off bleed, you will have a smudgy-looking image and lettering.
- REMINDER – if you are putting the waterslide paper on the bottom of a glass dish and want the image to show through, don’t forget to mirror the image.
Move to the next step – sealing your design.
Making the Valentine’s Day waterslide paper design project without a cutting machine
- Upload the image into a document program, such as Google Docs, Word, or Microsoft Office or use a graphics program such as Canva (totally free)
- Resize the design to fit your glassware.
- Send to your printer (be sure to load the paper correctly according to your printer instructions, so the image is printed on the correct side.
- Let the image dry completely.
Sealing your design
- Use a cardboard box as a spray booth. (to protect your area when spraying with an acrylic sealer.)
- Give your waterslide paper a coat of sealer. If you have a waterslide paper [rpfuct that requires more than one coat, be sure to allow for drying time in between coats. 30-35 minutes between sprays, and then wait 45 minutes before you cut them.
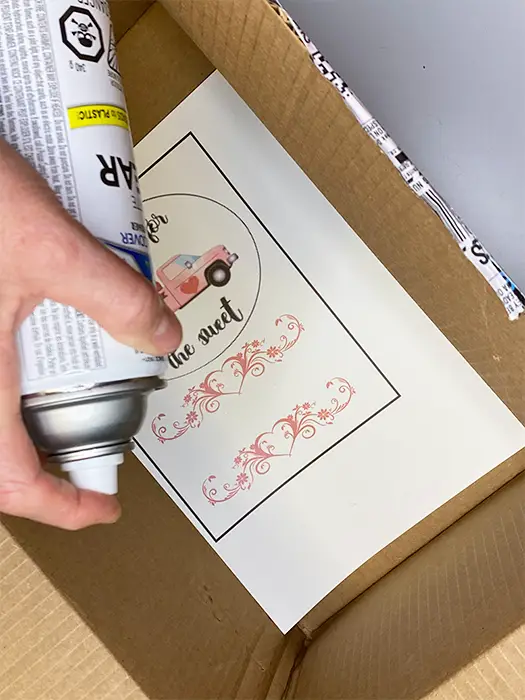
When spraying your waterslide paper with a sealer, use a bit of sticky tack or a Zot to hold the paper in place. It tends to move slightly when spraying. This will keep it in place. Just remove it after you have completed the spraying layers.
Using Scissors
- Once dry cut around the waterslide paper images.
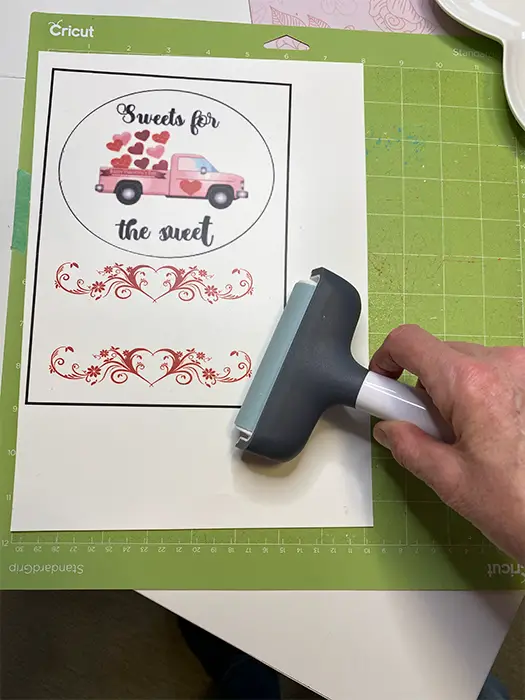
If using a cutting machine
- Once fully dry, place your waterslide paper onto the green standard grip mat. Image up)
- IMPORTANT: The bounding box printed around your design must be at a right angle on your cutting mat. If it is crooked, you may cut through your design. (This can happen if the paper did not properly feed through your printer when printing,
If your mat has lost some of its stickiness, you can use a little painter’s tape on the top and sides of the waterslide paper to hold your Valentine’s Day waterslide design in place.
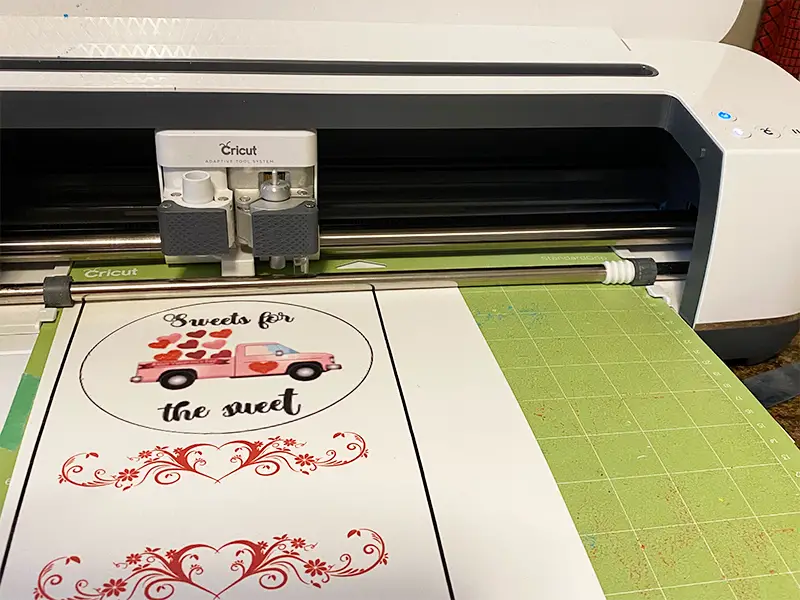
- When selecting your base material, waterslide paper is not on the list. I chose Printable sticker paper and have had success with that setting.
- Select cut on your machine.
Forget to seal before you cut? **
If you forgot to spray with sealer before you cut (like I have a few times), use a piece of sticky tack or something easily removable to hold the stickers in place in your box.
This prevents them from moving when you are coating them with a sealer.
Spray them with the sealant spray as directed.
Applying Valentine’s Day Waterslide decal
- Use the rubbing alcohol and wipe down the surfaces of the items you will be applying your stickers to.
- Let the waterslide paper soak in warm water for about 30 seconds (or according to your product instructions)
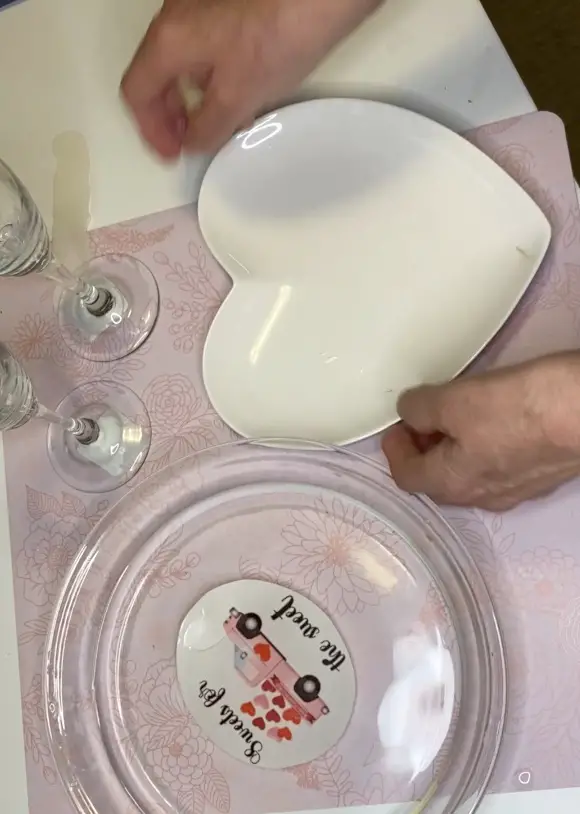
- Position your decal on the surface of your item.
- Holding onto the top surface, gently slide the backer paper out from beneath the decal.
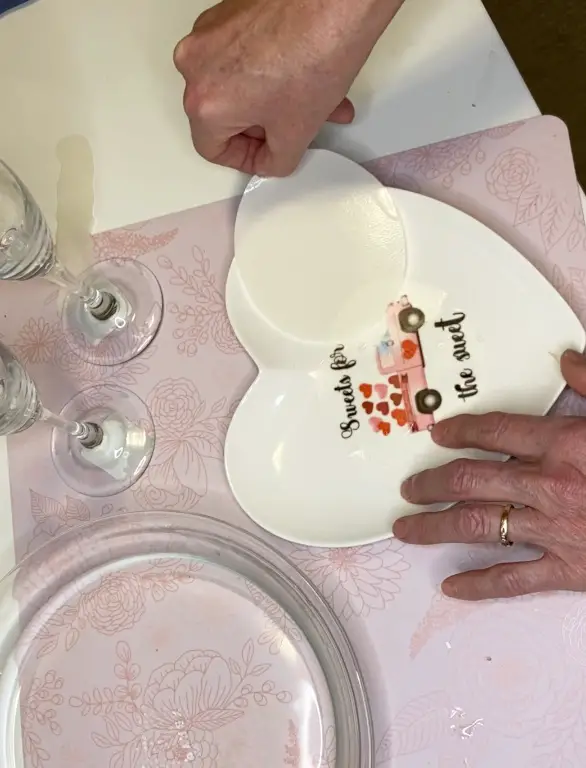
- Position the decal by gently sliding it on the surface.
- Remove any bubbles from the surface of the waterslide paper with your fingers.
- Blot the image with a dry lint-free cloth or paper towel to remove any water.
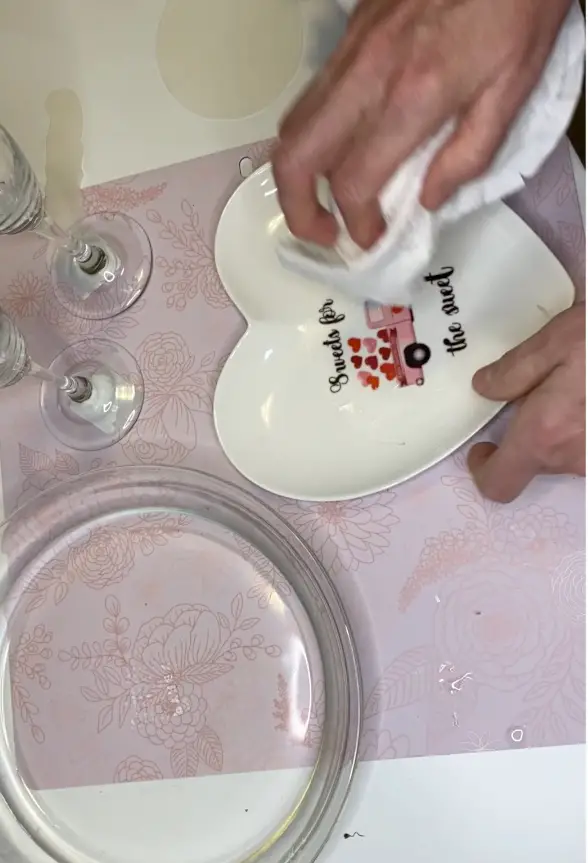
- Let thoroughly dry.
- Bake in 240°F (110 °C) for approximately 10 minutes. (follow your product instructions if they are different)
- Let cool
NOTE – Some brands of waterslides recommend applications of resin. I have never done this, but I don’t put them in the dishwasher. If it is an item, such as a water bottle, you may want to coat it with resin to preserve the image quality
Get your password, enter the library, and get this free print and cut design. CLICK HERE
Enter the Library with a Password and get the free Design. CLICK HERE


This website contains affiliate links. As an Amazon affiliate, I earn a small commission from qualifying purchases (at no cost to you).