
Content Created by Tracey of Baker Street Living 
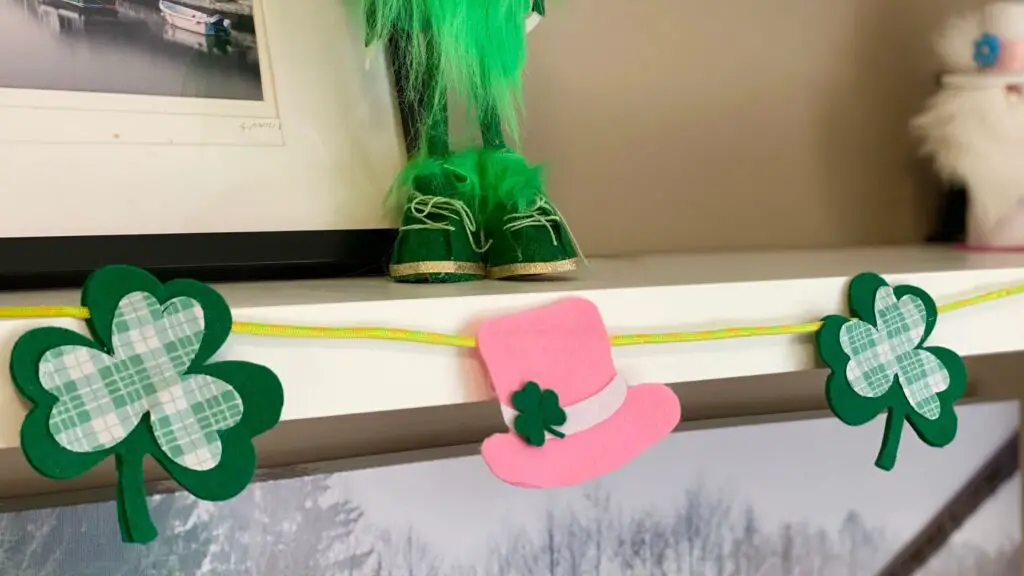
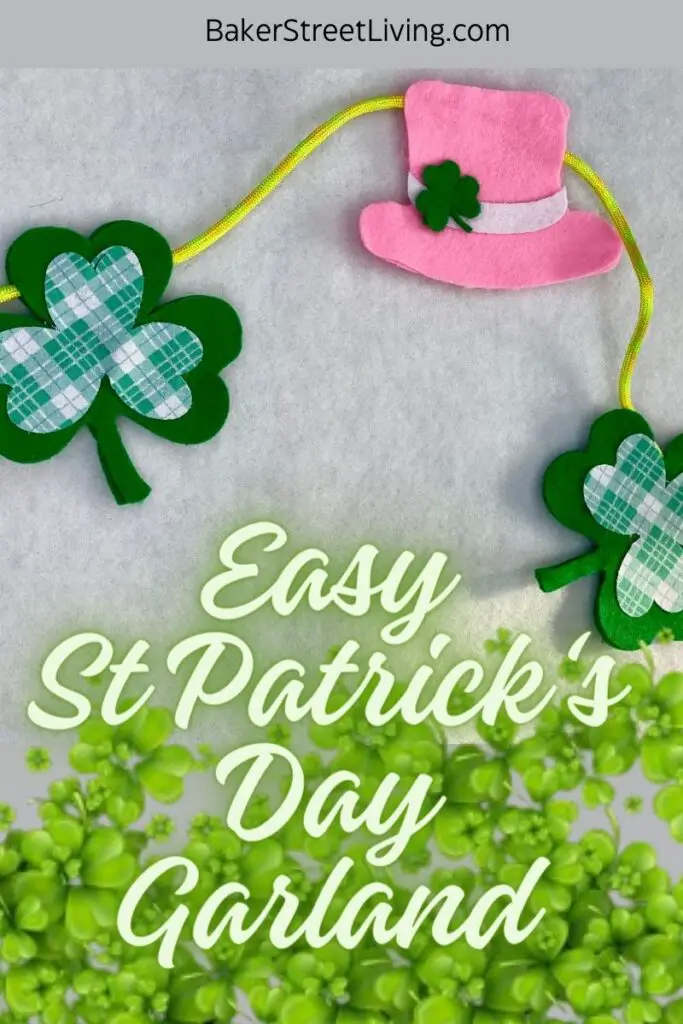
This fun and easy DIY St Patrick’s Day Garland looks super cute hanging on a mantle, on a window or a classroom bulletin board. The cheery leprechauns and glittery shamrocks are a great addition to your St Patrick’s Day decor.
This project can be made using a Cricut cutting machine or scissors. Both the printable pattern and the SVG pattern will be provided to you.
How to Make a St. Patrick’s Day Garland
Recommended Tools List
This website contains affiliate links. As an Amazon affiliate, I earn a small commission from qualifying purchases (at no cost to you).
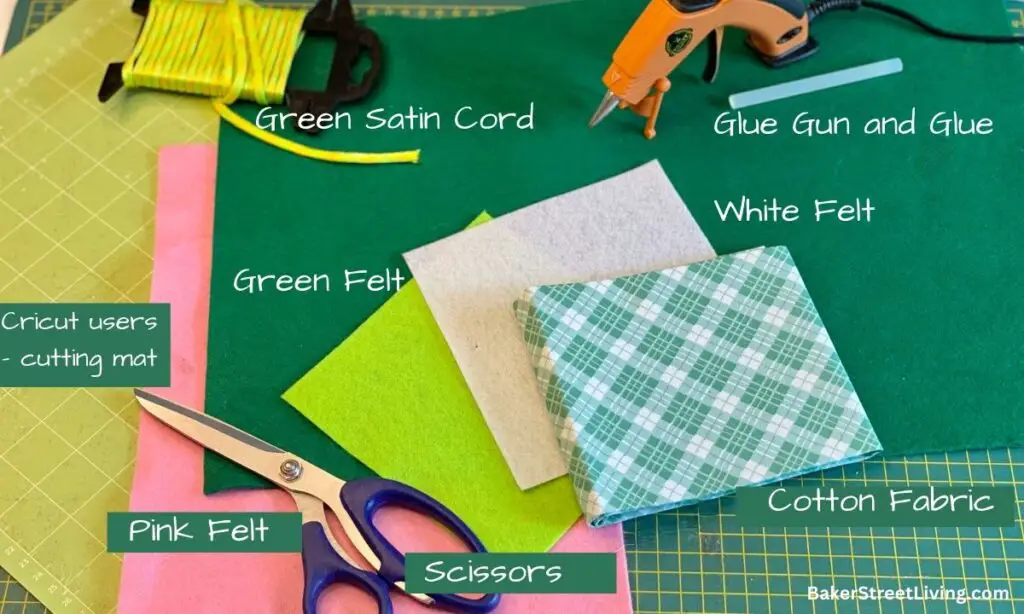
- Hot Glue Gun and Glue
- Scissors
Tools – Cricut Cutting Machine Users
- Cricut Cutting machine that is compatible with fabric or material choices
- Rotary cutting tool or fine point blade (material dependent)
- fabric grip mat or standard grip mat(I use an old standard grip mat.)
- Spatula tool
Tools – Printable Pattern Users
- Scissors or rotary cutter
- cutting mat if using a rotary cutter
Supplies List
FAQs and Helpful Tips
What are substitute fabrics for the felt?
Stiff felt gets the best results when making our St. Patrick’s Day Garland. If you want to use a lighter-weight fabric, you can apply a layer of heat and bond or fusible interfacing to add stiffness. Fleece also works well, but may need a cardboard insert to keep it from falling over.
For the Shamrock insert, flannel, quilter’s quarters or other cotton works well.
Can I make the St. Patrick’s Day Garland out of paper?
Absolutely! Heavy cardstock works great. It may not store as well as the felt, but for a bulletin board or single-use, cardboard or cardstock works great. For construction paper or scrapbooking paper, add multiple layers to give it some weight for hanging.
Storing your St. Patrick’s Day Garland
Store your garland by placing it stacked in a box and wrapped in tissue paper. Keep the garland pieces flat to prevent curling and fold marks. If when you remove the garland from storage, you find some creases or bends, press with a household iron on a low heat setting using a pressing cloth.
Cutting Shamrocks and Leprechaun Hats
For Printable pattern Users
Cutting your pattern pieces out of cardstock will make it easier to cut multiple pieces.
For Hat Pieces and Shamrock Pieces.
- Fold your felt in half, so that you have two layers
- Using your pattern, trace the shape onto the felt with a piece of chalk or fabric pencil.
- Cut the two layers at once. This will make sure they line up perfectly when adhering together.
For the Hat Band, Small Shamrock and Inner Shamrock Pieces.
- Transfer the pattern onto the felt as stated above.
- For thinner cotton that is being used for the inner shamrock, cut multiple layers at once.


Download the pattern here.
How to Make the St. Patrick’s Day Garland
Pieces you will need
For each hat – 2 felt hat pieces, one hatband and one shamrock.
For each Shamrock – 2 felt shamrocks and one coordinating fabric insert piece.
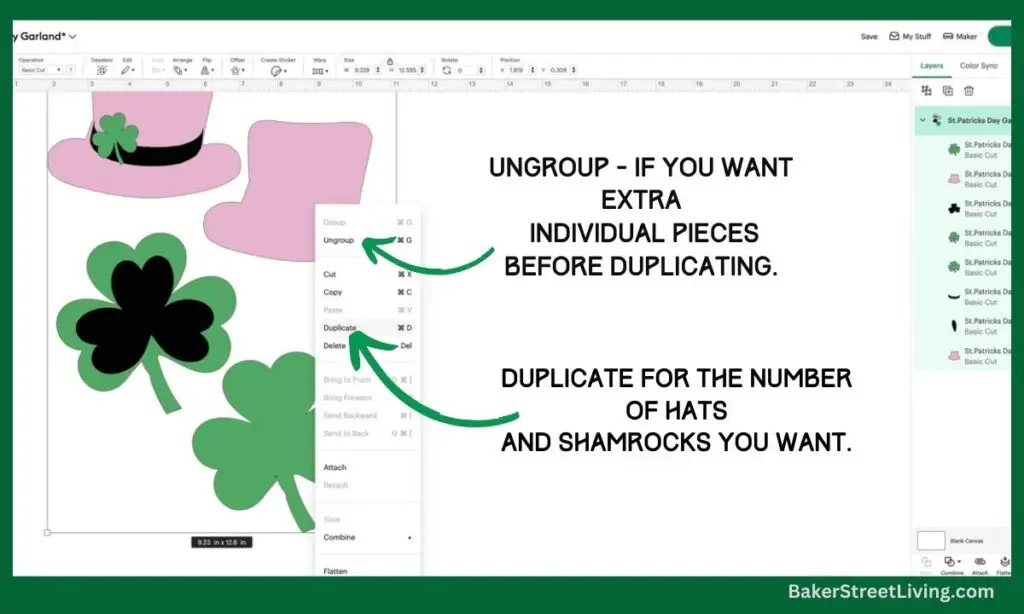
- Download the St. Patrick’s Day garland pattern – Printable or SVG from our free resource library.
2. Cut all pieces of the pattern from felt, using a cutting machine with the SVG pattern, scissors, or a rotary cutter for the printable version.
Cricut users – I have found the best setting for cutting thick felt is the fleece setting and a rotary cutter with the pressure set to more on my Cricut Maker.
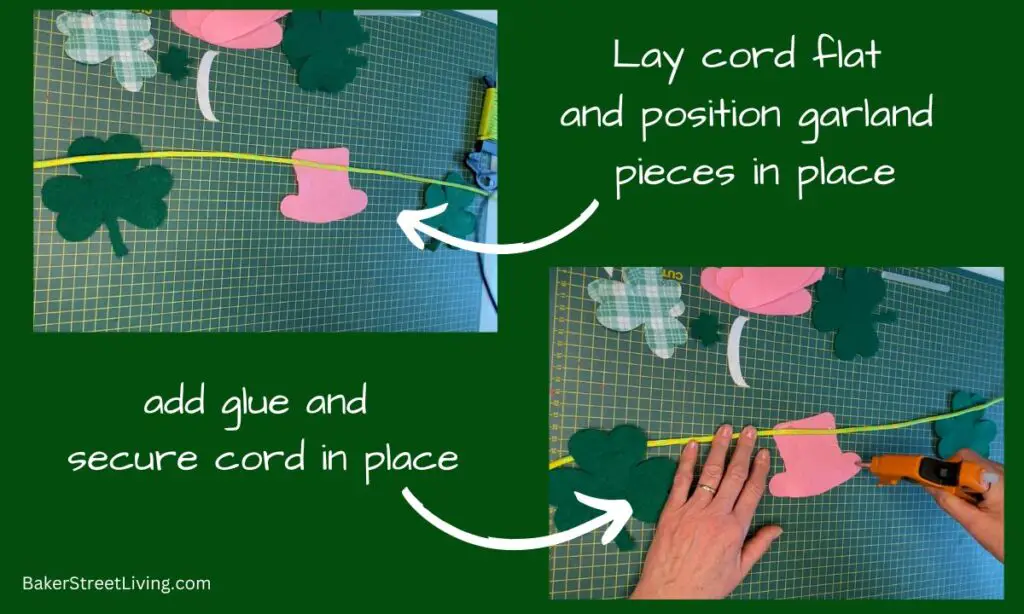
3. On a flat surface, lay out your ribbon or green cord.
4. Evenly space the Leprechaun hats and the shamrocks under the cord.
5. Run a bead of hot glue approximately 3/4 of an inch from the top of the hat or shamrock.
6. Place the cord onto the glue, pushing it into it. If using ribbon, make sure the ribbon remains flat and there are no twists or curls in the garland
7. Run a bead of hot glue around the outside edge of the hat and the shamrocks. You want to run the glue close to the edge but not too close, causing seepage when you place the top pattern piece on.
8. Place the top pattern piece on, making sure to line up the edges.
For Top Hats
- Run a bead of glue onto the hat band and secure it in place.
- Add glue to the band, place the mini shamrock, and secure it in place.
- Touch up and edges that need gluing.
- Allow to dry completely.
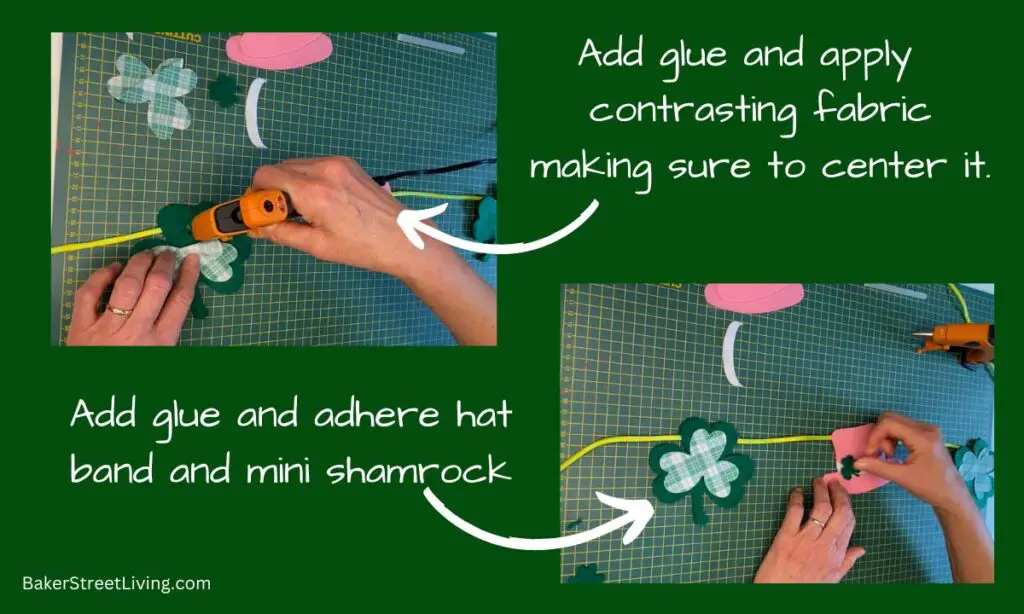
For Shamrocks
- Add a bead of hot glue in the center of that shamrock.
- Carefully place the fabric in the center.
- Finish by adding a bit of glue under the edges and securing them in place.
- Be careful not to over-saturate the fabric.
Allow everything to dry completely before hanging.
Adding other embellishments to your Hats or Shamrocks
Adding personal touches can add more character to your garland.
Consider using a glittery fabric for the shamrock insert or a textured fabric, such as corduroy, suede to velvet.
Embellishments that look amazing on the Leprechaun top hats are buttons, beads, charms and fur pieces. This can be a great way to use up scraps of fabric and ribbon.

Tips for Hanging Your St. Patrick’s Day Garland
If hanging from a fireplace mantle or window ledge, removable command hooks are a great option. They are easy to remove and don’t cause damage to fine surfaces.
If hanging on a wall, command hooks are still a great option. Cut a couple of extra shamrocks and cover the hooks with them.
If handling on a bulletin board – Tie a small knot in each end and use a tack to secure it in place.
Enjoy this and other projects from Baker Street Living!

This website contains affiliate links. As an Amazon affiliate, I earn a small commission from qualifying purchases (at no cost to you).