
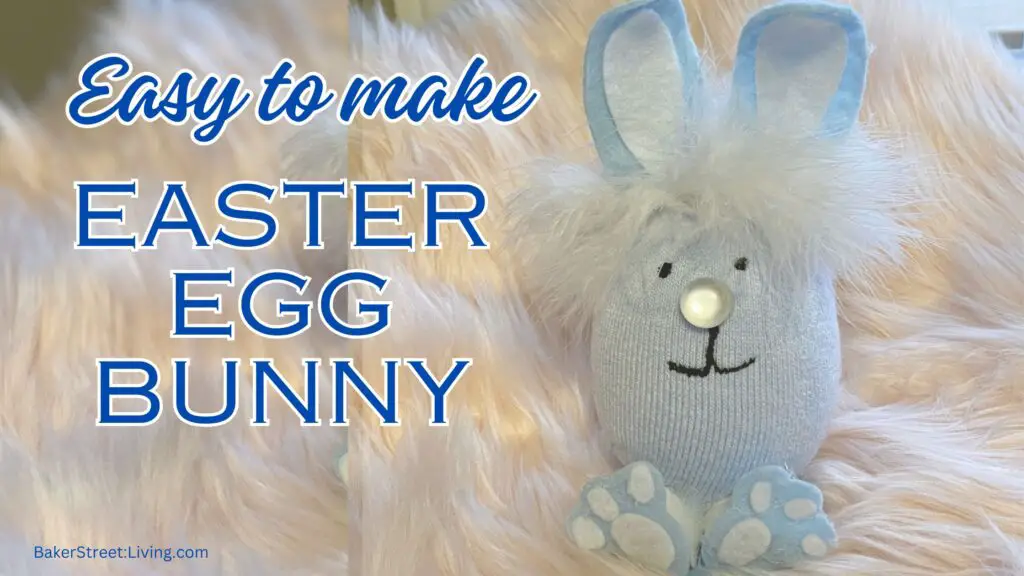
Oh this Easy DIY Easter Egg Bunny is so cute, you will want to make a whole bunch! We love Easter Crafts and this is one of my favourites.
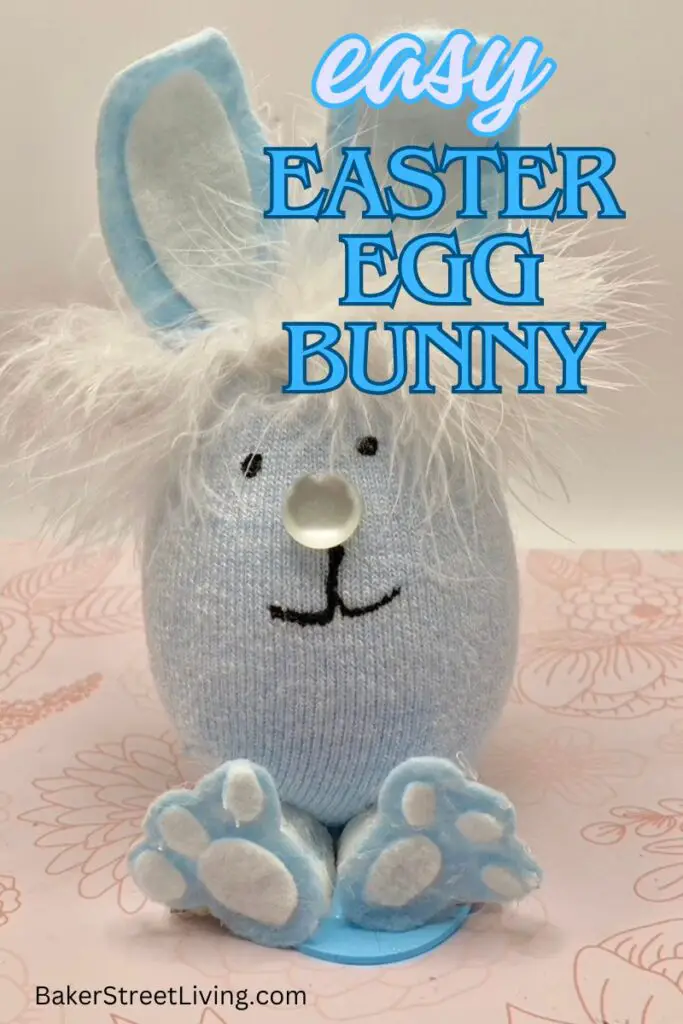
Table of Contents
Supplies List
This website contains affiliate links. As an Amazon affiliate, I earn a small commission from qualifying purchases (at no cost to you).
- Large Foam solid or hollow Egg
- Pastel Coloured Sock
- Small Button (for nose)
- Puff paint for Fabric
- Stiff Felt– about a 4-inch square piece – the same colour as the sock
- Craft felt – contrasting colour for the inner ear.
- EVA foam – half-round dowel ( about a 1-inch piece)
- 2mm EVA foam – about a 3 to 4-inch square
- Pom Pom
- piece of chalk
- A piece of thin Maribou feather boa
Tools List
- Foam Cutting Tool (recommended but not required)
- Hot Glue gun and hot glue
- Cricut Cutting machine or
- Scissors
- Wire Cutter (or junky scissors)
- tweezers (optional but helps prevent burns)
How to Make an Easter Egg Bunny Video
Helpful Tips and FAQs
How to cut holes in the foam egg without a cutting tool.
If you don’t have or don’t want to invest in a foam cutter, you can cut the holes for the ears using an X-Acto Knife. Start by cutting a small section out for the ears and work in a circle until you have a hole big enough.
You could also cut small slits for the ears; however, you won’t get the rounded ear look.
Tips for using Real Eggs instead of foam.
This tutorial can easily be used on regular eggs. They make a super cute miniature Easter Egg Bunny. Make certain the egg is thoroughly blown out and rinsed out with water, and then allowed to dry completely before starting. A darning needle does a good job of piercing the holes for the ears. To add strength to the shell of the egg, you can give it a couple of coats of Modge Podge before starting to make the bunny.
You will need a much smaller sock. A baby sock or newborn mitten fits pretty well.


DIY Easter Egg Bunny Instructions
Using a Cricut cutting machine
Download our free Easter Egg Bunny pattern pieces from our free resource library.
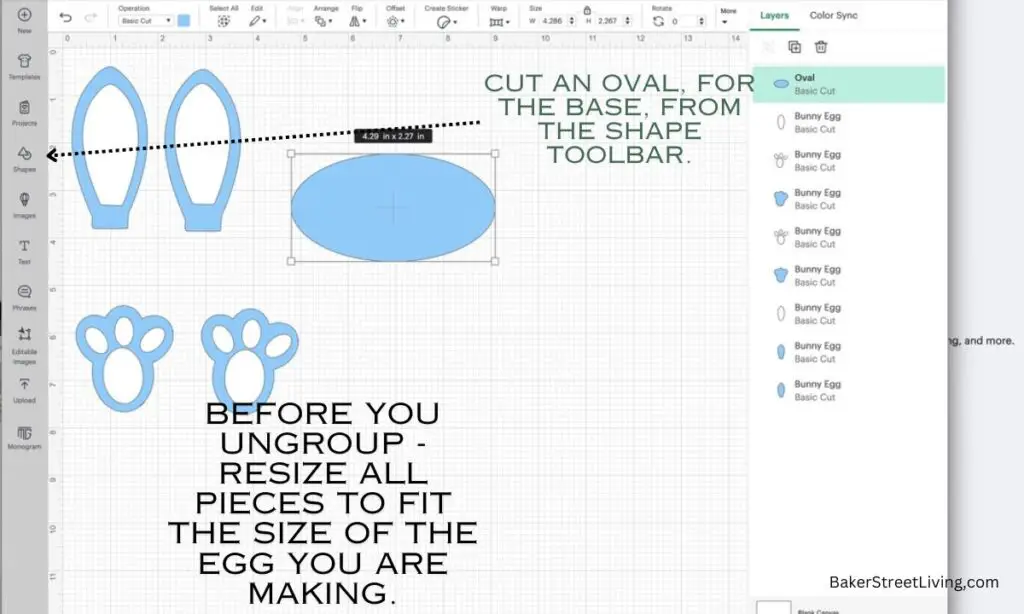
When you have uploaded the design onto the Cricut canvas, resize it to fit the size of your egg.
Once you have resized, add an oval from the shapes toolbar. The oval should be big enough for the bunny to sit on, with extra space to glue on the leg and foot pieces.
Using the Printable pattern
Download the printable pattern to your computer and simply print. if you would like to resize, you should be able to resize and change the size somewhat before printing. You will be limited in the amount of change that you can make, depending on how much larger or smaller you want the pattern to be.

Making the Ears
1 – Using the pattern provided in our free resource library, cut the outside ear pieces and the outside foot pieces from the stiff felt. (A cutting machine and printable pattern are available)
2 – Cut the inner ears and inside paw prints from a contrasting colour felt.
3 – Using your hot glue gun, glue the inner ear pieces to the outer ear. Using tweezers for this step can help with placement and prevent burns. Let dry.
The Bunny Body
1 – Mark on the top of the styrofoam egg, where the ears will go.
2 – Using the foam cutting tool, make a hole at each mark for the ears.
3 – Insert the ears and make sure they fit. If they don’t fit, make the hole a little bigger.
4 – Once you have the proper-sized holes, set the ears aside.
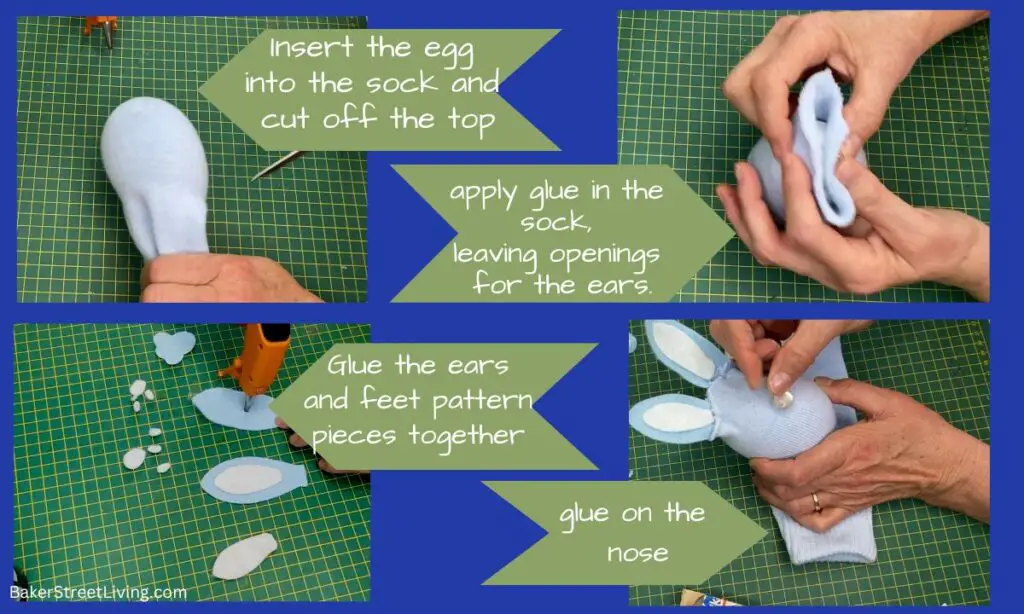
5 – Insert the egg into the sock and pull it tight.
6 – Apply hot glue to the top of the egg, adhering the sock to the egg. Do Not Cover The Ear Holes.
7 – Trim off the remaining sock, leaving a little to go around the ears.
Attaching the Ears
1 – Add hot glue to the holes you have already cut for the ears.
2 – Insert each ear, bending it, to give it a rounded cupped look.
3 – Allow the glue to dry.
4 – Add more glue around the base of the ears and glue down the rest of the sock. Trim excess if necessary.
5 – Add the thin maribou feather boa piece around the base of the ears, going all the way around the egg.
6 – Allow everything to dry.
Adding the face
1 – Using your cutters or a pair of junky scissors, cut off the back of the button.
2 – Using the chalk, lightly mark out the face of the bunny.
3 – Lay the egg down on a thick towel or cloth to keep the egg from moving.
4 – Add a bead of hot glue where the nose will be and attach the button.
5 – Using the puff fabric paint, add the face. Allow the Easter Bunny egg to dry completely before the next steps. Overnight is ideal.

Adding the base and the feet
1 – Cut an oval about 2 mm from the base of the 2mm EVA foam. Make sure that the egg can easily fit as well as the two foam half-round dowel pieces and the felt feet.
2 – On the half-round foam dowel, mark two spots at 1/2 inch.
3 – Using your foam cutting tool, slice along the marks. (This will leave you with 2, half-inch pieces
4 – Using hot glue, attach the white inside foot pieces to the outer foot. Using tweezers will help prevent burns when attaching the small pieces.
5 – Allow to dry
Putting the Easter Egg Bunny together
1 – Using hot glue, glue the feet to the edge of the circular base piece of 2mm EVA foam.
2 – Add a circular bead of hot glue to the center of the circular EVA foam.
3 – Attach the Ester Egg Bunny body to the base.
4 – Add glue to the base of the egg on the foam and place the two foam half-dowel pieces in place for the legs.
5 – Add glue to the front of the foam leg pieces and adhere the paws in place.
6 – Add some glue to the center back of the bunny, near the base and add the pom pom tail.
7 – Allow everything to dry and then display
This cute Easter Egg Bunny looks cute made in multiples, lined up along a windowsill or nestled into an Easter table center[piece.
