
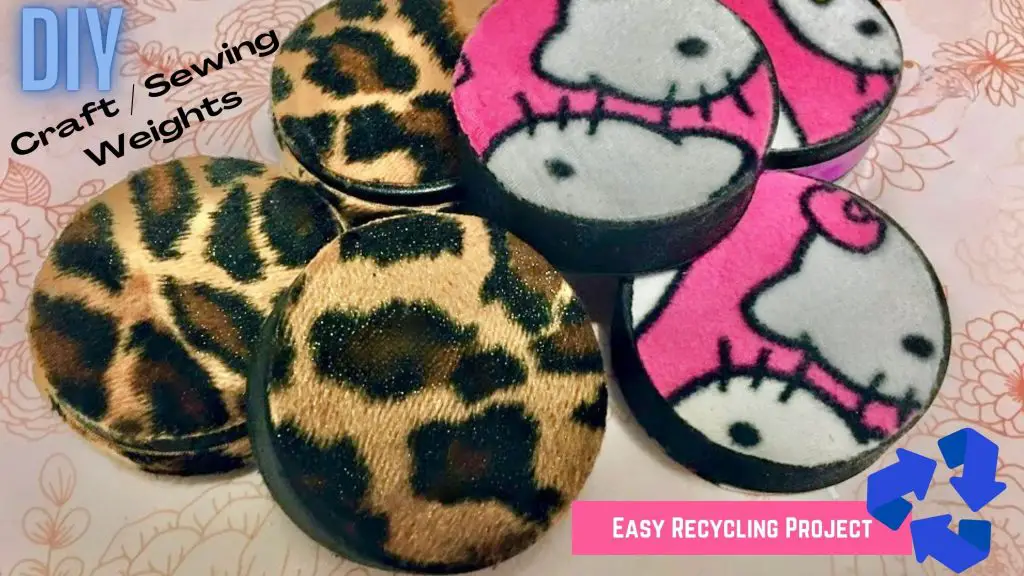
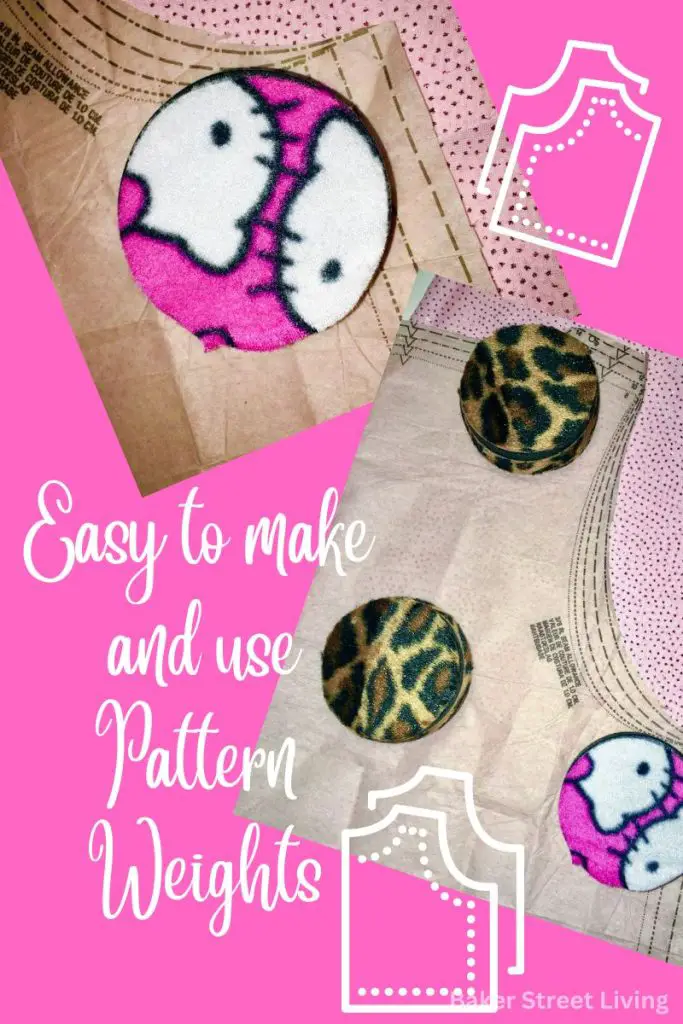
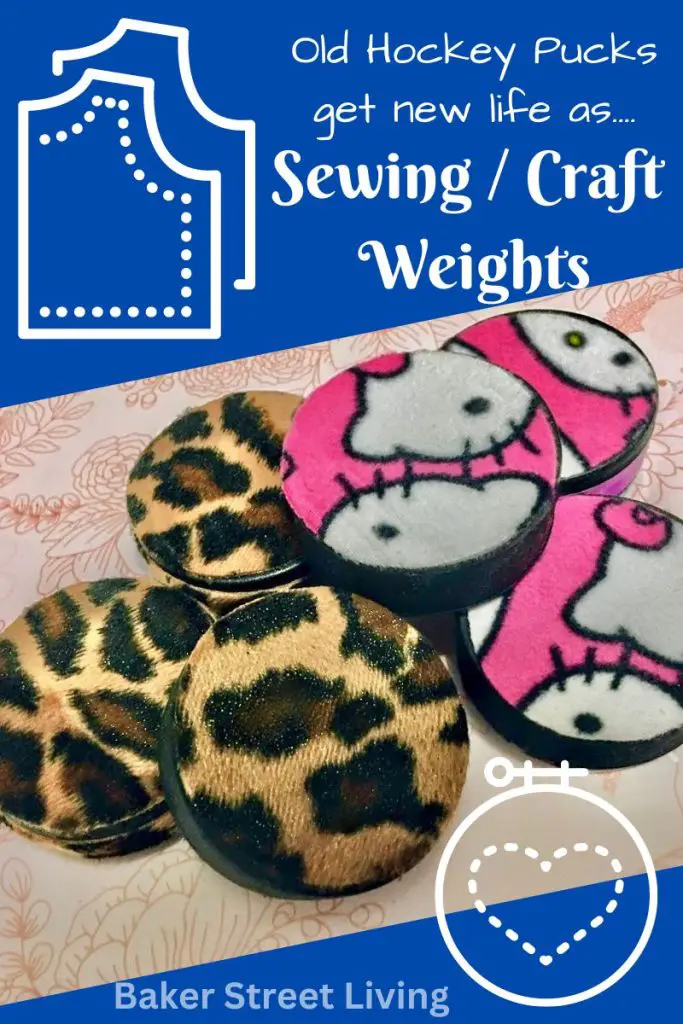
Pattern weights are an absolute necessity if you are doing a lot of sewing or crafting. Using these budget-friendly pattern weights can be a great time saver too, and who doesn’t like a good shortcut? I use these pattern weights frequently when I really don’t need to use pins but need to hold the pattern down, like in my Standing Gnome tutorial, and my DIY Hug me scarf post.

I’ve been sewing for a long time, and my least favourite part about getting started is the pinning and trying not to rip the pattern sheet or getting the fabric to lay perfectly flat with the pattern pinned and ready to cut. These easy-to-make, budget-friendly pattern weights are the solution to my dislike for pinning.
An easy way to speed up the sewing process is to use pattern weights. Pattern weights have many benefits. They are easy to use, and they don’t damage your fabric or the pattern pieces. Those flimsy tissue paper patterns won’t take much pinning before they become ripped.
When you are teaching young kids to sew, they also prevent anyone from getting pin-pricks. You can also use these weights to add a little weight onto something you have just glued or when you are weeding vinyl, or even paperweights.
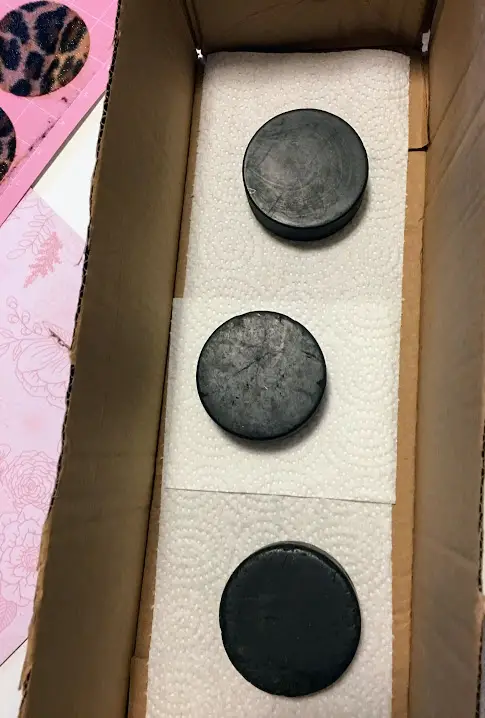
These budget-friendly pattern weights are made from old hockey pucks. Some of them have a rough edge or a gouge from being in the game, so covering them with fabric prevents them from snagging on delicate fabric. But of course, we need to make them pretty too!
You can make these pattern weights with any Cricut Maker cutting machine, by cutting the circle freehand or using a fabric circle cutter. A fabric circle cutter is a great tool. Before I had my Cricut Maker, I used it frequently. I am not good at cutting circles freehand, but it made a perfect circle every time.
To make my pucks a total score, I used my Cricut Cutting Machine to cut the perfect circles that will be adhered to the pucks. All of my pucks were found around the local rink, so they didn’t even cost me a dime. That’s even better. Of course, ask the arena staff if they are saving them. In my case, the staff told me that the pucks were from other teams and they were left behind, and I could have as many as I could find. Did someone say free? So I sent the kids on a hunt!
Supplies list
This website contains affiliate links. As an Amazon affiliate, I earn a small commission from qualifying purchases (at no cost to you).
- Hockey pucks – as many as you want to make
- fabric – fleece works best (a great time to use up some leftover scraps)
- Elmer’s Craft Bond spray adhesive
- Cutting machine or fabric scissors, or Olfa circle cutter
- optional- ribbon or trim
How to Make Pattern Weights
Making pattern weights with a cutting machine
- Measure the diameter of your puck.
- Choose your fabric.
- Go to Cricut Design Space and choose shapes > circle
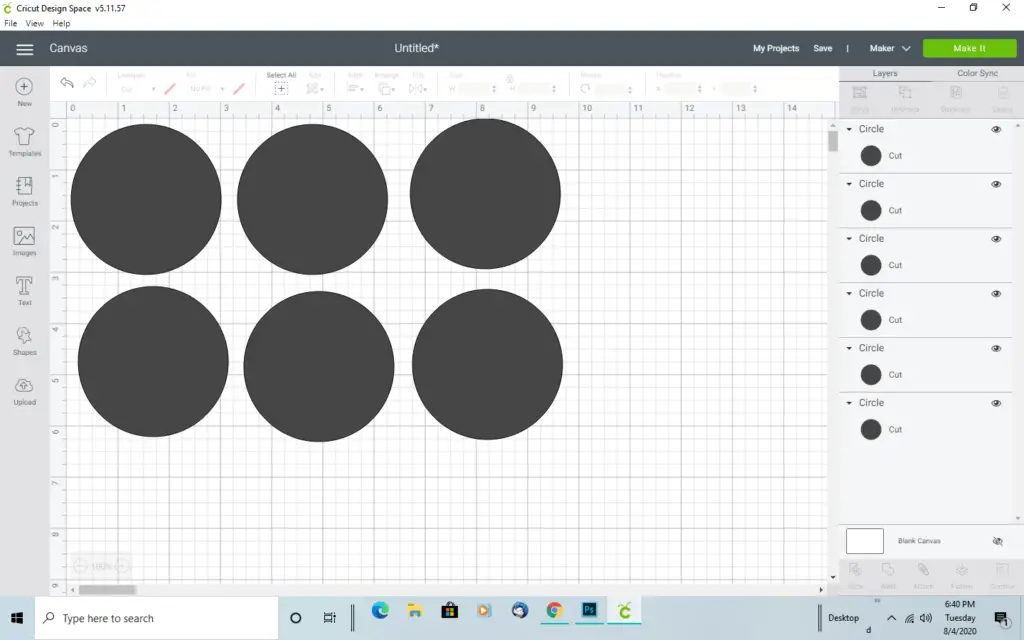
- Make the circle the size of your puck – a standard hockey puck is 3 inches in diameter
- You will need two circles for each puck.
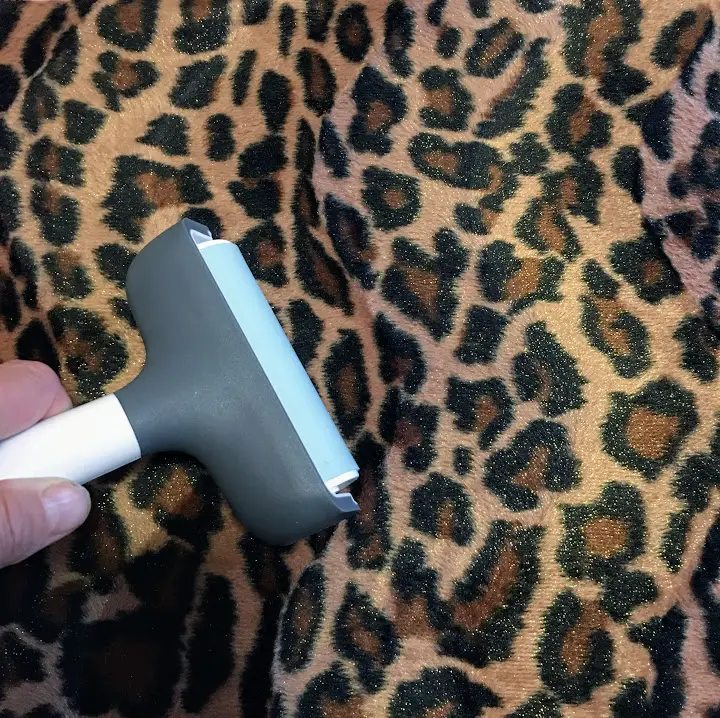
- Place your fabric on your fabric grip mat and smooth it out with a brayer or smoothing tool
If you want to cover the sides with the same fabric, measure the circumference and side height of your puck and cut a rectangle shape (from Design Space – shapes) to fit
- Install your rotary tool in your Cricut. (this baby cuts like butter)
- Make It
- Select your material on the make-it screen. – I selected faux fur for the leopard fabric even though I was cutting fleece. The leopard fleece I am using is a heavy costume fleece, and I would consider it to be more in line with the weight of faux fur. The Hello Kitty fabric was a lightweight pyjama fleece, so I selected the fleece option in the materials
- Once you have all your pieces cut, set them aside.
- Place a few pucks in a box that you will use as a spray booth in a well-ventilated area.
- Spray some spray adhesive onto the tops of your pucks
- Adhere one of the circles to the top of each puck.
- Let dry
- Repeat applying adhesive to the other side and let it dry completely.
- **Optional** When both sides are dry, apply trim, ribbon, washi tape, or fabric strips to the side if desired. It isn’t necessary; it is purely for appearance. if choosing to do this, place your trim piece right side down in your spray booth box and spray some adhesive on it. Apply your trim to the side of the puck.


Making Pattern Weights without a cutting machine
- Measure the diameter of the puck.
- Make sure your fabric is on a flat surface and that it is secure.
- Using the circle cutter, adjust the size to the appropriate size for the puck.
- Holding the circle cutter firmly onto the fabric, rotate the rotary cutter arm around in a circle, cutting through the fabric.
- Repeat until you have enough circular pieces cut out from your puck weights.
- Once you have all your pieces cut, set them aside.
- Place a few pucks in a box that you will use as a spray booth in a well-ventilated area
- Spray some spray adhesive onto the tops of your pucks
- Adhere one of the circles to the top of each puck.
- Let dry.
- Repeat applying adhesive to the other side and let it dry completely.
- As above- if desired, apply decorative ribbon or washi tape around the sides of the weights.
To easily store your pattern weights, stack them up.

Disclaimer – this post contains affiliate links. We receive a small commission on purchases made through our links. Thank You for your support.