
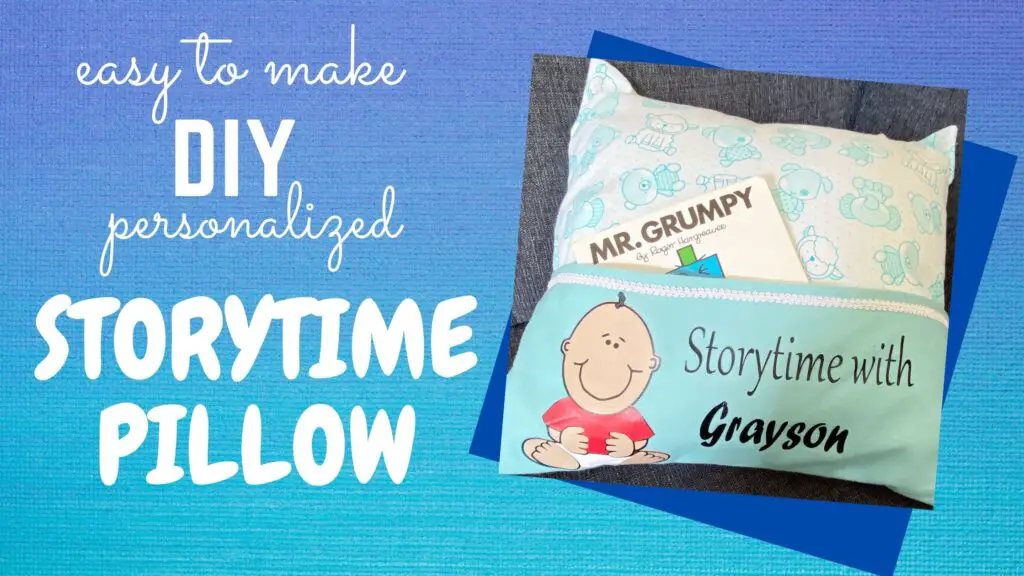
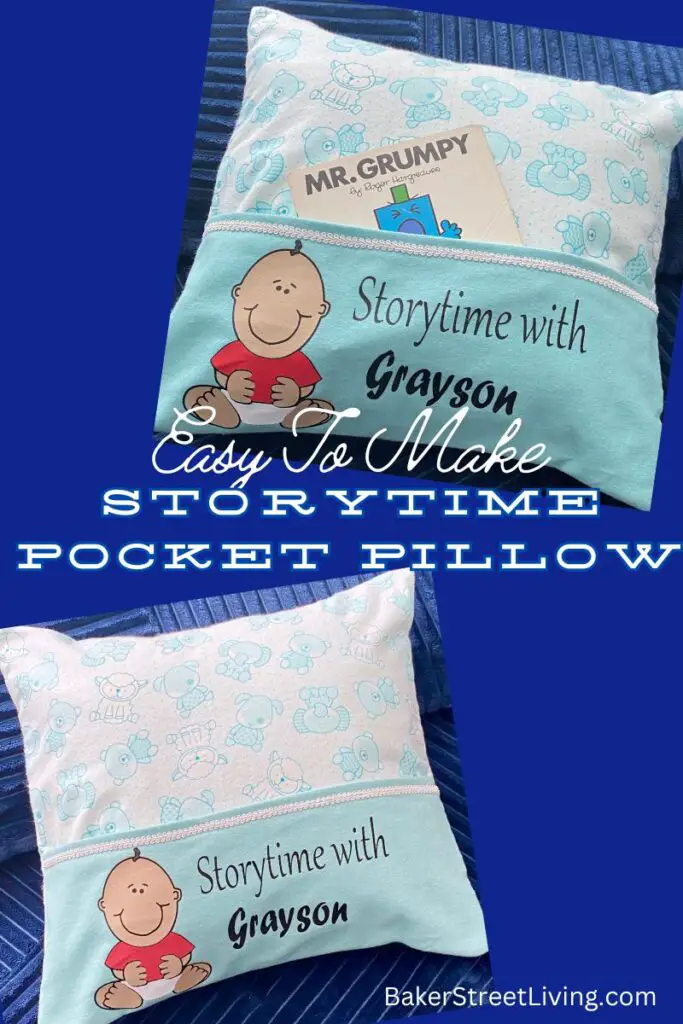
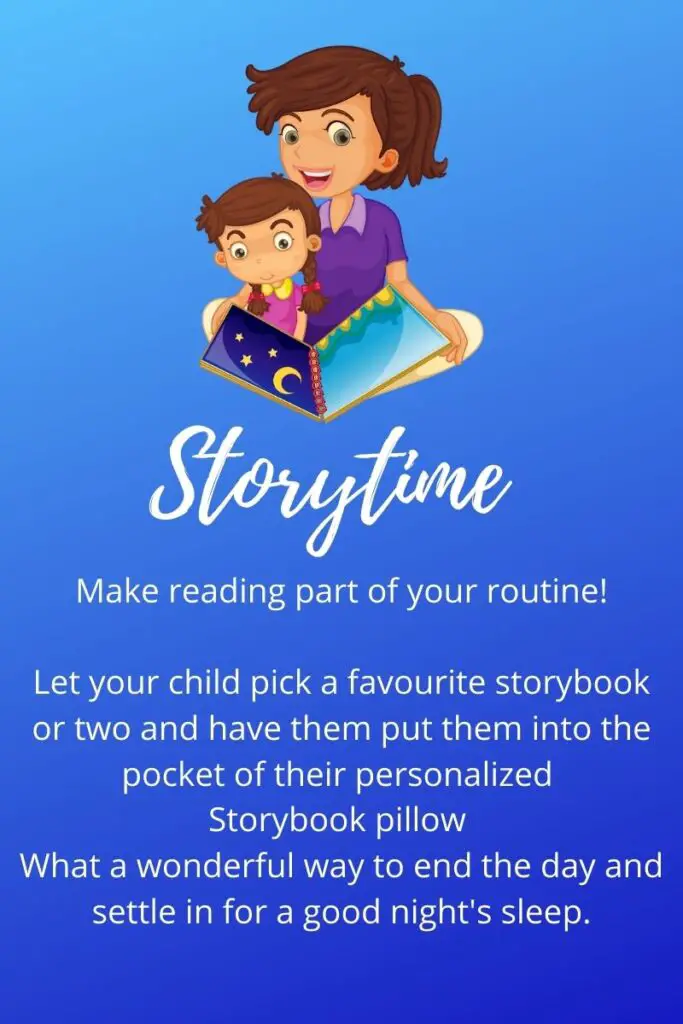
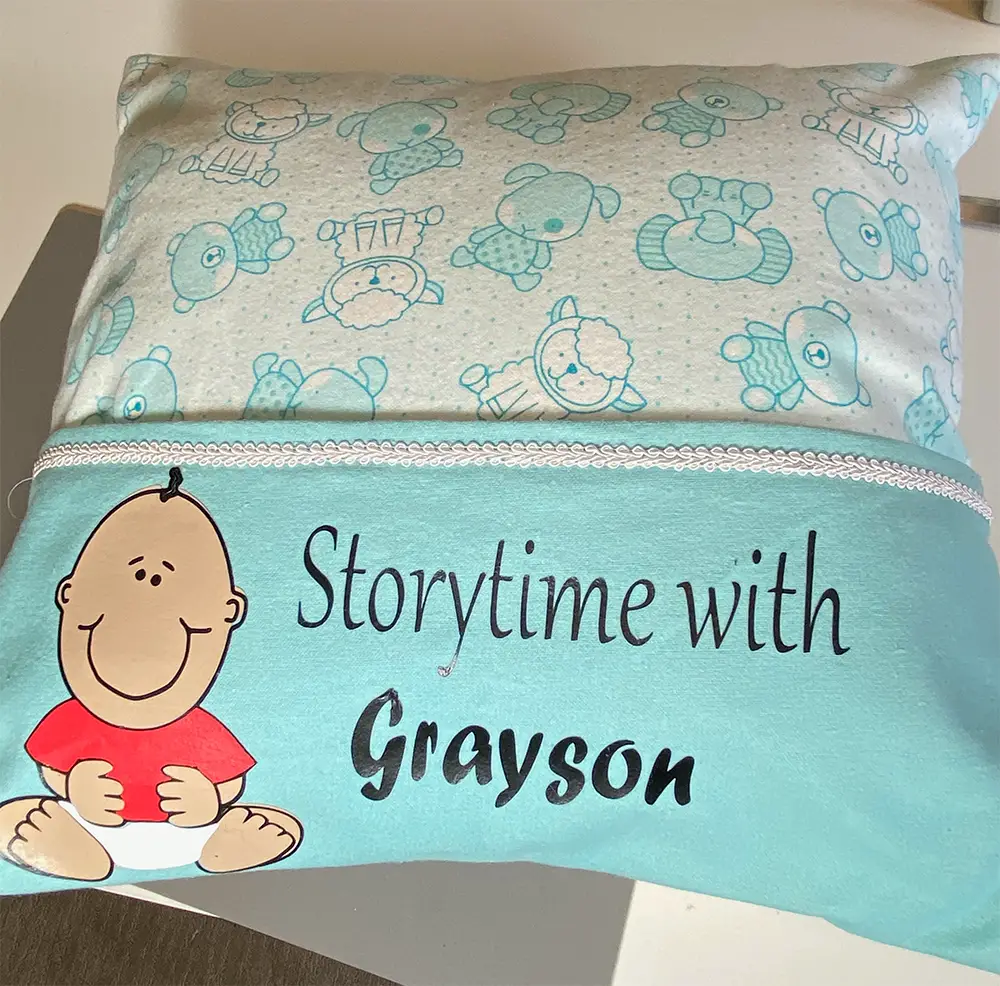
Bedtime stories are a perfect time to end a busy day for little ones. Isn’t curling up with a favourite book, the perfect picture of relaxation? This personalized Storytime Pillow is the perfect way to have your little one involved in a nightly ritual of reading before bed. It is a great way to unwind after a busy day. What child doesn’t like to cuddle up and read with a parent or caregiver, especially Grandma? Storytime is the perfect time to connect.
Supplies List
This website contains affiliate links. As an Amazon affiliate, I earn a small commission from qualifying purchases (at no cost to you).
- measuring tape
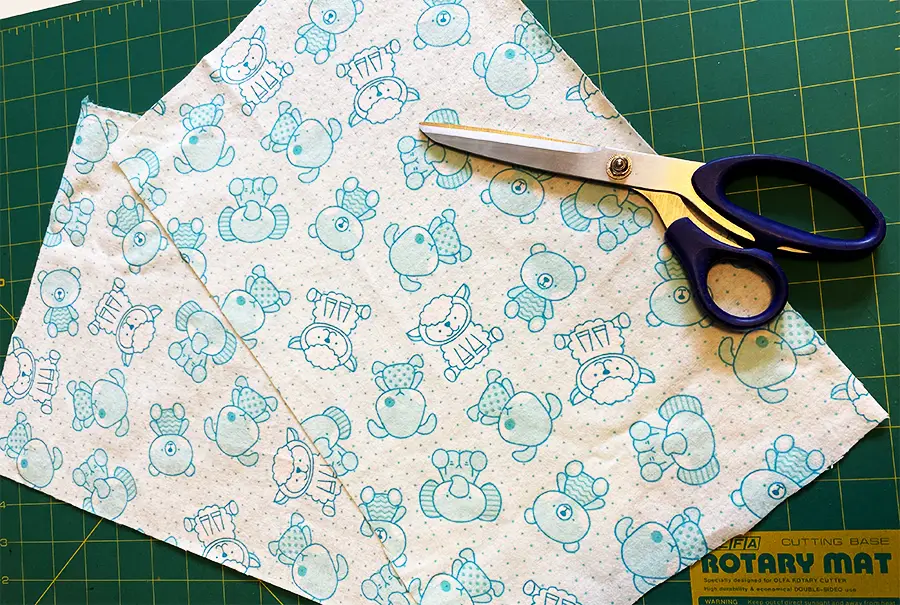
- fabric scissors or a rotary cutter
- cutting mat
- acrylic sewing ruler
- sewing machine
- one 16-inch square pillow form
- 1 meter (1 yard) of the fabric of your choice. (may need less, depending on fabric width)
- 1/4 yard of contrasting fabric
- matching thread
- 1/2 meter (1/2 yard) of trim
- cutting machine (I’m using a Cricut Maker) – ( see instructions below if you don’t have a cutting machine)
- heat transfer vinyl
- heat press or iron
- parchment paper
- storybook
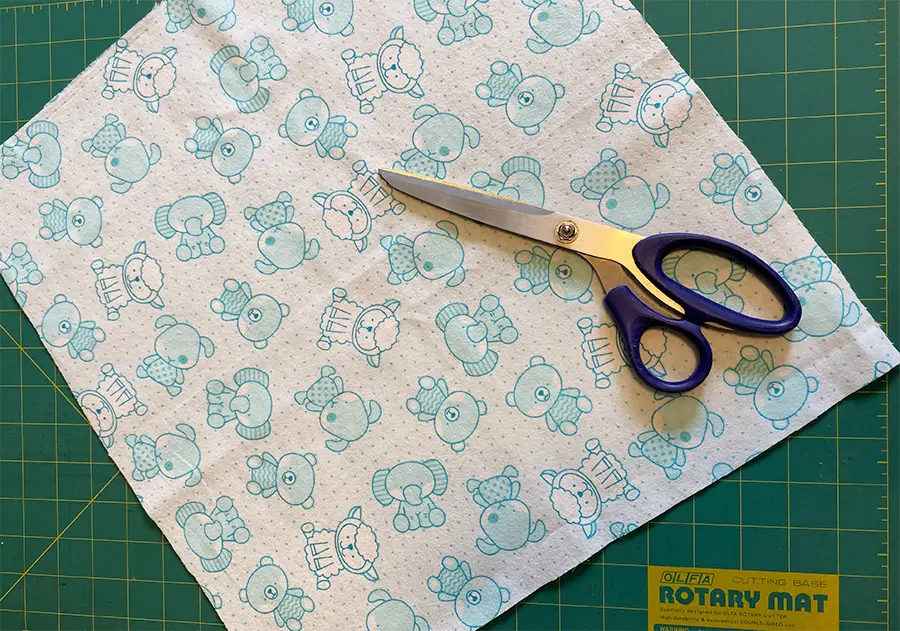
Choosing Fabric for your Storytime Pillow
I chose to use flannel as my fabric. Flannel washes well and is soft against the skin. It is ideal for a young one’s pillow. Flannel also comes is many colours and patterns, which give you oodles to choose from.
Allergies and skin sensitivities
Many fabrics contain dyes and have been chemically processed. If it is a concern, choose friendly sourced or organic cotton or silks. Wools are also a good choice, but they can be itchy and not easy to clean.
Weave
To prevent fraying, choose a fabric that doesn’t have an open weave. A closer or tighter weave provides more durability. The pillow may need washing frequently, and tighter wear will have more longevity. It also makes adhering vinyl more difficult if you have a more open weave.
Colour
When choosing colours, consider the possibility that the colours may run when washed. For example, a white pocket on a red pillowcase may end up pink.
Stretch
Depending on your level of experience, you may want to avoid using knits or fabrics with stretch. It can make it difficult to apply the pocket neatly, depending on the amount of stretch. Best results are achieved from no-stretch cotton or cotton-poly blends.
Softness
This is a no-brainer – obviously, if a child is going to be using the pillow, the sifter the better.. Fabrics like brushed cotton, flannels or low-pile faux fur are all good choices.
Shrinking
Make certain that both the main pillowcase fabric and the contrasting piece for the pocket are all non-shrinking.
Instructions for making your own custom Storytime pillow
Measure your pillow ( I am using a square 16 by 16-inch pillow. Measure to make sure that the size of the package is correct. sometimes they can be off half an inch or more.
Step 1
For the front section – cut a 17 by 17-inch square.
If you are using a different size pillow, one inch on both sides. The additional inch will be your seam allowance,
Step 2:
For the back section, cut two pieces that are 17 inches wide and 10 inches high
This Storytime pillow will have an envelope opening on the back to insert the pillow form. This makes this project easier for a novice with basic sewing skills, as it eliminates the need for a zipper. The envelope fold is also much softer than a zipper when giving it to a child. If you are using a different size pillow, add 1 inch to the width for the seam allowance and 2 inches for the envelope overlap
Step 3:
Cut the contrasting pocket fabric 8 inches high and 17 inches wide
If using a different size pillow, add 1 inch to the sides for seam allowance and cut the fabric half the height of the pillow.

Step 4:
Prepare the pocket of your Storytime Pillow
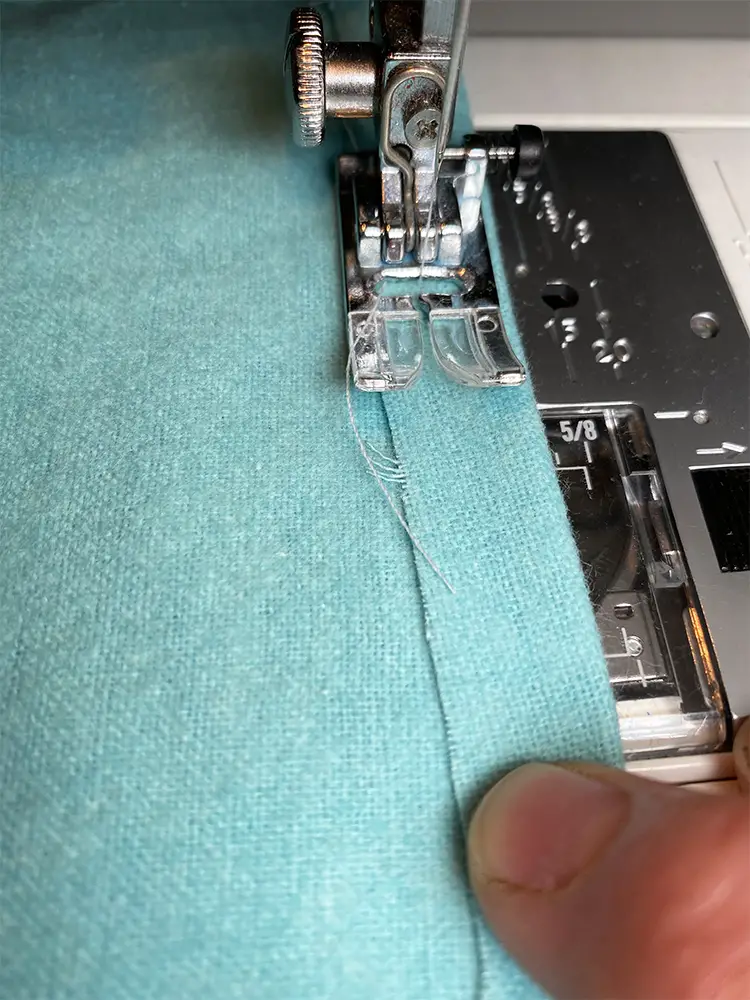
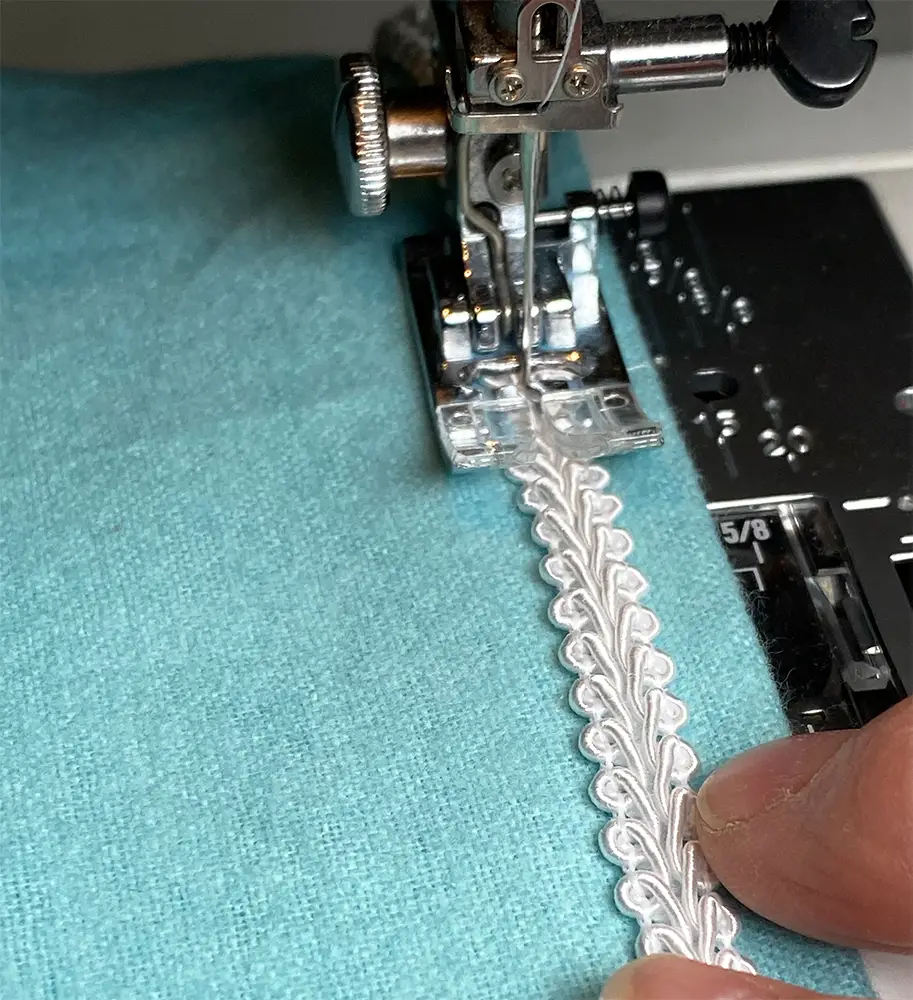
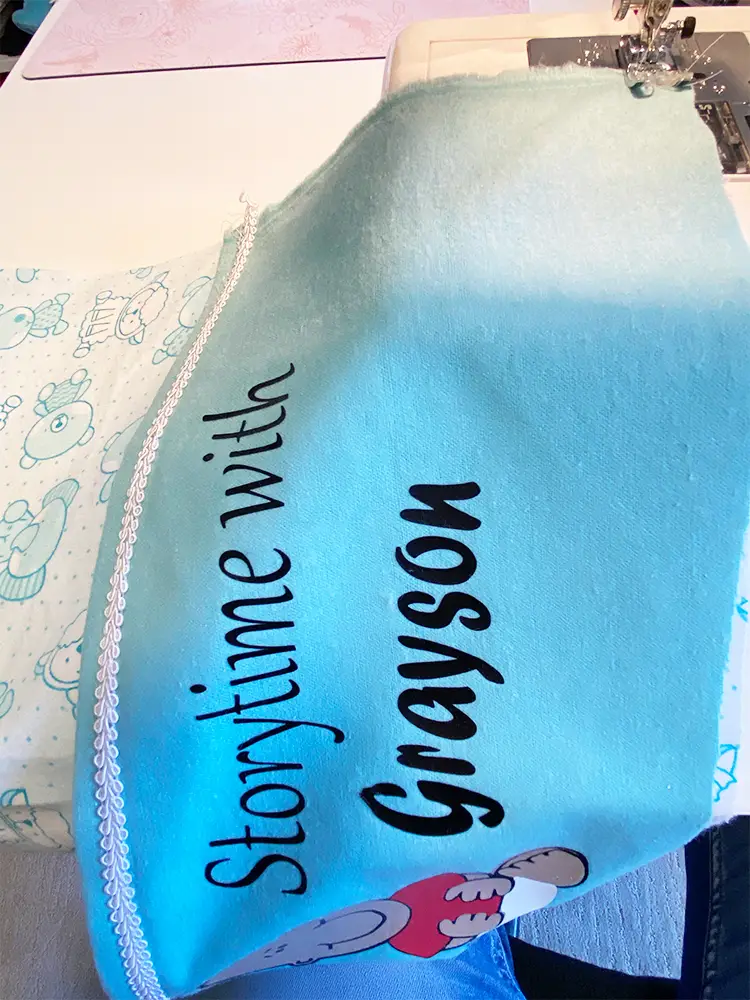
. Turn down the top edge of the pocket 1/2 an inch and stitch across the top. Add the decorative trim just below the edge of the top seam.
For adding decorative trim, use a sequin/ribbon foot or carefully use a straight stitch down the middle. You can also use an embroidery stitch if your sewing machine has the option, or use Heat N Bond hem tape or a fabric adhesive to apply the trim. If using a fabric adhesive, Aleene’s Fabric Fusion is an awesome product. I have used it successfully many times.
o the pocket front
Step 5:
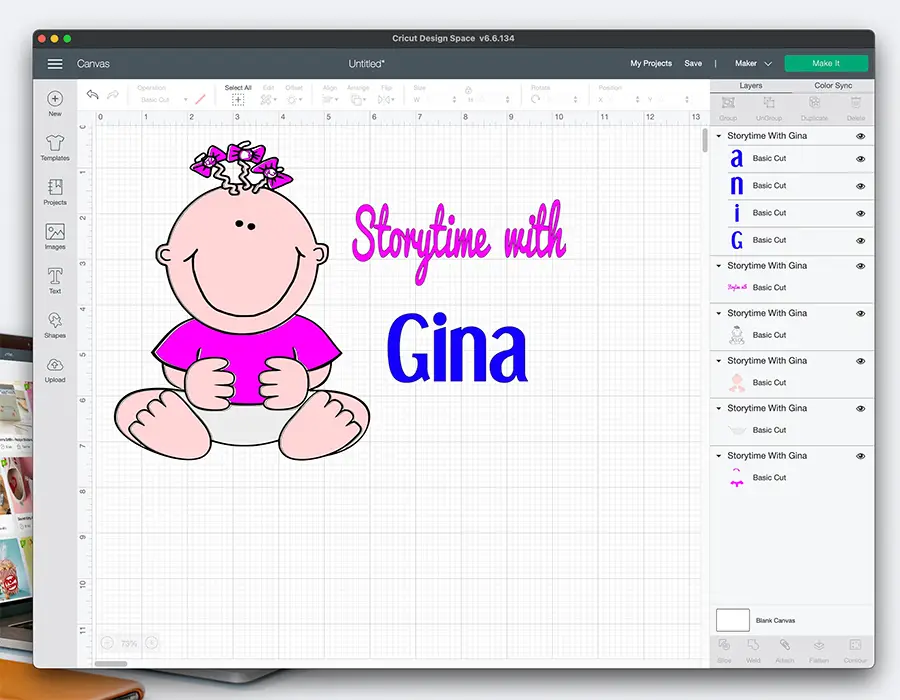
Load the Storytime Pillow design for the front pocket into Cricut Design Space
If you are not using a cutting machine and using an iron-on design or opting to leave it plain, move on to step
For the free SVG cut files for both pillow designs. Click HERE! and enter our free resource library
Don’t have a password for the library, click HERE. get your password and get the free designs.
Making the pocket design for your Storytime Pillow
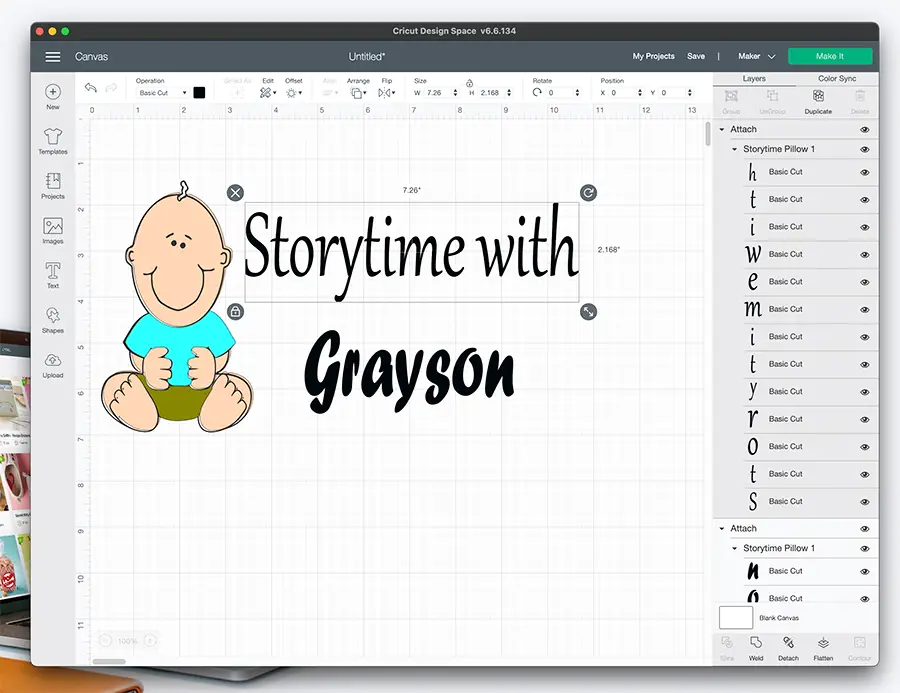
- Measure the pocket area where you will be adhering to the design.
- Load the design into Cricut Design Space
- Ungroup
- Resize and/or change the name to customize your project. Make sure you reside to fit the pillow pocket.
- Attach the font after you have customized it. If you have changed the font to a script style and you want it joined, don’t forget to weld them together.
- Select “Make it:
- Make sure to mirror before you cut
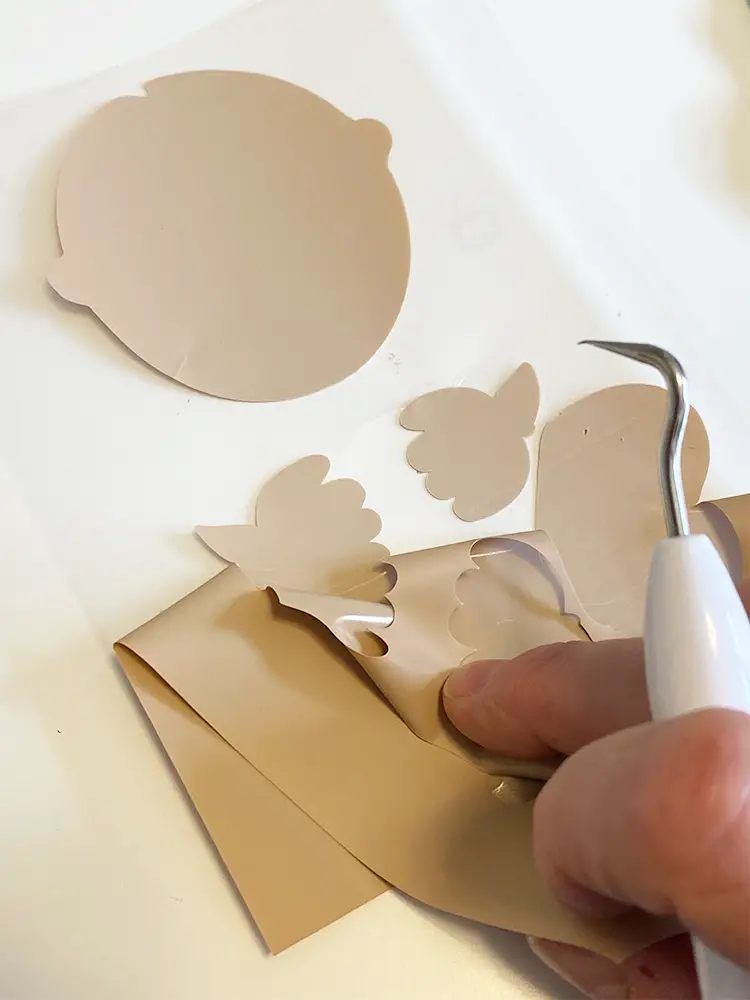
- Place your Heat Transfer Vinyl shiny side down on the cutting mat.
- Remove any air bubbles using a brayer or smoother/scraper.
- Cut and then repeat for all layers.
- Weed your design.
A word about these designs
Ungroup the design
Easily replace the child’s name or any name you wish to use instead.
These designs are in 3 sections that allow you to customize your wording.
The colours chosen for this tutorial are to make it easier to see in the post.
Feel free to choose your own colours for your custom storytime pillow.
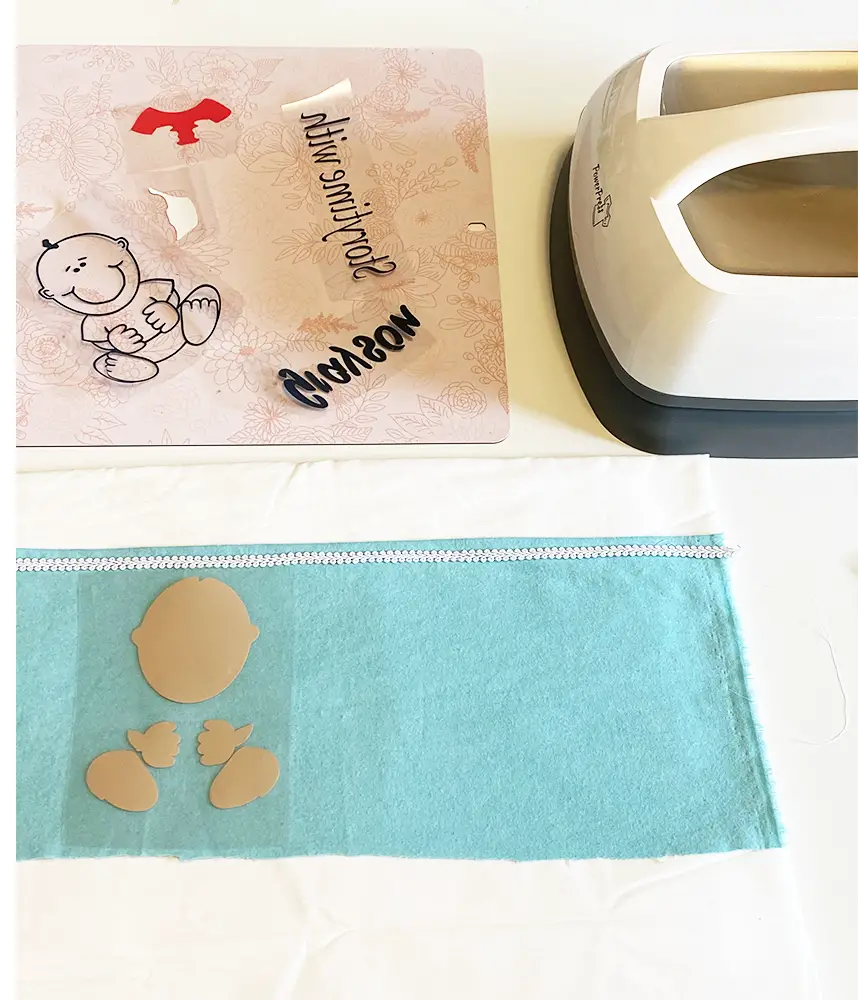
Adhere your Storytime Pillow design to the pillow front.
- Use a flat, solid surface – do not use an ironing board.
- Place a protective pad on the surface to protect it from heat.
- Using your iron or heat press, apply heat to the pocket to warm the fabric
- Position your vinyl onto the pocket
- Place a piece of parchment paper or freezer paper over the vinyl carrier sheet.
- Following your brand directions, apply heat to the parchment over the heat transfer vinyl, for the recommended time. (see note below). READ THE REMINDER BELOW REGARDING LAYERING HTV AND THE TIME OF HEAT APPLICATION.
- Check to see if your product is a cool peel or a warm peel and peel accordingly.
- Continue until all layers and wording are completed.
- Press the reverse side of the pocket and set it aside.
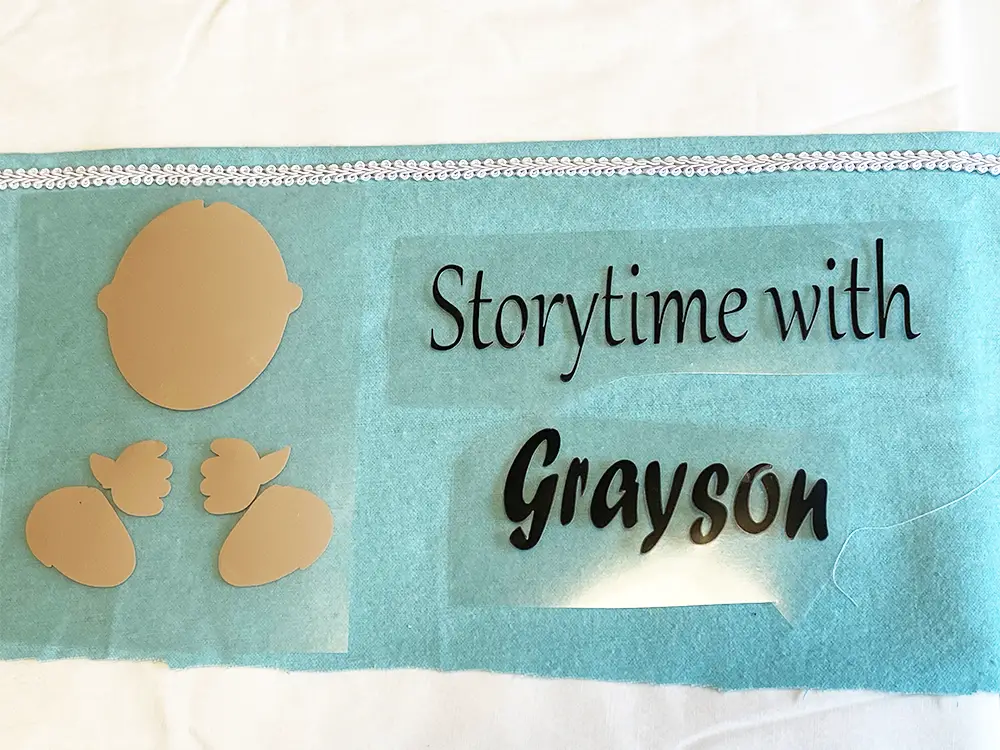
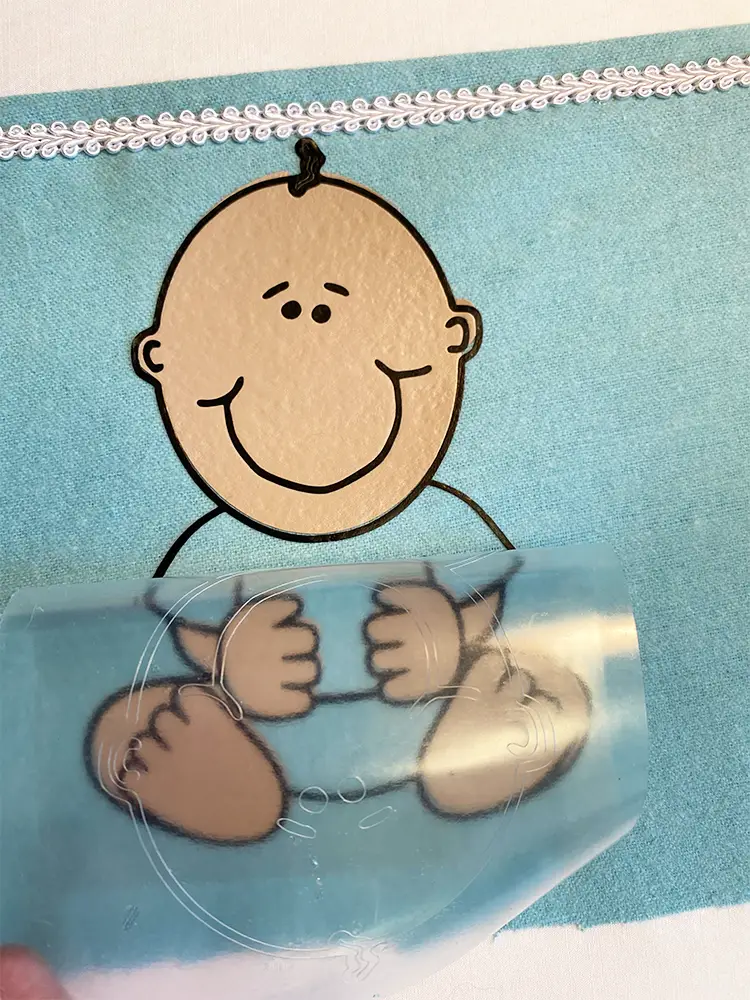
The best order to adhere this design to the pocket.
- Flesh tone cut-outs
- Outline
- shirt
- pants
- Lettering
If you use the same colour of lettering as your outline, you can adhere the lettering at the same time as the outline.
Reminders about HTV Vinyl
Glitter, Flocked, holographic, foil and holographic sparkle vinyl should be applied to the top layer only, as other types of vinyl do not adhere well to the finish of specialty types of vinyl.
Do not overheat. Overheating can lead to the shrinking and wrinkling of your vinyl design. It is easier to add heat than to try and remove melted or burned vinyl.
Remember to apply heat for less time on the bottom layer to avoid overheating or burning. For multiple layers, the bottom layer only needs heat for a few seconds as it will get more pressing as layers are added.
Organize a clean work area before pressing
Before pressing – select placement on the pocket


No Cutting machine? No Problem!
- Use a good-quality iron-on printable transfer paper.
- Print the design.
- Cut as close to the design as possible.
- Follow the package instructions for pressing.
- CAUTION _ If using dark or coloured fabrics, be sure to buy the iron-on transfer paper for coloured fabric.
- You can still download the SVG file, but you will need to convert it to a PNG or JPEG for printing.
Step 6:
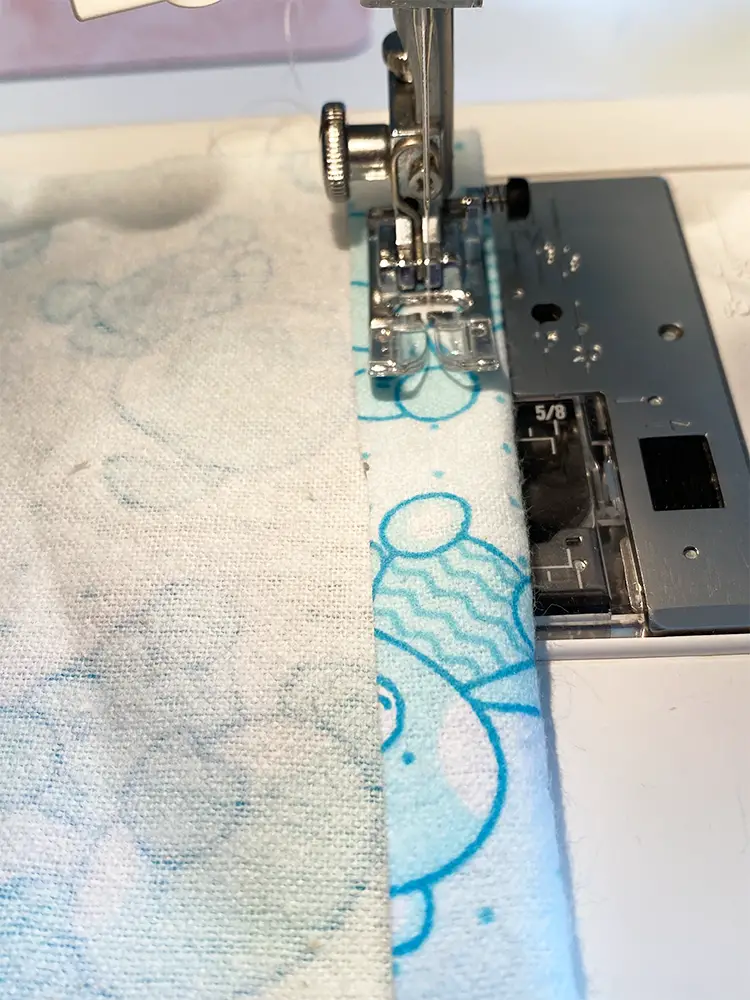
Stitch the pocket to the pillow front.
Place and pin the pocket onto the front square of fabric with the wrong side of the pocket on the right side of the pillow square. Stitch along the side edges.
Step 7:
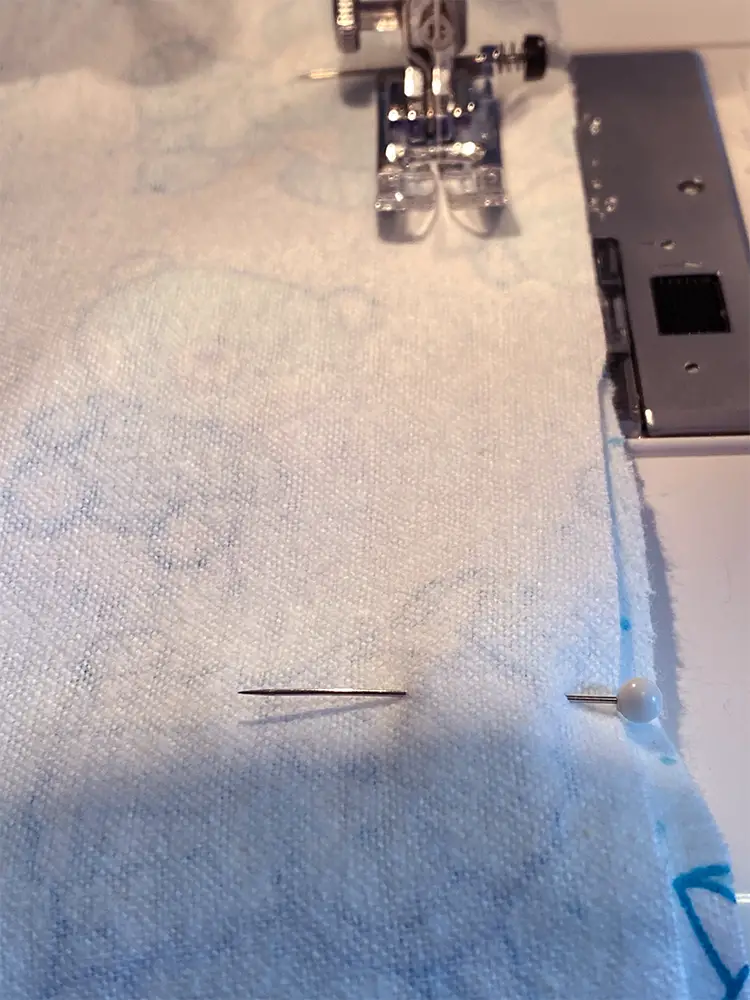
Finish the edges of the pillow’s back opening.
Turn under the edges of the pillow back opening, 1/2 of an inch. Sew along the edge. Repeat for both back pieces.
Step 8:
Sew the front to the back of the pillow pieces.
With right sides together, pin the front of the pillow cover to the back pieces. Sew along the outer edge of the pillow, using a 5/8 inch seam.
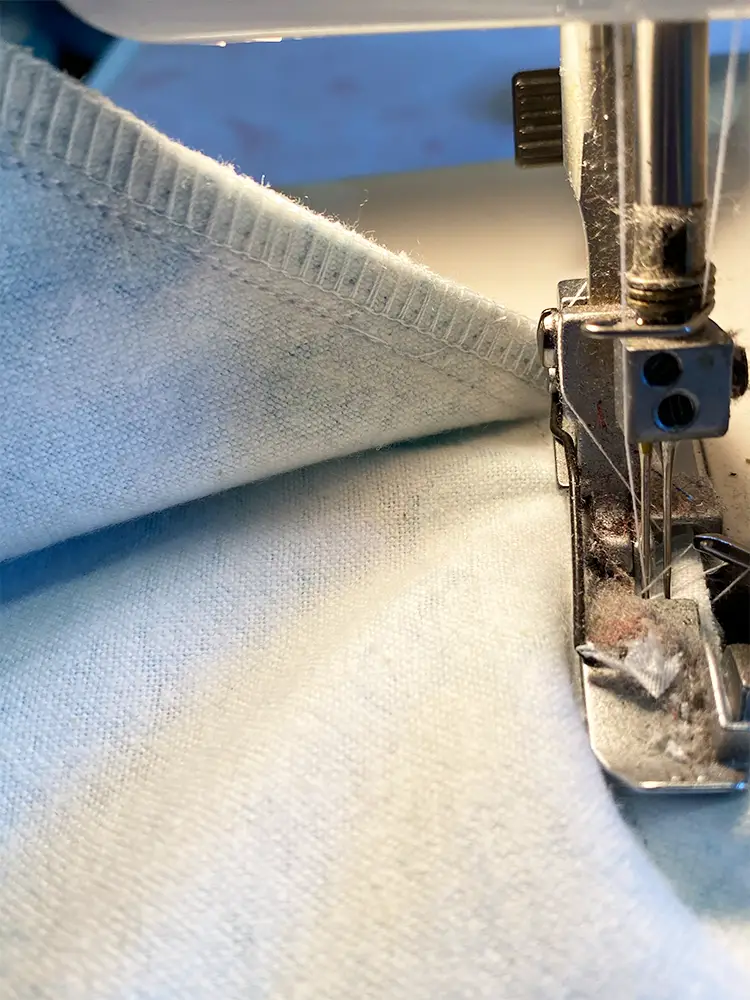
Step 9 – Optional
Serge along the outer edges of the inside of the pillow.
Using a serger provides a beautifully finished seam, eth no loose thread and also provides extra stability. If you don’t have a serger, use pinking shears or apply fray check to any loose edges.
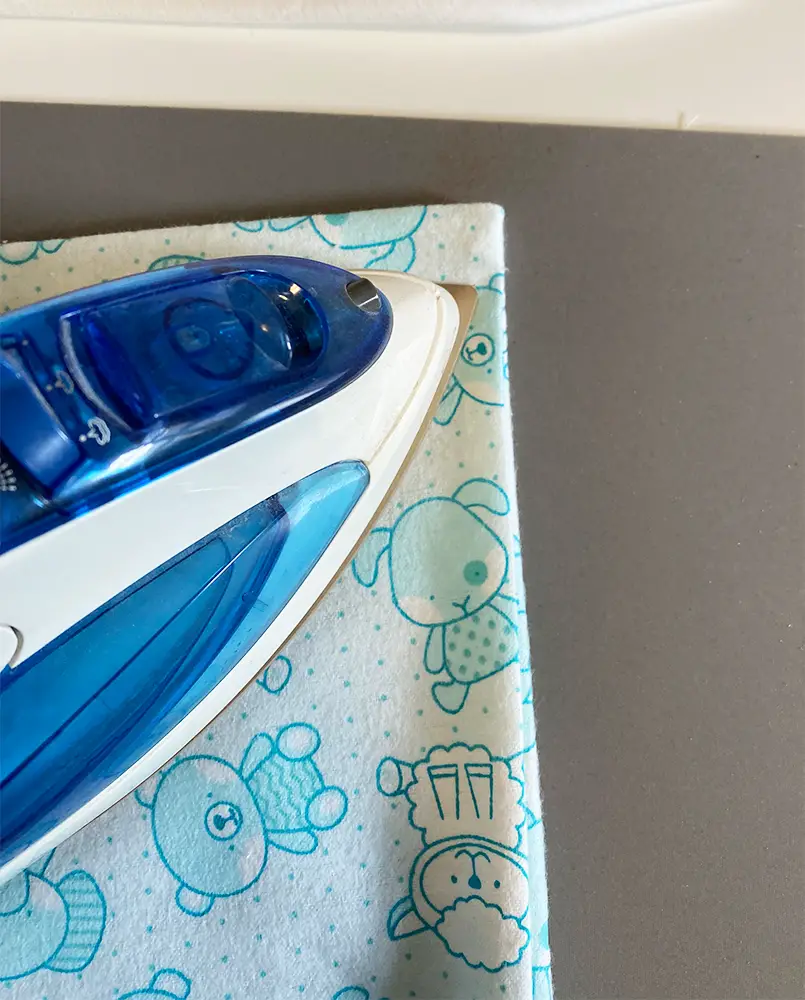
Step 10:
Turn inside out and Press
Ensure that all corners and seams are pressed flat. Be Careful not to press onto vinyl. Use a pressing cloth to protect the front when pressing the front corners.
Step 11:
Insert pillow form
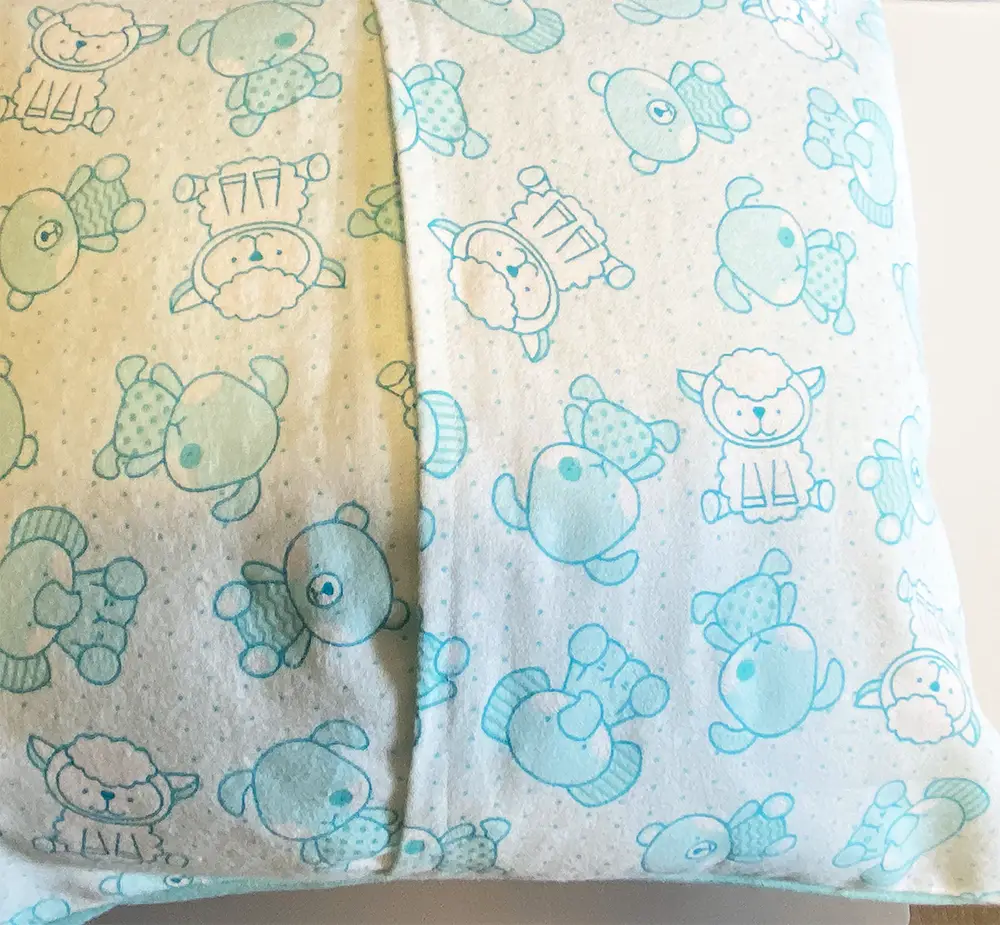
Once your pillow is complete, your Pillow is ready for a favourite storybook. The back of the pillow should have an overlap as shown below when completed.


Disclaimer: This post contains affiliate links. We receive a small commission when purchases are made through our links.