
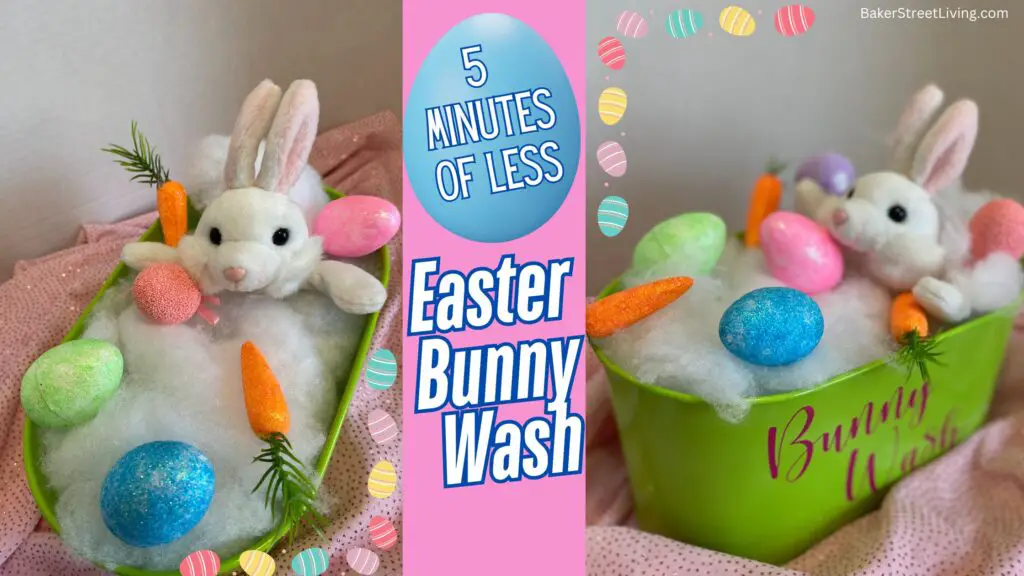
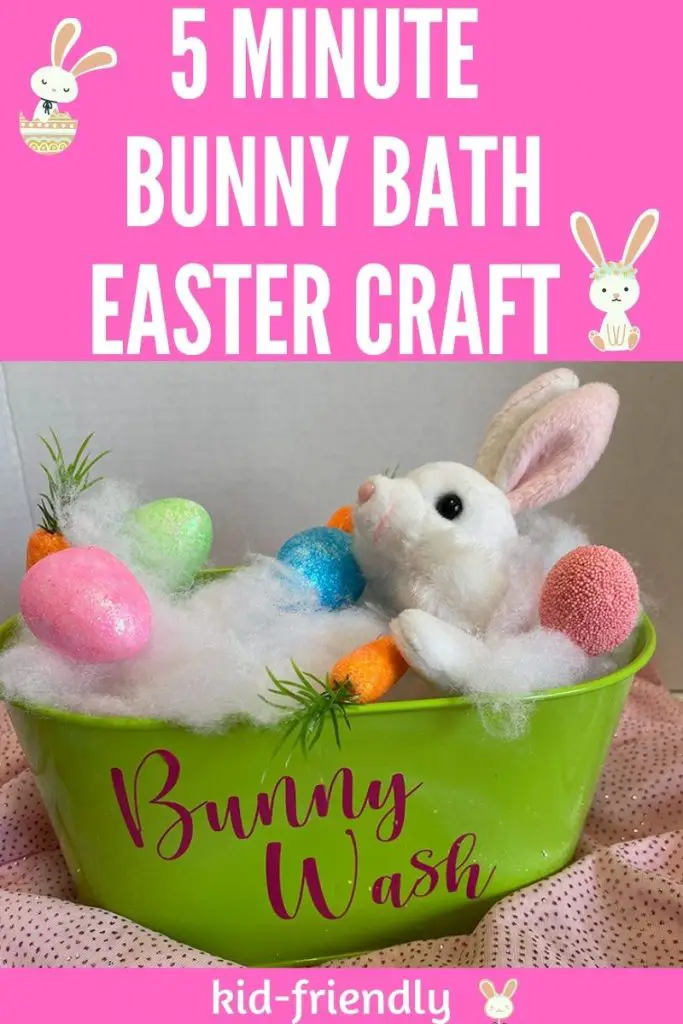
Need a quick and easy budget-friendly Easter centrepiece for your Easter table? This 5 minute Easter centrepiece is the perfect answer. It is easy to make. low cost, and you really can do it in under 5 minutes.
If you choose to add a stencil or vinyl to the side of the Bunny bath, that will add more time. It is a great way to bump up your easter decor on a budget.
We up-cycled a galvanized metal planter and used it as the tub to lower the cost even more. You could use anything that resembles a small tub.
Galvanized metal tubs and buckets from the dollar store also work well if they fit your bunny. You could even use a mixing bowl or watering can.
This is a great project for kids to make. There is no glue, no scissors and no fuss. They can choose their favourite coloured eggs and personalize them to their liking. Let the kids make one and display their 5 minute easter centerpiece in their bedroom.
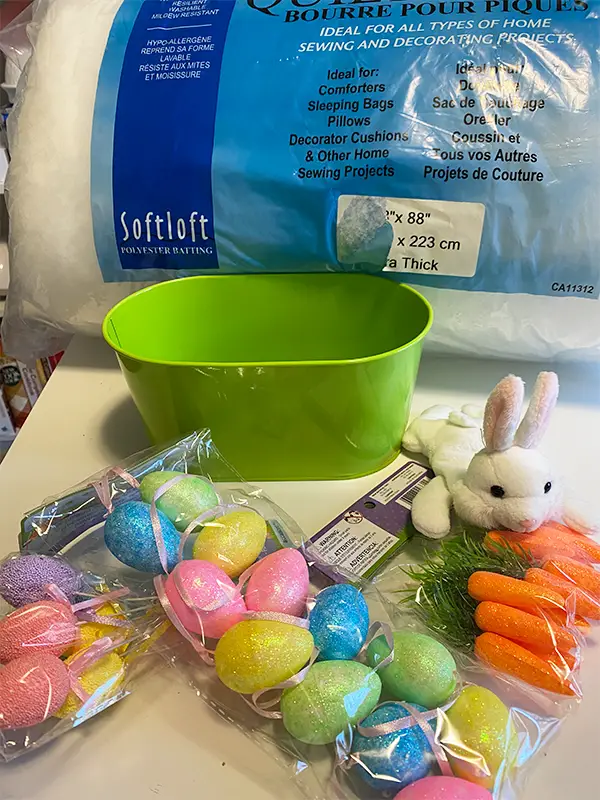
Supplies List
This website contains affiliate links. As an Amazon affiliate, I earn a small commission from qualifying purchases (at no cost to you).
- small metal tub-shaped tin
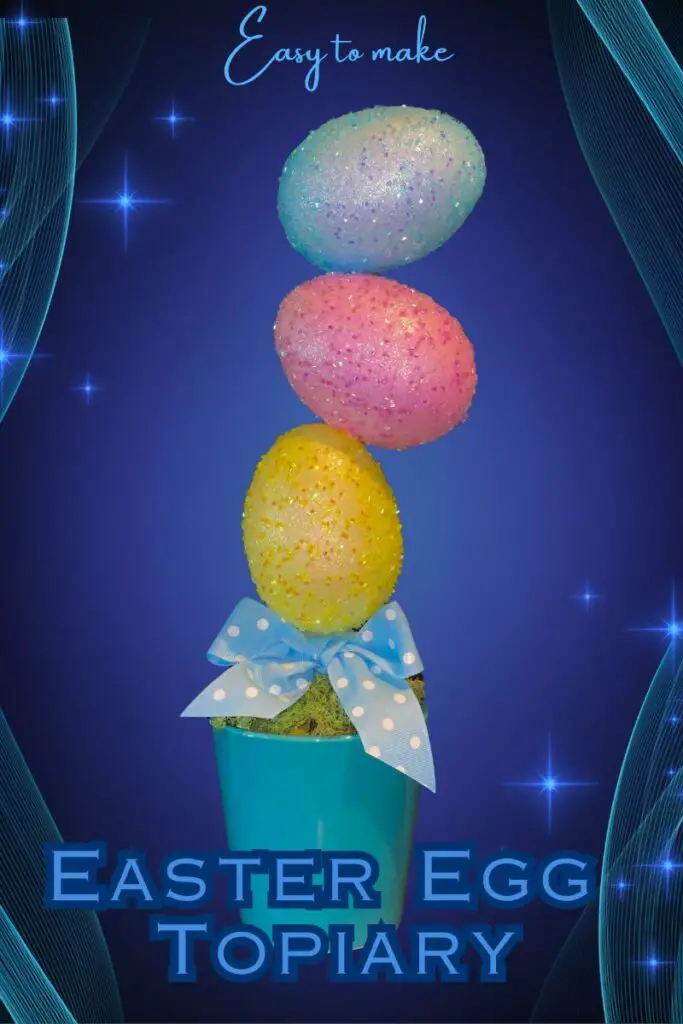
- small glitter eggs
- plastic or paper mache carrots
- white quilt batting
- stuffed bunny
- OPTIONAL – Waterslide decal paper or
- Cut design from adhesive vinyl
How to make your 5 minute Easter Centerpiece
- OPTIONAL STEP. – Add your design to the side of your metal oval tub-shaped container.
NOTE- This step adds time to the project and will no longer be under 5 minutes.
If you are adhering a design, such as an adhesive vinyl design, clean the surface with rubbing alcohol first and apply it according to instructions.
If using Waterslide paper, follow the package instructions and seal with Modge Podge before putting together the centerpiece.
Looking for instructions on how to use waterslide paper – Get the complete guide HERE

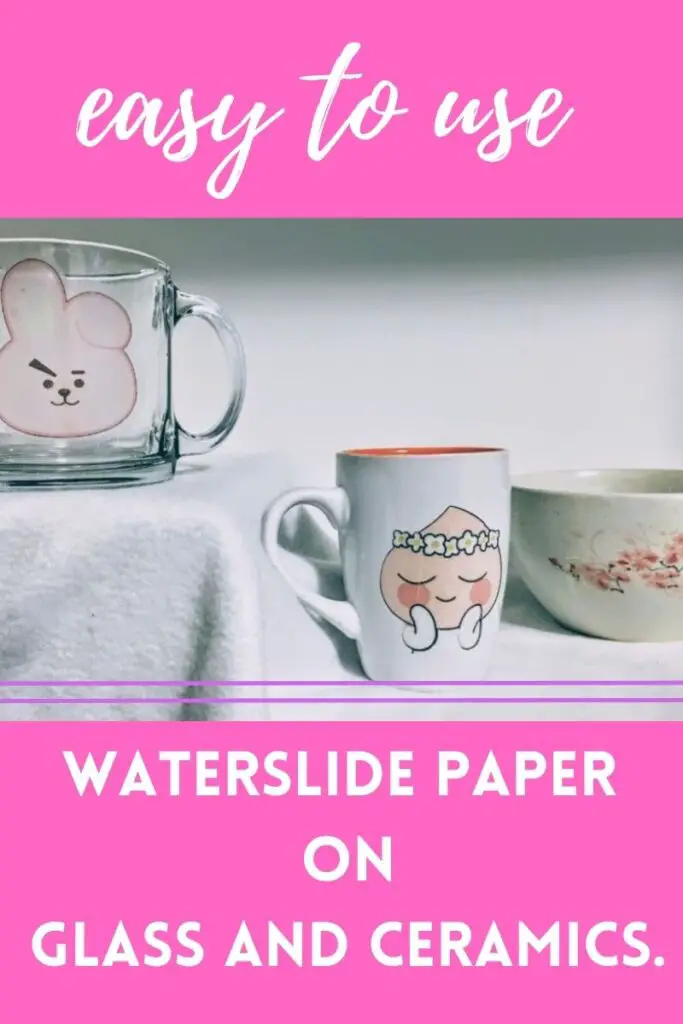
How to Use Waterslide Paper on Glass and Ceramics (works on metal too)
For kids, they could decorate the sides of the tub using Sharpie markers or cut out easter designs.
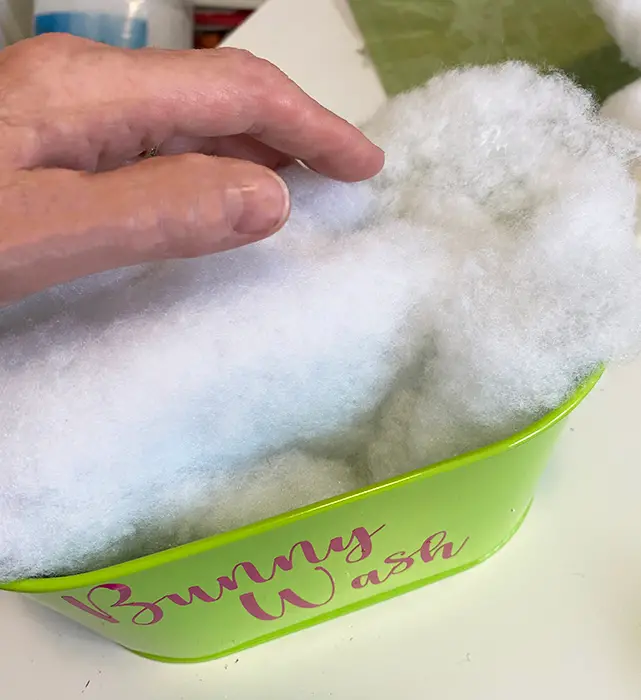
For the Bunny Washtub, I used the “HELLO HONEY“ font. It is a free font that you can download for personal use from Dafont.com.
Using removable vinyl, I used Cricut Design Space and cut the design on my Cricut Maker. I like to use my containers for multiple uses, so I often use removable vinyl so that I can use the container later for another decor piece. If you are making yours as a gift, I recommend permanent adhesive and a sealant coat of Mod Podge over the top of your design.
2. Tear a few pieces of quilt batting into smaller pieces for stuffing into the tub and set aside. Have one bigger piece set to the side as well, for later
3. Add a larger piece of batting to your Easter centerpiece tub
4. Place your stuffed Bunny into the Easter centrepiece tub.
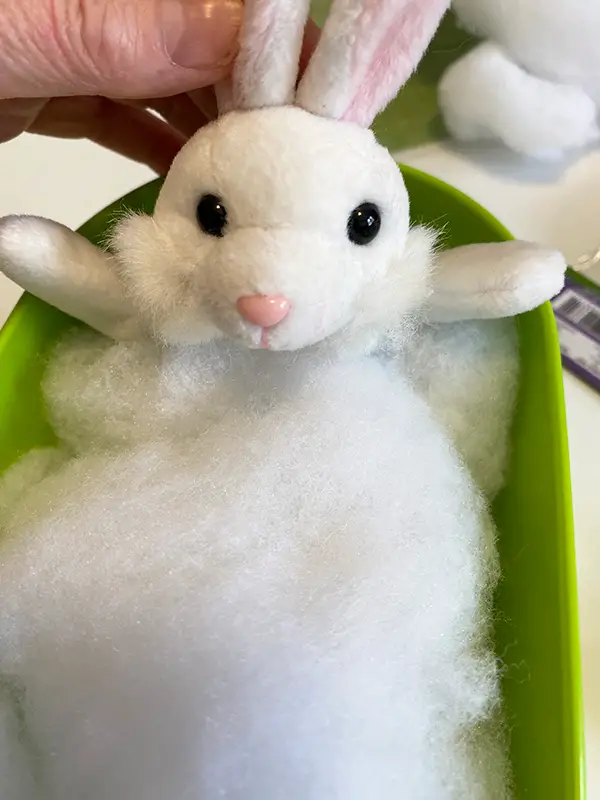
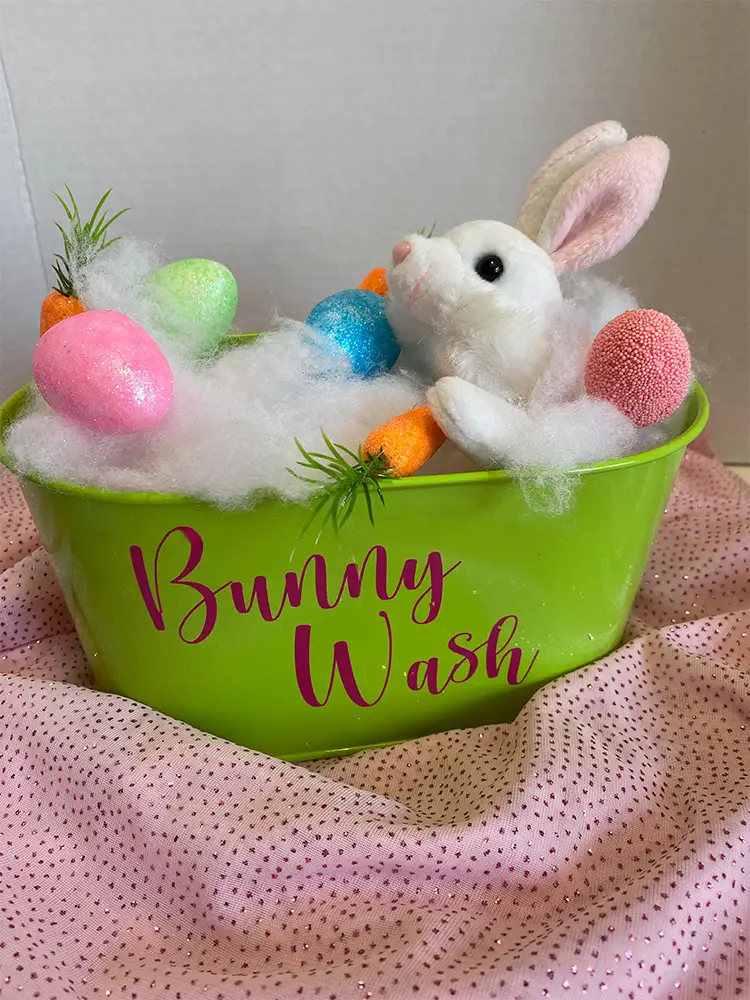
5. Add smaller pieces of batting around your Bunny and adjust the bunny to look as if it is sitting in a bubble bath.
6. Place glitter eggs and carrots around the Bunny
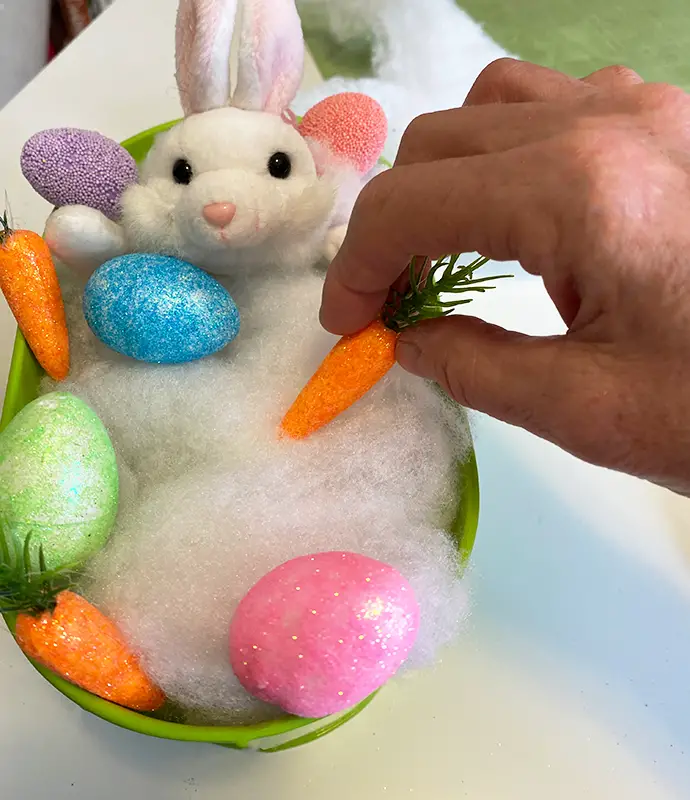
Place your Budget-friendly Easter centrepiece on a table with some fabric draped around it or flowers for added appeal. Enjoy!


Disclaimer: This post contains affiliate links. We receive a small commission when purchases are made through our links. T