

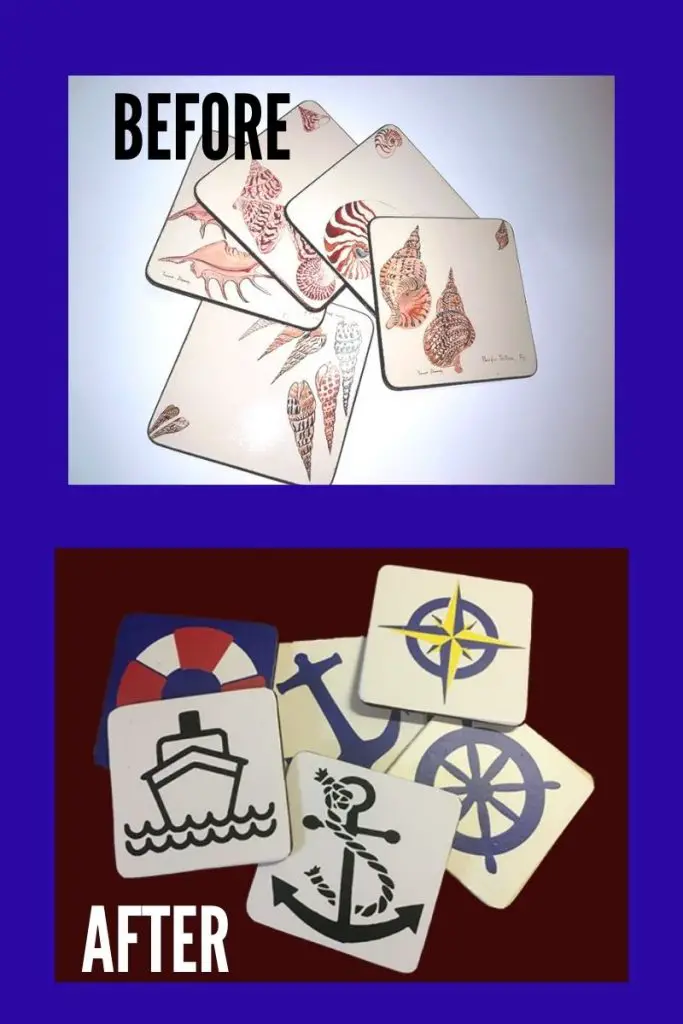
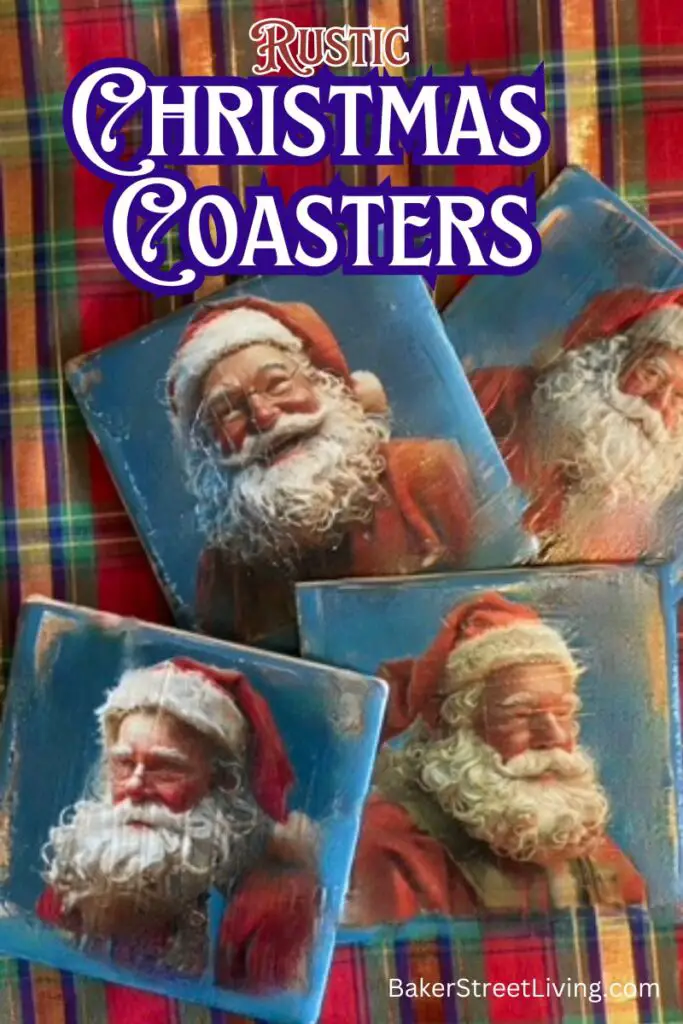
I love to browse thrift stores for recycling projects. This worn-out set of coasters caught my eye, and the price was bang on. I already had an image of the design I wanted and knew it would be an easy DIY upcycled coasters project using my Cricut cutting machine.
For this upcycled coasters project they can be made on the Cricut maker, Explore Air and the Joy. I’m sure that they can be made on the Silhouette as well, but my experience with that machine line is limited.
If you’ve ever spent much time looking around in a thrift store, you’ve probably already noticed that many, if not most things are pretty outdated. With a little creativity, you can bring some of those old things new life. These coasters were in mint condition but the design does not go with my decor. For the $2.00 price tag, I couldn’t pass up the opportunity to upcycle old coasters.
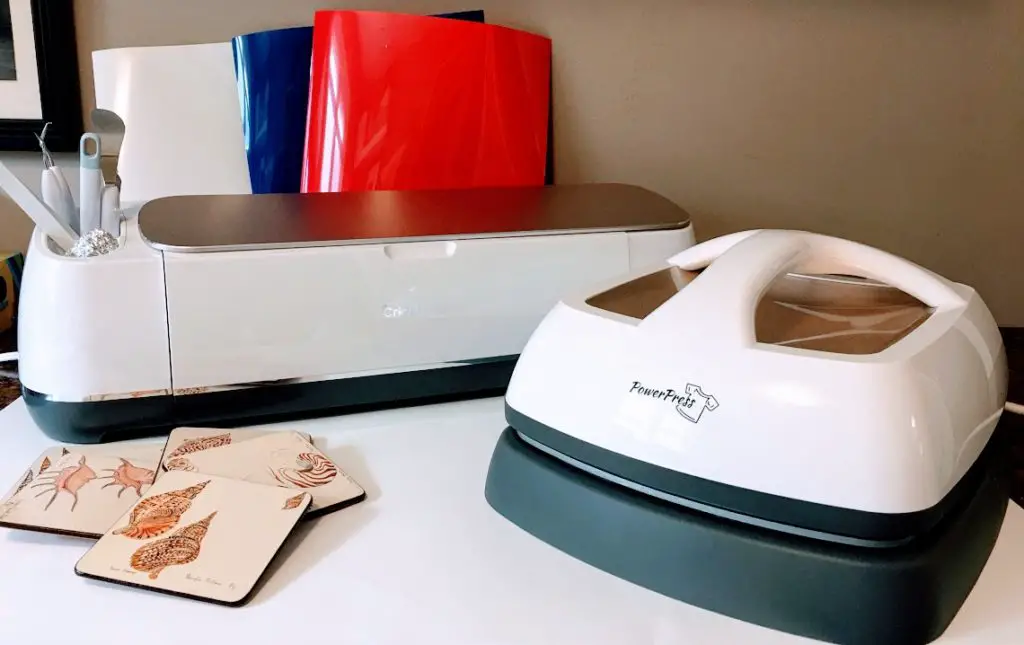
For this project, I used Cricut HTV (heat transfer vinyl), which I cut on my Cricut cutting machine and applied using a heat press.
If you don’t have a heat press, you can use a household iron (be sure not to use steam).
Supplies List
This website contains affiliate links. As an Amazon affiliate, I earn a small commission from qualifying purchases (at no cost to you).
- Cricut cutting machine
- heat press
- HTV vinyl
- The old set of coasters,
- weeding tools
- clear sealer
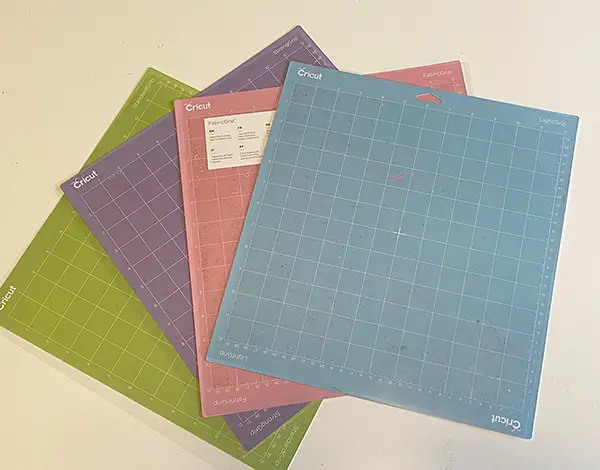
- standard grip-cutting mat
- fine point cutting blade (comes with your machine)
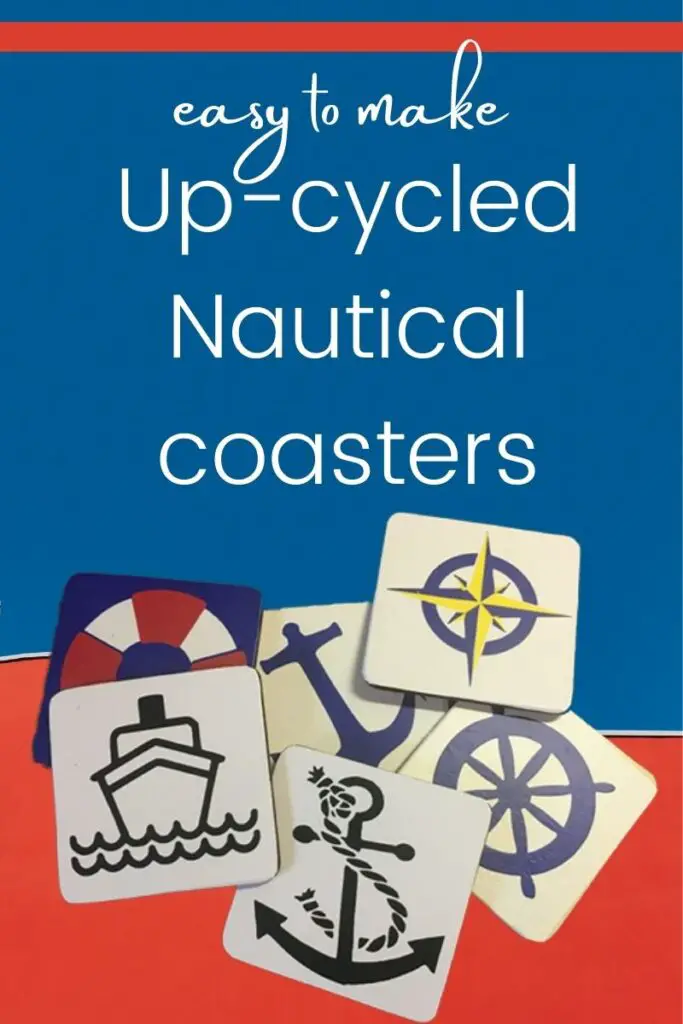
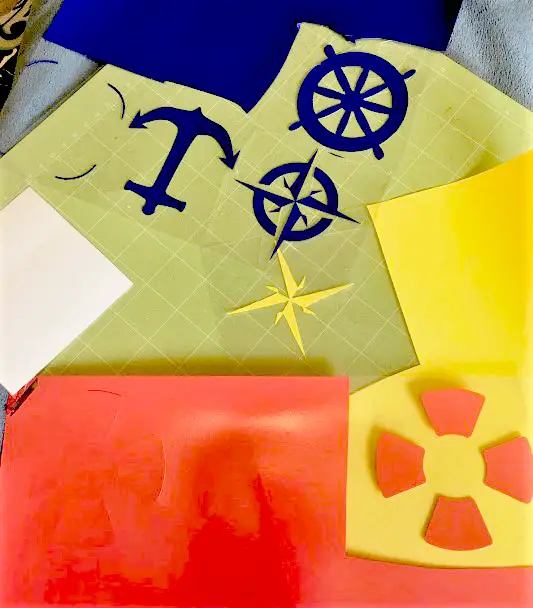
I chose a nautical design for these coasters. You can use any design you like, and if you are using a Cricut, I will show you how to upload it into Cricut Design Space and save it as a cut file.
Questions about Cricut machine tools? Check out our Cricut tools guide here
Feel free to use these nautical designs on your DIY upcycled coasters. They are available in our free resource library.
A cautionary note about downloading SVGs and images online.
I was asked by someone recently about downloading images from the internet, loading them into Design Space and trying to cut them. Some will work, but many will not. Here is a note about a couple of must-knows about online images.
Sometimes the edges of the picture will look smooth on your computer, but when you go to cut them, they will end up choppy. You will be able to tell in design space before you cut if you zoom in close. You will see a jagged edge.
The reason is that the edge of the picture is more pixelated when cutting, and it can be difficult to tell before you cut. If you can not tell and are concerned about wasting vinyl, I recommend that you do a trial cut with some old cardstock or paper. In doing this, you will have an opportunity to see if you get a smooth cut without wasting vinyl. You should be able to tell during cutting as you will hear and see the cutting machine making multiple tiny cuts, where the edges should be smooth.
If you have found images you want to use, you can easily smooth the edges in Adobe Illustrator or Inkscape. Inkscape is a free, open-source program available for download. In Inkscape, you can create SVGs and PNGs as well as merge images and much more.
How to Make DIY Upcycled Coasters
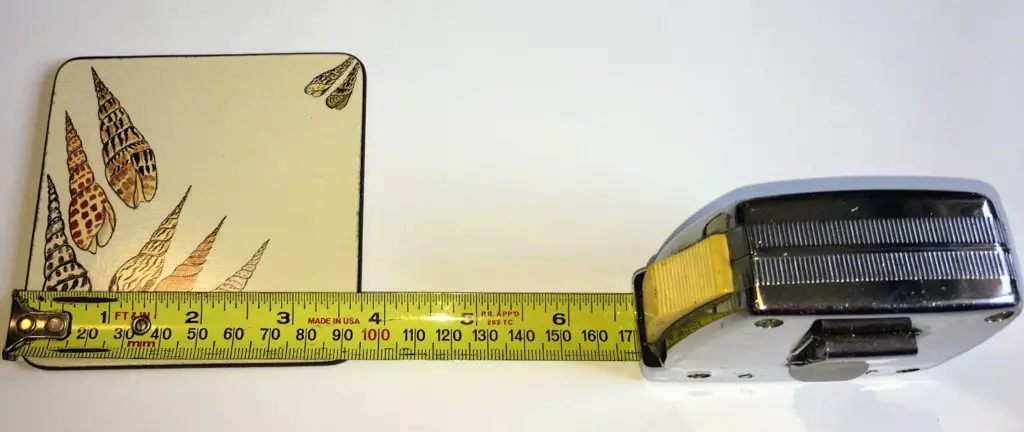
Measure your coasters.
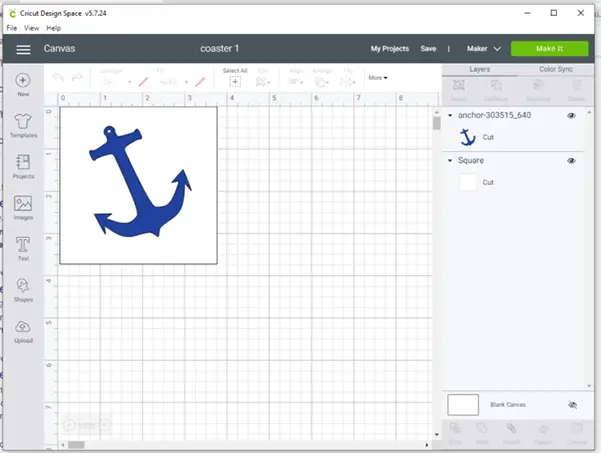
Open Cricut Design Space
- Once you are in Cricut Design Space, choose to start a new project.
- Upload your design to Cricut Design Space.
- This is already in SVG format,
- Upload the image to your canvas.
- Once on the canvas, choose the square shape from the left-side shapes menu.
- The shape should load onto your mat.
- Size the square to match the measurements that you have already taken of your coasters.
- Put the design on the shape and send the shape to the back. (highlight the shape and then left-click and choose – send top back
- Resize the design and rotate it a bit to give it the desired placement on the coaster.
IMPORTANT
If you are going to make 4 DIY upcycled coasters, duplicate the shapes and move them off to the side of your screen.
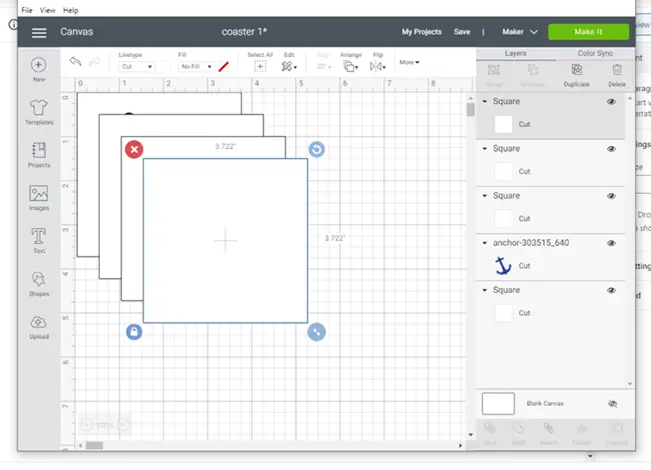
Make sure you have the right number of shapes. You should have one for each coaster. When you are ready to work on your next coaster, just highlight the shape and move it into your workspace on your canvas.
To duplicate your shape: click on the shape (in my case, a square) in Cricut Design Space and then right-click and choose duplicate. Do this for as many coasters as you plan on making.
Repeat the process for each coaster you are making.

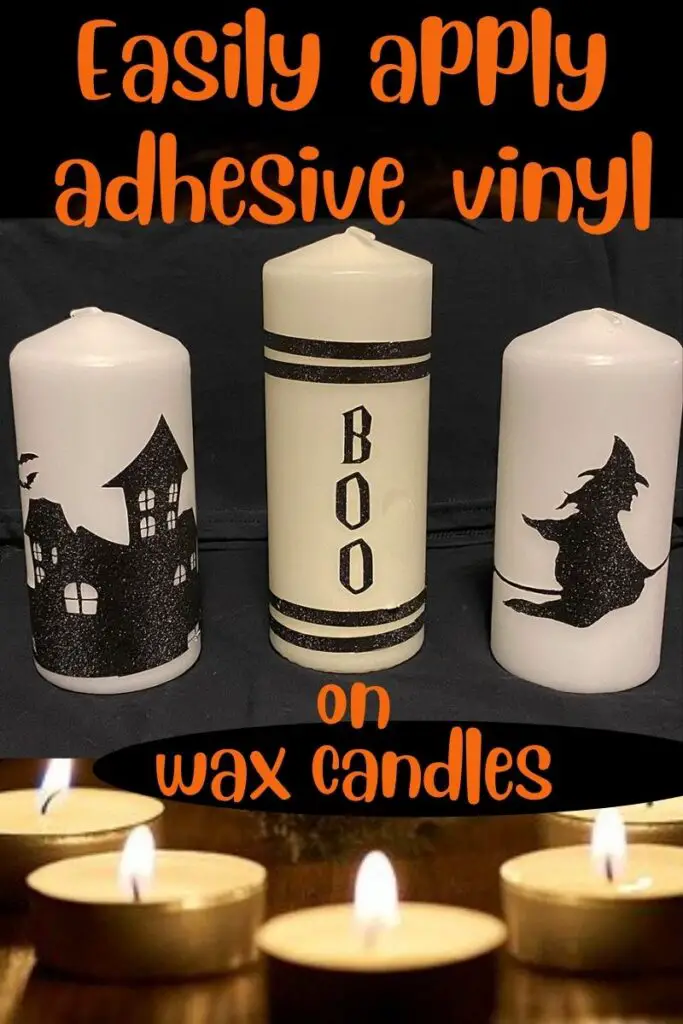

Using Adhesive Vinyl in place of HTV
You can use adhesive vinyl instead of HTV; it is a personal choice. I find that HTV has a nicer finished appearance.
If using adhesive, do not mirror when cutting. Apply according to instructions for adhesive vinyl and be sure to seal with Modge Podge (dishwasher safe).
Complete all these steps for all your coasters.
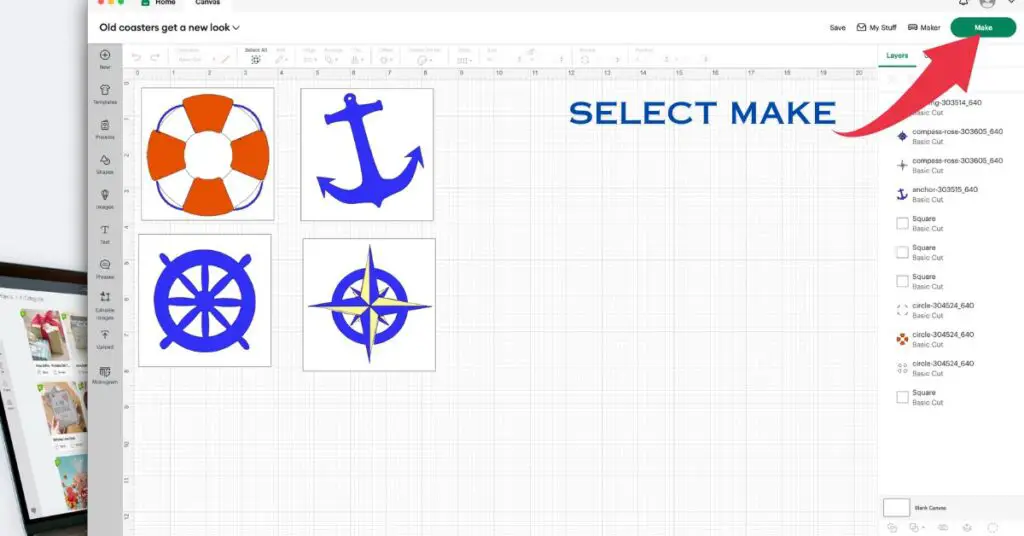
Don’t forget to save your project in Cricut Design Space (just in case)
Select “Make”
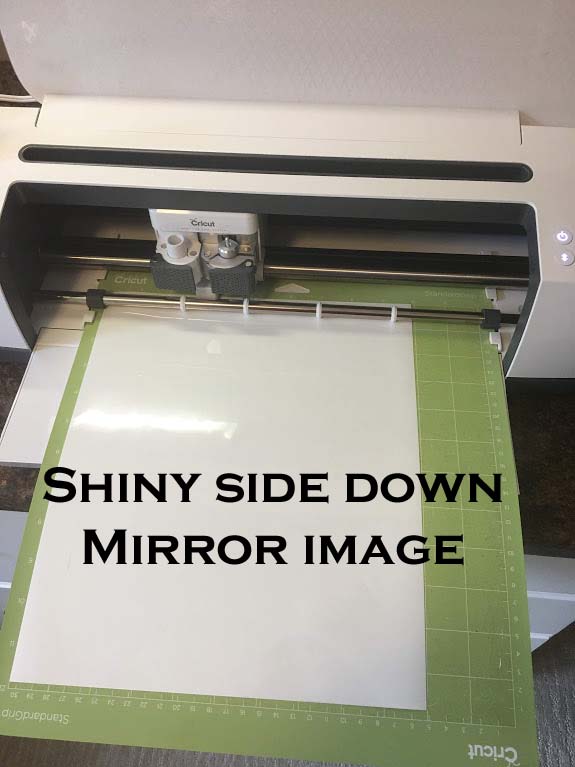
Remember – for HTV vinyl, you must mirror your image.
After you have chosen to “make ” it, the cutting mat screens will appear. Select “Mirror “your image for cutting.
When you load your mat into your cutting machine, make sure the HTV vinyl is shiny side down.
An easy way to see which side is the “Shiny Side.”
Some brands are difficult to tell which is the shiny side. If you are having trouble determining which is the shiny side (happens depending on the brand) you can pick the corner of your sheet ( just a tiny spot) and that will reveal which side has the carrier sheet on it. The carrier side goes down. When your design is cut, you will weed and pull away from the vinyl, being left with your design on the carrier sheet.
Weed the Vinyl Designs
After your sheets have been cut, weed them. And you will be left with your design on the carrier sheet.
Prepare the coasters.
Since we are using previously used coasters, it is a good idea to wipe them off first to remove any oil or residue that can’t be seen. Using a clean, lint-free cloth, wipe them off with rubbing alcohol and let them dry before moving on.
Turn on your heat press.
I used a pressing cloth.on top of the coasters with the heat press to warm up the coasters. Just place the cloth over the coaster and once your press is at the preset temperature, heat the coaster for about 15 seconds. This just warms them up and helps the vinyl to stick.
Follow the directions for your vinyl for the temperature. It took me more than the time stated for my vinyl. My vinyl calls for 30 seconds at 315°, but I had to do it twice for the first layer of vinyl. I think the increased time was a result of using it on a wooden coaster. The additional layers of vinyl went as planned, 15 seconds for each layer.
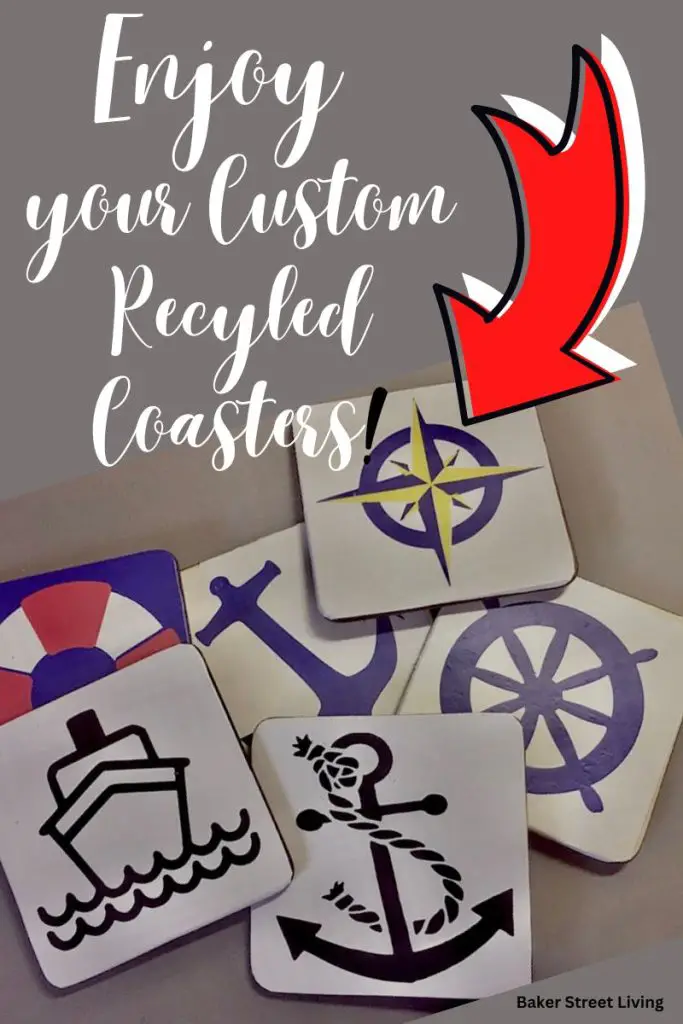
VOILA! A great new look to an old set of coasters. After I was done, I added a couple more designs that are slightly different in my resource library, due to licensing.
Give the coasters a coat of acrylic sealer or Mod Podge. This will protect them from moisture when being used.

Disclaimer: This post contains affiliate links. We receive a small commission when purchases are made through our links (at no cost to you).