
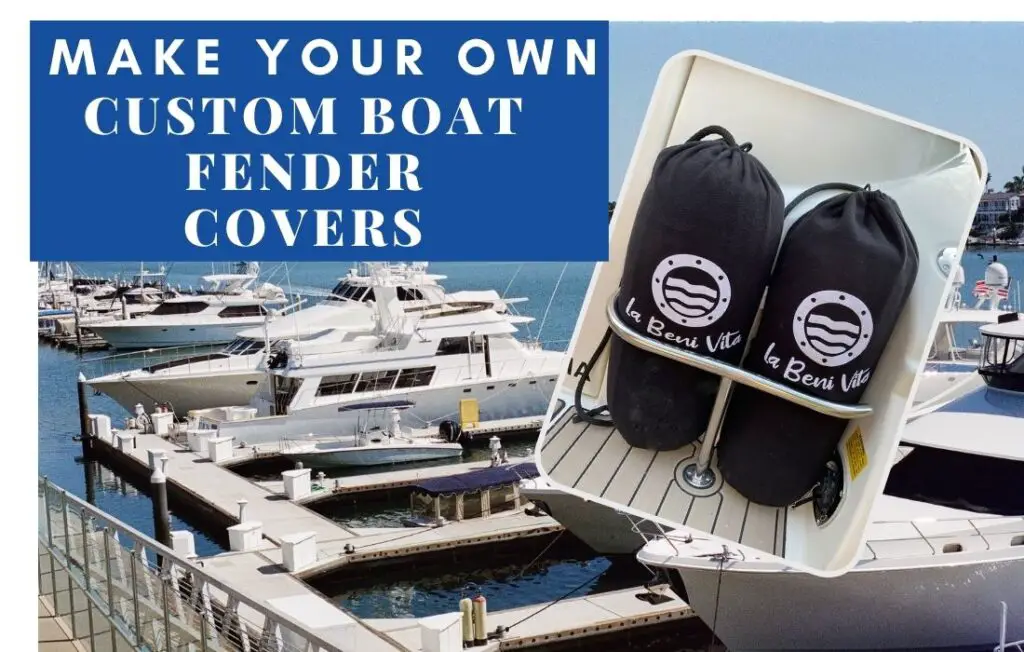
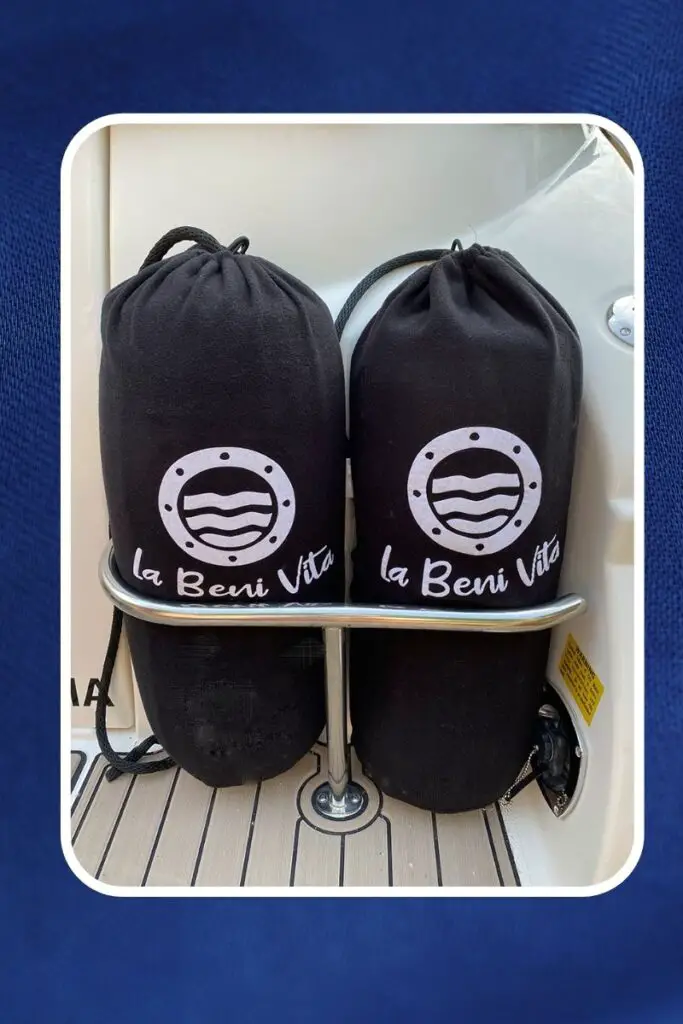
Do you know what BOAT stands for? Break Out Another Thousand. Sometimes it feels like that too. You have so much money invested in your boat and accessories that it is a good idea to protect everything. Our easy-to-make custom boat fender covers not only protect the fenders from harmful UV rays but also protect the surface of your boat, and are just the thing to add a touch of class to your boat and dock.
When you are making your Fender covers, you can personalize your design and add your boat name or your favourite saying. When you have a boat, it is always fun to add personal touches and nautical designs to some of your accessories.

We also use a serger and a sewing machine in this project, but if you don’t own a serger, as long as your sewing machine has a stretch stitch option, it will work fine. The serger is just to reinforce the sewing machine stitches.
What is a boat fender cover?
This website contains affiliate links. As an Amazon affiliate, I earn a small commission from qualifying purchases (at no cost to you).
A boat fender cover is a protective cover made of a non-scratching fabric that provides protection for the boat surface (gel coat) as well as the surface of the fender (bumper).
Boats have a gel coat that is applied over the fibreglass and gives the boat that mirror-like shine. Over time the Gelcoat can become scratched and cloudy. With regular waxing and cleaning, the Gelcoat finish can last for years. All boats docked in Marinas (well mostly all) use fenders to protect the sides of the boat from bumping up against the dock.
Many people refer to boat fenders as boat bumpers. Using a fender cover on your boat fender can reduce abrasions that occur when bumping up against a dock or other boats.

Boat fender covers also protect the fender from harmful UV rays and keep your fenders in like-new condition. Boat fender covers can be removed and washed over and over, making them a valuable asset for your boat.
What type of fabric are boat fender covers made from?
Boat fender covers are made from soft, UV-resistant and mildew-resistant fabric. You can purchase special fabric or use a scuba fabric or micro-fleece fabric.
The fender covers in this tutorial are made using micro-fleece. I like it because it has enough stretch to make it fit snuggly on the fender and it is soft enough to prevent scuffing and scratching on your boat’s finish.
When choosing fabric, make sure that it is colourfast and will not run when wet – the dye can stain surfaces.
Some suitable fabrics are:
- Fleece ( I prefer microfleece)
- Lycra (spandex
- Jersey knit
- neoprene. (choose a thin thickness as it can be difficult to sew)
- Polyester-based stretch fabrics
- nylon blend stretch fabric.
Supplies List
- Boat fender
- measuring tape
- micro-fleece fabric. (1 Meter or 1 yard per fender – size may vary depending on the type of the fender)
- 1/2 inch grommet ( or a size big enough for your fender rope to go through) (and grommet tool)
- elastic drawstring cord ( 1 meter or 1 yard – length may vary depending on the size of the fender)
- double cord lock
- sewing machine
- matching thread
- mini torch or lighter
- serger – optional
Tools List
- Cutting machine ( I use a Cricut Maker)
- soft flock HTV vinyl
- standard grip mat
- weeding tools
- fine tip cutting blade
- rotary cutter ( if cutting fabric)
- heat press
- parchment paper
- heat-resistant tape (optional)
Instructions for How to make custom Boat Fender covers
Measure the circumference of the boat fender

Measure around the outside of the boat fabric. Add 3/4 of an inch for the seam allowance.
Measure the length of the fender
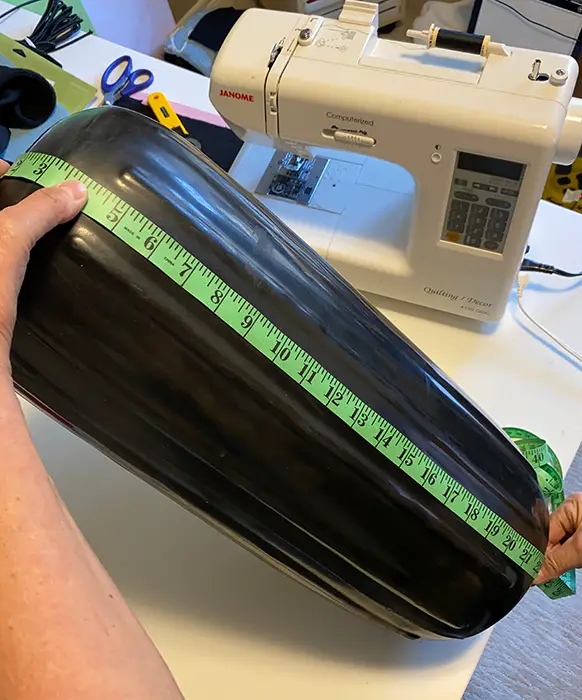
Measure from the top center hole to the bottom edge. Add 2 inches for folding down and a sewing channel for the drawstring cord.
Measure the diameter of the bottom
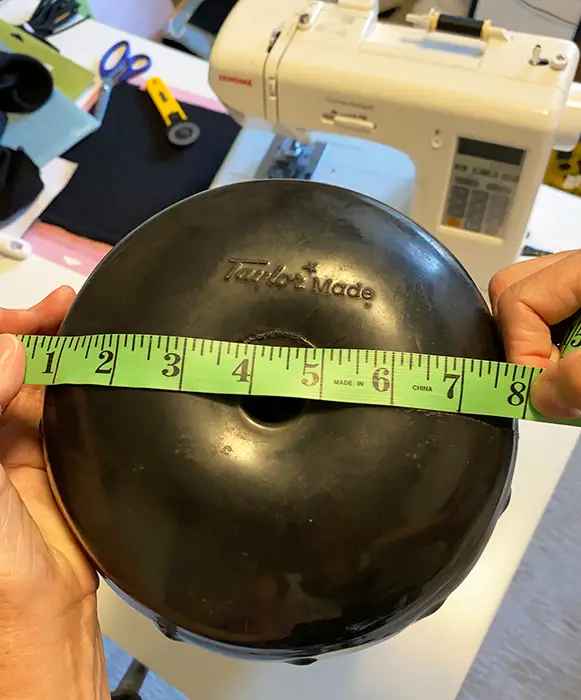
Add 3/4 of an inch to this measurement to allow for seam allowance.
Cut the Fabric
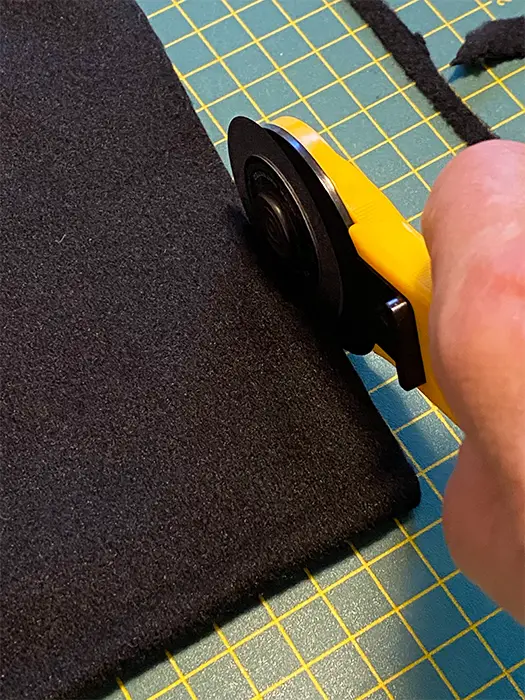
Use scissors or a rotary cutter and a cutting mat to cut the rectangular piece for your fender covers. This will be the sides of the cover and the top. A separate piece will be cut for the bottom.
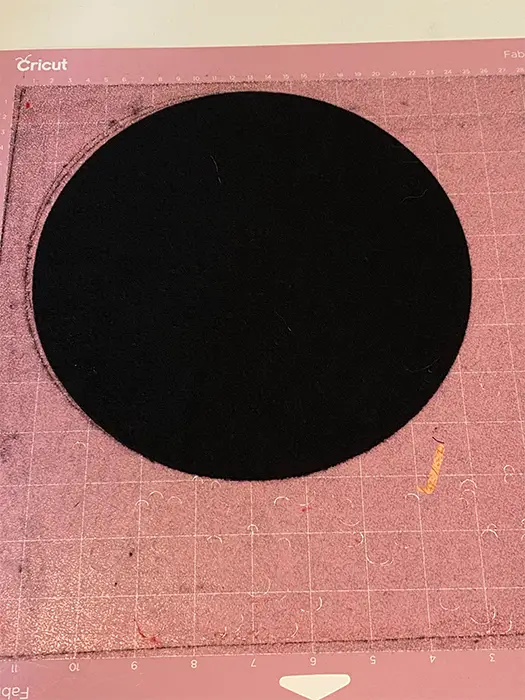
For the bottom piece, cut a circle the size of your diameter measurement. (Don’t forget to add the 3/4 inch seam allowance before you cut)
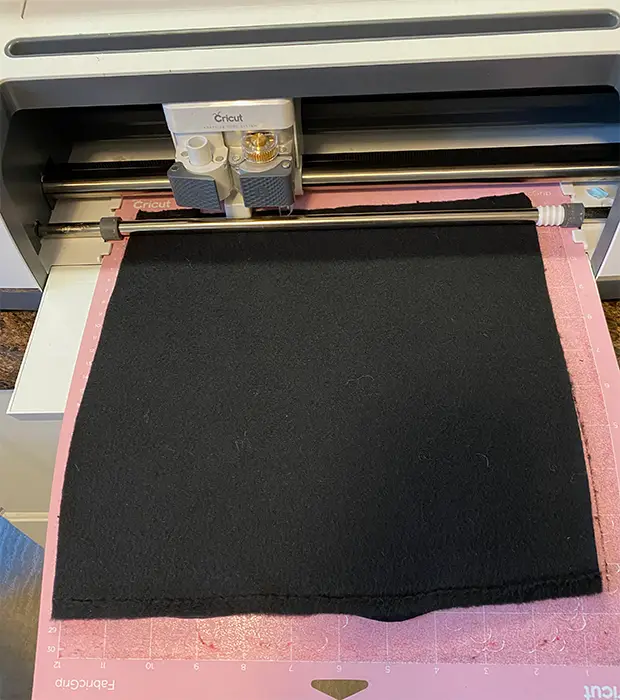
If you have a Cricut, use your rotary cutter and fabric grip mat to cut a perfect circle the size of your diameter plus the seam allowance.
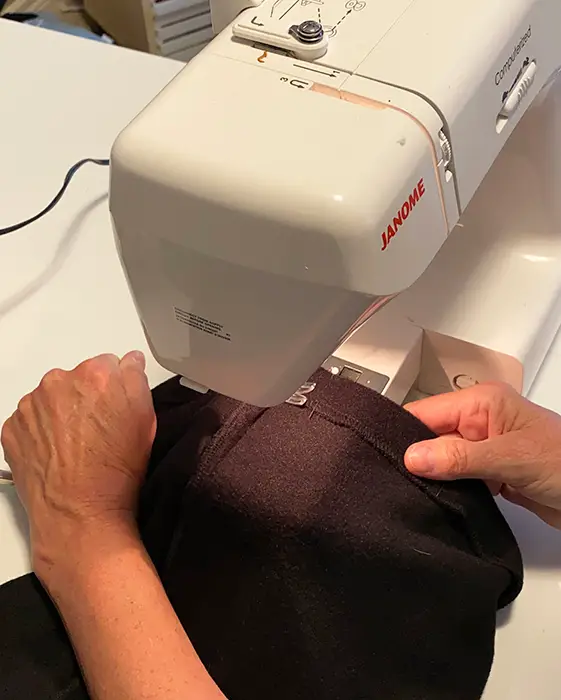
Sew the sides of the boat fender cover.
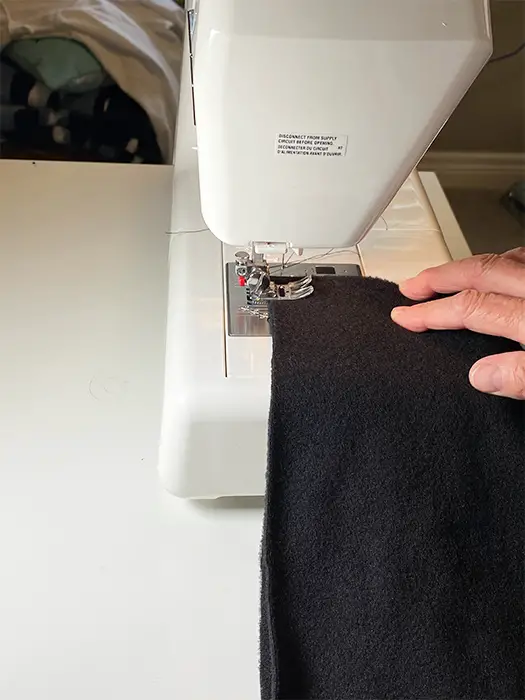
With right sides together and using a straight stretch stitch, sew using a 5/8 inch seam allowance to form a tube. (stretch stitch setting)
Check for fit on your boat fender.
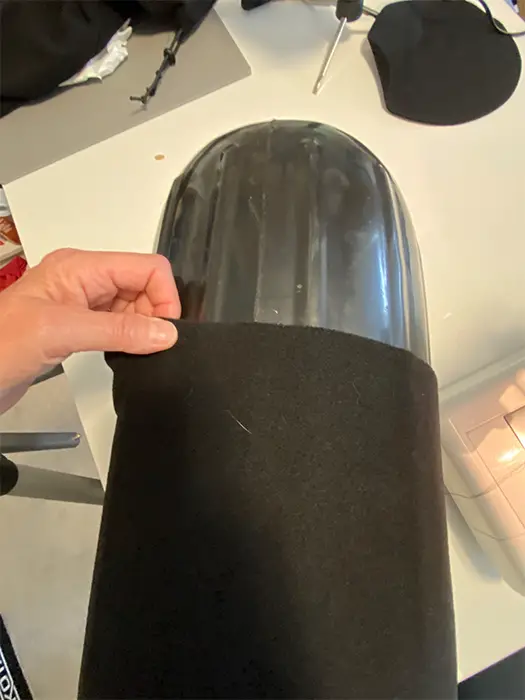
Turn the right side out and slide the tube onto the boat fender. If the cover is loose, you can easily re-stitch and make it fit snugly before you move on to the next step.
OPTIONAL
Serge along the seam for extra reinforcement

If you have a serger, this is an easy extra step that finishes off the seam perfectly and also adds reinforcement to the seam. If you are going to be selling custom boat fender covers, serging the edges is the best way to give your finished product a professional appearance.
Pin the bottom circular piece in place.
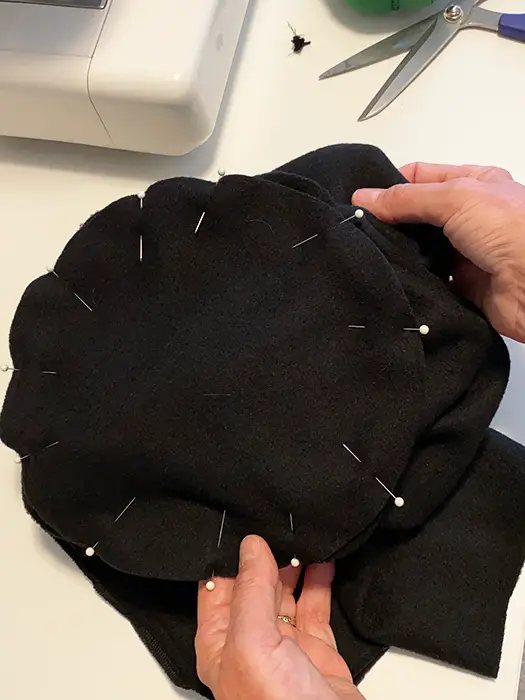
Right sides together – pin on the bottom piece. Pinning the bottom piece on before sewing will ensure that the circular piece is evenly spaced before sewing.
Sew on the bottom
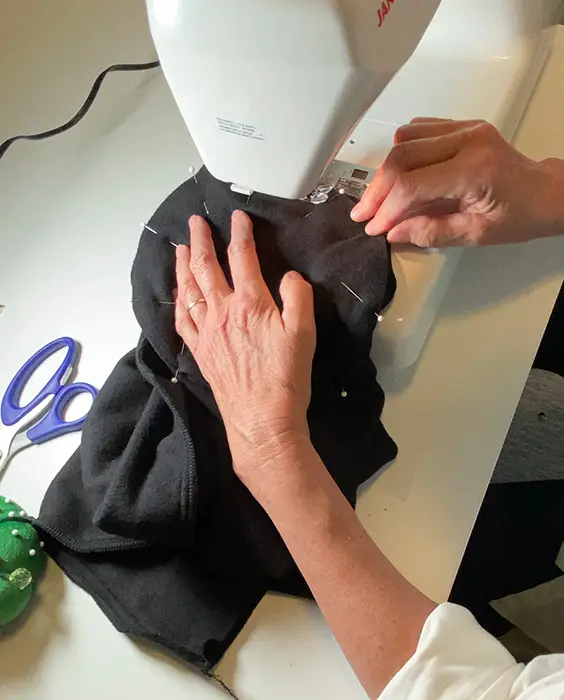
Sew the bottom circular piece to the side tube. Be careful as you go, and make sure that the fabric remains flat under your presser foot. Straightening as you go along will avoid any catches or snags in the cover.
Check for fit.

Remove pins and turn right side out and check for a proper fit by sliding it onto your fender. Make adjustments, if needed, before moving on to the next step.
OPTIONAL
Serge around the bottom seam
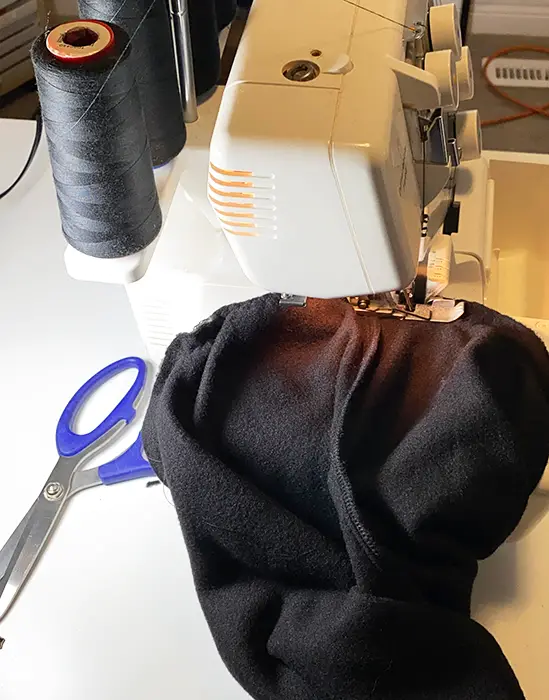
As stated above, this finishes off the seam as well as reinforces it.
Add an opening for the drawstring
The top, where the drawstring will go, will be folded down one inch. To add the opening in the middle of it, fold it down and mark where you’d like the opening.
The type of opening you choose is dependent on the type of fabric you are using. You could use a buttonhole, eyelet or cut a small slit (if the fabric doesn’t fray). I cut a tiny hole using my seam ripper, as the microfleece does not fray, and the hole will not get larger.
Micro-fleece doesn’t fray, so I put a TINY hole where I want the drawstring to go through.
Sew the top down for the drawstring
NOTE -I serged along the top edge of the fabric before sewing for the drawstring – for appearances only.
Turn the cover right side out. Turn down the top edge 1 inch (wrong sides together). This will allow for the drawstring to be inserted. Sew around the entire top opening. Remember to always use the straight stretch stitch setting on your sewing machine.
Mark the bottom for the grommet placement
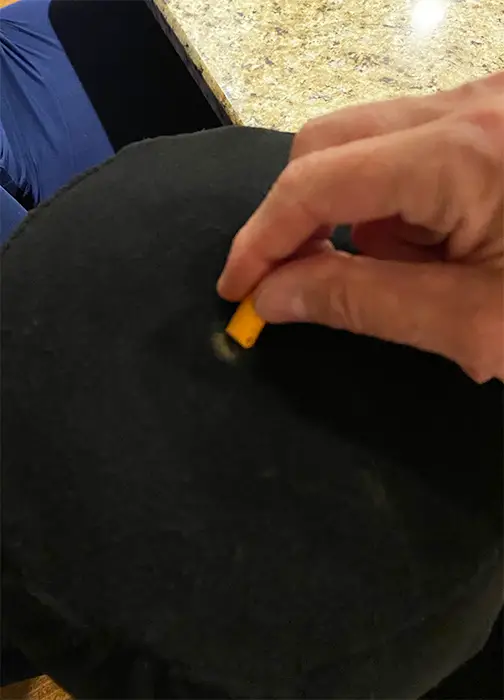
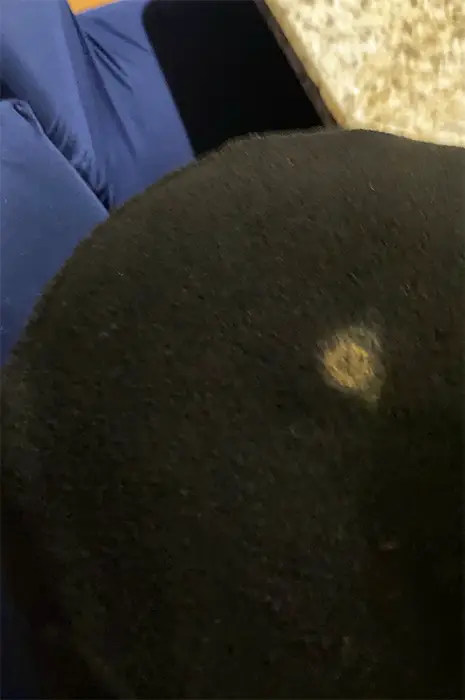
Put the cover on the fender. Mark the center of the bottom using a piece of chalk. The marking should line up with the rope hole in the bottom of your fender.
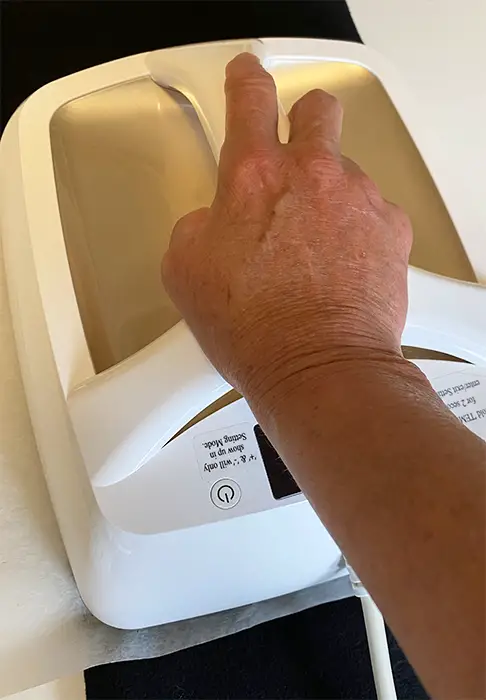
Insert the Grommet

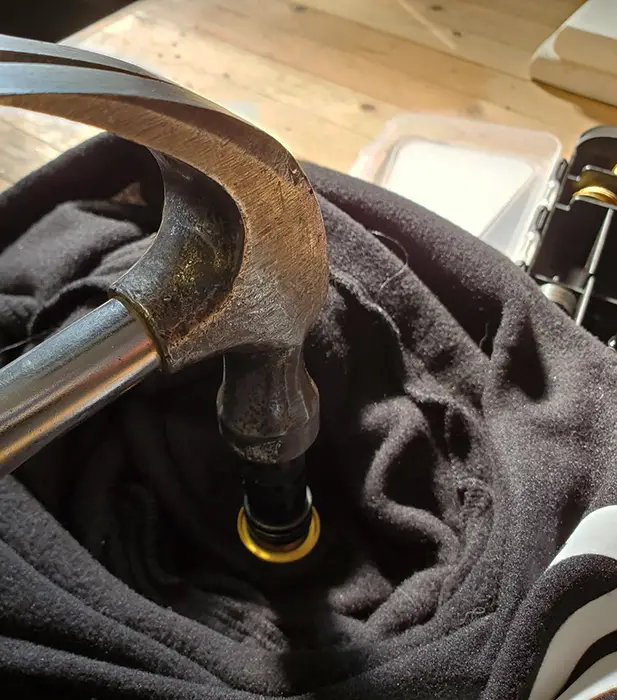
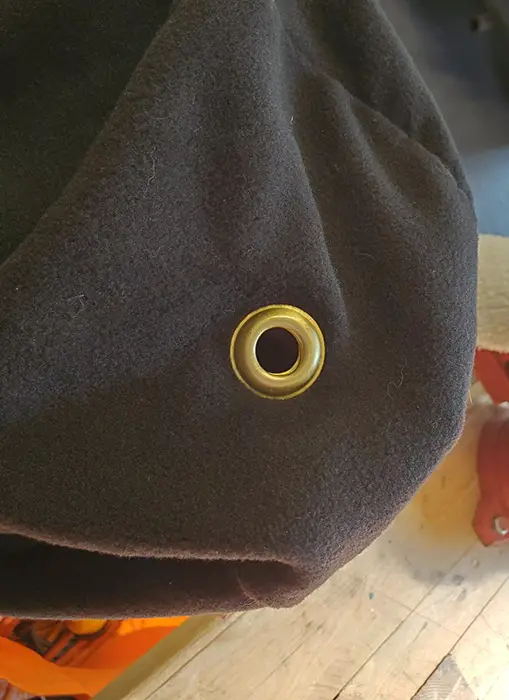
Follow the instructions for your grommet tool to insert the grommet. If you wish to make your fender cover without a grommet, you can make a large buttonhole or make an elastic opening.
How to make and apply your custom design to your custom boat fender covers
Upload your design to Cricut Design Space
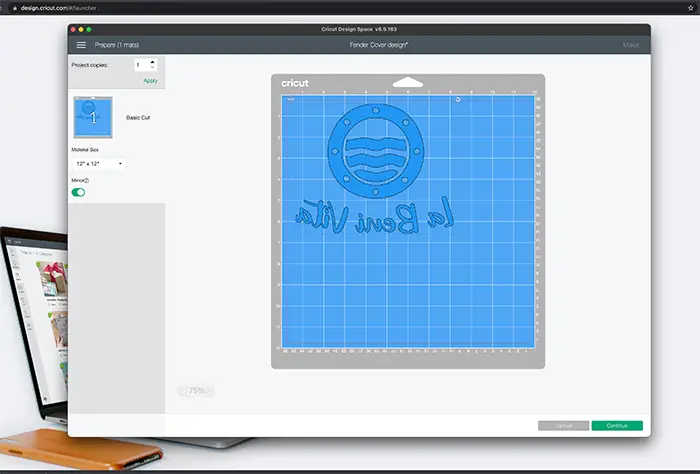
Upload your design and adjust for size. Add any further details, such as the boat name or dock number to personalize your own custom boat fender covers. Make sure everything is attached. Select “Make “
You may also weld if you are not doing a multi-coloured, layered design.
Make sure to mirror your design
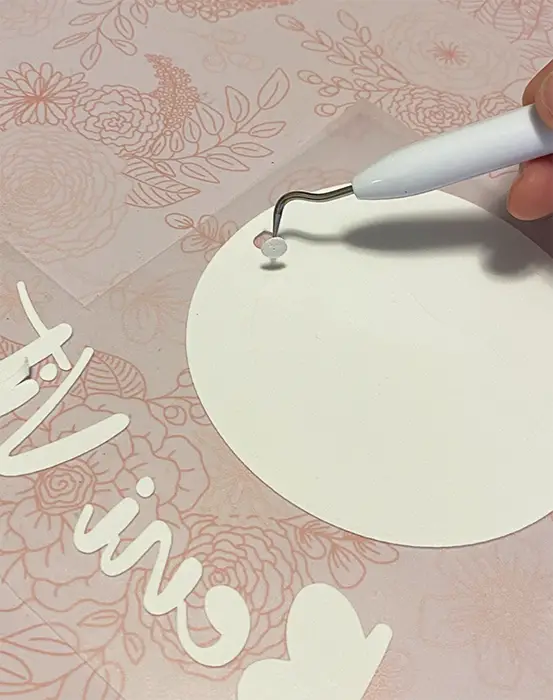
Cut and weed design
Position the design on the fender cover
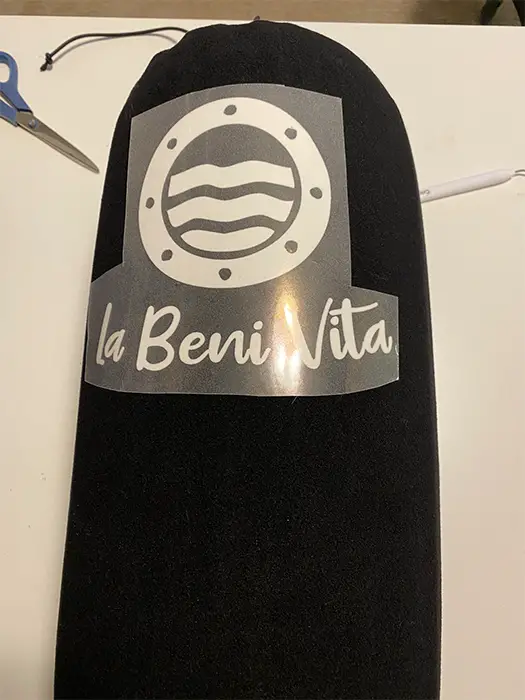
With the fender cover on the fender, position your design and then adhere with Hest Resistant tape.
Remove the fender cover from the fender and move it to a flat surface for pressing
Adhere your design to the Fender Cover
On a flat surface (not an ironing board), use your heat press to adhere the design to your fender cover. Make sure you have protected your surface with a heat-resistant pad and that you place parchment paper over your design before applying heat.
Following the instructions for the HTV Stripflock Vinyl, adhere with a heat press onto the fleece. Sisler Striplock HTV is a cool peel. I allowed it to cool and slowly peeled off the carrier sheet.
Insert the Drawstring
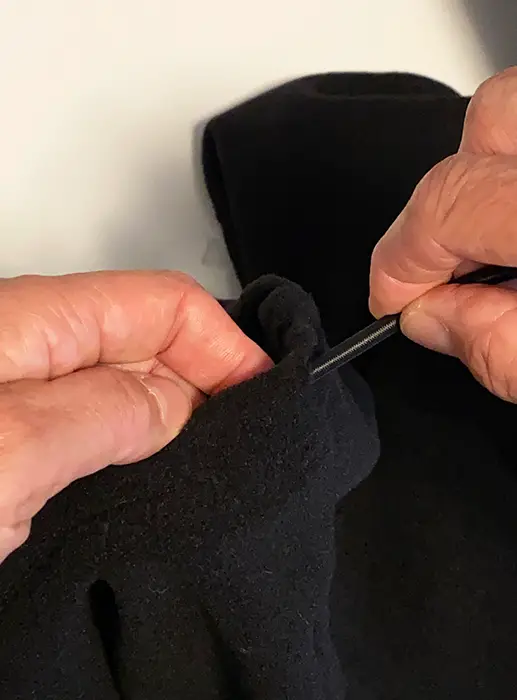
The drawstring cord is sturdy enough not to need a threader. If you are using a lace-type string, I recommend you use a drawstring threader to help easily guide your string through the channel.
Attach the Double Cord Lock
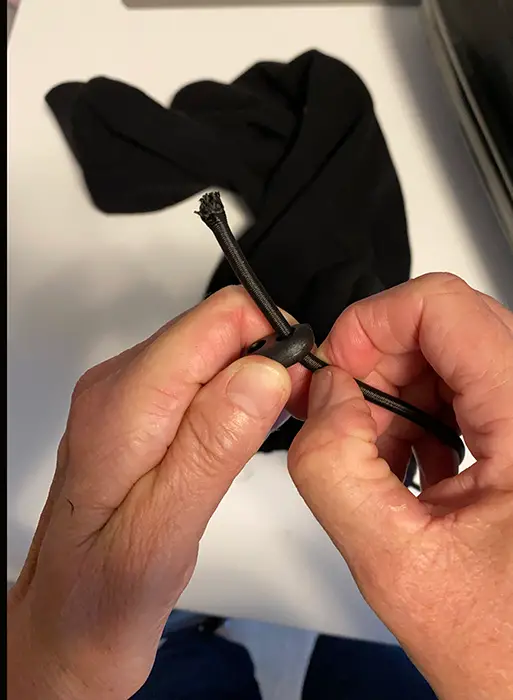
Insert the drawstring into both channels of the double cord lock.
Tie a small knot at the end of the cord to keep it from sliding back through the lock.
Burn the ends to prevent fraying
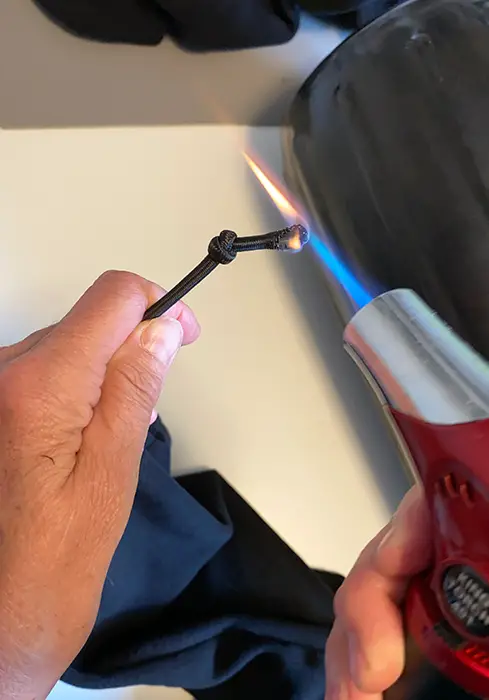
Trim off any loose strings or fraying elastic cord from the end of the drawstring.
Seal the ends using a lighter or small torch. This prevents further fraying, maintaining the integrity of the cord. Be careful. A quick burst and then blow out the flame. Do not do this step where there are other flammable materials.
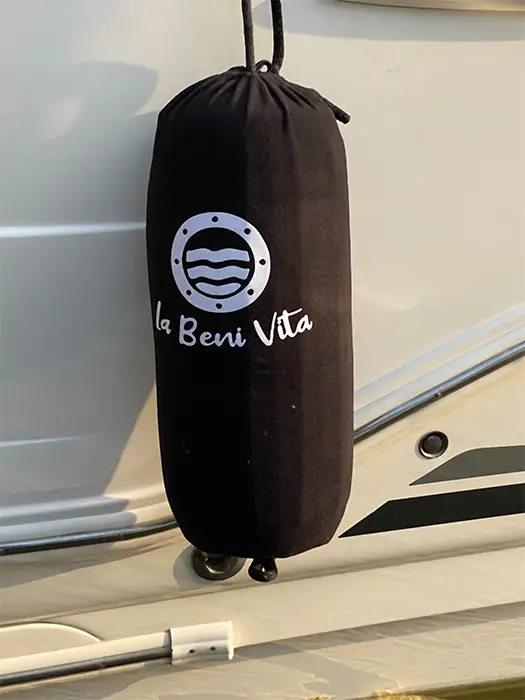
Your Custom Boat Fender Covers are now ready to go!
Get the nautical design used in this Custom Boat Fender Cover Design.
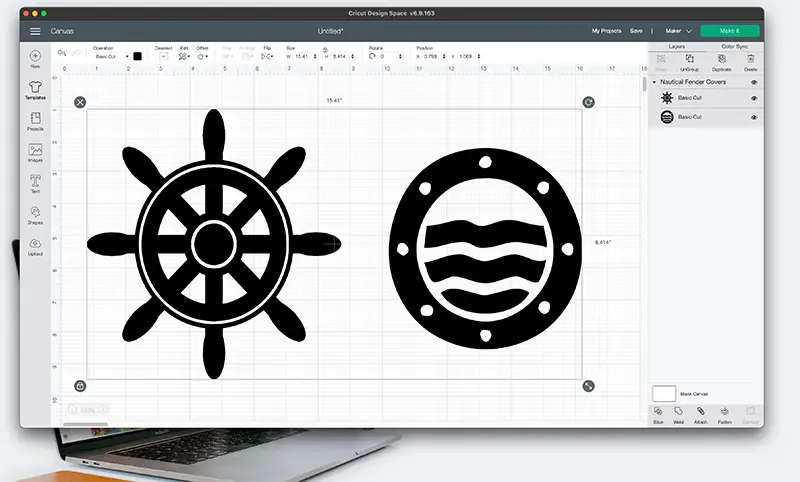
The porthole design is the one shown in this tutorial. I also use the ship’s wheel regularly, as it is popular for custom orders.
Log in to the free resource library and get the free SVG file for your cutting machine.
If you only wish to use one of the designs, upload them into Cricut Design Space, Ungroup and delete the one you don’t want.
Extra Protection from the Sun and weather conditions
If you have chosen a fabric that is not UV / UVB protected or designed for being outdoors, your fabric will fade and break down faster. Consider using a protectant spray to add extra protection and longevity to your boat fender covers. A good choice is Scotchgard Sun and Water Shield.
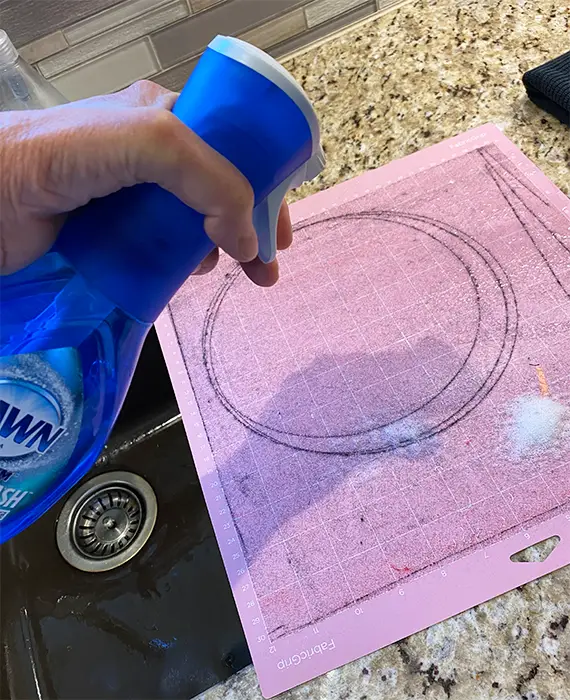
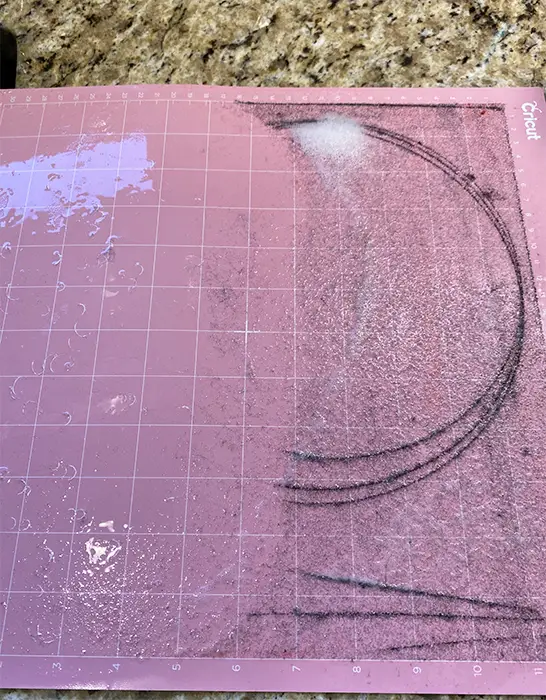
Clean your Cutting Mats
Using fleece on your cutting mat leaves a mess. The easy way to clean your mat is to use some Dawn Powerwash and a soft-bristled scrub brush.
Easy-to-follow steps to clean your cutting mat.
- Wet the cutting mat with warm water
- Spray on some Dawn Powerwash.
- Gently scrub with the soft-bristled brush in a circular motion.
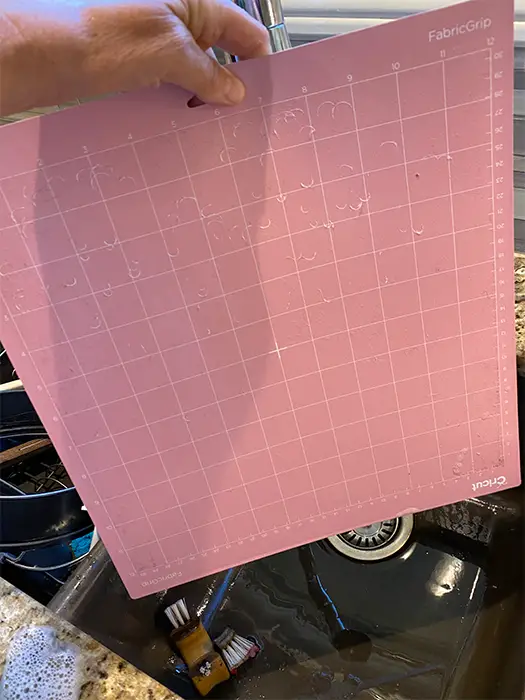
- Rinse the cutting mat with warm water.
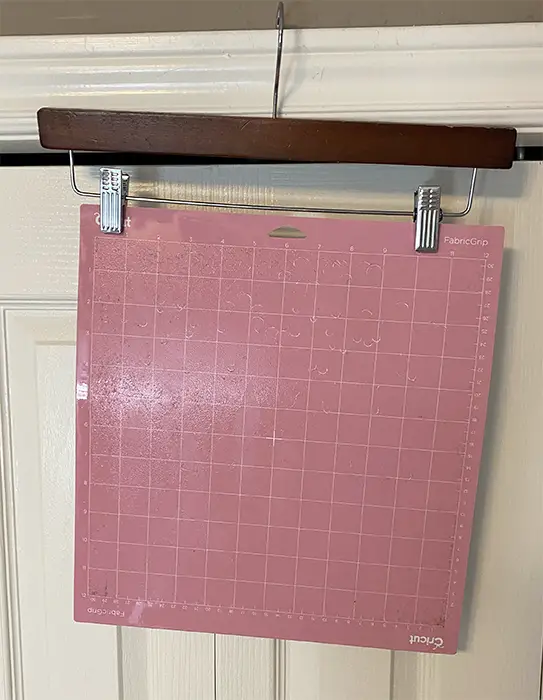
- Hang using a clip-style pant hanger to dry.
- Allow to thoroughly dry and then replace the protective plastic cover.
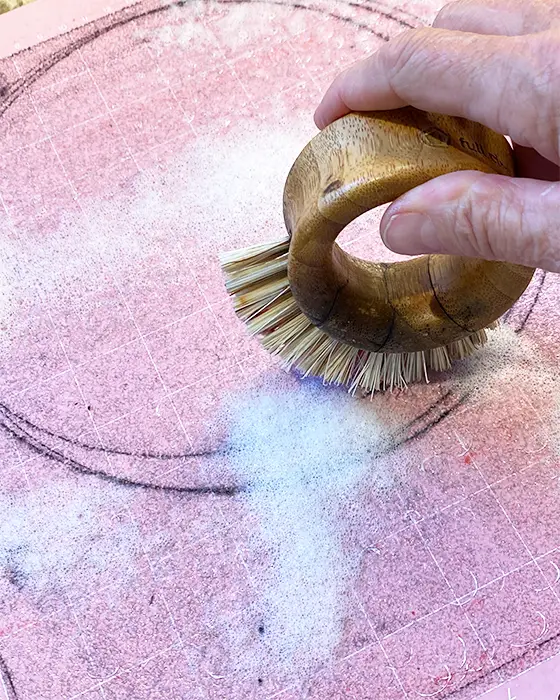
scrub mat with a soft brush

This website contains affiliate links. As an Amazon affiliate, I earn a small commission from qualifying purchases (at no cost to you).