
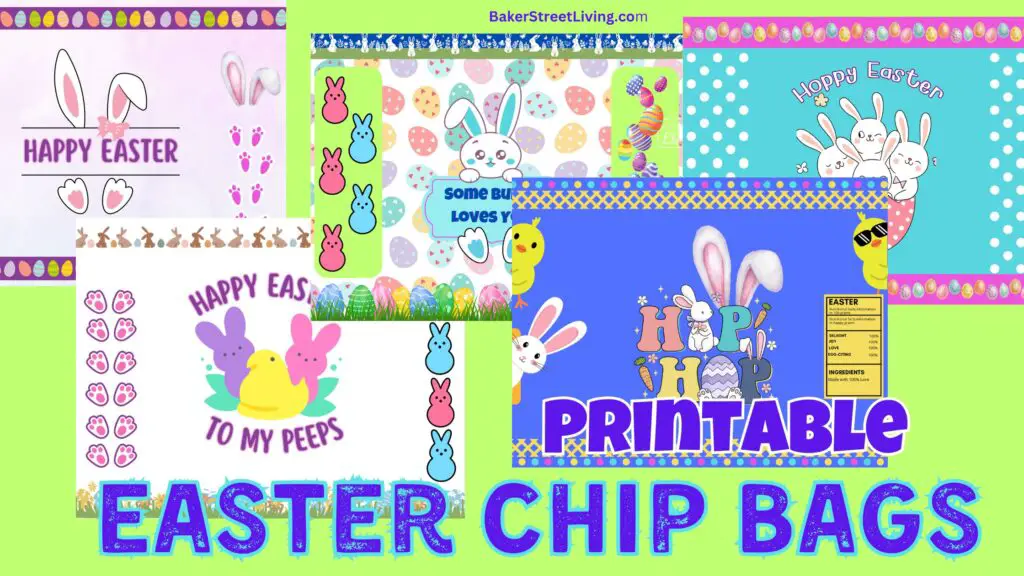
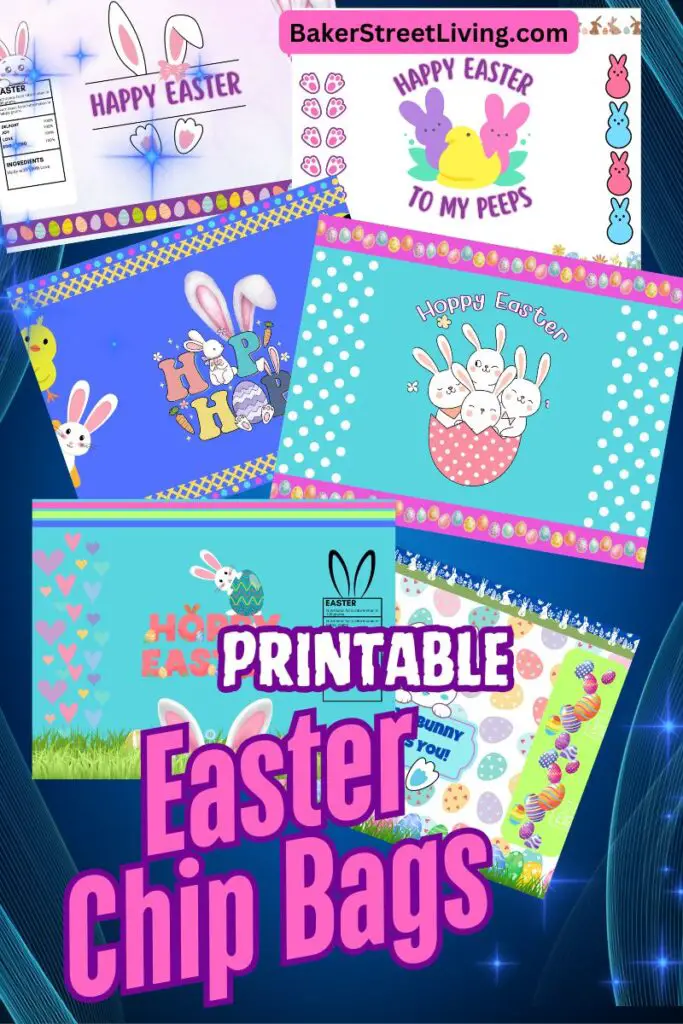
Easy to Make Printable Easter Chip Bags
Content Created by Tracey of Baker Street Living 
Crafting your own Easter Chip Bags is a whimsical and personal touch that elevates any gathering. Download our free designs, and all you need to do is print, tape, and crimp. Our custom chip bags fit any bag up to 28 grams or small candy bags.
Supplies List
This website contains affiliate links. As an Amazon affiliate, I earn a small commission from qualifying purchases (at no cost to you).
How to Make Printable Easter Chip Bags
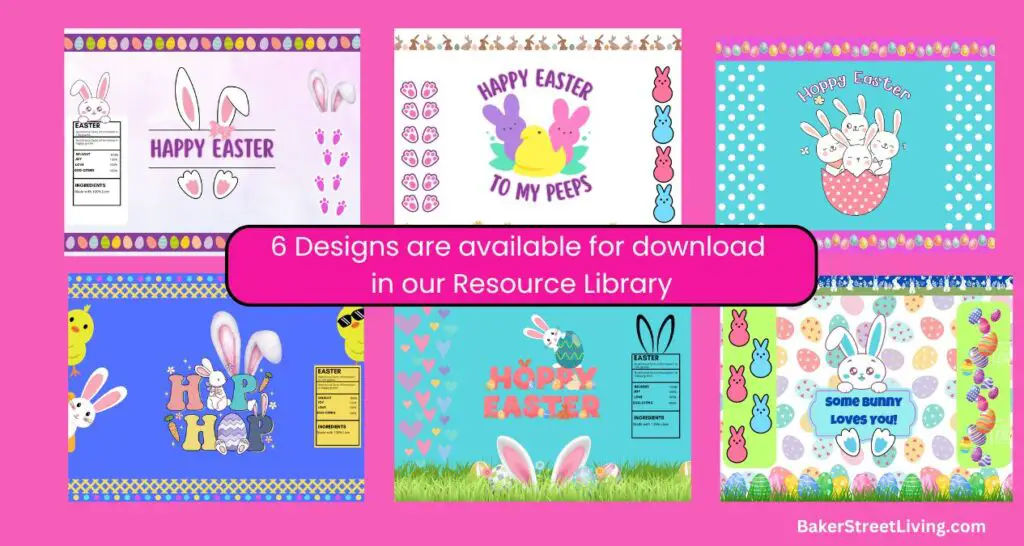
1 – Download our Printable Easter Chip Bags from our Free Resource library. Be advised that our designs are free for personal use. Selling or using commercially is prohibited.
2 – Fold the design so that the back seam is centred and the image for the front of the bag is centred. Unfold so that the paper is open.
3 – Run a bead of tape along the inside of the back seam and along the bottom of the bag where the seam will be.
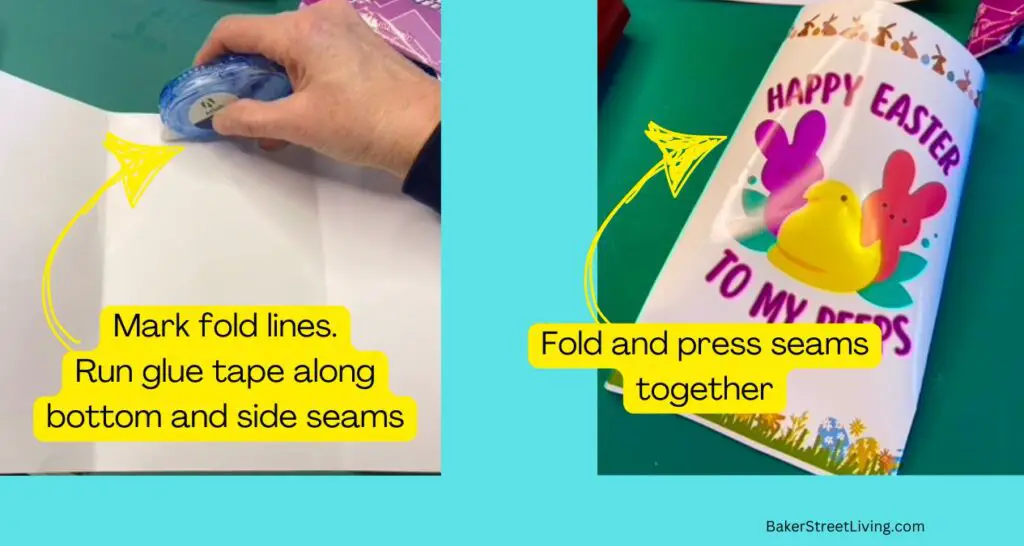
4 – Fold the bag back on the fold lines and press to seal the glued seams.
5 – Insert a chip bag or bag of candy.
6 – Run a bead of glue tape along the inside of the top of the bag. Press along the seam to adhere.
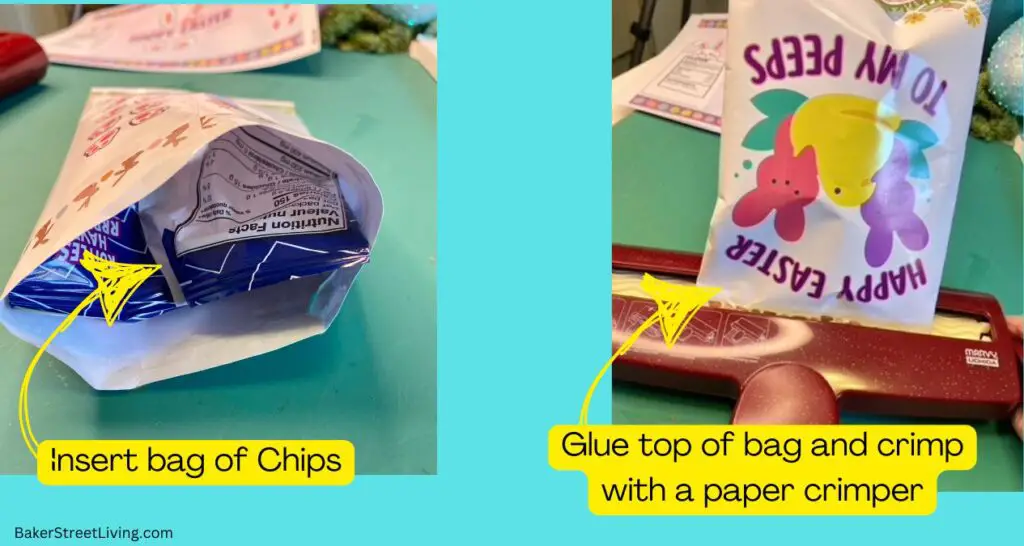
7 – Use a paper crimper and crimp both ends of the Easer Chip Bags to finish off the bag.
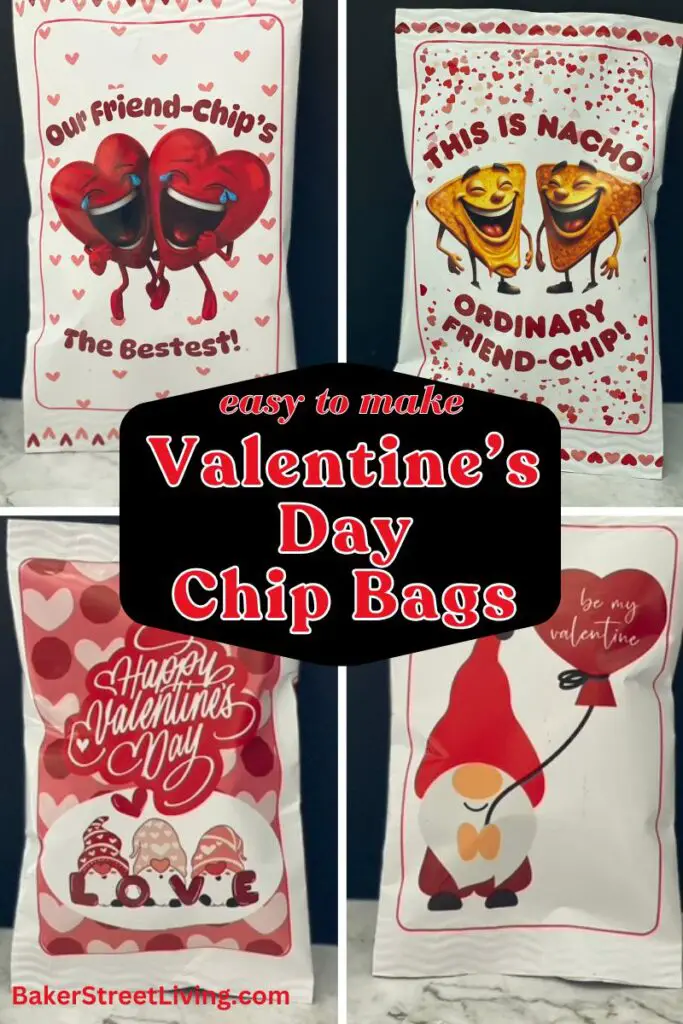
Want more Printables?
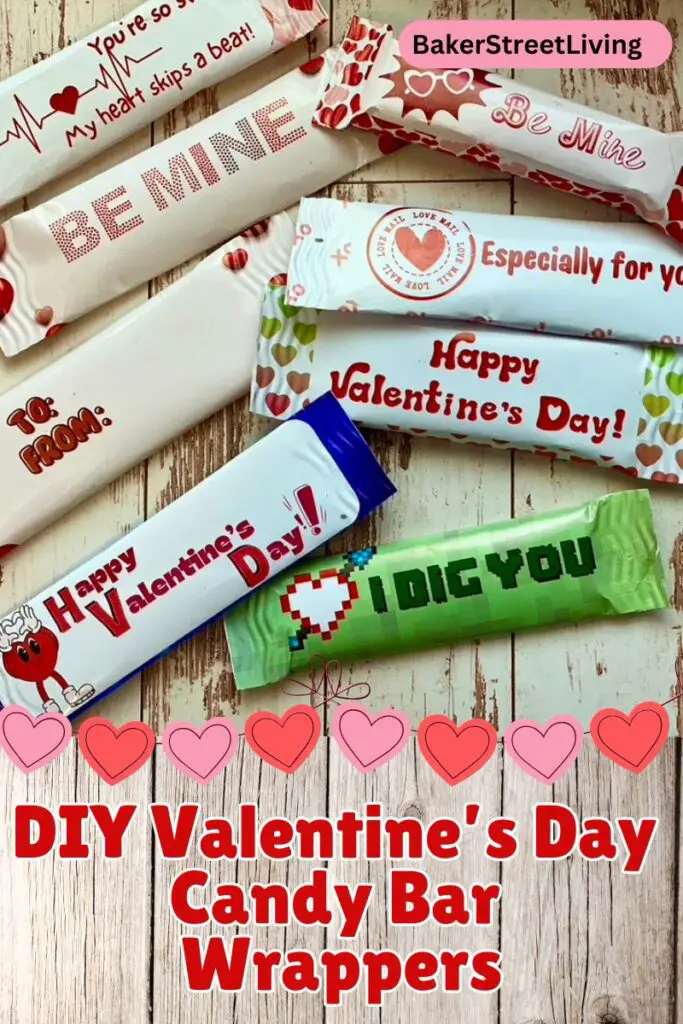
- Printable Valentine’s Day Candy Bar Wrappers
- Printable Easter Egg Candy Bags
- Printable Halloween Candy Bar Wrappers
- Printable Christian Chip Bags for Easter
- Easter Egg Hunt Busted Canvas
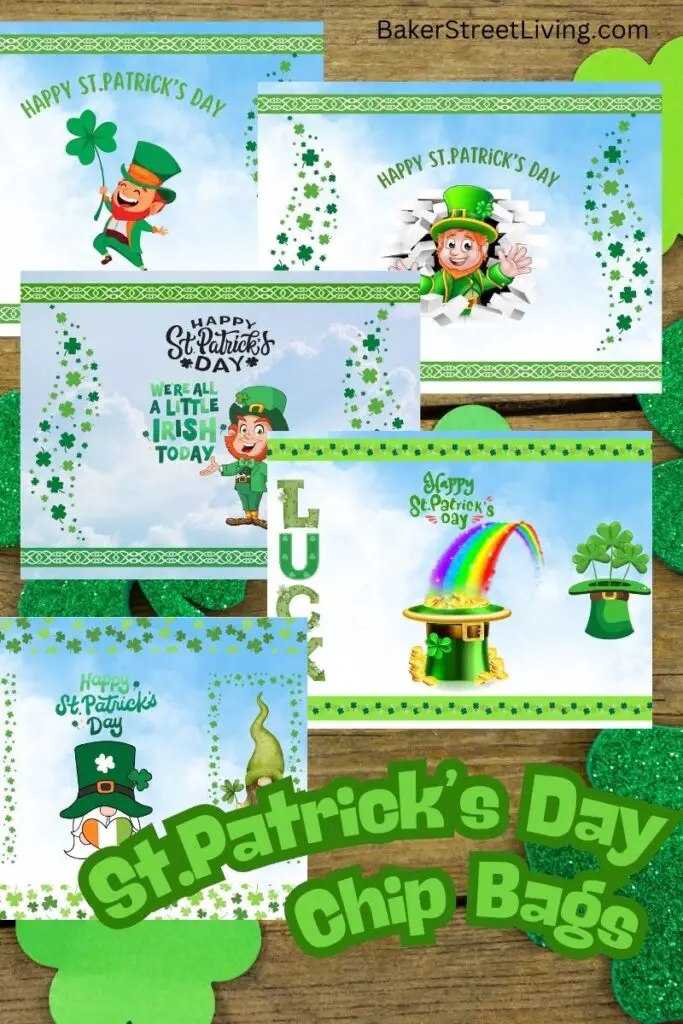
- St.Patrick’s Day Printable Chip Bags
Tips for Success
The Paper
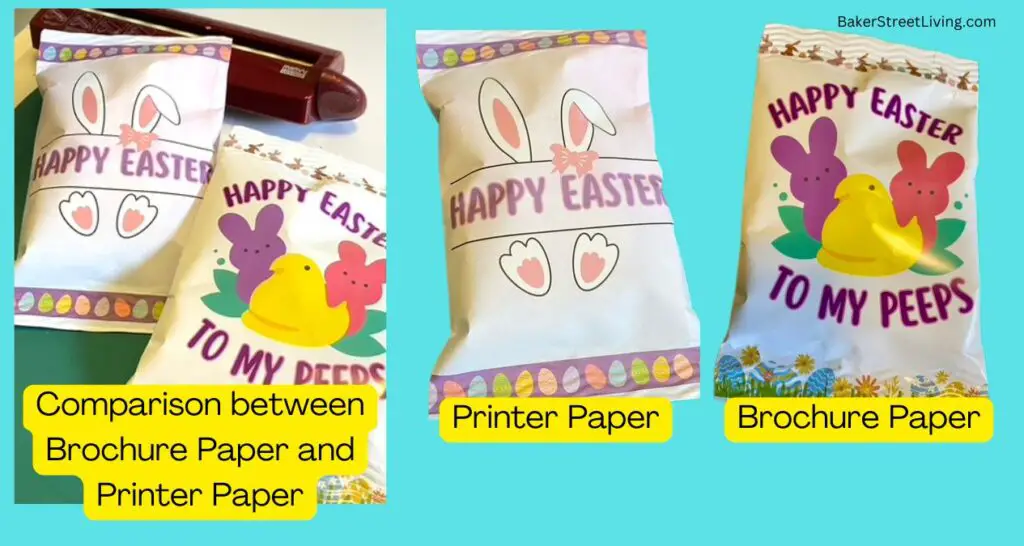
I recommend brochure paper, which is available in double-sided or single-sided. I always use one-sided glossy for my chip bags. It is less expensive than double-sided, and there is no need to have a glossy interior of the bag.
I recommend a 36-pound weight for the paper. It is lighter than regular photo paper but strong enough to hold the crimp. The crimp is important if you want to have a professional look for your finished chip bags.
I have been asked how they’d look if the chip bags were made out of standard printer paper. The image below shows a comparison between the two types of paper. The bag made from the printer paper is less vibrant, and the colours can appear dull. Overall, the printer paper chip bags are nice, and if you are making a large number of bags, it would save money.
Using a Cricut or other Cutting Machine
The files provided are in a PNG format. You can certainly use them in a print-and-cut project, but the size needs to be reduced for it to fit a standard-sized mat. Once reduced, that design will only fit a snack-sized bag or smaller candy bag.
The Tape
I recommend using a double-sided tape dispenser. It is the quickest and easiest way to get smooth seams. For glue, make sure that the glue is completely dry before adding your candy or chips when trying to crimp. If the glue is not dry, you run the risk of damaging the paper crimper. If glue leaks into your paper crimper, it can cause permanent damage.

I hope you are inspired to make some Easter Chip Bags. They are super fun and great to give away.

This website contains affiliate links. As an Amazon affiliate, I earn a small commission from qualifying purchases (at no cost to you).