
Content Created by Tracey of Baker Street Living 
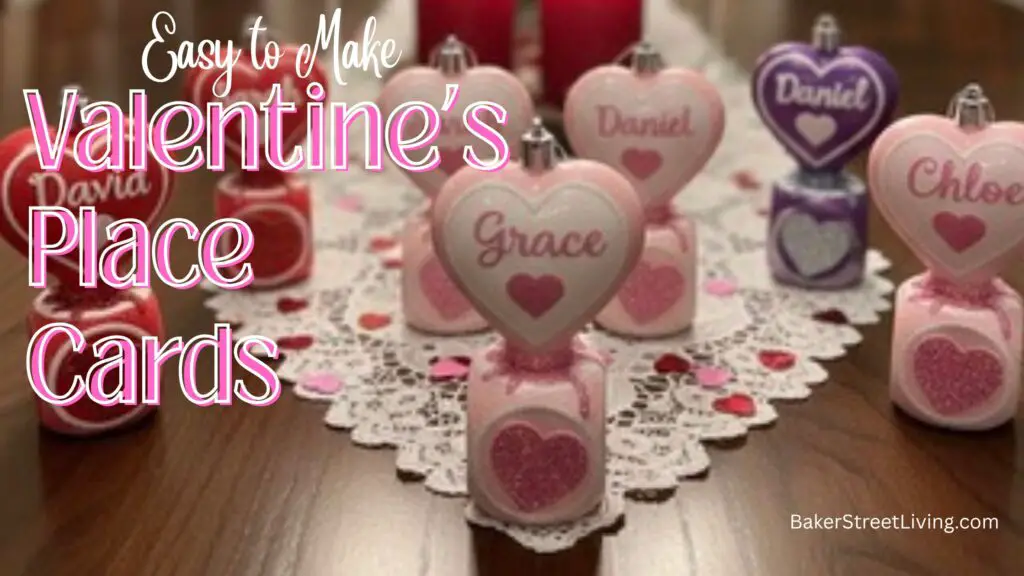
Adding personalized details to your table is one of the easiest ways to make a Valentine’s Day meal feel extra special. These DIY Valentine’s Day place cards are simple to make, budget-friendly, and double as a sweet keepsake your guests can take home
What You’ll Need
This website contains affiliate links. As an Amazon affiliate, I earn a small commission from qualifying purchases (at no cost to you).
- Heart-Shaped Plastic Ornements
- 1-inch Wood Dice Block
- White Acrylic Paint
- Red Acrylic Paint
- Fine Sandpaper
- Hot Glue Gun
- Adhesive Letters – or – adhesive vinyl (for cutting machine users)
- Cricut Cutting Machine, tools and White Adhesive Vinyl.
- Glitter Hearts
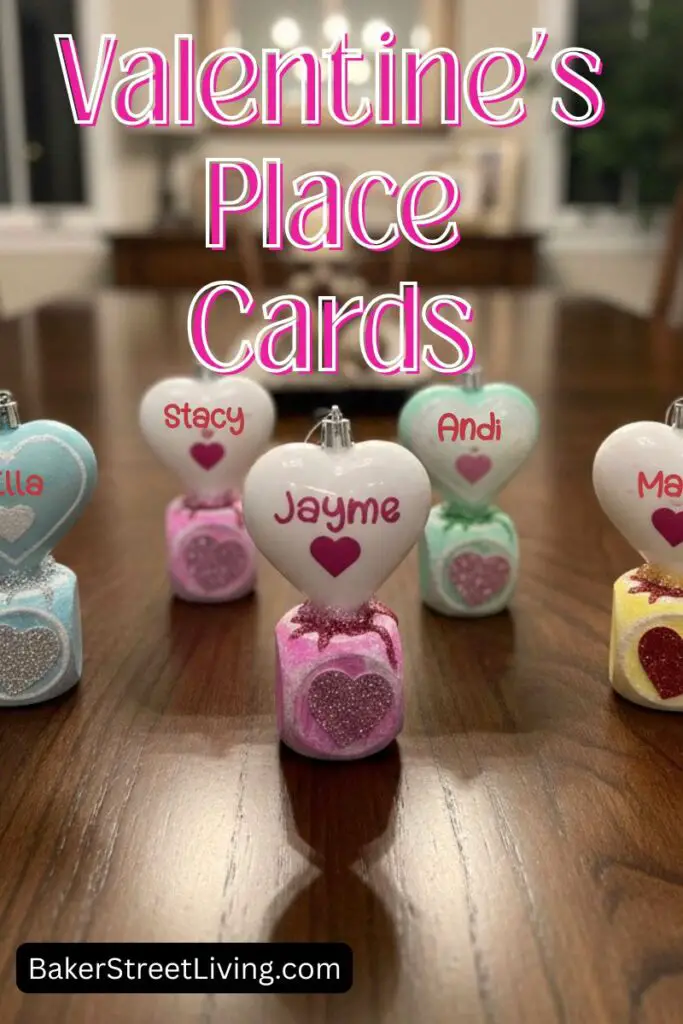
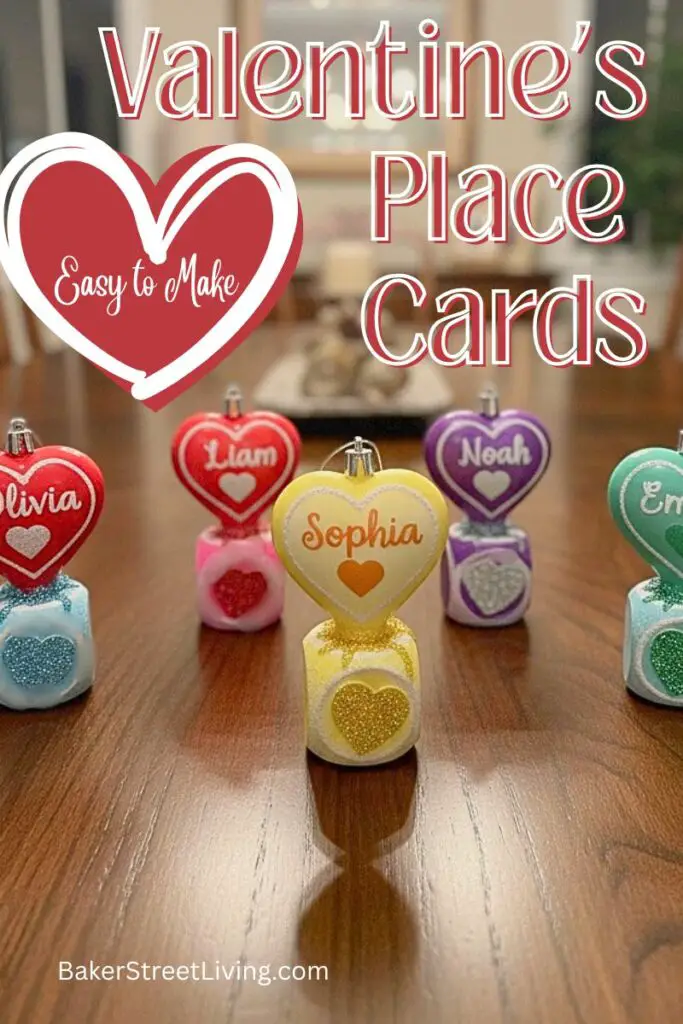
Heart shapes instantly say “Valentine’s Day,” and pairing them with natural wood rounds gives the place cards a cozy, rustic touch. Because the ornaments are personalized, each guest feels thoughtfully included. Best of all, these Valentine’s Day place cards don’t get tossed at the end of the meal; they can be reused as decorations or hung up year after year.
How to Make Valentine’s Day Place Cards
For Cricut Users
Create, Print and cut the name you wish to add to your ornament surface.
Before printing and cutting, choose a font that is compatible with adding to the curved edge of the ornament.
Make sure you measure and allow for curves and letter shapes.
In this tutorail I am using “Christmas Kring-Kring” font, which is a free download from DaFont.com
Prep the ornament (Depends on condition)
Before adhering anything to the surface of the ornament, wipe it with a soft cloth and rubbing alcohol. This just removes dust, dirt and oil from the surface.
Paint the Dice Block
In this tutorial, I am using a white base of acrylic Paint and a Deep Pink Acrylic Paint. Feel free to use any colour of your choice.
Paint the dice block with a coat of white base paint and allow it to dry.
Lightly sand it with draft paper and remove any dust.
Add a light coat of deep pink paint over the white, brushing it so that it is unevenly coated, and some white is showing through.
Allow it to dry.
Lightly sand the painted block with craft paper and wipe off any dust.
Add Name to the Heart
Place the adhesive letters or cut vinyl onto the surface of the ornament.
Press down the letters and make sure they are well adhered.
Adhere the Heart to the Wood Base
Add a generous amount of hot glue to the surface of the wood, place the heart on it and hold for a few seconds until it adheres.
Add Embellishments
Add glitter hearts to the base or whatever embellishments you like.
Embellishment Suggestions
- Glitter Hearts
- Glitter Glue Dots.
- Heart Shaped Confetti ( add glue and sprinkle with Valentine’s Day confetti)
- Buttons
- Heart-Shaped Gemstones
- 3D Stickers
- Ribbon


Helpful Tips
Adhering Letters to Glitter Heart Ornaments.
Adhering letters, whether vinyl or stickers, can sometimes be problematic. It may be helpful to add a small amount of glue to the back of the letter using a toothpick.
Using Valentine’s Day Place Cards as hanging ornaments
If you don’t want to hang the place cards or use them as ornaments, you can remove the hanger before making the place card. Adhere embellishments or larger ribbon to cover the hanger stem.
Saving and Storing
Wrap the finished Valentine’s day Place Cards in tissue and place them in a hard-sided box or an ornament case for easy storage.
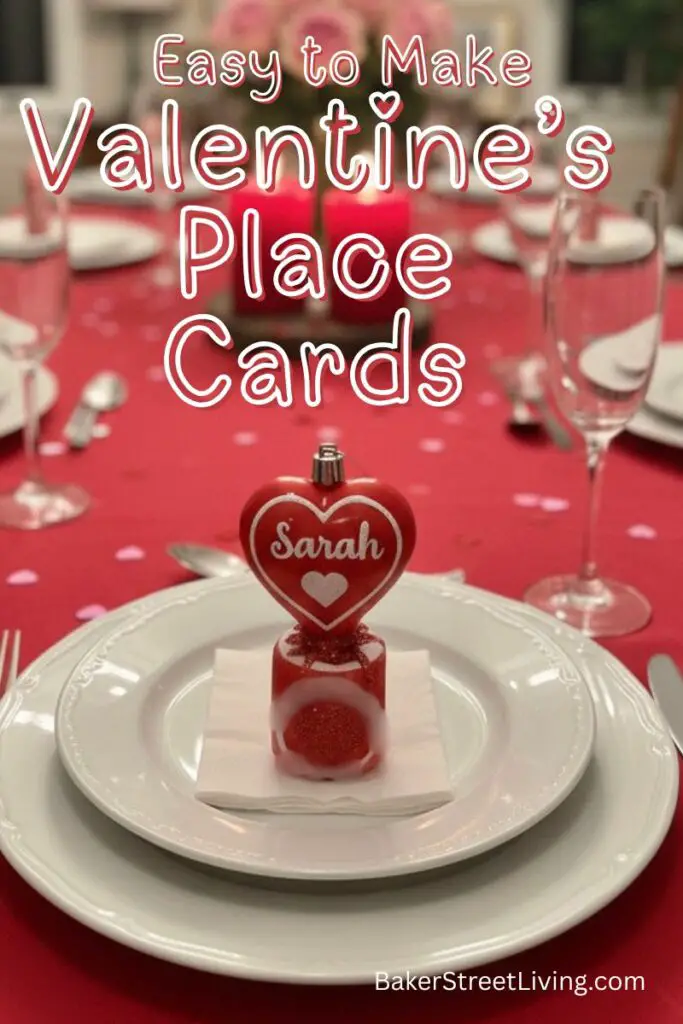
These DIY Valentine’s Day place cards are more than just functional; they’re a thoughtful detail that shows care and creativity. Whether you’re hosting a cozy family dinner or a festive Valentine’s party, these heart ornament place cards add warmth and personality to your table and give guests a keepsake to remember the day.

This website contains affiliate links. As an Amazon affiliate, I earn a small commission from qualifying purchases (at no cost to you).