
Content Created by Tracey of Baker Street Living 
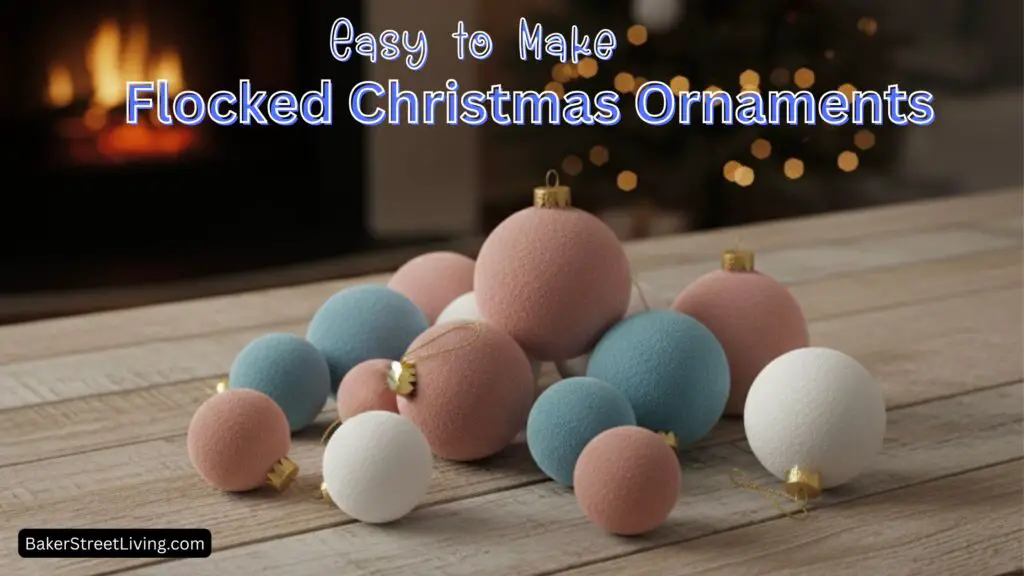
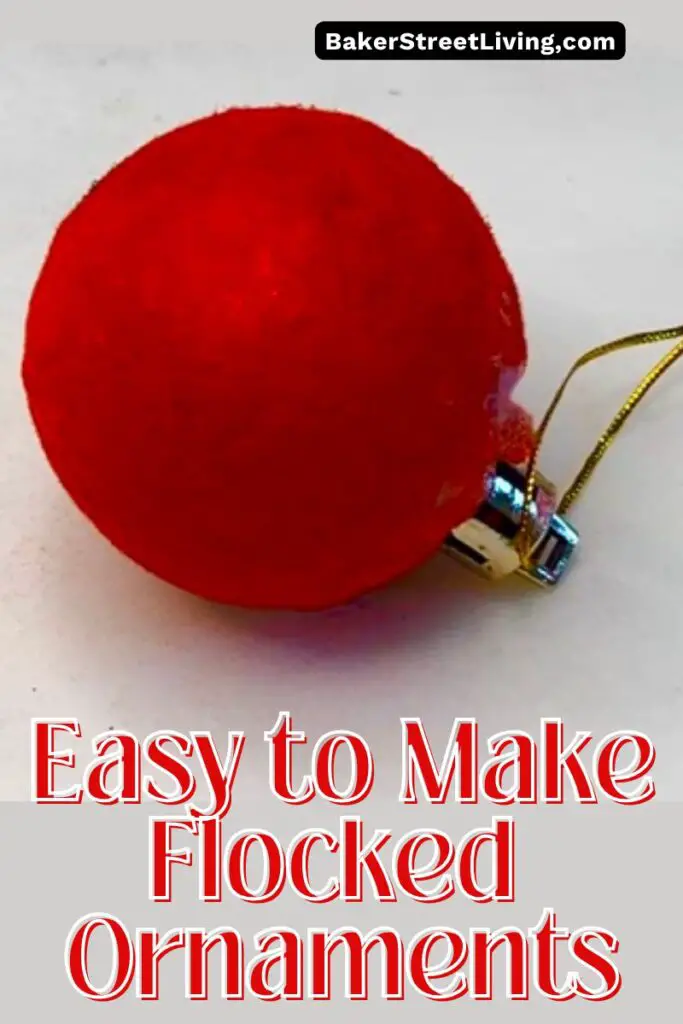
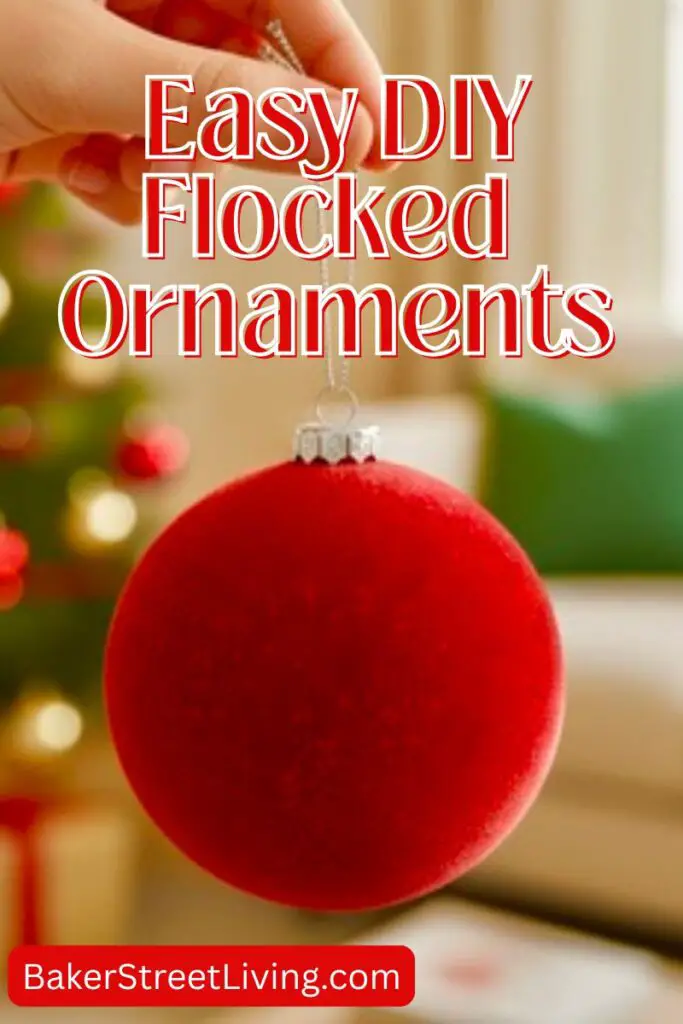
There’s just something magical about the soft, snowy look of flocked ornaments. While flocked trees are gorgeous, adding flocked ornaments to your collection takes the cozy winter vibe to a whole new level! The best part? You don’t need fancy supplies or expensive sprays to do it. This DIY method is affordable, mess-friendly, and oh, so addicting.
What You’ll Need
This website contains affiliate links. As an Amazon affiliate, I earn a small commission from qualifying purchases (at no cost to you).
- Ornaments ( this is a great time to reuse old ornaments)
- Flocking Powder
- Paint – Optional – Same colour as flocking powder
- Mod Podge (or all-purpose white glue)
- Glue Brush
- Dowel
- Low-tack painters tape
- Floral Foam Block
- Mod Podge Ultra (Optional Sealant)
How to Make Flocked Ornaments
Step 1: Prep and Paint the ornament
If repurposing old ornaments, remove any flaked paint or embellishments
Clean the surface with a damp cloth or rubbing alcohol.
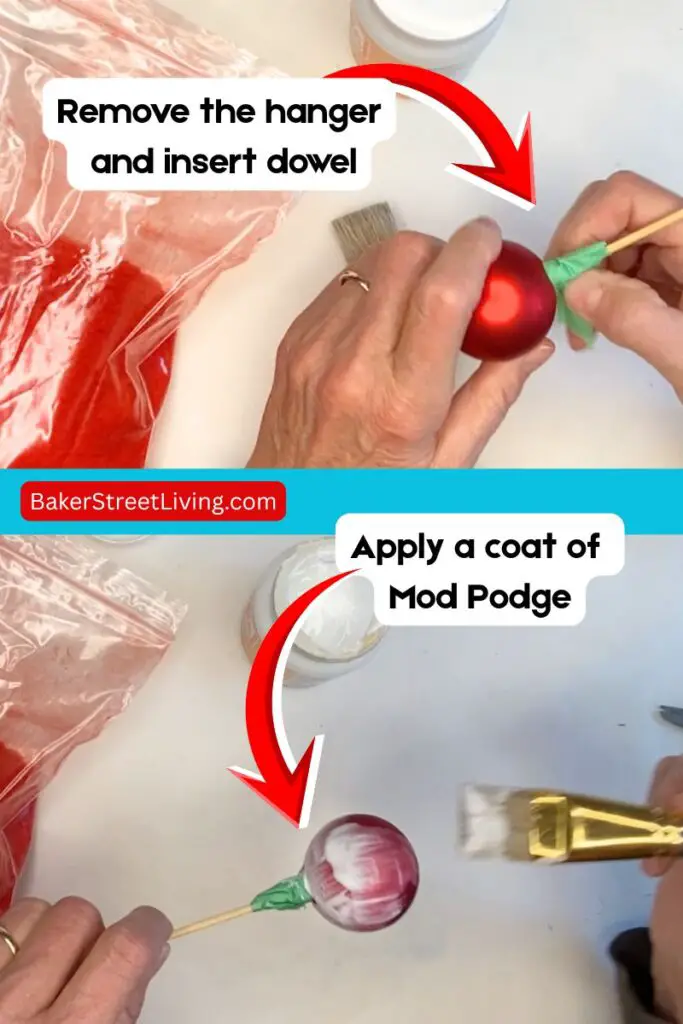
Remove the metal hanger end and insert a wooden dowel. Secure it in place with a thin piece of low-tack painters’ tape. It is ideal if you only cover the area where the hanger will go.
If the ornament is not the same colour as the flocking powder, apply a coat of paint that is the same colour. This helps to deepen the colour of the flocking powder and prevent any other colours from showing through the powder.
Place the dowel into the floral foam and allow it to dry.
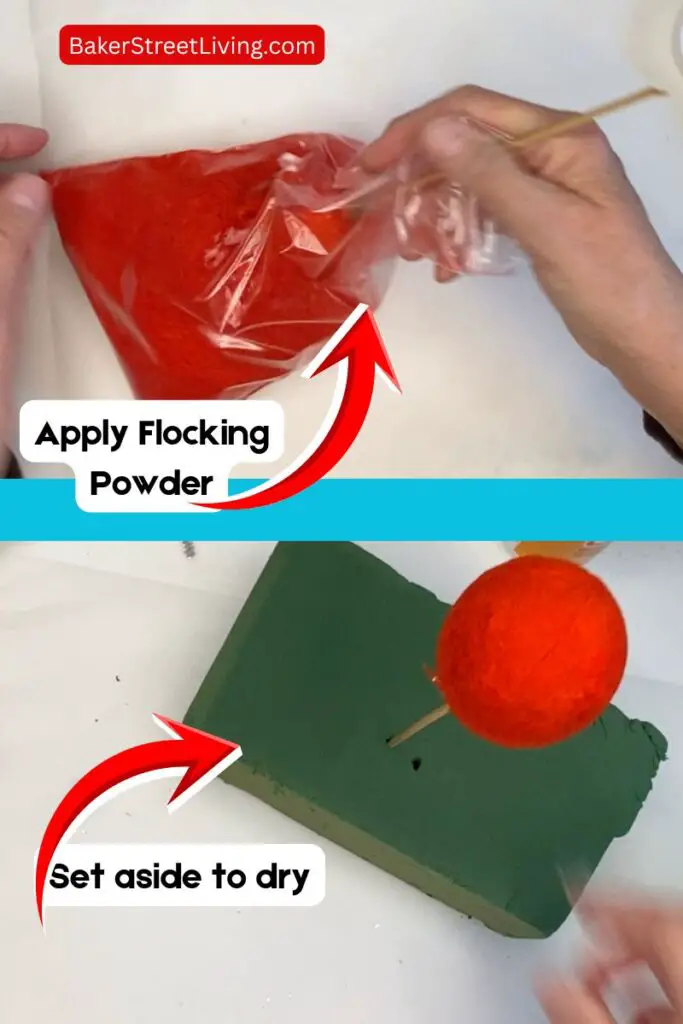
Step 2: Apply Flocking Powder
Ziploc bag Method (my preferred)
Pour flocking powder int. a Ziploc bag.
Apply a coat of Mod Podge over the surface of the ornament. Make sure the coverage is even and there are no defined lines.
Dip the ornament into the powder in the bag. Move the bag around to cover the ornament and press the powder into the sides of the ornament.
Remove the ornament from the bag and return the dowel to the foam block, and allow it to dry.
If you don’t have enough powder to use the Ziploc method, follow these easy steps.
Line a box with clean paper or place a tray, paper plate, or scrap paper underneath to catch excess powder.
Brush on an even coat of Mod Podge onto the ornament, covering the entire surface.
Using the soft brush, pounce the flocking fibres onto the ornament.
Cover the entire ornament.
Place the ornament back into the foam and allow the flocked ornaments to fully dry.
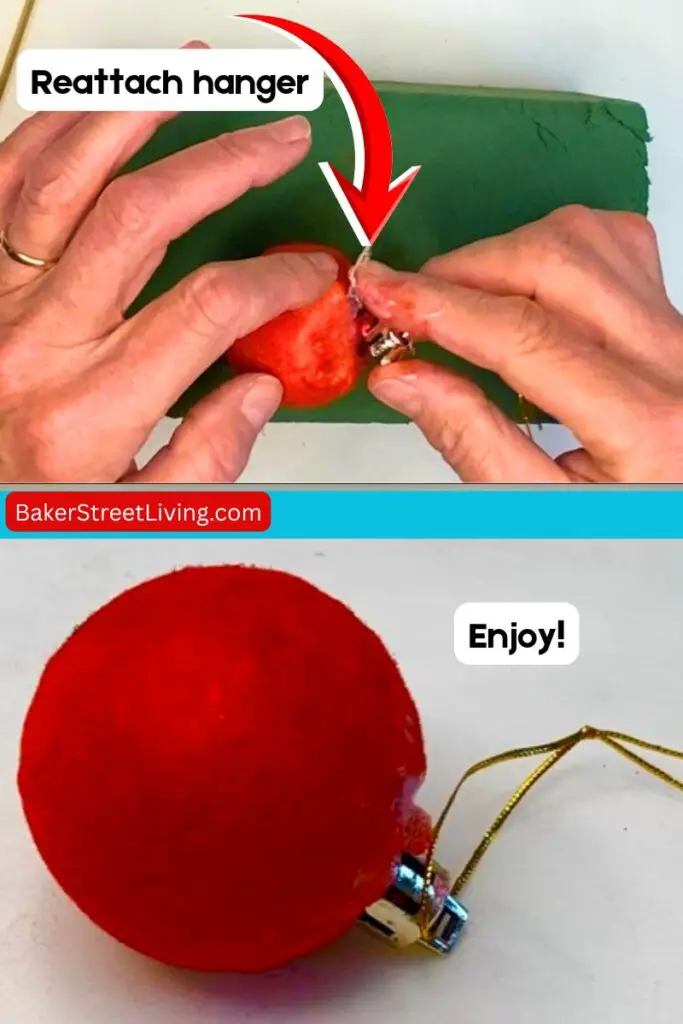
Step 3: Reassemble
Remove the tape and dowel from the ornament. Re-insert the clip and hanger into the ball. Hang sith decorative ribbon or a hanger of your choice.
Step 4 Sealing (optional)
To seal flocked ornaments, lightly spray with Mod Podge Ultra. A thib coating is ideal. Sealing is optional. It will largely depend on the thickness of the flocking powder. A thick flock layer tends to brush off, but thin layers stick better. If you see the powder is falling, add a seal over the top.


Helpful Tips and FAQs
Using Flocking Spray
For a quick and hassle-free way to make flocked ornaments without the powder, you can use flocking spray. Flocking spray usually comes in an aerosol can. When you spray it onto a surface that has a light adhesive or is naturally tacky, it releases tiny fibres that stick to the surface and create a soft, plush finish. You may need to add multiple coats. Flocking Spray is okay, but for showstopper flocked ornaments, use the flocking powder method..
Eliminate Flock Fibres from Falling
Sealing is the only way to eliminate the falling of the flocked fibres from your flocked ornaments. I use Mod Podge Ultra or a Clear Acrylic Sealant Spray. Apply a very thin coat, making sure the cover the entire flocked area. Allow it to dry completely before touching.
Uneven Coverage
One of the biggest challenges is getting smooth, even coverage. If the glue layer is too thin or dries too quickly, the flocking powder may stick in patches, leaving bald spots. Add additional layers to get full coverage. Make sure the flocked ornaments are fully dry and tap off excess fibres before adding more layers.
Clumpy or Matted Texture
Sometimes the fibres clump together instead of creating that soft, fluffy look. Instead of rubbing or pressing the powder in, sprinkle or sift it lightly over the glue. Tap off excess without compressing it. Remove clumps and apply where needed.
Colour Fading or Dull Finish
Some glues can dull the colour of the flocking powder or make it look darker than expected. If using a different glue than we reccomended, test a small area first. Always use a clear-drying adhesive.
Storing Flocked Ornaments
When storing flocked ornaments, place them in a sectioned ornament box to prevent rubbing against other ornaments or lightly wrap if tissue.
Thank you for stopping by and joining me on this cozy holiday craft adventure! I hope these DIY flocked ornaments inspire you to add a little snowy magic to your tree this season. Wishing you a joyful, creative, and beautifully decorated Christmas!

This website contains affiliate links. As an Amazon affiliate, I earn a small commission from qualifying purchases (at no cost to you).