
Content Created by Tracey of Baker Street Living 
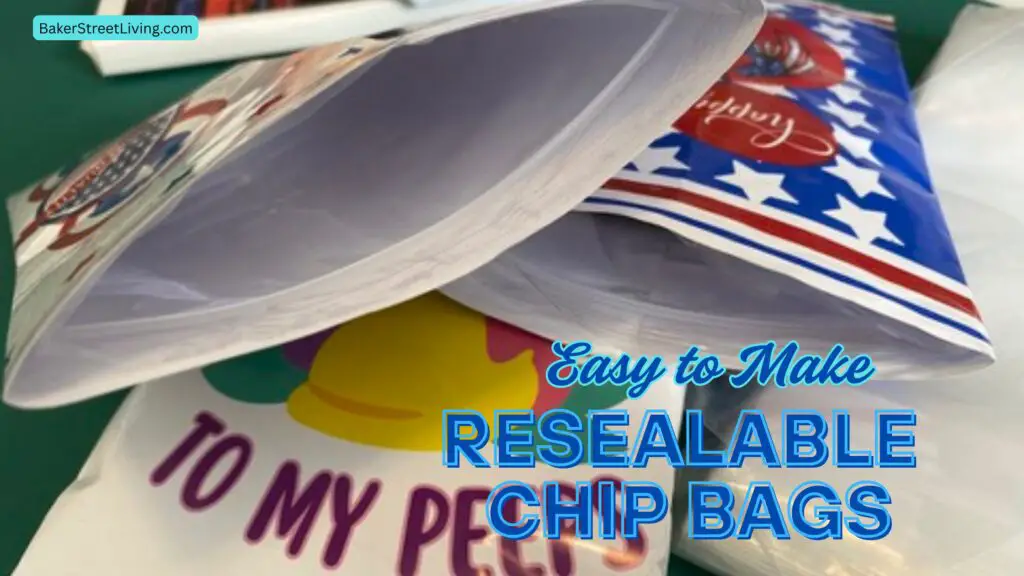
We love making custom chip and snack bags. They’re such a great way to add a personal touch to parties and holidays, but one of the struggles for little hands is always how to open them. Since we started making resealable chip bags that is no longer a problem, and if you want to seal them and finish your snack later, you can.
The process is the same as making the regular chip bags, except for adding a liner. See my notes below about types of liners.
Supplies List
This website contains affiliate links. As an Amazon affiliate, I earn a small commission from qualifying purchases (at no cost to you).
- Brochure Paper (Glossy or Matte – see notes below)
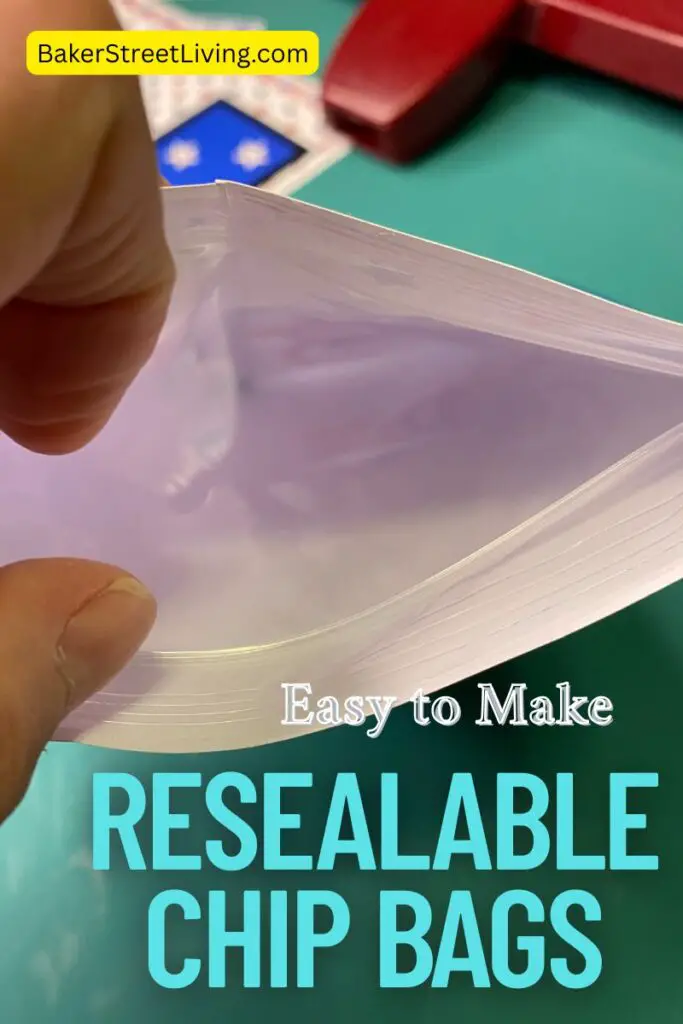
- Resealable Ziploc Bags (5 x 7)
- Double-Sided Tape
- Paper Crimper or decorative edge scissors
How to Make Resealable Chip Bags

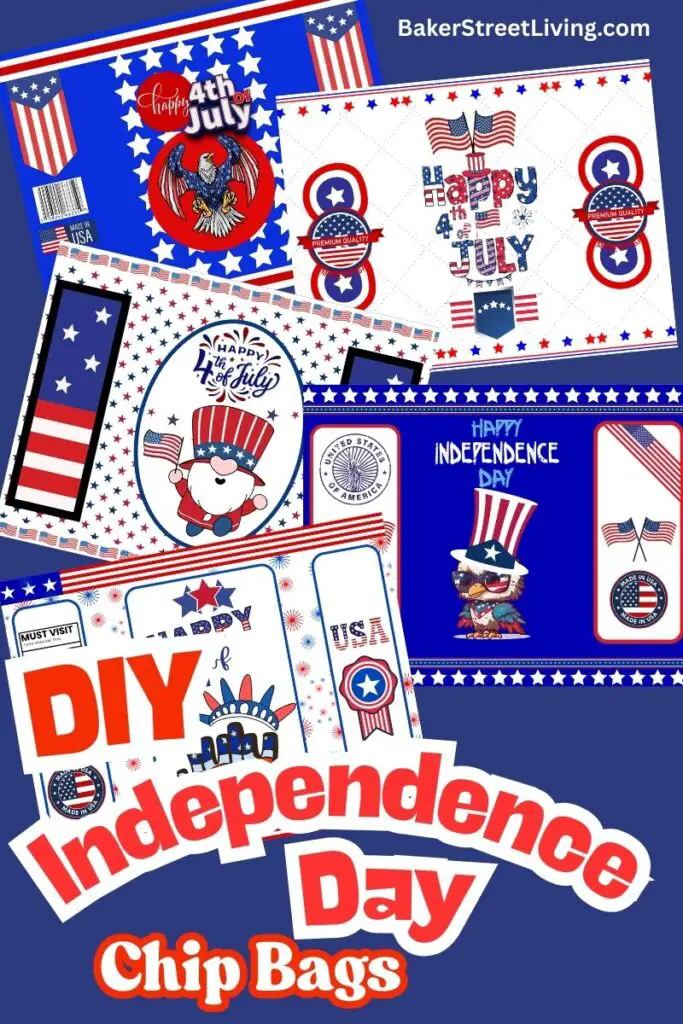
These resealable chip bags are compatible with any of our chip bag designs. Feel free to download them from our free resource library. We on constantly adding new designs, so be sure to check back later for new and exciting printables. In this tutorial, I will demonstrate using one of our Independence Day Chip Bag designs.
1 – Print your design.
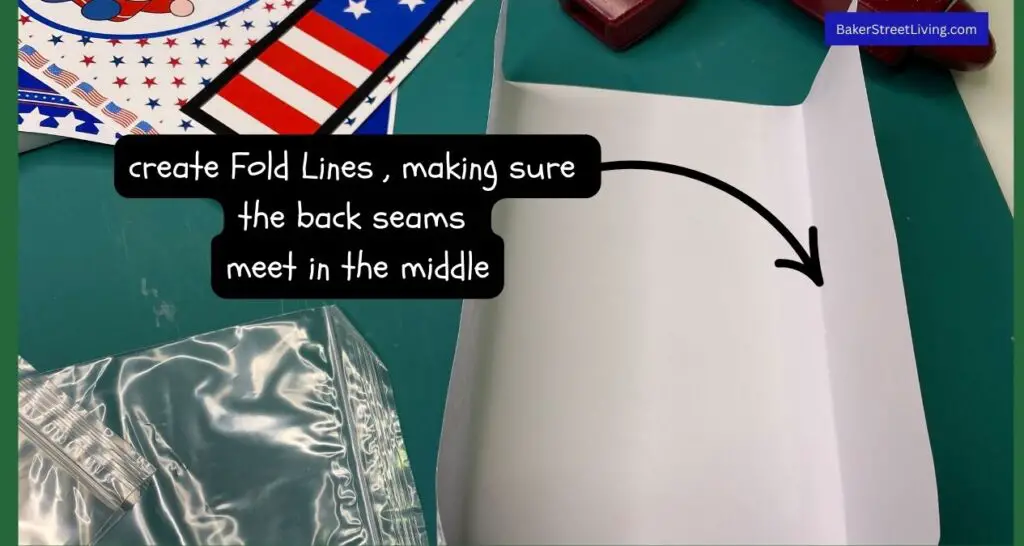
2 – Fold the chip bag, centring the front designs and making sure the back seams overlap slightly, making crease lines. (the back must overlap enough for the double-sided tape.
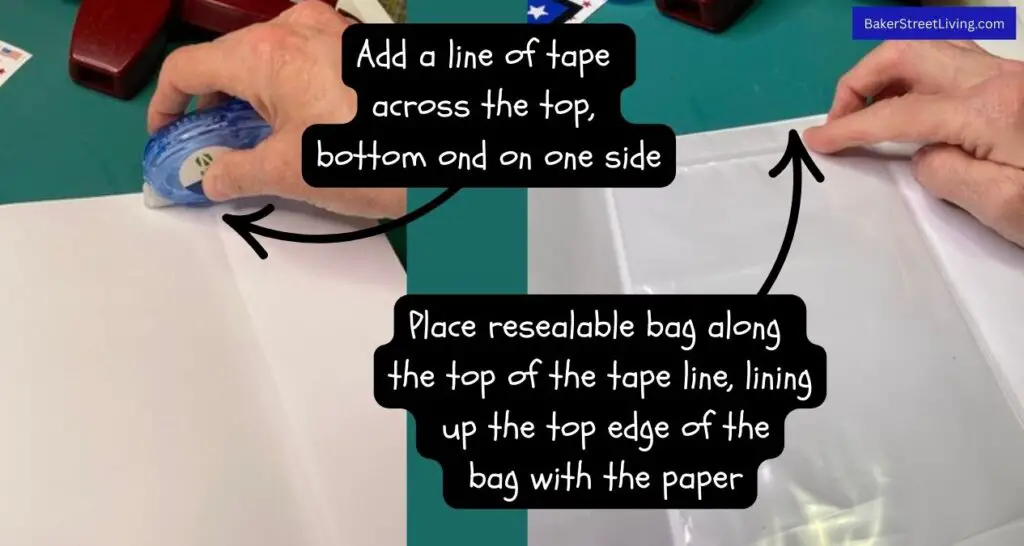
3 – Open the paper back up and run a line of tape across the top and bottom of the bag. Run another line of tape on one side of the back seam.
4 – Place a resealable bag into the center of the paper between both side crease lines. Line up the top edge of the bag with the edge of the paper. Press to adhere.
5 – Fold over the sides, making sure that the back seam line of tape is facing the other paper and overlaps and does not stick to the plastic bag.
6 – Press all of the seams.

7 – Using a paper rimper, crimp the ends of the chip bag. Only crimp the edge; be careful not to crimp the resealable portion of the top of the bag as this can cause the crimper rollers to loosen. If you do not have a paper crimper, use decorative edge scissors or pinking shears to trim the top and bottom edges of the bag.
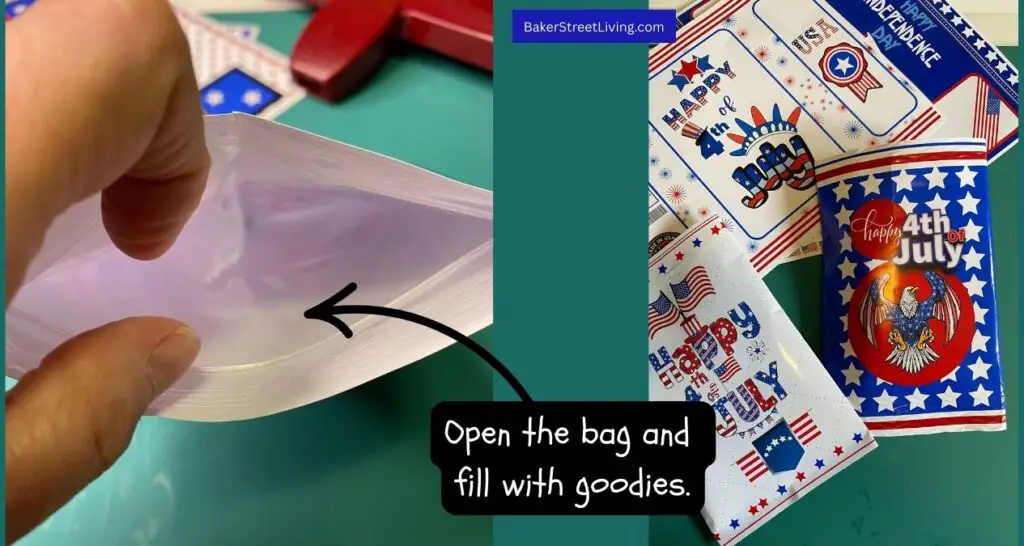
8 – Unseal the top of the bag and fill it with chips or goodies.

FAQs and Helpful Tips
Choosing Paper
I recommend a thin, one-sided glossy Brochure paper. It is a lightweight paper and will hold the shape of the chip bag without being too bulky.
You can use regular printer/copy paper if you are looking for a budget-friendly alternative. You will not get the vibrancy in your images, but this paper is usually much lighter in weight and is easier to tear open, and you will definitely save some money.
Weight – A good weight for making chip bags is 20-35 pounds.
Choosing the Liner
Resealable bags come in different thicknesses. The 2 mil thickness gives the best results. The 4 mil bags are not as flexible and can make your finished bag a little bulky.
3 options you might be interested in:
- Regular 5 by 7-inch zipper bags
- Holographic Mylar resealable bags (may need to trim the top)
- Resealable Kraft Paper Bags (may need to trim the top)
You can also make liner bags using a food sealer, such as a Foodsaver. Use double-sided tape (light adhesive) to create the seal. This is not the best option if you want to reuse them multiple times, but for one or two uses, the tape will hold.
Changing the size of a resealable bag
If you have Ziploc sandwich bags but they are too wide, you can easily remove a little bit of the bag so that it will fit into the printed chip bag.
1 – On your Ziploc bag, mark the lines where you would like to make it smaller. Use a bag sealer machine to remove the unwanted portion of the bag. Make sure you don’t heat it too long because it melts too much and causes big wrinkles.
2 – Another option is a hot knife method. While wearing heat-resistant gloves, hold the handle of a long-bladed kitchen knife. Hit the blade with a kitchen torch or another source of heat. Once the blade is hot, press it onto the area of the bag where you want the new seam to be. Hold it in place until it’s sealed, and then remove the remainder and discard it. Always take extra care not to burn yourself or anything else when using this method.
I hope that you have found this tutorial on making resealable chip bags helpful and inspiring.

This website contains affiliate links. As an Amazon affiliate, I earn a small commission from qualifying purchases (at no cost to you).