
Content Created by Tracey of Baker Street Living 
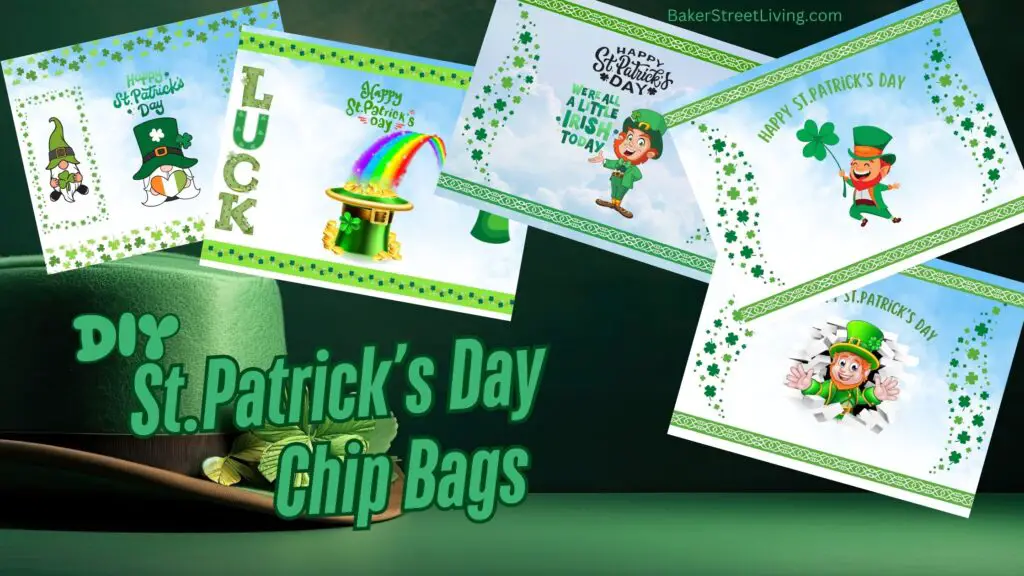
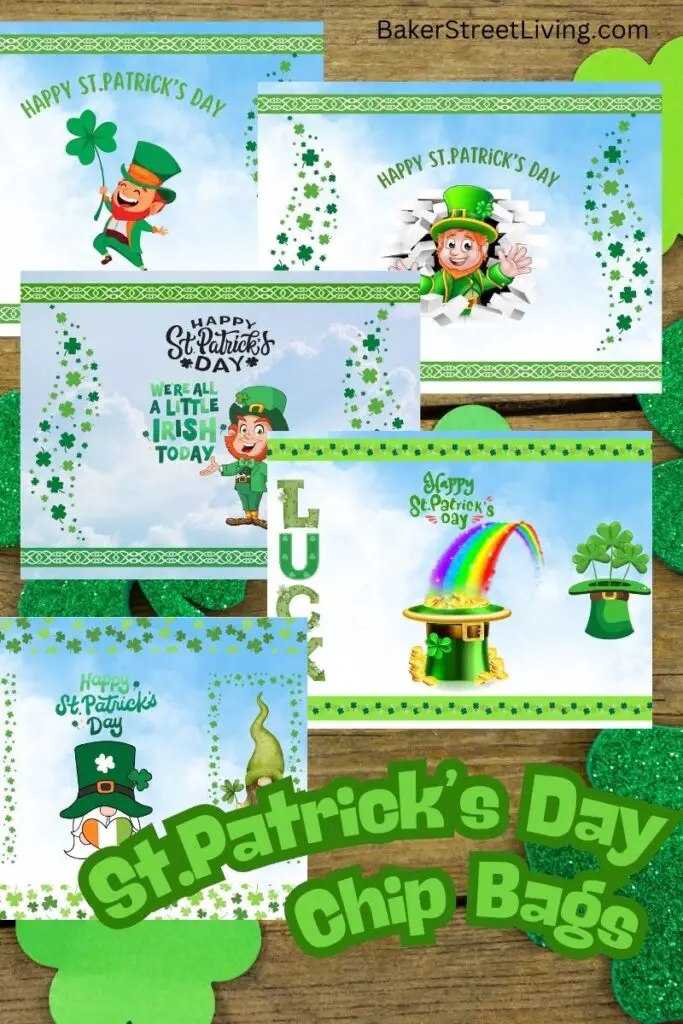
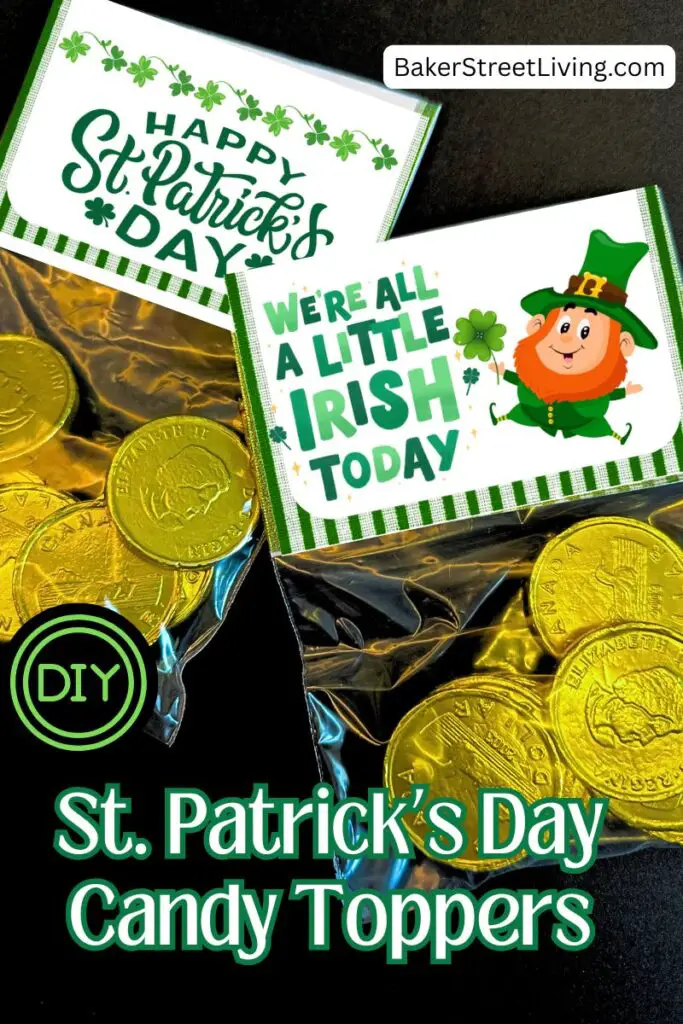
Check out these fun DIY St.Patrick’s Day Chip Bags. The video link in this post is for our Valentine’s Day Chip Bags, but these are made the same way. All you need is a few craft supplies and our free St.Patrick’s Day Chip Bag printables.
Supplies List
This website contains affiliate links. As an Amazon affiliate, I earn a small commission from qualifying purchases (at no cost to you).
- Glossy Brochure paper
- Double-sided tape (dispenser style is easiest)
- Paper Crimper
- Bags of Chips – these designs fit up to a 28 g bag)
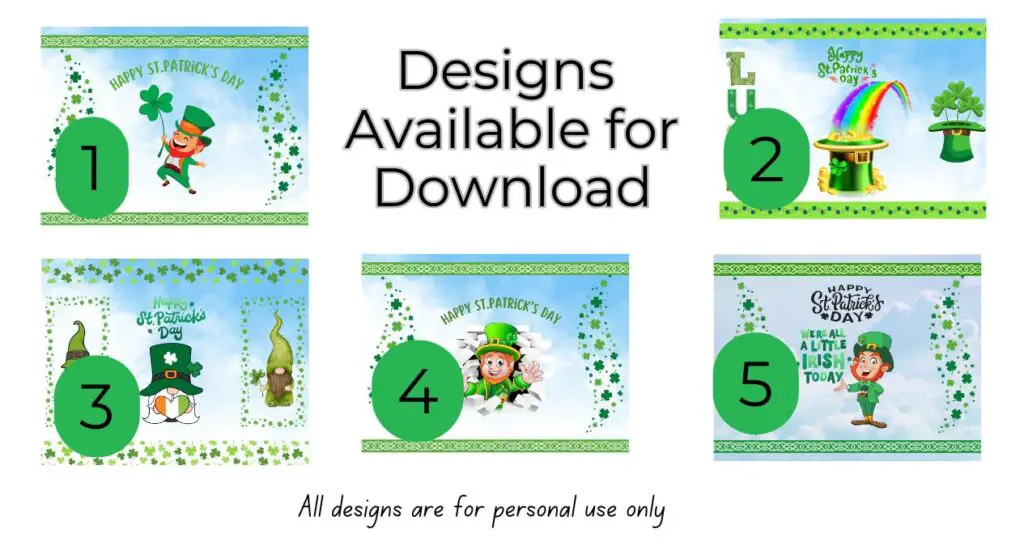
Enter the resource library and head over to the St. Patrick’s Dat Category and find all 5 Free Printable Snack bags
How to Make St.Patrick’s Day Chip Bags
Download the design and print the Chip Bags.
Get the 5 free downloadable St.Patrick’s Day Chip bags in our resource library.
- Print the designs on very thin glossy photo paper or glossy brochure paper.
When printing, select: Borderless (fill page), Specialty paper, Glossy and High-quality print. You may have other selections available, but these are the most important.
This chip bag design fits a standard chip bag – the size of the finished bag is 5.5 inches wide and 8.5 inches tall. Depending on the air in the bag of chips, a 28-gram bag fits nicely.
- Lightly fold the printed design so that the image is centred on the front, and the center back seam has an overlap wide enough for the double-sided tape.
Using Double-Sided Tape
- Run a line of double-sided tape on the unprinted side along the bottom and the back seam.
- Press the seams together, making sure the paper is straight and the seams are even.
- Insert a bag of chips into the bag.
- Run a line of double-sided tape along the inside of the bag along the top edge. This can be tricky, but you only need to do one side of the seam.
- Press the top edge together.
Using a paper Crimper
- Once all seams are pressed flat, insert the end of the bag into the paper crimper and turn the handle. Do not crush the chips. Just add a few crimp lines.
- Repeat with the other end of the bag.
Share and enjoy!
Using Glue instead of Tape
I recommend using the double-sided tape, but if using glue, allow all of the seams to completely dry before crimping. A thin bead of hot glue dries quickly. Add extra time for drying. Be careful to make sure no glue seeps out into your paper crimper.


This website contains affiliate links. As an Amazon affiliate, I earn a small commission from qualifying purchases (at no cost to you).