
Content Created by Tracey of Baker Street Living 
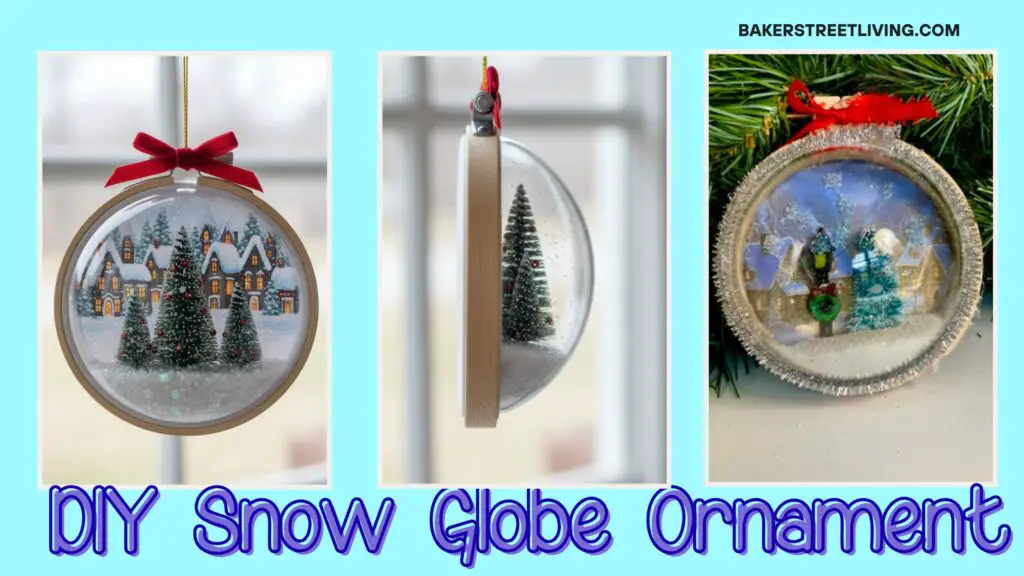
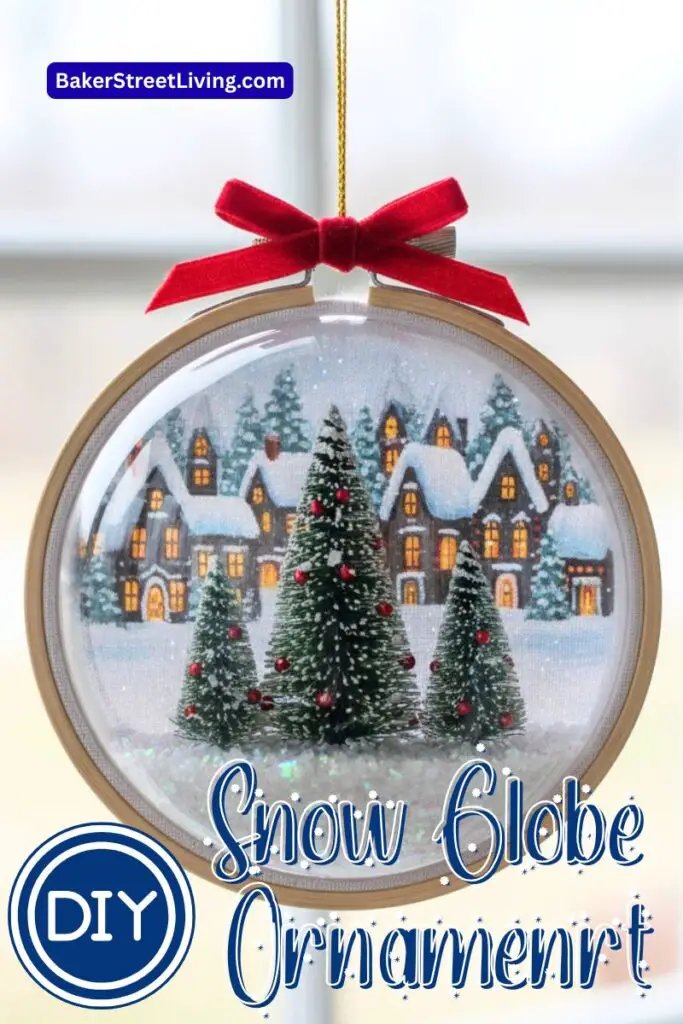
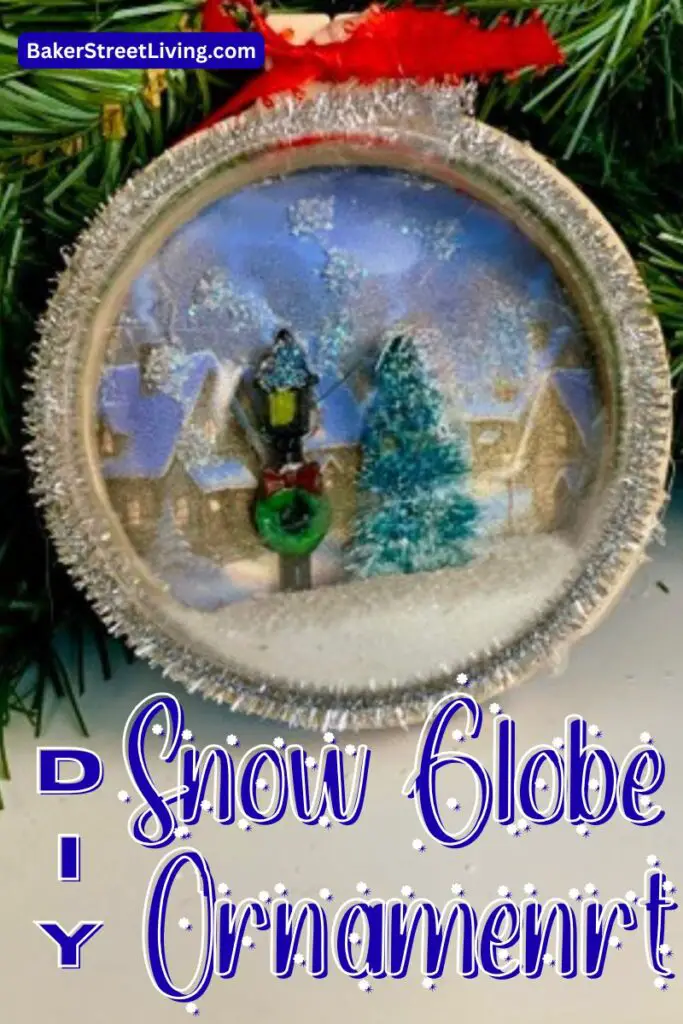
This adorable Snowglobe Ornament is easy to make and can be customized any way you like. This easy-to-make Snow Globe ornament features a flat back, allowing you to hang it on a wall or turn it into a fridge magnet.
Supplies list
This website contains affiliate links. As an Amazon affiliate, I earn a small commission from qualifying purchases (at no cost to you).
- 3 1/2 inch Mini Embroidery Hoop
- 3-inch Clear Fillable Ornament
- Sparkling Snow Confetti
- Minatures
- Heavyweight Glossy Cardstock
- Ribbon (Optional)
- Silver Pipe Cleaner (Optional)
- White Glitter
Craft Room Tools
- Hot Glue Gun
- Tacky Glue (Pen)
- Scissors
How to make a Snow Globe Ornament
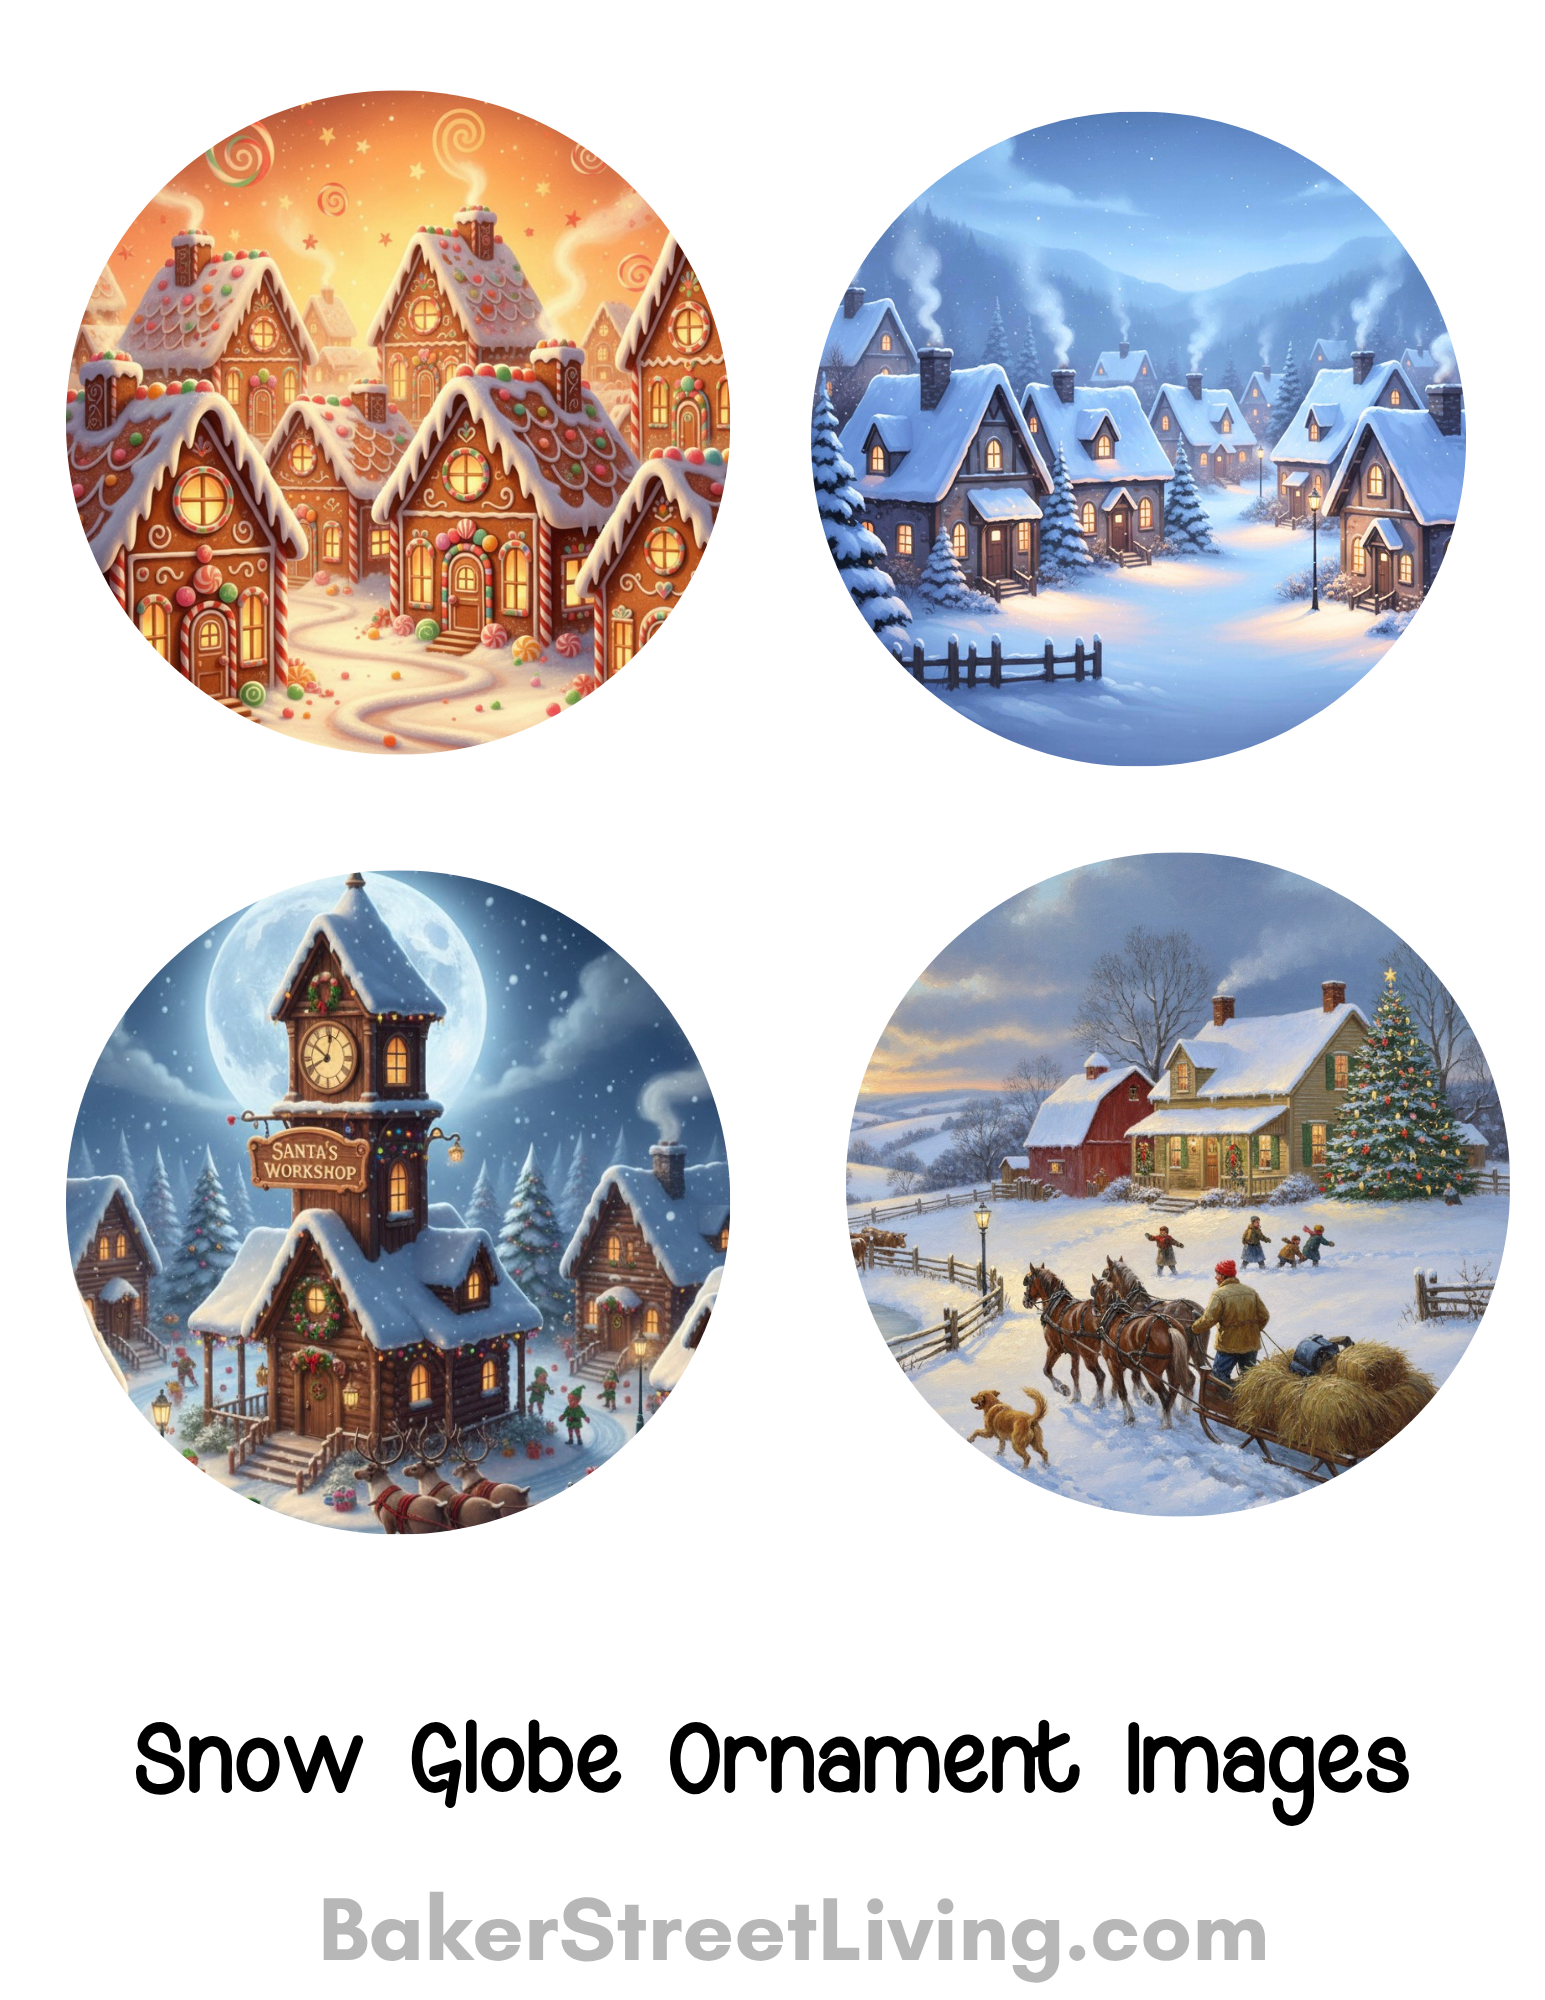
1 – Measure and print an image to fit into your Mini Embroidery hoop. When measuring the hoop, add 1/2 inch to the size of the picture to account for the glue used to attach it to the hoop. Don’t worry, you will trim off any excess after the picture is glued to the hoop.
You can use an image of your own, or feel free to download our printable images that are ready to use. Just download, print and cut around the edges.
2 – Unscrew the embroidery hoop. If you want to paint it, now is the perfect time to do so. I am leaving mine raw wood, but it would look nice painted as well. Reassemble the hoop.
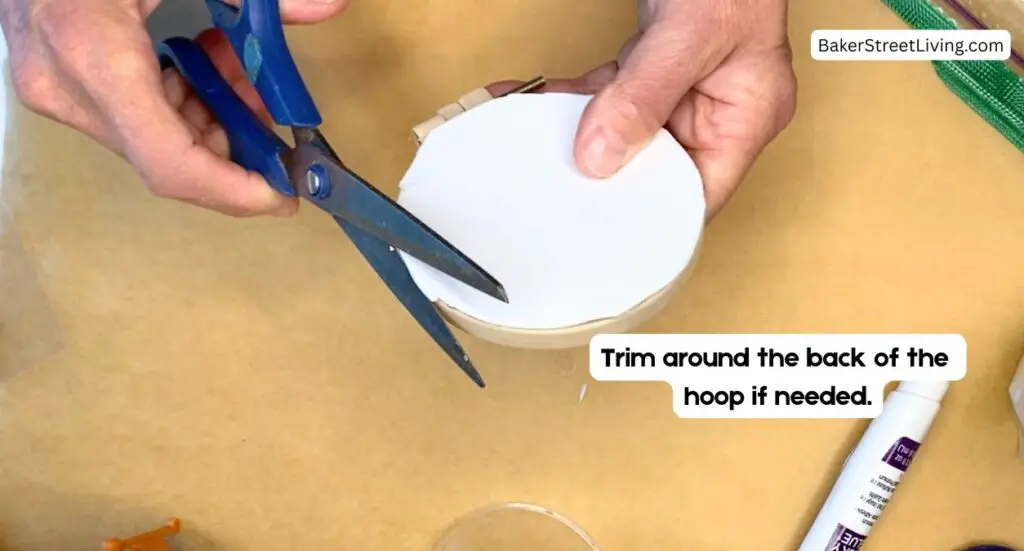
3 – Add a bead of glue around the back of the hoop
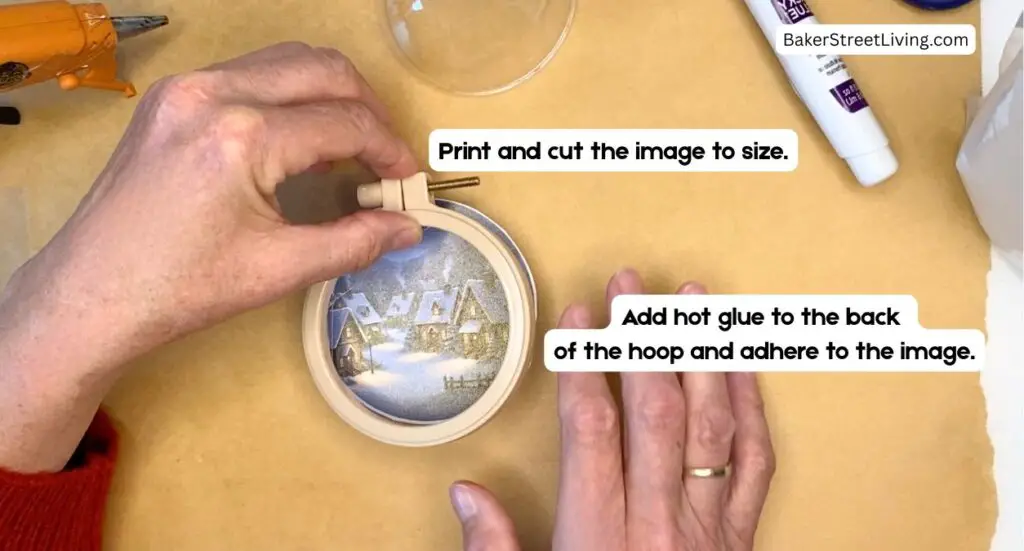
4 – Center the hoop over the image and press to adhere.
5 – Trim around the hoop if needed.
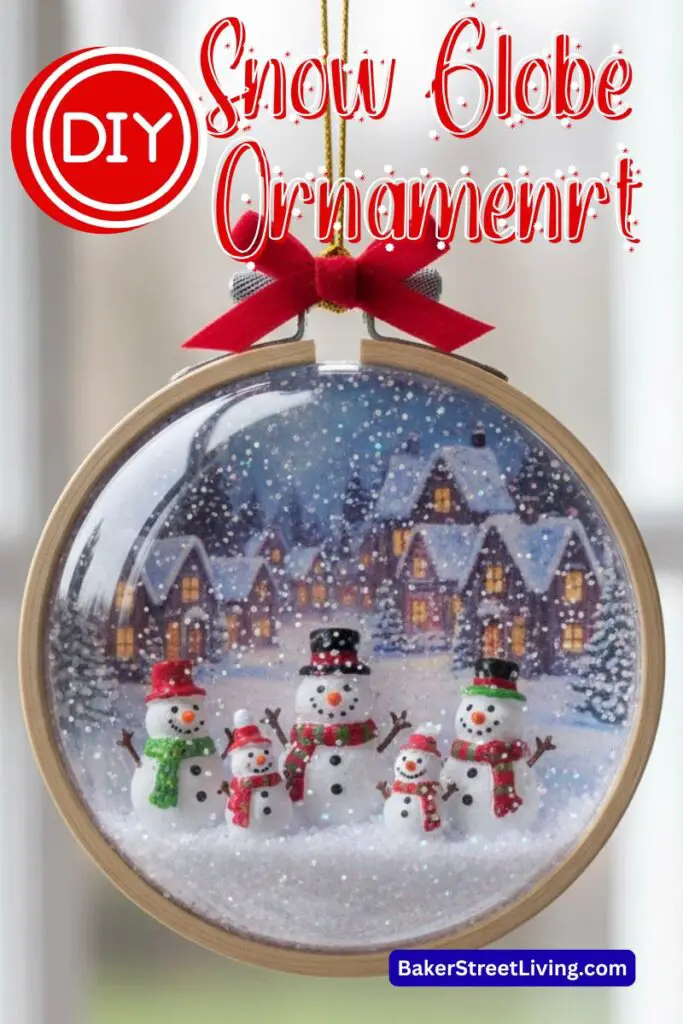
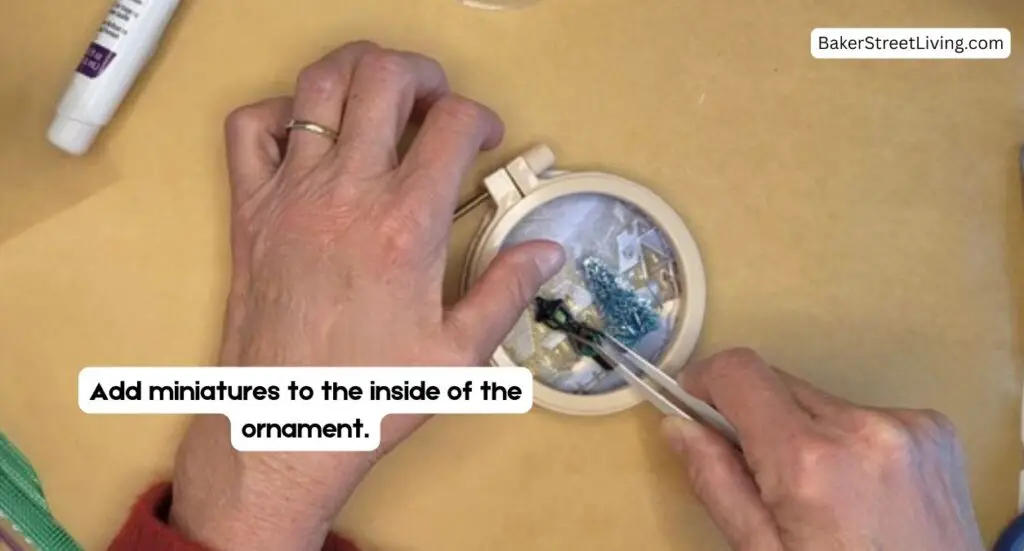
6 – Arrange your miniatures to your liking and adhere to the background image.

7 – Add some dots of glue and sprinkle with white glitter. This provides a snow effect inside the globe.
8 – Place one half of the plastic ornament over the image and minatures and check the appearance.
9 – Make sure everything is dry before you do this next step.
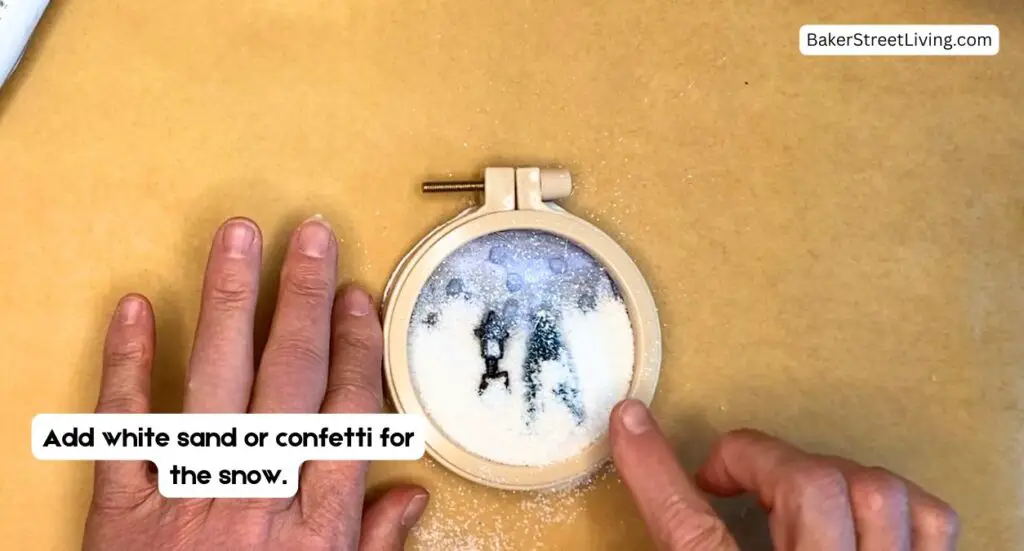
10 – Add some snow confetti over the image and miniatures.
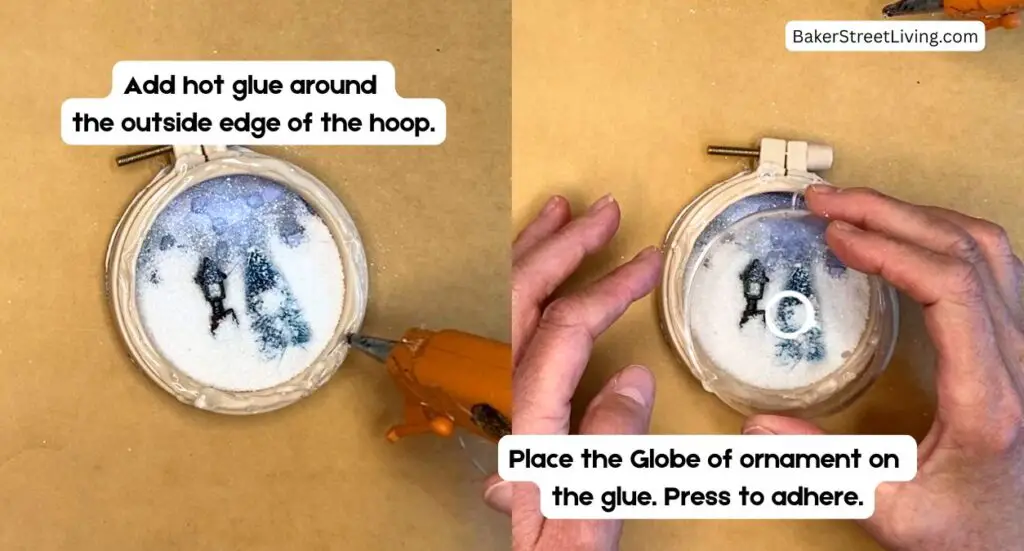
11 – Run a bead of glue around the edge of the ornament and secure it in place over the image and inside the wood hoop.
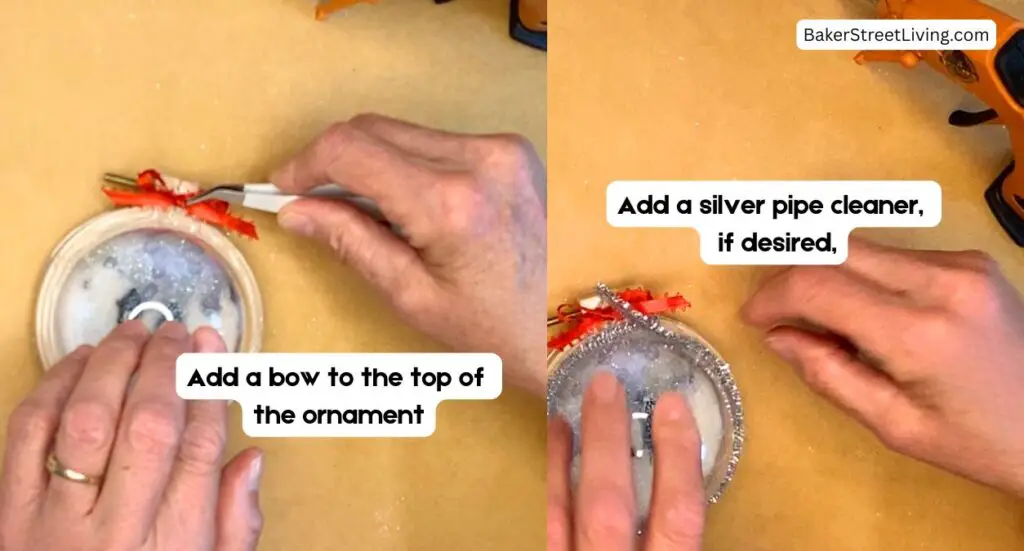
12 – Run a bead of glue around the outer edge of the globe and adhere a silver pipe cleaner., This step is optional but provides a finished look.
13 – Add a bow to the top of the snow globe ornament.
14 – Allow it to dry fully before shaking.
Guess what we did with the other half of the ornament! Check this out!!!


This website contains affiliate links. As an Amazon affiliate, I earn a small commission from qualifying purchases (at no cost to you).