
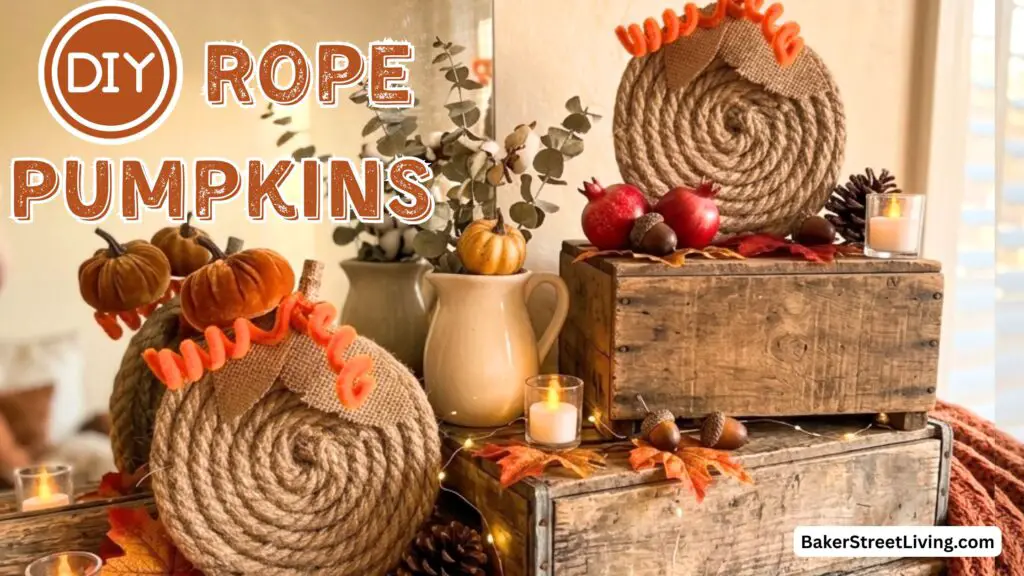
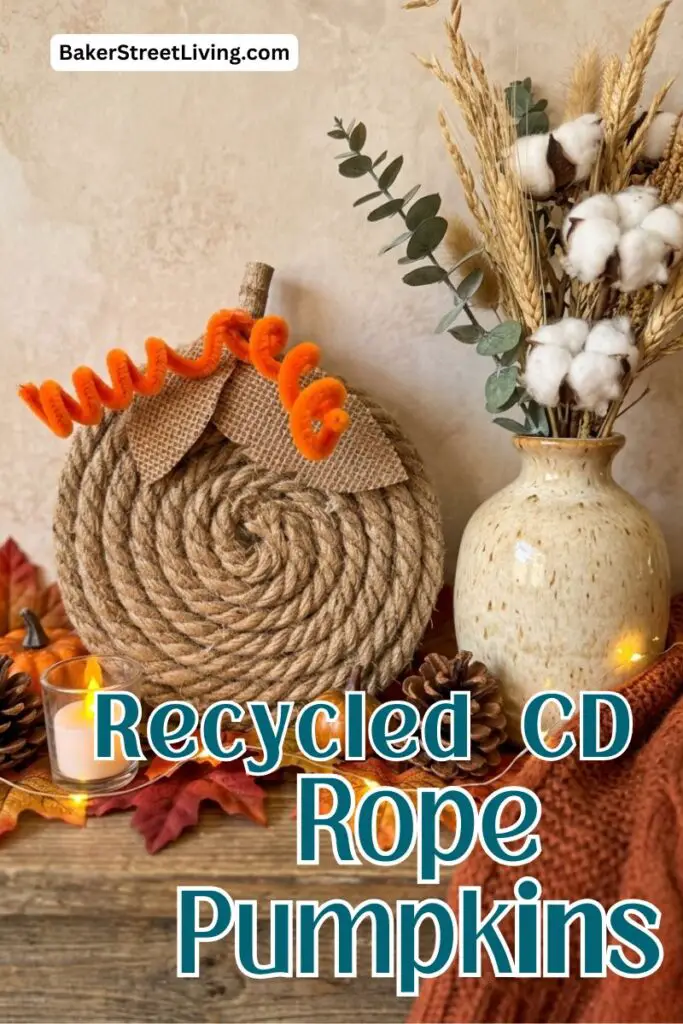
If you love rustic, farmhouse-style decor, this DIY rope pumpkin is going to be one of your favourite fall crafts. It’s simple, affordable, and surprisingly relaxing to make. Best of all, you can create it using something you probably already have at home: an old CD!
This project is perfect for beginners and makes a beautiful addition to your autumn decorating, whether styled on a mantel, shelf, or table centrepiece.
Why You’ll Love This Craft
This diy rope pumpkin is:
- Beginner-friendly (no special skills required)
- Made with inexpensive materials
- A great way to upcycle old CDs
- Perfect for fall, Thanksgiving, or farmhouse decor
- Easy to customize with ribbons, stems, and embellishments
Supplies List
This website contains affiliate links. As an Amazon affiliate, I earn a small commission from qualifying purchases (at no cost to you).
- 1 old CD (or DVD)
- Jute rope (natural or dyed)
- Hot glue gun + glue sticks
- Scissors
- Small stick, cinnamon stick, or faux stem ( I am using a small tree branch cut into a 1.5-inch length)
- Pipe Cleaners (2)
- Burlap or fabric for leaves
- Craft Foam Sheet
How to Make a DIY Rope Pumpkin
Step 1: Prepare Your Base
Start with your CD as the base of your pumpkin. This gives your craft structure and keeps your rope coils nice and flat. Make sure it is clean.
Lay the CD on a flat surface. I place a piece of parchment paper or waxed paper underneath to catch any drips of hot glue.
Step 2: Start the Center Coil
Take the end of your jute rope and begin coiling it tightly into a small spiral.
- Add a small dot of hot glue to secure the starting point
- Keep the coil tight as you wrap
- This center will become the middle of your pumpkin.
- Add hot glue to the surface of the CD around the center hole.
- Place the coil, centred, over the hole and press it down to adhere it to the CD.
Step 3: Build Your Rope Spiral
Continue wrapping the rope around the center coil to form a flat spiral.
- Add hot glue in small sections as you go
- Press the rope firmly into place
- Keep the coils snug against each other and make sure to keep it centered.
- Continue coiling until the entire CD is covered.
- Finish off the end by gluing it to the coiled rope and cutting it.
- Trim any loose hairs off the ripe.
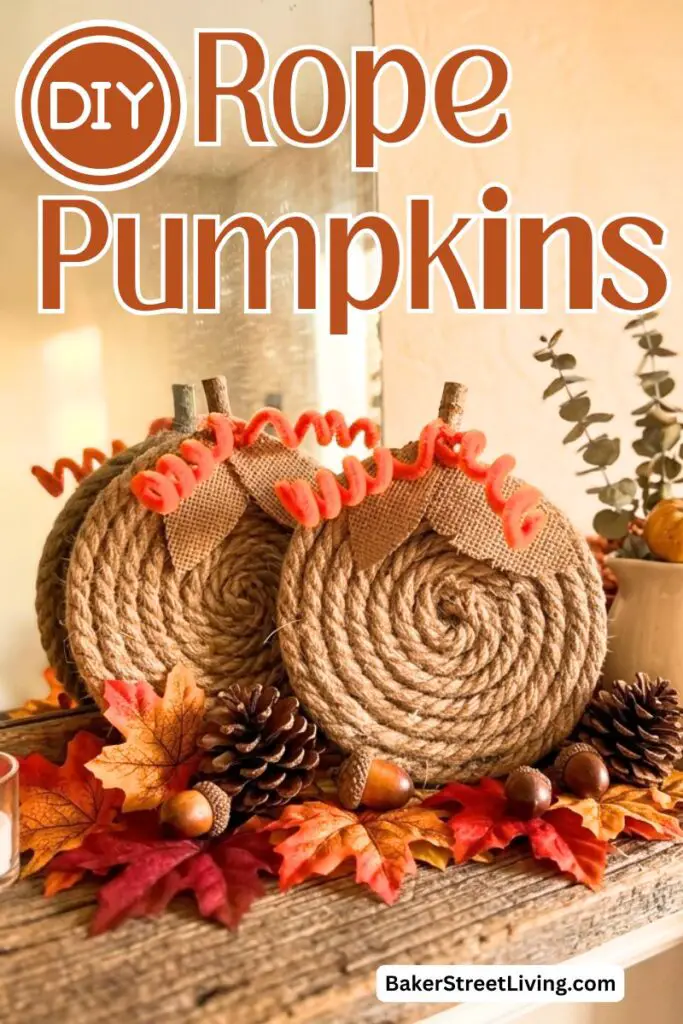
Step 5: Add the Stem and leaves
Now it’s time to turn your rope circle into a pumpkin.
- Glue a small stick, cinnamon stick, or faux stem to the top center
- Hold it in place for a few seconds until secure
- Cut leaves from stiffened burlap.
- Attach them to the base of the stem
- Curl pipe cleaners around another stick, pencil, or dowel and attach them to the stem.
- Bed the pipe cleaners slightly to finish the look, and you are finished.
This simple addition instantly gives your project that classic pumpkin look.


Ways to Display Rope Pumpkins
Once your pumpkin is finished, there are so many ways to display it:
- On a fall tray with candles and mini pumpkins
- As part of a Thanksgiving table centrepiece
- On a shelf or mantel with cozy decor
- Grouped with other handmade pumpkins for a layered look.
- In a shadow box
- On a mantle decorated for fall
Tips and Suggestions.
Wrapping Advice
How well you wrap the rope will largely be what makes or breaks the project. Wrap as tightly as you can and make sure there are no holes or air pockets. Pressing the rope into the hot glue and holding it tightly helps achieve a well-formed pumpkin. Center the beginning of the coil over the hole and make sure you have it as centred as you can. This helps to avoid a lop-sided pumpkin when you come to the end of the coiling process.
If your rope has a lot of loose fibres on it, trim as much off as possible before you start. Too many loose fibres makes the finished pumpkin look messy.
Changing the Look
There are easy ways to change up this easy diy rope pumpkin. Some include:
- Try white or colored rope for a modern twist
- Use different base sizes like cardboard circles, vinyl records or paper plates for variety
- Create a whole set in different sizes for a pumpkin collection.
- Add mini pinecones, beads, pearls, or curled wire ribbon in place of the pipecleaners.
This DIY rope pumpkin is proof that beautiful seasonal decor doesn’t have to be expensive or complicated. With just a few simple materials and a little creativity, you can create a cozy fall piece that looks like it came straight from a boutique.
It’s the perfect craft for a quiet afternoon, and once you make one, you’ll probably want to make a whole set!

This website contains affiliate links. As an Amazon affiliate, I earn a small commission from qualifying purchases (at no cost to you).