
Content Created by Tracey of Baker Street Living 
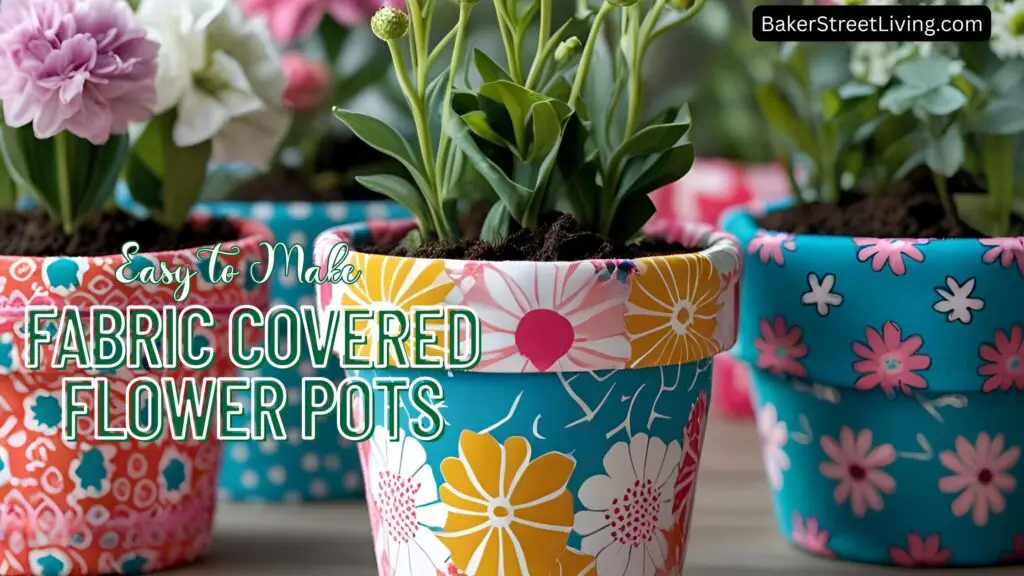
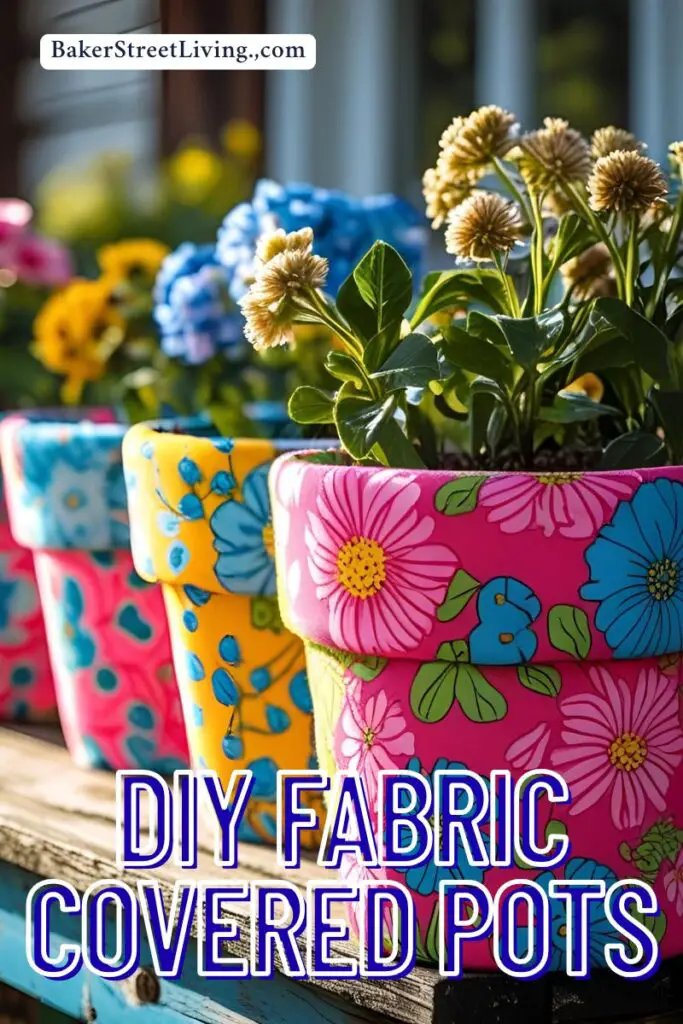
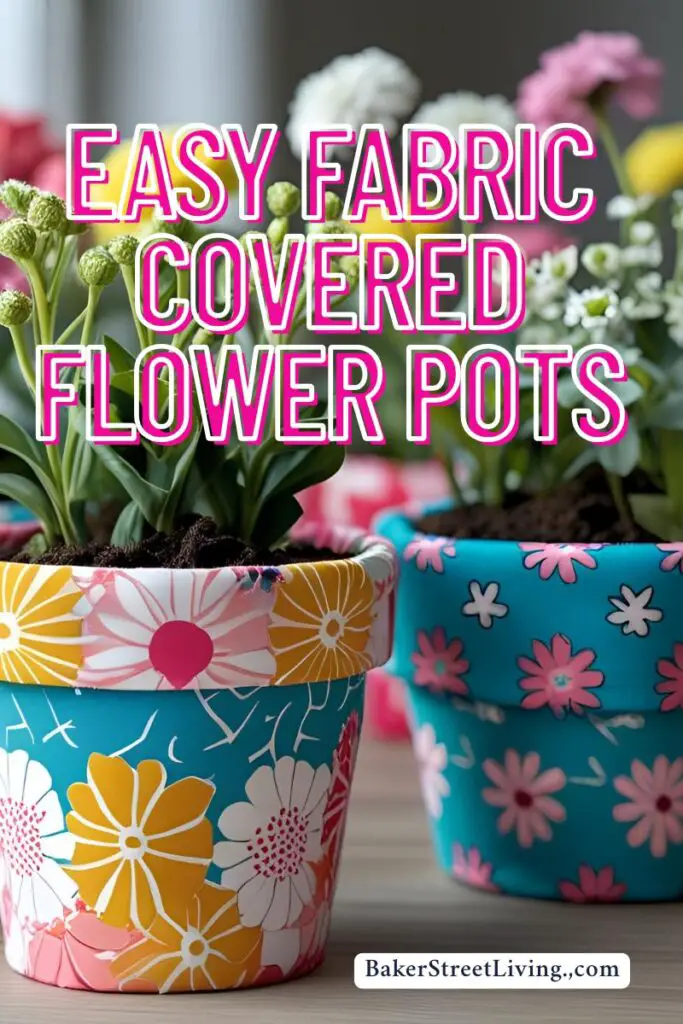
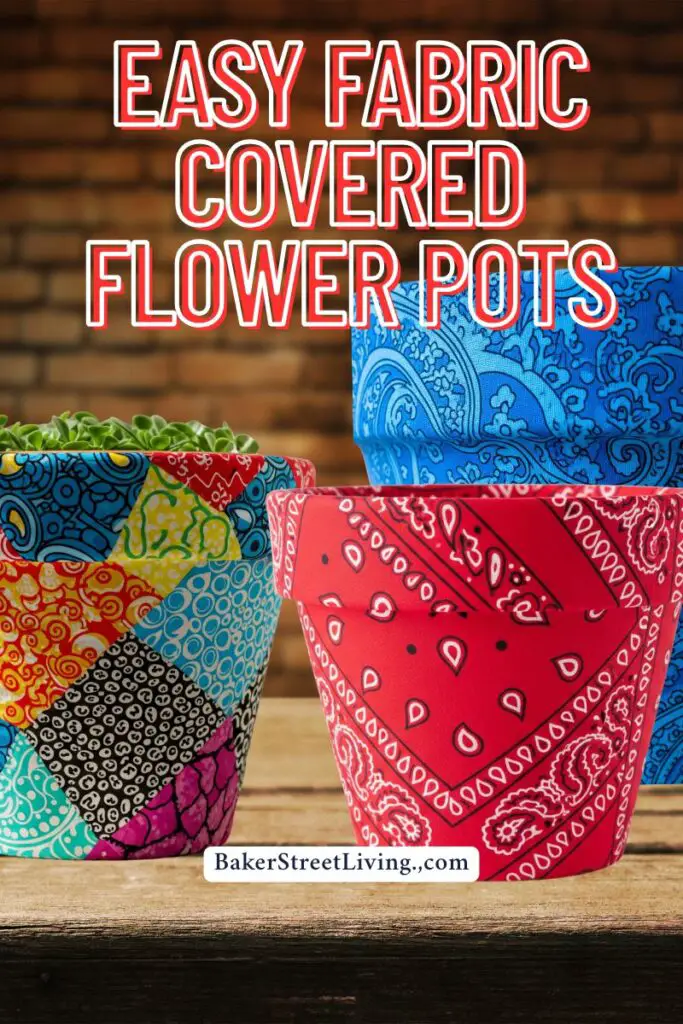
Got fabric scraps you can’t bear to toss? Here’s a fun, budget-friendly craft that will brighten up your home or garden: fabric covered flower pots! Using leftover fabric and a bit of Mod Podge, you can transform plain terracotta or plastic pots into colourful, customized planters that match your décor or seasonal theme.
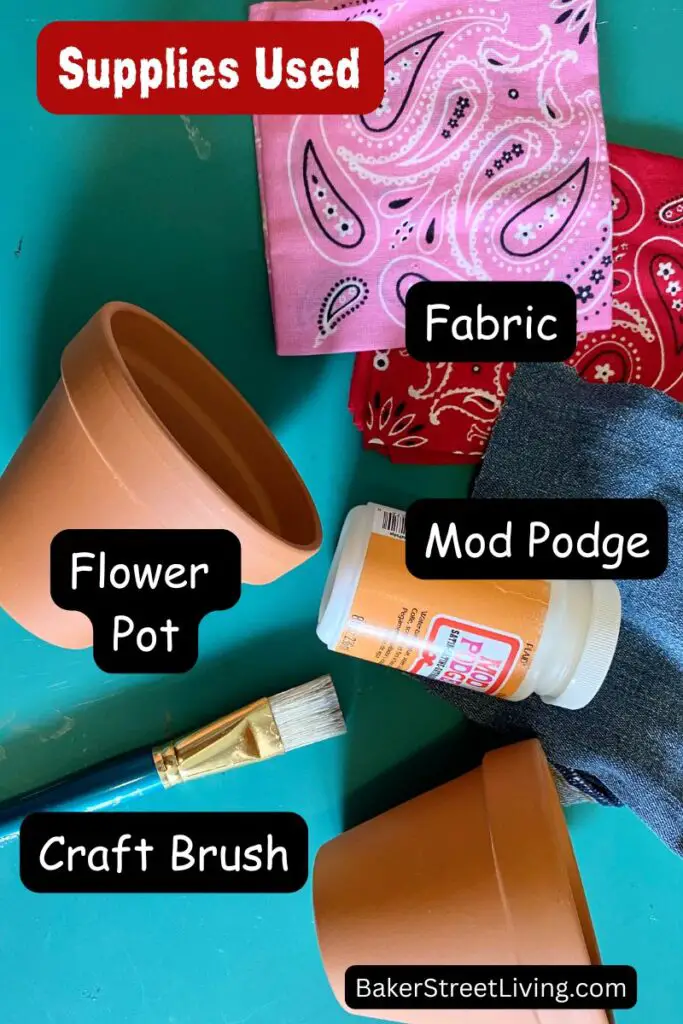
Supplies List
This website contains affiliate links. As an Amazon affiliate, I earn a small commission from qualifying purchases (at no cost to you).
- Flower Pots
- Fabric of Choice
- Mod Podge
- Craft Brush
- Scissors
- paper for making a pattern
- Mini Heat Press (Optional)
How to Make Fabric Covered Flower Pots
Step 1: Prepare Your Pots
If you’re using terracotta pots, give them a quick wipe to remove any dust or dirt. Lightly sanding glossy ceramic or plastic pots can help the Mod Podge stick better. Ensure the pots are dry before you begin.
Step 2: Create a Pattern
Lay your pot on its side on a piece of paper. Trace around the top edge and then the bottom edge for the pattern shape. Add one inch to the bottom and 1 to 2 inches to the top, to allow for coverage under and inside of the pot. Lay the pattern on your fabric and cut it out. Check for fit and trim to ensure it doesn’t overlap too much.
Step 3: Apply Mod Podge
Using a paintbrush, apply a generous, even coat of Mod Podge to the outside of the pot. If you are covering a large pot, apply Mod Podge in sections to prevent it from drying while you work with the fabric.
Step 4: Adhere the Fabric
Starting at the seam or back side, press your fabric onto the glued area, smoothing out wrinkles as you go. Continue around the entire outside of the pot. Be sure to press along any ridges or bends in the pot.
Step 5: Finish the Bottom
Fold the fabric under to check for bulkiness around the bottom. Trim off any excess bulk. Cut slits fir easy application of the fabric. Apply Mod Podge to the bottom of the pot and press the fabric down.
Step 6: Finish Inside Top Edge
Brush Mod Podge around the inside of the top of the pot. Brush down far enough for all of the fabric to adhere. Fold down the top of the fabric, pressing it smooth.
Allow Drying Time
Step 7: Smooth and Seal (Optional)
Once the pot is dry, run a warm iron over the surface of the fabric. This will reactivate the glue and smooth out any wrinkles or bubbles on the surface.
To seal, apply a coat of Mod Podge to the entire outside of the fabric. This seals the fabric and gives it a nice finish.
Tips for Success
Using Fabric Covered Flower Pots
If covering plastic or ceramic (non-porous) pots and using them with live plants, apply a coat of sealant to the inside of the pot. This will help prevent the fabric or Mod Podge from soaking up water when the soil is wet. Repeat around the bottom hole of the pot, and if possible, do not overwater the plant, causing the bottom to get wet.
For Ckay and Terra Cotta pots, use a plastic liner pot to prevent water and moisture from seeping through the sides of the fabric covered flower pots. Moisture can cause the fabric to get mouldy and come unglued.
Fabric Choices
Choose the right fabric: Lightweight cotton or quilting fabric works best. Thicker fabric can be harder to smooth around curves. Stretch fabrics such as knits can wrinkle when drying.
Try mixing and matching different fabric patterns for a fun patchwork look. Using pibking shears to cut shapes and apply a little at a time. These can look amazing, but may need a coat of Mod Podge on top to eliminate edges lifting.
Use seasonal fabrics to create themed pots for holidays or special occasions.


This website contains affiliate links. As an Amazon affiliate, I earn a small commission from qualifying purchases (at no cost to you).