
Content Created by Tracey of Baker Street Living 
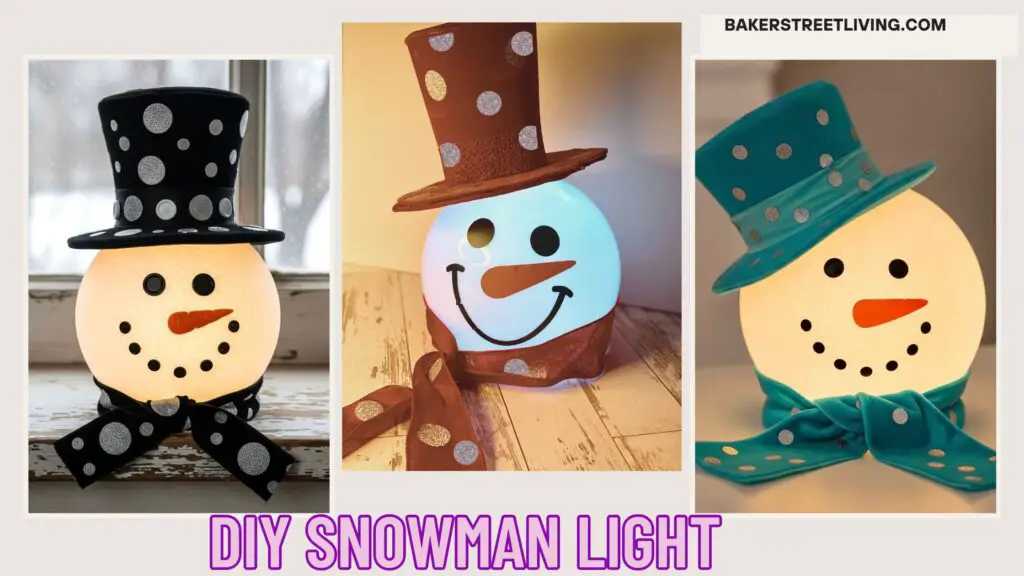
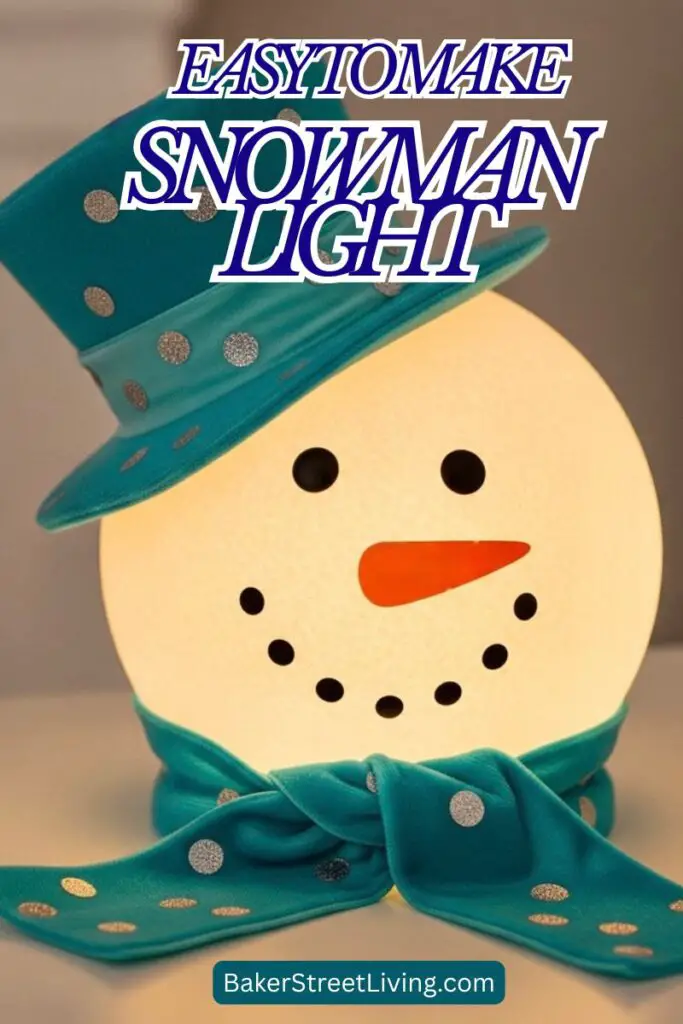
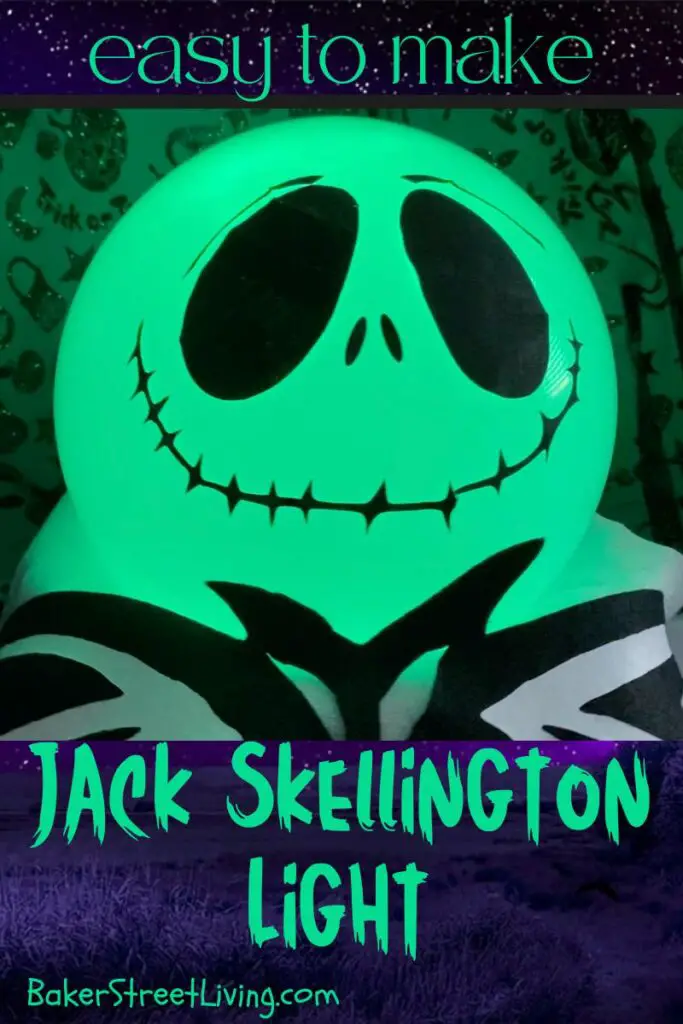
If you love snowmen (as much as I do), you will love this cute, easy-to-make DIY Snowman Light. It looks great mixed in with the rest of your Christmas decor or all by itself on a mantle. In this project, we use a recycled glass globe light. These can be found in most thrift stores, or just purchase an inexpensive plastic one online or in a big box store.
Supplies List
This website contains affiliate links. As an Amazon affiliate, I earn a small commission from qualifying purchases (at no cost to you).
- Large Glass or Plastic Globe (I am using a recycled glass one from a thrift store)
- 4-inch Wide Wired Velvet Ribbon
- Velvet fabric
- Heavy Cardstock for making a hat pattern
- Spray Adhesive
- Black Adhesive Vinyl
- Orange Adhesive Vinyl
- Silver Glitter HTV Vinyl
- Battery-operated LED lights
Craft Room Tools
- Cutting machine and tools (I am using a Cricut Maker) or scissors
- Heat Press
- Hor Glue Gun
- Scissors
DIY Snowman Light Instructions – Step-by-Step
Download the free face patterns, or create your own,
Prep the Globe
If you are using a recycled globe from a light, make sure to wash it well with a good soap such as Dawn. After washing and drying, wipe it down with rubbing alcohol.
If using a new globe, wipe the surface with rubbing alcohol.
Cut the Face Pieces
In this DIY Snowman light, we use our free snowman face pattern cut from black adhesive vinyl and orange adhesive vinyl..
We have 3a couple of snowman faces to choose from. Just download the SVG and choose your favourite.
We also have a printable pattern for you to use as a template or with waterslide paper.
Add the Face to the Globe
Apply the Adhesive vinyl to the surface of the cleaned globe.
After removing the transfer sheet, press down with your fingers to make sure the edges adhere.
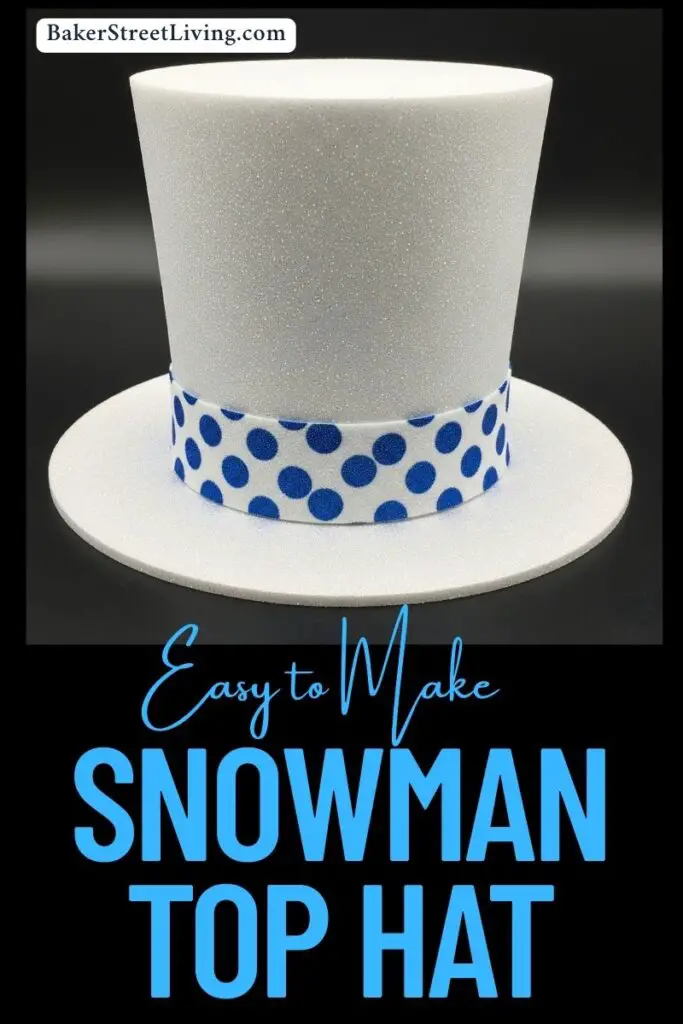
Make the Hat
Using the Snowman Top Hat Pattern, cut out the top hat pattern pieces on heavy cardstock to the size you want.
Cut a set of Top Hat Pattern pieces from the velvet fabric. Adding about an extra 1/2 of inch on hat pieces as follows:
- Brim – 1/2 inch on both outside and inside edges.
- Crown – 1/2 inch around the top edge.
- Top of hat – 1/2 inch around the hat.
If you’d like the velvet to have silver dots (like ours) follow the next couple of steps.
Cut small circular pieces of silver glitter HTV. (in various sizes)
On a flat surface, place the glitter dots HTV, shiny side up, on your fabric and ribbon
Following product instructions, apply the dots to the fabric using a heat press. See notes about adhering HTV to velvet.
Allow the fabric to cool.
Using spray adhesive or your preferred adhesive, spray the cardstock with a generous coat of glue. Adhere the velvet to one side of each piece of cardstock. Press using a brayer to get a smooth surface.
For the Edges of the brim, crown and top fold over and apply hot glue, pulling the edges tight.
Secure the sides of the crown with hot glue.
Use painter’s tape, wrapped around to hold it in place while drying.
Run a bead of hot glue around the top of the crown and press the top in place. Allow to dry for a few minutes.
Run a bead of glue around the base of the crown and press it centered onto the brim. Allow to dry for a few minutes.
For other materials and to see more information, refer to our DIY Snowman Top Hat post.
Make the Scarf
Decide how long you would like your scarf and cut the velvet ribbon to the desired length.
Wrap around the base of the snowman’s head and tie in place.
Add the Hat
Add glue around the crown opening of the brim.
Place onto the top of the globe and push down to adhere.
Assemble the DIY Snowman Light
Place the LED light onto the shelf or surface where the snowman light will sit.
Place the snowman globe on top of the light. If you have a remote control for your light, make sure the light is on and the remote works.
Add the ribbon scarf around the base of the globe and adjust the wire to the desired shape.

Helpful Tips and FAQs
Alternatives to Velvet
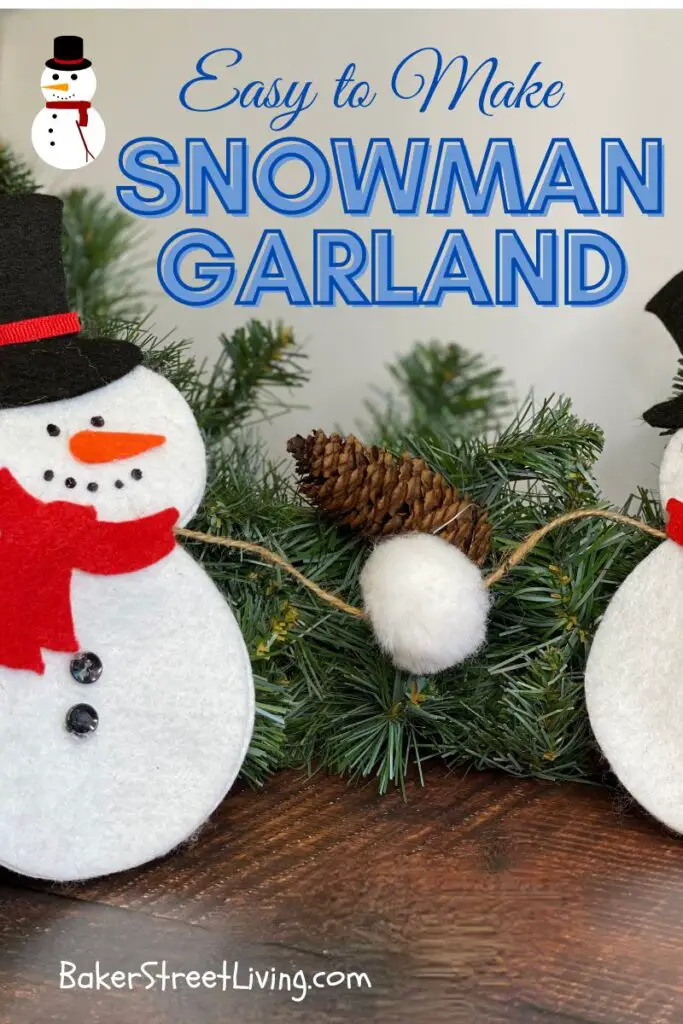
You can use any fabric you like. I like velvet for its rich appearance, but choose fabrics and colours to suit your decor. Felt is a good, inexpensive option that is a great substitute.
Alternatives to HTV
If you don’t have a cutting machine, you can easily cut vinyl adhesive sheets (available in singles at craft stores), or you can use waterslide paper. To use waterslide paper, just print the image of the face onto a piece of waterslide paper and follow the package instructions for sealing and applying. Get the surface of the globe wet before sliding the decal onto the surface. After applying, allow it to dry and then give it a thin coat of spray sealant to keep it from becoming scratched or discoloured.
Alternatively, you could use paints to create your own face pattern. Make sure the paint you choose is compatible with the surface of your light.
Adhering HTV to Velvet
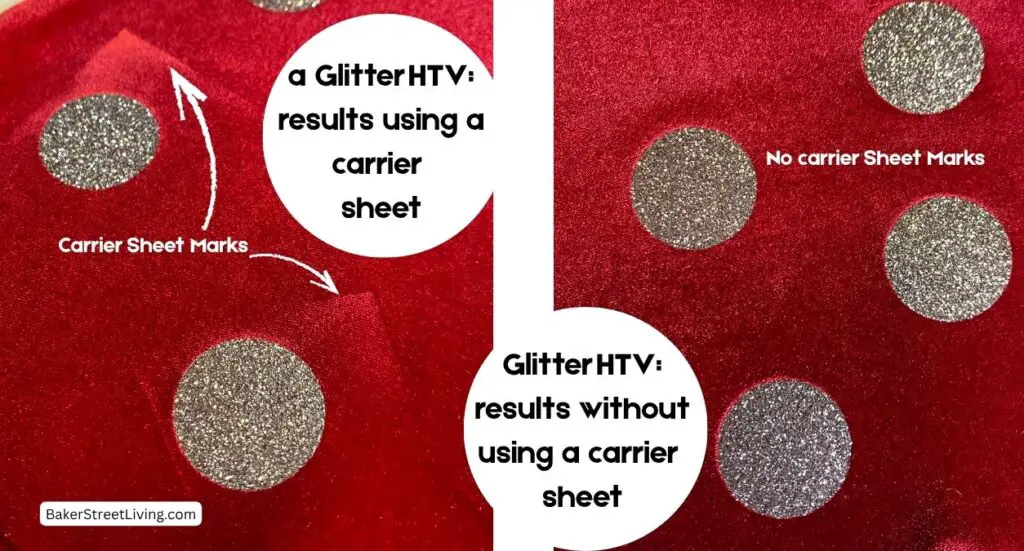
Velvet is tricky when it comes to applying heat to it. Applying heat can change the pile of the velvet or leave marks on the velvet from the carrier sheet. Depending on the complexity of the pattern, consider removing the carrier sheet before applying heat. Place the vinyl pieces onto the surface of the velvet and then cover with parchment paper and apply heat. I reduced the heat by about 30°F and pressed for 15 seconds, and then checked for adhesion. Test on a piece of scrap fabric to determine success before applying the vinyl to your velvet project.
In this project, I used velvet fabric for the hat and wired velvet ribbon. I used 275°F and 15 seconds to a[p[ply the glitter dots. It turned out very well. See the image below for a comparison of with and without the carrier sheet.
Display Ideas
Looking to display your Superman light? Here are some ideas:
- Table Centerpiece: Place the snowman in the center of your dining or coffee table, surrounded by greenery, ornaments, or faux snow.
- Entryway Welcome: Position it on a console table near your front door to greet guests with a warm, glowing smile.
- Fireplace Mantel Anchor: Use the large snowman as the main feature on your mantel, with smaller decorations clustered around it.
- Buffet or Dessert Table: Use the snowman as a glowing decoration at a holiday party table.
- Hot Cocoa Station: Make it the “guardian” of your cocoa bar, surrounded by mugs, candy canes, and marshmallows.
- Sideboard Glow: Position it on a sideboard with candles and garland for a festive dinner backdrop.
- Porch or Covered Outdoor Area: Place it outside (sheltered from weather) to greet neighbours and visitors.
- Kids’ Room Nightlight: A larger snowman makes a charming seasonal nightlight in a child’s bedroom.
- Holiday Shelf Display: Showcase it on a bookshelf or display shelf with smaller coordinating snowman figures.
No matter where you decide to place your happy snowman light, it adds some holiday cheer.

This website contains affiliate links. As an Amazon affiliate, I earn a small commission from qualifying purchases (at no cost to you).