

Content Created by Tracey of Baker Street Living 
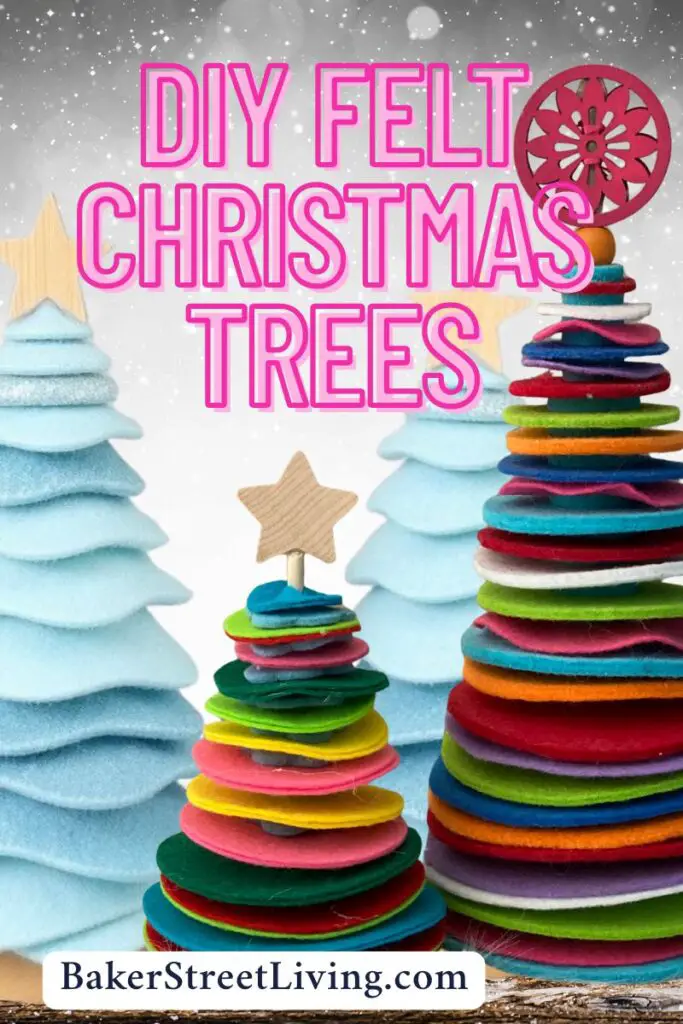
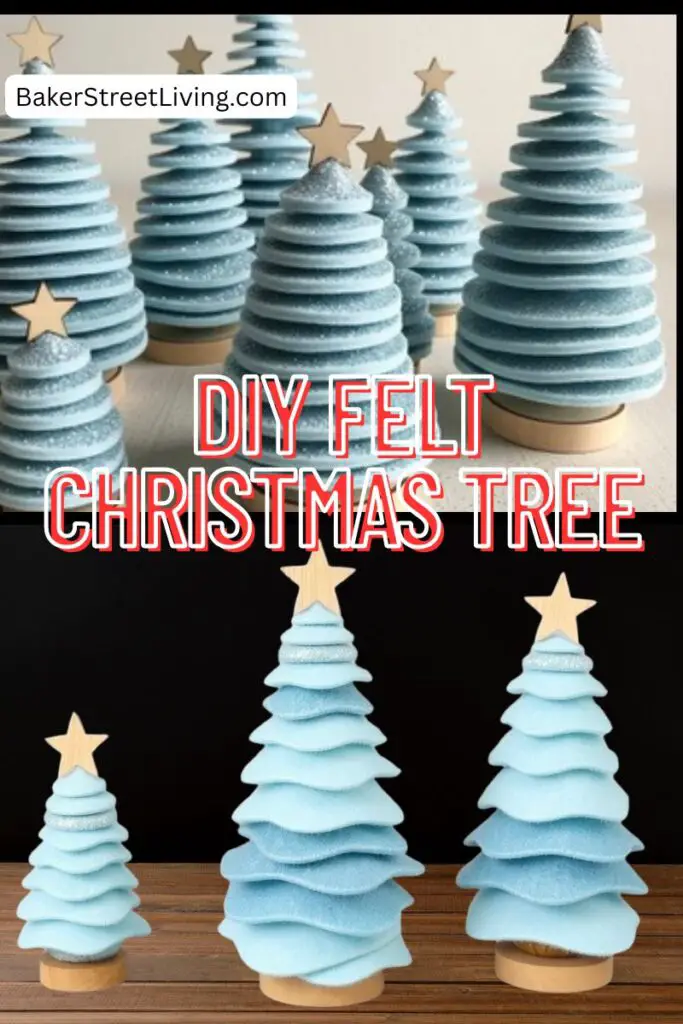
This DIY Felt Christmas Tree is a perfect weekend project for adults and kids alike! Made with layers of colourful layers of felt stacked on top of one another, this whimsical cone-shaped tree and topped with a rustic star.
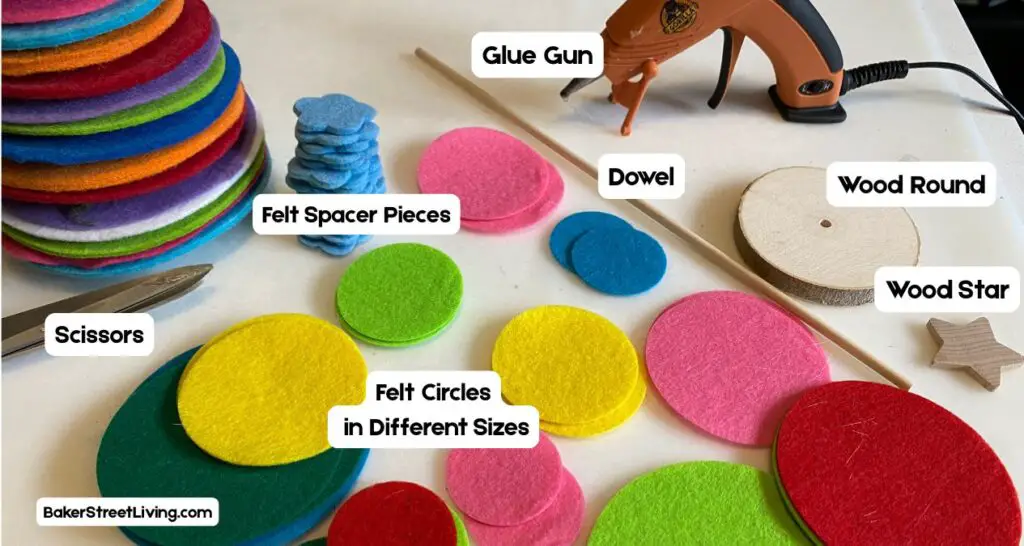
What You’ll Need:
This website contains affiliate links. As an Amazon affiliate, I earn a small commission from qualifying purchases (at no cost to you).
- Stiff Felt sheets in various colours (greens, reds, whites, or any festive palette)
- Scissors, a circle-cutting tool or a cutting machine
- Wooden dowel (1/4″ or 1/8″ inch by height you want the finished tree)
- Small round wood base (about 3–4″ wide)
- Drill (to create a hole in the base)
- Glue Gun with Hot Glue
- Wooden star topper or topper of your choice
How to Make a Felt Christmas Tree
Prepare the Base
To prepare the base, drill a small hole in the center of your round wooden base. Make sure the hole is deep enough and wide enough to securely hold the bottom of your wooden dowel.
Cut the felt
This is where you can get creative with colours! Decide how tall you want your tree to be and how many layers of felt you’d like. Cut out several circles of felt in varying sizes. Cut 2 circles of every size, as they will be glued together. The largest circles will form the bottom of your tree, and the size will gradually decrease as you move towards the top. Don’t worry about them being perfectly round – a little variation adds to the handmade charm! Aim for at least 12-15 different sizes and feel free to use a rainbow of colours or stick to a more traditional palette.
You will also need several spacer felt pieces. One spacer goes between every tree branch,
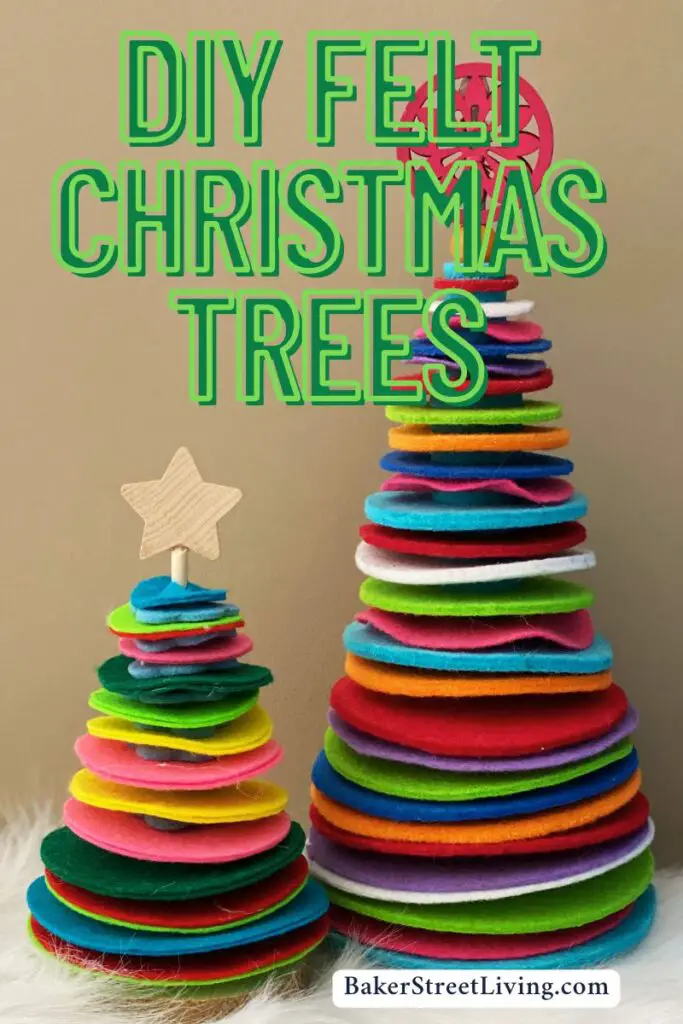
Example of tree Size
My l; large 12-inch tall tree has 27 layers of felt and
Glue Felt Circles Together
Using hot glue, the same-sized felt circles together. For variations in branch size, you can leave some of the felt circles singular. Do not apply glue to the center of the felt circle, where the dowel will go through. The outer edge is all you need.
Assemble the Felt Christmas Tree
Take your wooden dowel and insert one end into the hole in your wooden base. It should stand upright. if it is loose, add glue to hold it straight. Start by adding 1 spacer piece of felt to the base of the tree. Now, starting with the largest felt circle, carefully cut a slit in the center and slide it down the dowel until it rests on the felt spacer. If you have cut the hole too large, you might want to add a small dab of hot glue to the center of the felt circle where it meets the dowel for extra stability. Add a felt spacer piece and another felt circle (next in decreasing size) on top of the space. Continue repeating until you have used up all of the felt circles.
Finish it off
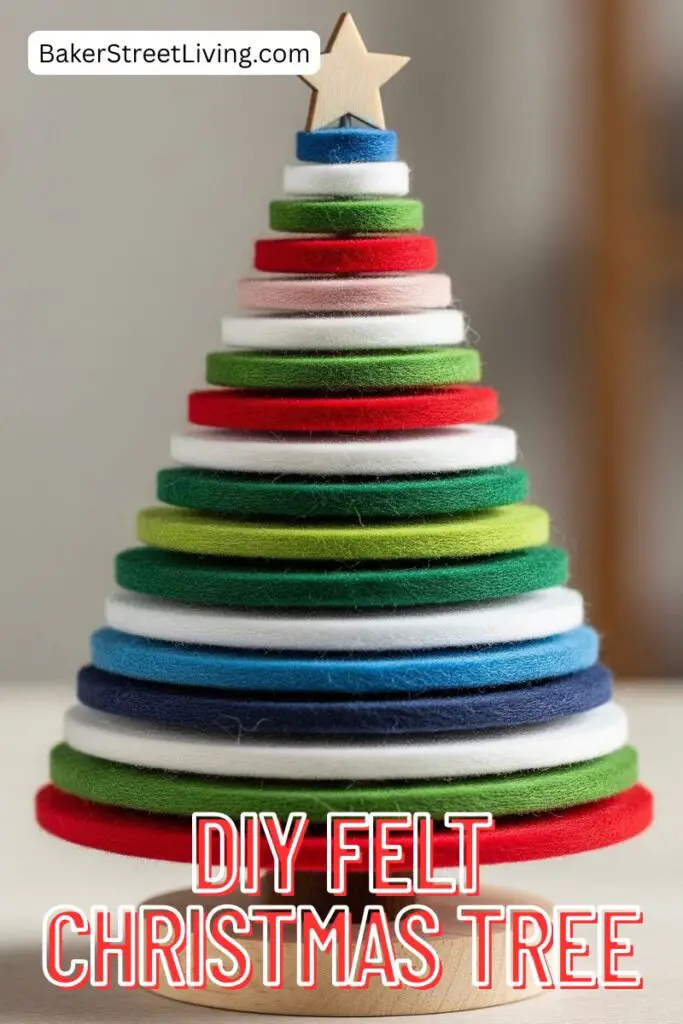
Once you’ve added all your felt circles, it’s time for the finishing touch. Apply a small amount of hot glue to the top of the wooden dowel and carefully attach your wooden star.


Tips and FAQs
How to make felt stiffer
If you want your felt circles to hold their shape better (especially for layered crafts like your Felt Christmas tree, there are a couple of easy ways to stiffen felt. Test a small piece before doing a large batch, especially if you’re working with colored felt, to avoid unexpected changes in texture or colour.
Spray Starch: Spray the back of each felt circle with starch and allow to dry. This provides light to medium stiffness.
School Glue: Apply a layer of school glue with a brush to the back of each felt circle and allow it to dry. I will dry clear and provide a medium to firm stiffness.
Mod Podge Fabric Stiffener: This is hands down my favourite. Apply a coat of Mod Podge fabric stiffener to the back of each felt circle and allow to dry. This provides a firm to extra firm stiffness.
How to cut circles without a cutting machine or circle cutter.
It can be hard to get perfect circles without a cutting machine or circle cutter, but it can be done.
Start by using a compass and place the point into the center of the felt. Draw a circle onto the felt, using a chalk pencil or fabric pencil and then cut it out. Repeat multiple times, decreasing in size until you have all the circles you need.
Changing the Shape
You can easily change the look by cutting a wavy-edged circle instead of a straight circular edge. You can also easily change the layers from flat to a slight cone shape. When adding glue to the layers, allow the layers to dry in the cone shape. Crumple a small ball of tinfoil and place the felt over it, and push down the side. Then allow it to dry and take the shape of a slight cone (seen below)
Display Ideas
- Make more than one felt Christmas tree in different colour schemes for a modern centrepiece.
- Use monochrome felt for a minimalist Scandinavian vibe. (All white using sparkle felt is beautiful)
- Add a string of mini fairy lights to wrap around the tree.
- Create mini versions for place settings or teacher gifts
- Create small versions and turn them into ornaments, add them to wreaths or string them together for a garland.
Storage Recommendations
To store your felt Christmas tree, place it in a box or cardboard tube. If storing multiples, lightly pack tissue or bubble wrap around it. Felt bends easily, so take care not to bend the felt pieces. If you have shredded paper or foam peanuts, these are also good for helping to maintain the shape of the felt Christmas tree.
This charming little felt Christmas tree is perfect for adding a touch of handmade cheer to your mantelpiece, bookshelf, or even as a festive centerpiece. Get creative with your felt colours and sizes to make a truly unique holiday decoration. Happy crafting!

This website contains affiliate links. As an Amazon affiliate, I earn a small commission from qualifying purchases (at no cost to you).