
Content Created by Tracey of Baker Street Living 
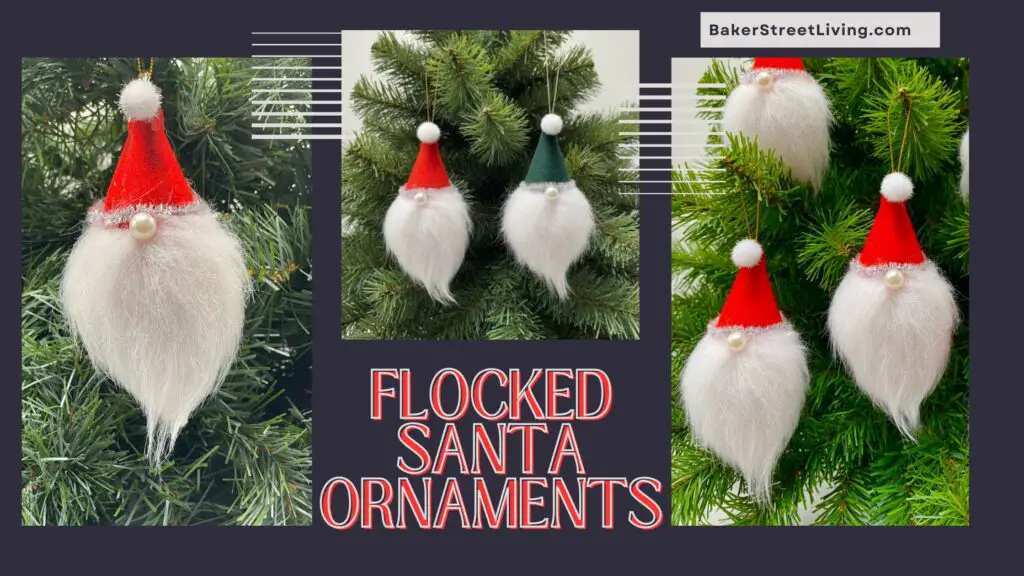
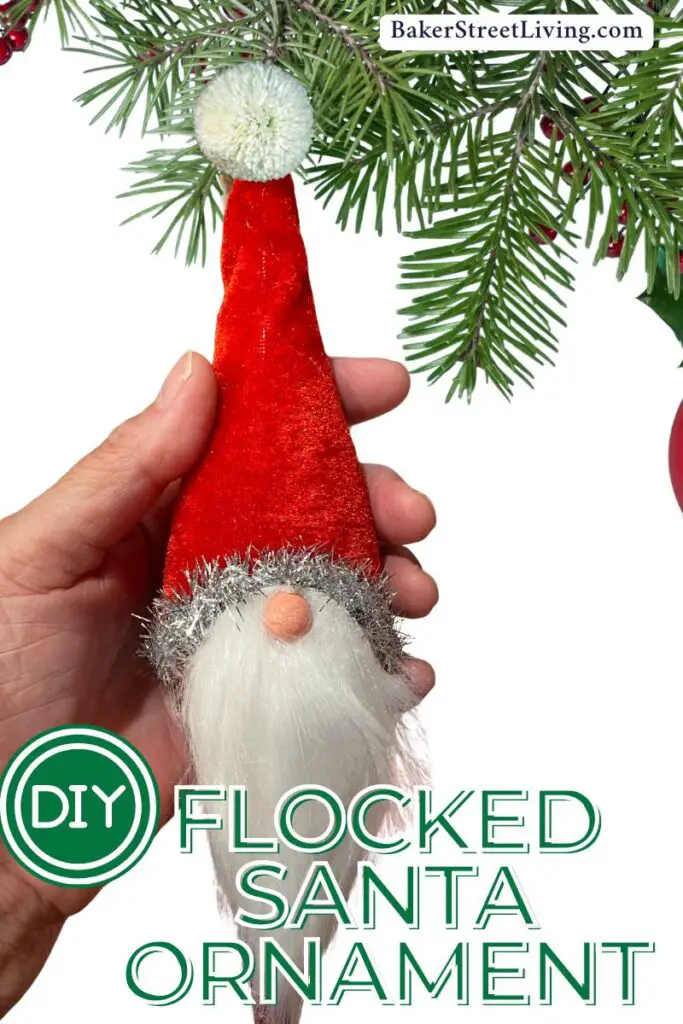
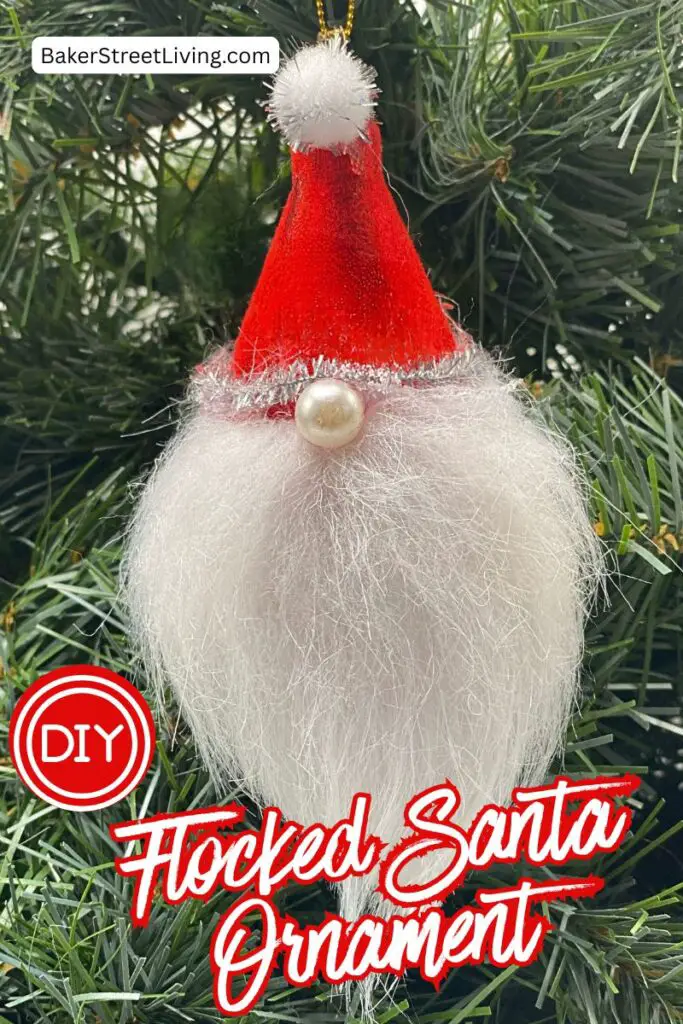
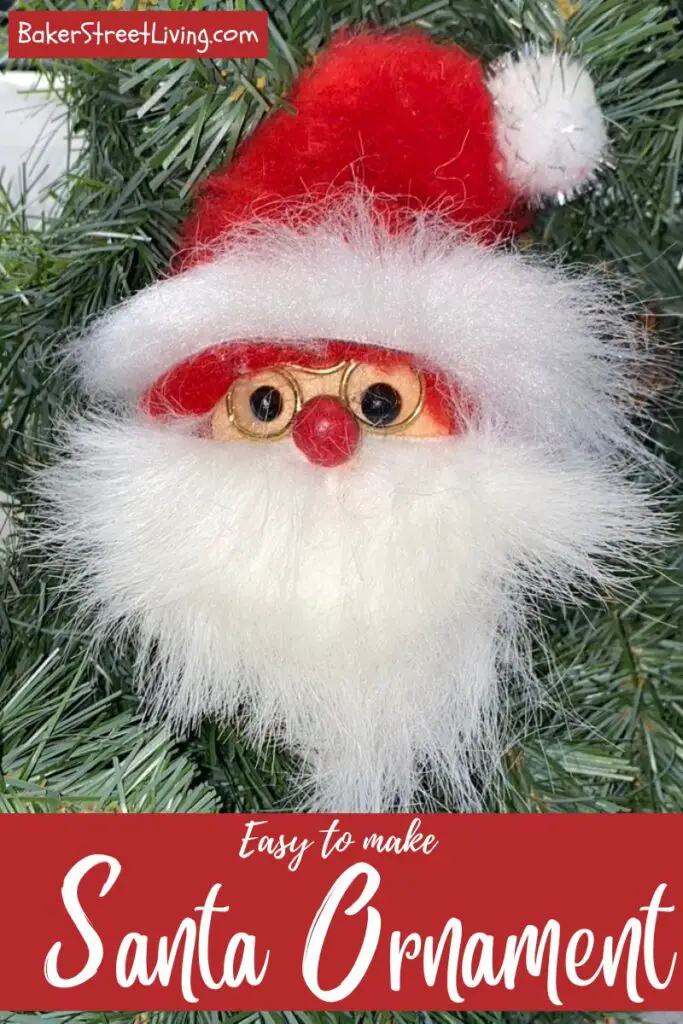
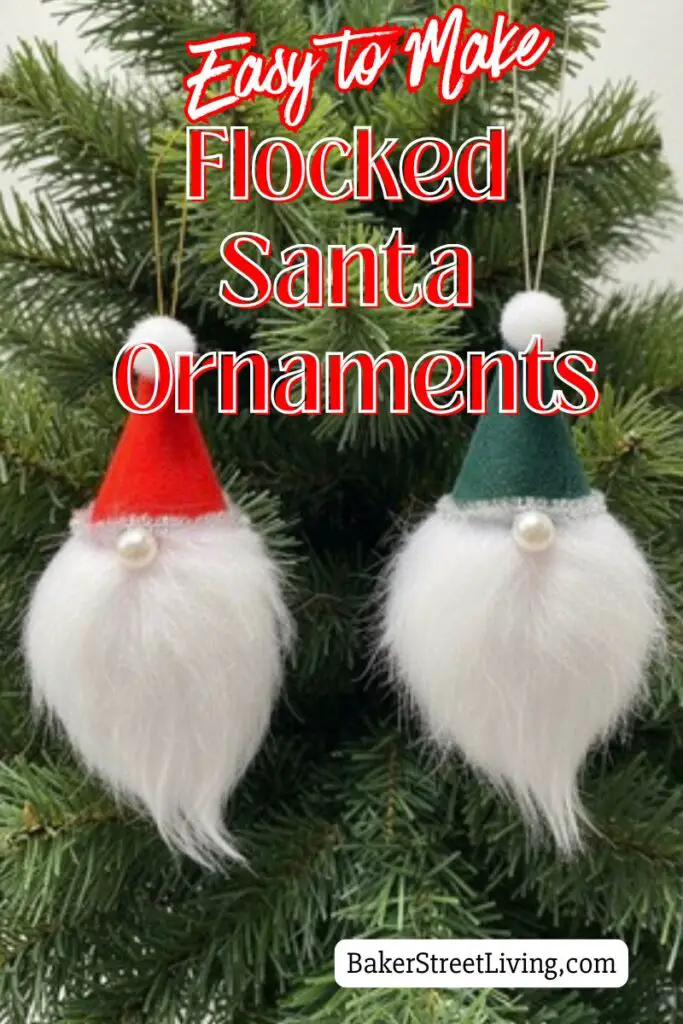
If you love classic Christmas décor with a touch of vintage charm, you’re going to love this easy DIY flocked Santa ornament! With his fuzzy red hat, fluffy beard, and jolly little nose, this Santa is the perfect addition to your tree. Best of all, it’s super fun to make and can be customized in any colour or style you like!
What You’ll Need
This website contains affiliate links. As an Amazon affiliate, I earn a small commission from qualifying purchases (at no cost to you).
- Final Style Ornament
- Flocking Powder
- Mod Podge
- Glue Brush
- Silver pipe Cleaner
- No Hole Craft Pearl or Beads
- Pom Pom
- Faux Fur
- Modge Podge Ultra (Optional)
- Low Tack Painters tape
How to Make a Flocked Santa Ornament
Step 1: Prep the Ornament
For the best results, apply a quick coat of red paint to the base so it doesn’t show through. Let it dry completely before adding the flocking. Any paint will do. I am using red ornaments, but if you can’t find them, just give them a coat of paint.
Step 2: Prepare the Pieces
The less handling of the ornament once it is covered in the flocking powder, the better. It helps to have your pieces cut beforehand to eliminate extra handling that can cause flocking to come off.
Wrap the pipe cleaner around the ornament and cut it to the proper size. Set it aside.
Cut a piece of faux fur to use for the beard. Place it onto the lower half of the finial to make sure it is the proper size.
Step 3: Apply Flocking Powder
Flocking powder is very light, and the fibres are easily blown around. Make sure you are in a still environment where there are no fans, open doors or windows.. Get the least amount of air movement as possible.
If possible, place flocking fibre in a Ziploc bag. This method results in the least amount of mess.
If you don’t have enough powder to use the Ziploc bag method, line a cardboard box with parchment or loose paper. Complete the flocking in the box and then pour the fibres back into a container after you have applied it to the ornament. Store unused flocking powder in an airtight container or ziploc bags.
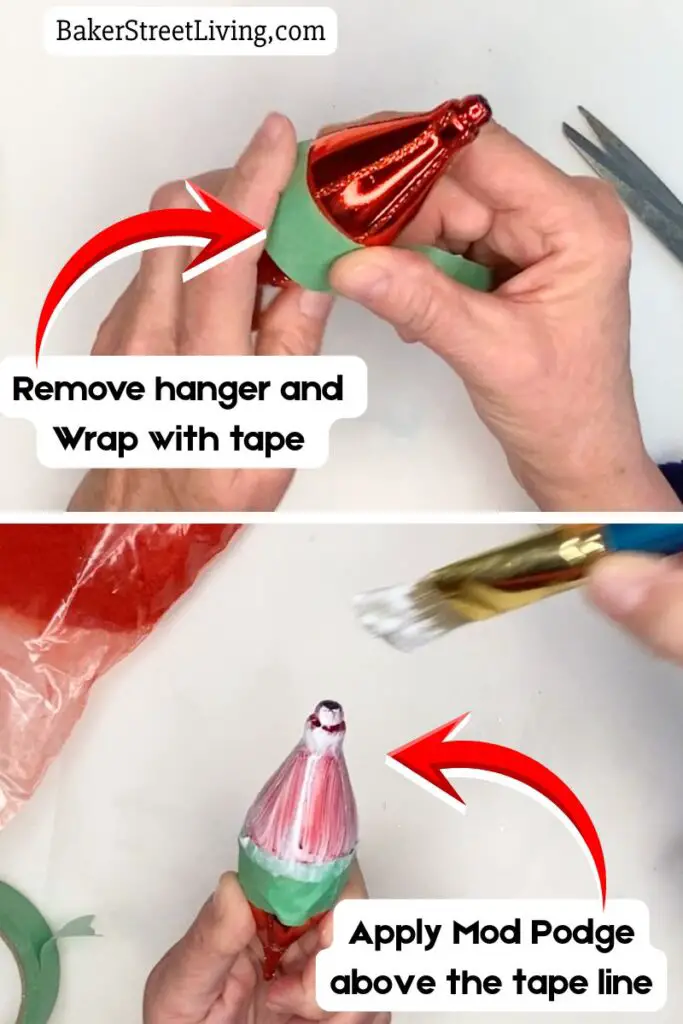
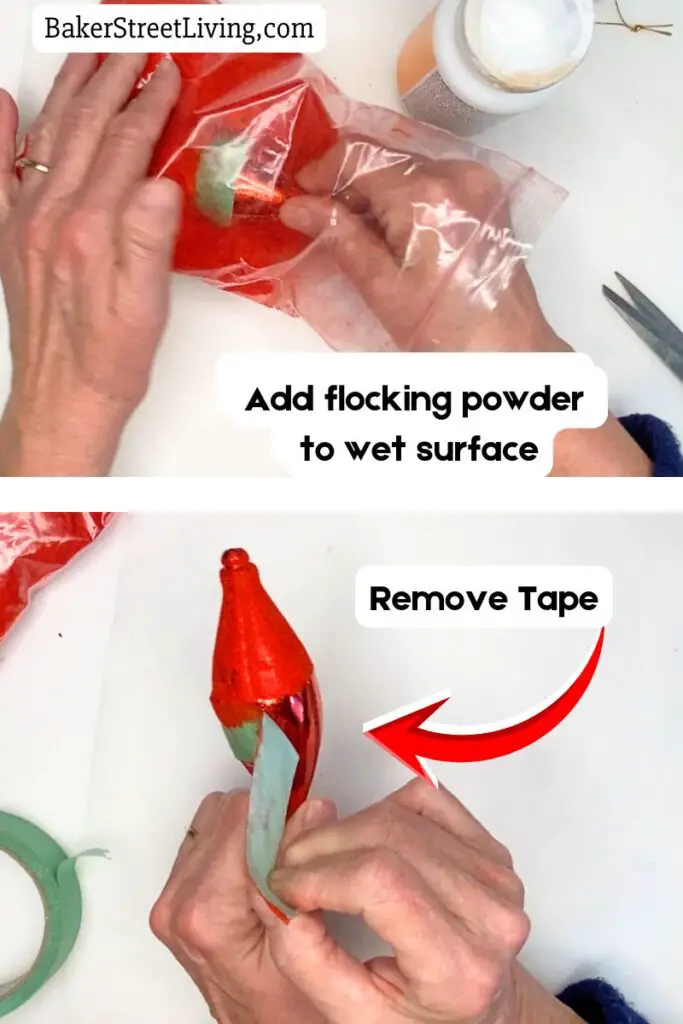
Using low-tack painters’ tape, adhere a piece of tape around the ornament, where the hat and beard will meet.
Brush a generous layer of Mod Podge onto Santa’s hat area, above the tape. While the Mod Podge is wet, dip the ornament into the powder and press the powder into the adhesive.
If you are not using the xiploc method, [lace the ornament over the parchment paper and sprinkle the red flocking powder onto the surface. Gently tap off the excess. If you find that the flocking does not appear very thick. Allow the first layer to dry. If you have thin patches, apply Mod Podge Ultra spray and another layer of flocking. **When applying a second layer.
Allow the ornament to dry.
Step 4: Seal (Optional)
Seal the flocked layer by spraying with Mod Podge Ultra and allowing it to dry before handling.
Step 5: Finish the Ornament
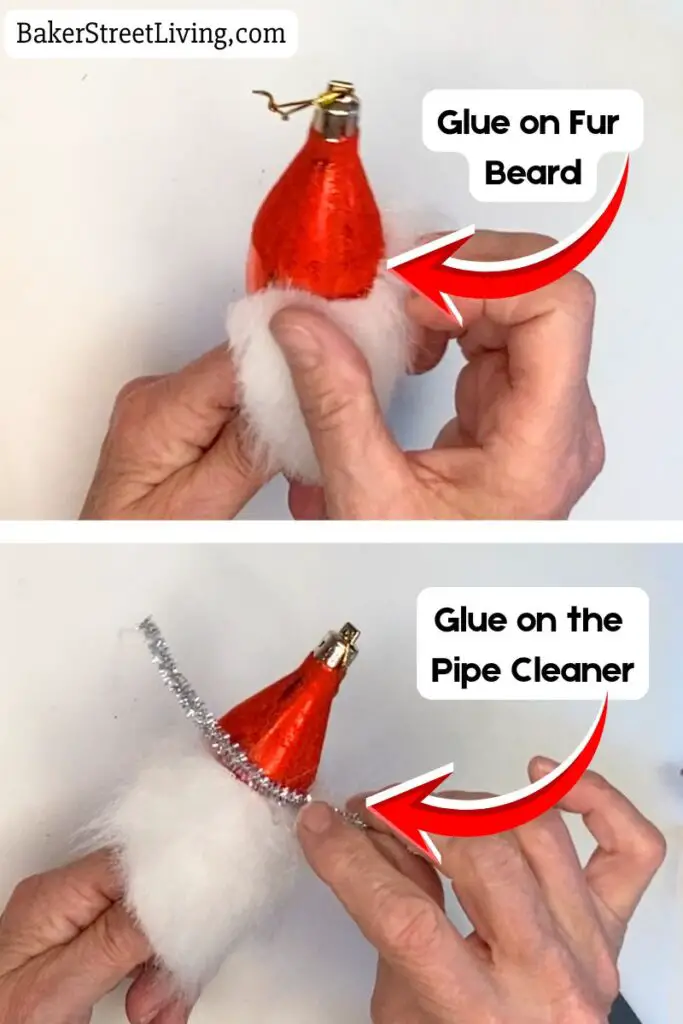
Glue the faux fur to the bottom of the ornament for the beard, using hot glue.
Add the silver pipe cleaner around the top edge of the beard.
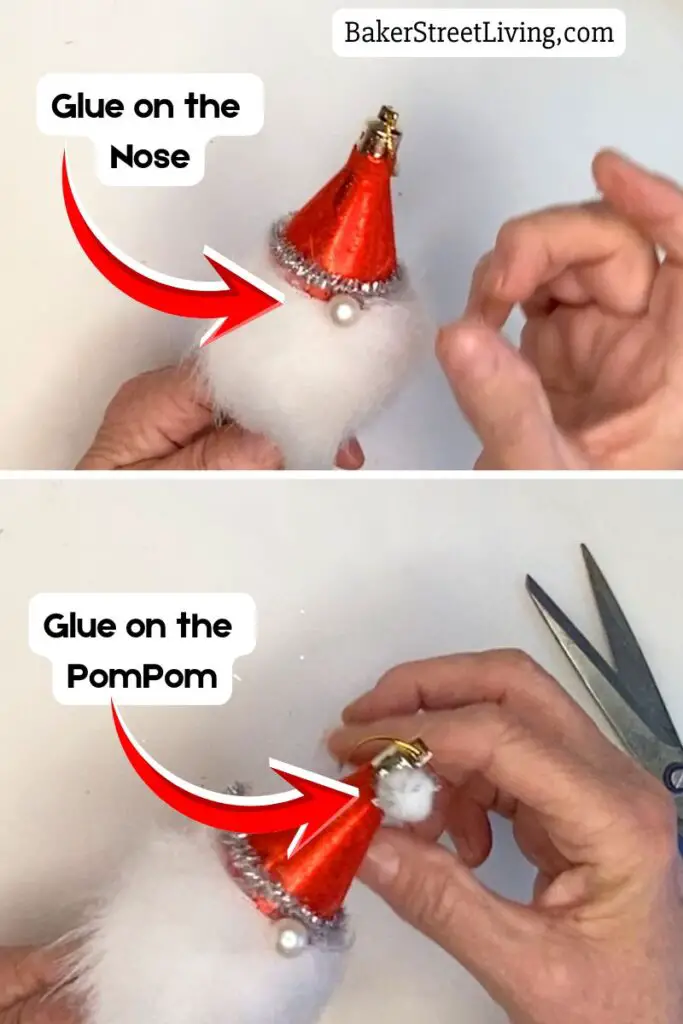
Attach the nose (pearl or wood bead) using hot glue.
Attach a pom pom to the top of the flocked hat.
Allow the flocked Santa ornament to dry fully before hanging.


Helpful Tips and FAQs
Using Flocking Spray
Flocking spray usually comes in an aerosol can. When you spray it onto a surface that has a light adhesive or is naturally tacky, it releases tiny fibres that stick to the surface and create a soft, plush finish. Flocking Spray will work, but better results are achieved using the flocking powder.
Eliminate Flocking for Falling
Sealing is the only way to eliminate the falling of the flocked surface. I use Mod Podge Ultra or a Clear Acrylic Sealant Spray. Apply a very thin coat, making sure to cover the entire flocked area. Allow it to dry completely before touching. I have tried aerosol hairspray, but it hasn’t always been a success; sometimes it went clumpy.
Uneven Coverage
One of the biggest challenges is getting smooth, even coverage. If the glue layer is too thin or dries too quickly, the flocking powder may stick in patches, leaving bald spots. Add additional layers to get full coverage. When adding additional layers, use a spray adhesive, such as Mod Podge Ultra, for the easiest application. Using a brush on the adhesive can cause a mess with the flocking that is already on the surface. Apply a thin coating and then add more as needed.
Clumpy or Matted Texture
Sometimes the fibres clump together instead of creating that soft, fluffy look. Instead of rubbing or pressing the powder in, sprinkle or sift it lightly over the glue. Tap off excess without compressing it. Remove clumps and apply where needed.
Colour Fading or Dull Finish
Some glues can dull the colour of the flocking powder or make it look darker than expected. If using a different glue that we reccomended, test a small area first. Always use a clear-drying adhesive.
Storing Flocked Ornaments
When storing flocked ornaments, place them in a sectioned ornament box to prevent rubbing against other ornaments or lightly wrap them in tissue.

This website contains affiliate links. As an Amazon affiliate, I earn a small commission from qualifying purchases (at no cost to you).