
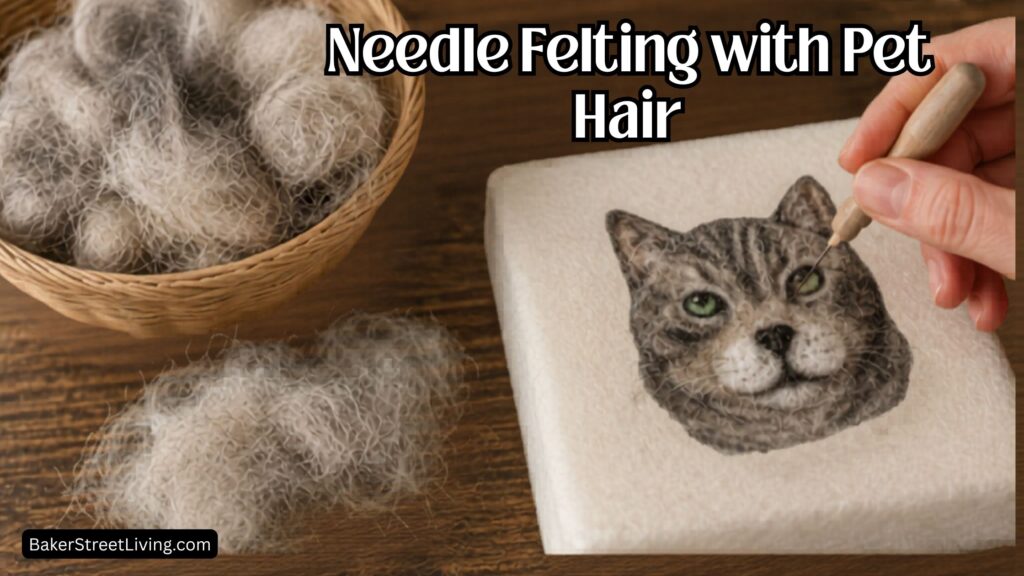
If you’re a pet lover, you’ve probably found yourself sweeping up endless amounts of fur and wondering if there’s something creative you can do with it. Believe it or not, needle felting with pet hair has become a meaningful and surprisingly beautiful craft. Whether you want to create a tiny version of your dog, make a keepsake ornament, or preserve memories of a beloved pet, pet hair felting is a unique way to turn shed fur into something special.
Needle felting with pet hair is not only eco-friendly, but it also carries sentimental value. Instead of tossing away fur from grooming sessions, many crafters are transforming it into tiny sculptures, hearts, ornaments, and memorial keepsakes.
Supplies List
This website contains affiliate links. As an Amazon affiliate, I earn a small commission from qualifying purchases (at no cost to you).
- Felting needles (medium and fine gauges)
- Felting mat
- Pet hair (clean and dry)
- Wool roving (optional but highly recommended)
Needle Felting with Pet Hair Instructions
Preparation makes a big difference in how well your project turns out.
Step 1: Collect the Fur
You may need to start collecting months in advance, especailly if you are not mixing it with wool roving. Brush your pet using a slicker brush or grooming comb and save the soft, fluffy undercoat. I have a dedicated container for pet hair. This makes it easy when making a pet portrait of specific memory items.
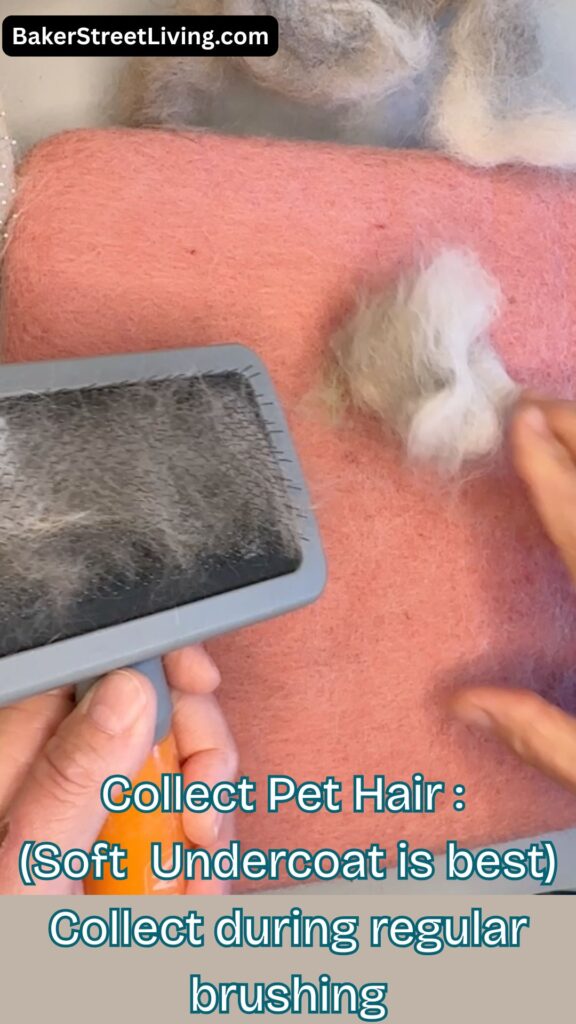
Try to collect:
- Soft, fluffy fibers
- Clean hair free of dirt or debris
- Fur sorted by colour if your pet has markings (especially helpful when making portraits)
Avoid clipped fur from grooming salons, as short, chopped hair doesn’t needle felt as well.
Step 2: Clean and Prep the Hair
If needed, gently wash the fur.
- Place fur in a mesh bag.
- Wash with mild soap.
- Rinse carefully.
- Allow it to air dry completely.
Never use damp fur for felting; it can mildew or become difficult to shape.
Never dry fur or pet hair in a dryer. It is best to lay it in a towel and roll it up to soak up water, and then unroll, place it on a fresh towel and allow it to dry overnight if needed.
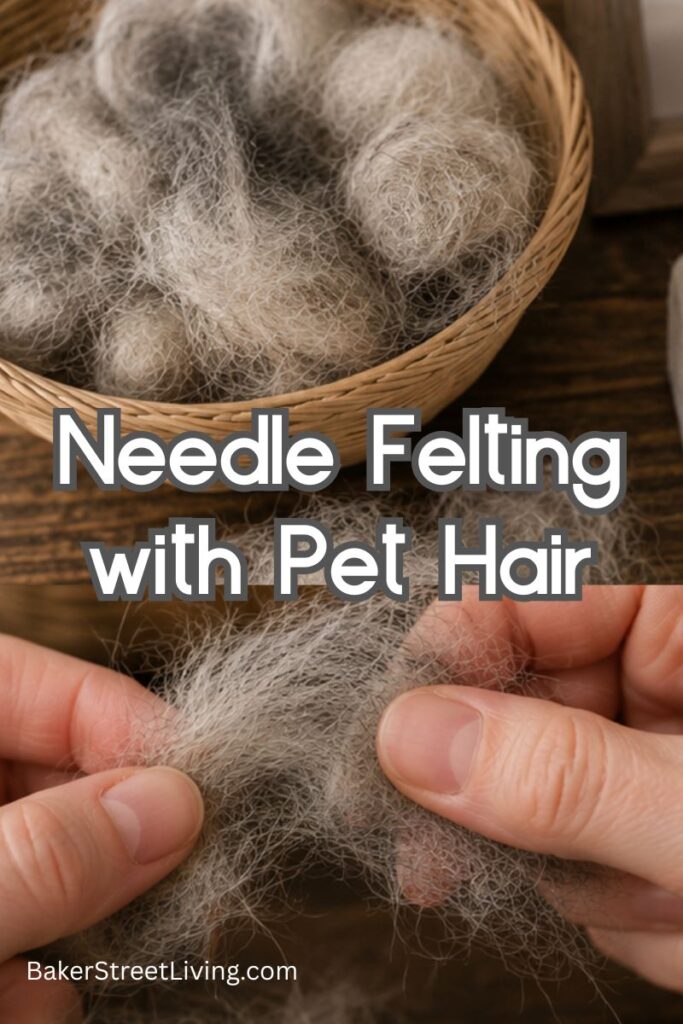
Step 3: Card or Fluff the Fur
Separate clumps with your fingers and use a carding tool or a pet slicker brush to loosen fibres and bind them.
Not all pet hair will need carding. If the hair is smooth and resembles roving, and you are only using small amounts, it is fine to use it.
If you wish to create a skein or larger section of fur, then carding will help accomplish that.
Start Felting
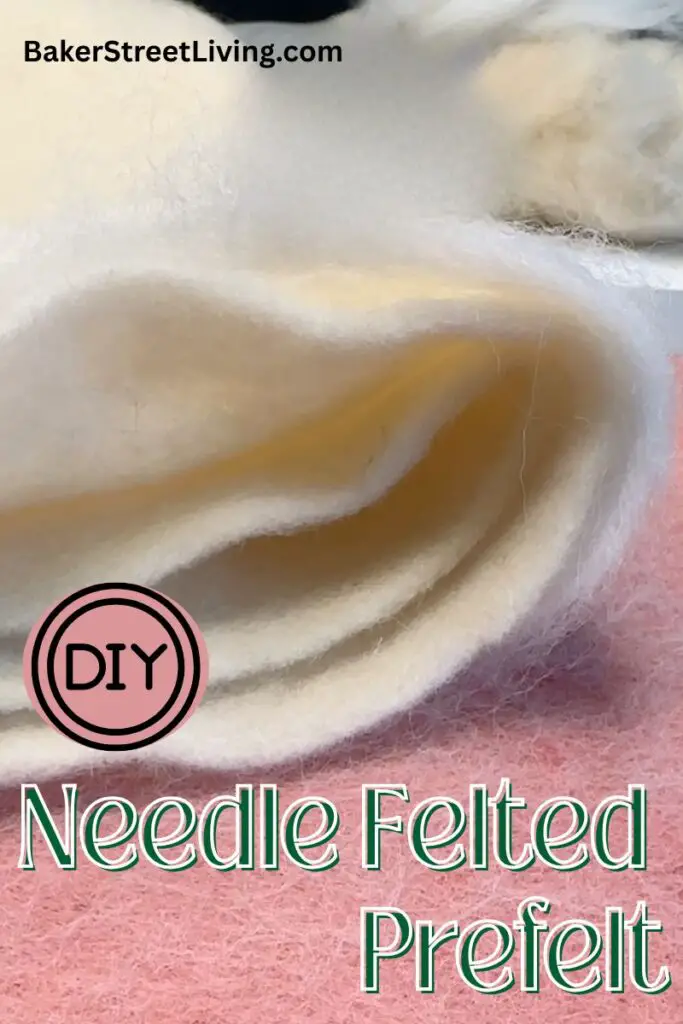
Step 1: Start with a Base
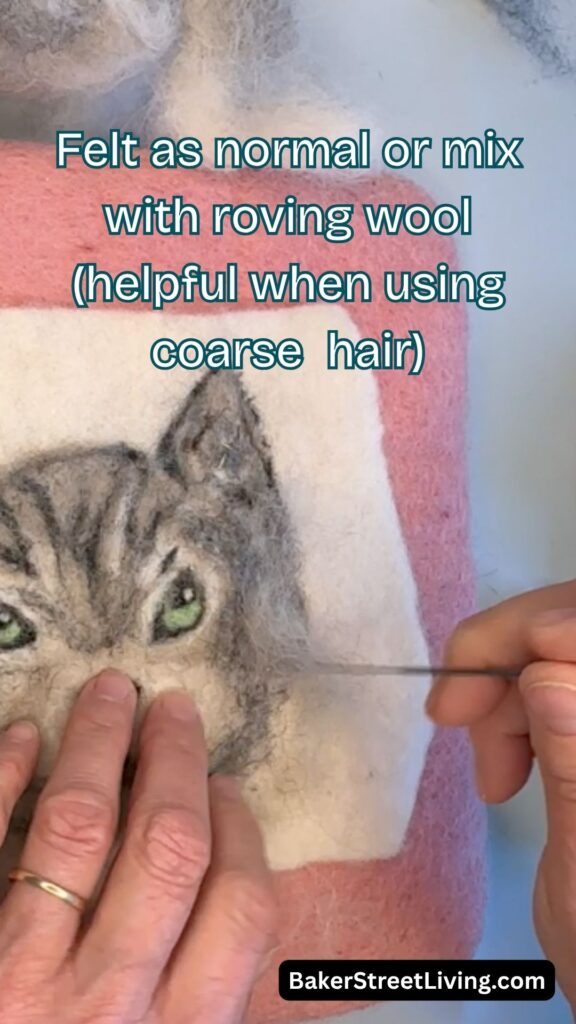
Because pet hair can sometimes be slippery and difficult to work with, start with a base of wool roving. For fluffy soft pet fur, such as the undercoat, you can felt with just the fur. For coarser fur or hair, you’ll get better results by mixing it with wool roving.
Lightly poke the mixed pet hair with wool roving with your felting needle to firm it up. You may need a lot of pet fur, depending on the project you’re working on.
Step 2: Add Pet Hair
Once your base is set, add more pet hair and layer it over the wool base.
Use gentle poking motions to anchor the fibres.
Rotate your piece often and work slowly, while you continue adding fur while sculpting details.
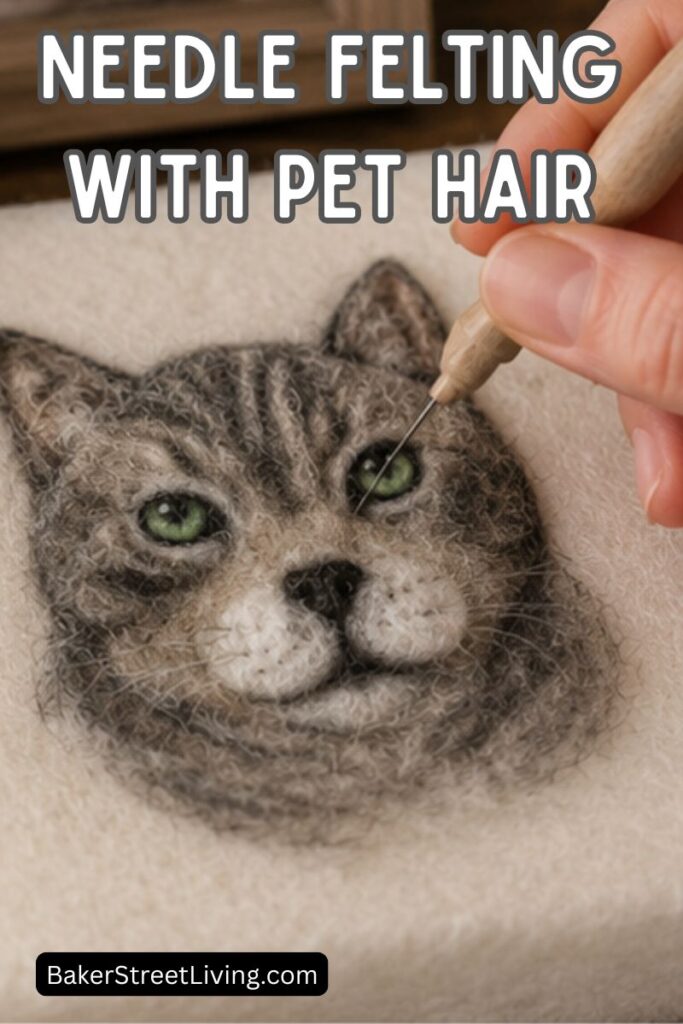
Step 3: Refine Details
Switch to a finer felting needle for finishing work. Continue mixing with roving as needed. You will need to experiment with it to find the right combination of pet to wool. All pet hair is different and may require different amounts of wool roving.
Tips and FAQs
Projects to Consider for Needle Felting with Pet Hair
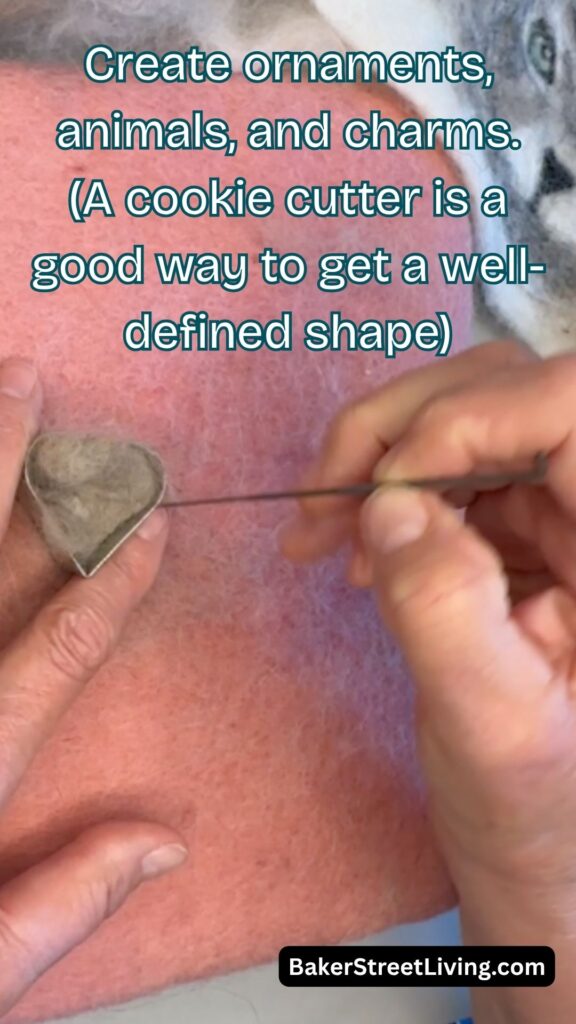
Felted Heart Keepsake – Shape your pet’s fur into a heart ornament for a sentimental keepsake.
Mini Paw Ornament – A small paw print is easy and meaningful.
Pet Fur Ball Ornament – Create a rustic ornament for holiday decorating.
Tiny Sleeping Pet Sculpture – May require armiture or more experienced felting skills.
Pet Portrait – This is my favourite. You get the perfect colours by incorporating the pet hair, and it makes a wonderful keepsake or gift.
Dos and Don’ts of Needle Felting with Pet Hair
DO Save Fur Regularly – Store fur from grooming sessions in labelled zip bags by colour.
DO Blend with Wool – Pet hair alone may not hold shape well. Mixing with wool often creates stronger results.
DO Use Small Amounts at a Time. – Too much fur at once becomes hard to control.
DO Work Slowly – Needle felting takes patience. Small, gradual shaping gives the best results.
DON’T Use Dirty Fur – Dust, oils, and debris can affect felting quality.
DON’T Expect Every Fur Type to Felt Easily – Some silky coats won’t bind well without wool support.
DON’T Over-Poke One Area – Too much felting can make sections hard, uneven, or distorted.
DON’T Store Wet or Damp Fur – Always fully dry fur before storing to prevent mould.

Needle felting with pet hair turns something ordinary into a treasured keepsake. Whether you create a tiny ornament, a memorial piece, or a small sculpture of your furry companion, the process can be deeply meaningful and rewarding.
Start small, practice often, and don’t worry about perfection. Even the simplest felted piece made from your pet’s fur carries a story that store-bought décor can’t match.
Over time, you may discover that needle felting with pet hair is more than just a craft; it’s a beautiful way to celebrate the pets you love.

This website contains affiliate links. As an Amazon affiliate, I earn a small commission from qualifying purchases (at no cost to you).