
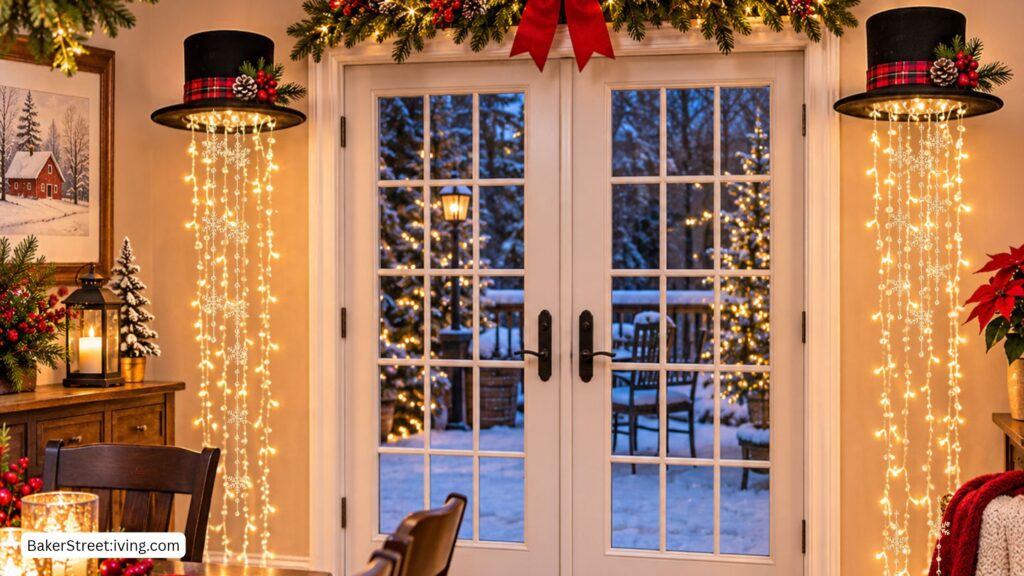
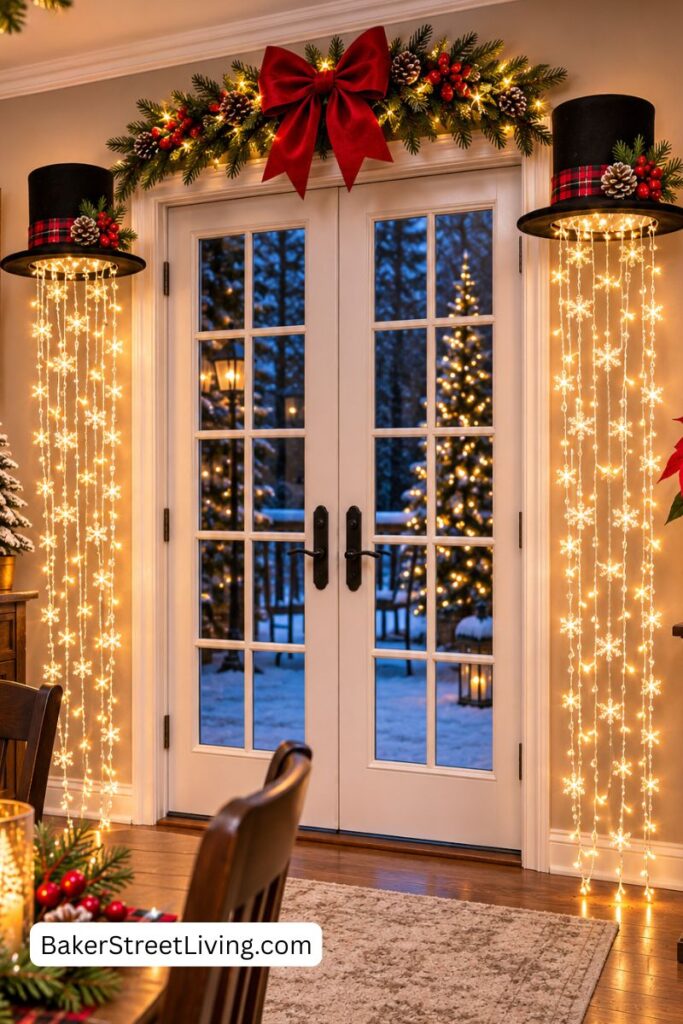
Looking for a fun, inexpensive Christmas decoration that makes a big impact? This DIY Snowman Hat Decoration turns a simple top hat into a whimsical hanging Christmas decoration that sparkles into the night.
Instead of sitting on a table or shelf, the snowman hat hangs from the ceiling, with strands of twinkling lights and snowflakes cascading beneath it. The result is a fun winter display that looks especially magical when the lights are turned on.
Supplies List
This website contains affiliate links. As an Amazon affiliate, I earn a small commission from qualifying purchases (at no cost to you).
- Black top hat
- Curtain-style LED lights
- Snowflake garland or snowflake strands
- Clear fishing line, thin string or decorative cord
- Double-sided tape (Heavy Duty)
- Large Button
- Hot Glue Gun with glue
- Embellishments (Optional)
- Craft Ribbon
- Scissors
Links are provided for the supplies for this project for your convenience. Many of these items are available at your local dollar store.
How to Make a DIY Snowman Hat Decoration
Step 1: Decide where the Hat will hang
This may seem like a silly first step, but where it hangs will determine the hanging string length and how long your lights and snowflakes can cascade underneath.
The longer, the better, but you can shorten the hanging lights if needed. Just look below in the FAQS for more information on how to shorten them.
Step 2: Prepare the Top Hat
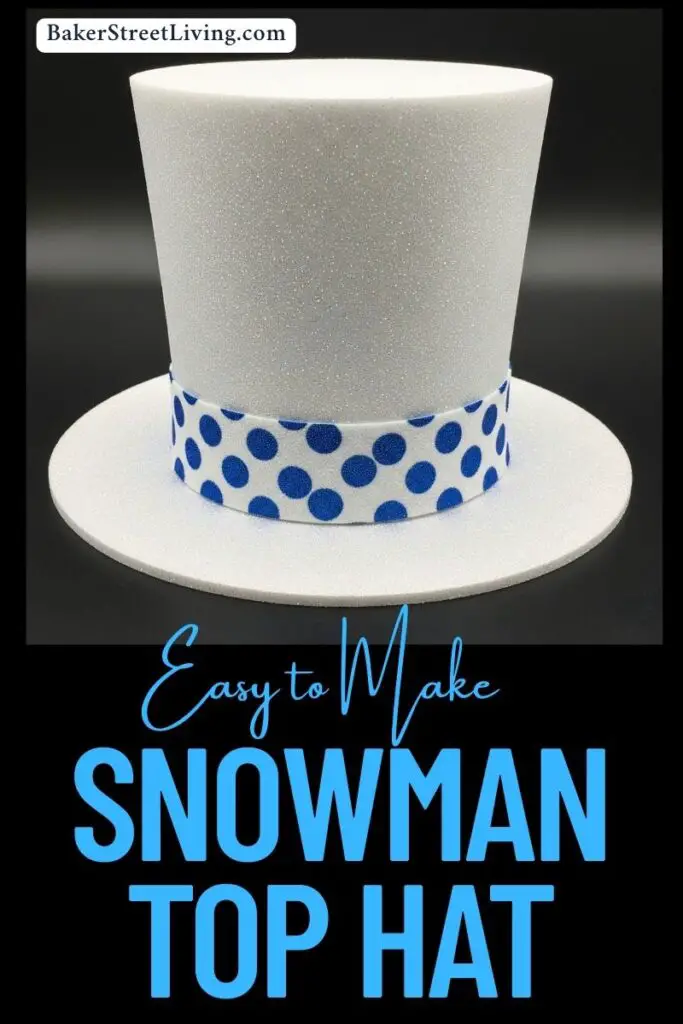
Start with a sturdy top hat. Pick one up at a dollar store or use our easy instructions to make your own.
Remove any tags or packaging and check the hat to make sure it is sturdy enough to hang. If the hat has a decorative band around it, you can leave it in place or replace it with your own ribbon.
I recommend keeping the hat fairly simple because the lights and snowflakes will provide most of the decoration and are the focal point.
Step 3: Create a Way to Hang the Hat
The hat needs to be suspended securely from above.
Depending on the construction of your particular hat, you can attach one or up to four pieces of strong clear fishing line or cord hanging from the center of the hat.
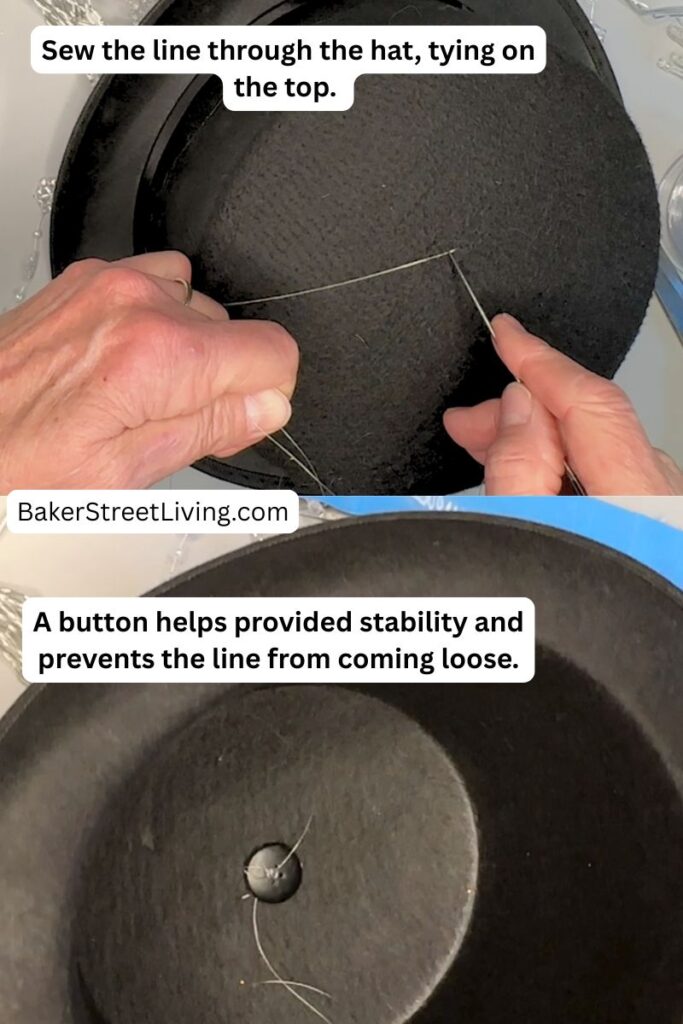
Use a button to secure the line and keep it from pulling through the top of the hat.
If using multiple strands, bring the pieces of fishing line together above the center of the hat and tie them securely.
Tip: Test the hat before adding the lights and decorations. It should hang straight and remain balanced.
Step 4: Prepare the lights and Snowflakes
Measure the outside of the crown of the top hat and add1/2 inch to 1 inch. (1 inch for thick hats and 1/23 for thin)
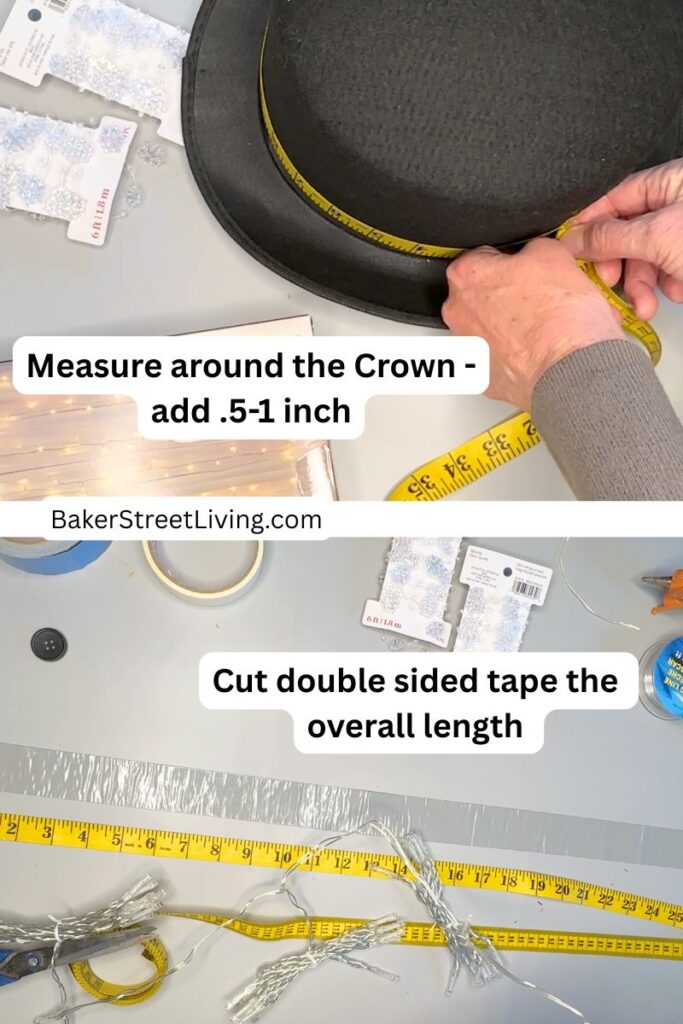
Cut a piece of double-sided tape the same length.
Lay the tape out in a straight line on a flat work surface, sticky side up. *Make sure your area is large enough to also lay out the curtain lights. To prevent the tape from moving, secure the ends by taping them to the surface. I used masking tape, and it made adhering the strings of lights much easier.
Carefully lay out the curtain string so that the lights will hang down once suspended from the hat.
*If your string of lights is new like mine, it may come with the strands individually wrapped. Do not unwrap them until the tape has been inserted and secured to the hat. This prevents tangling.
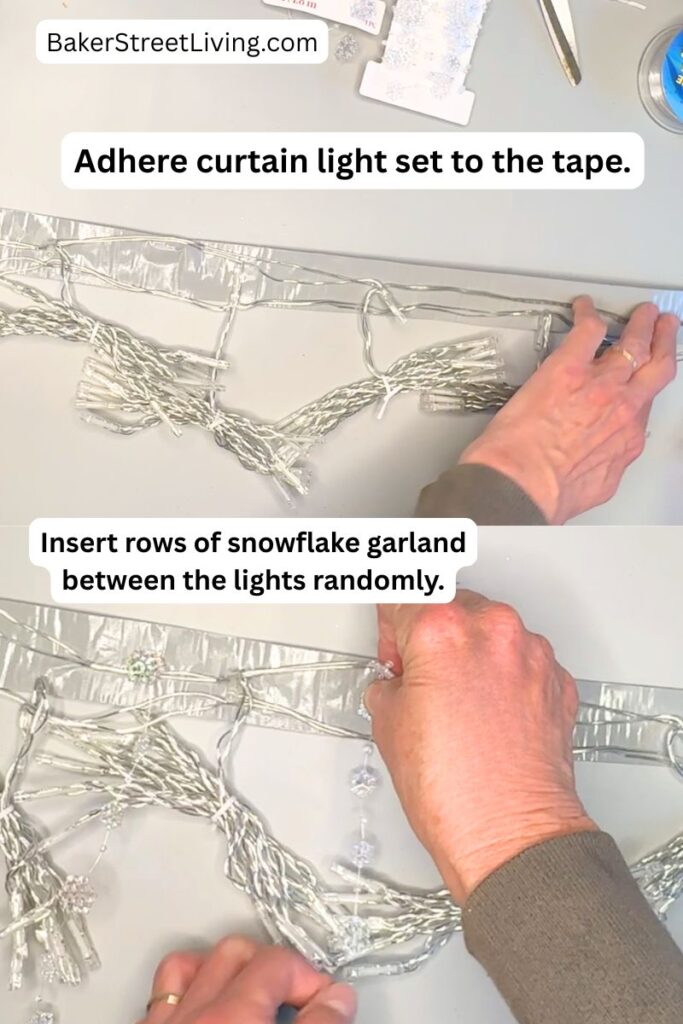
Cut strands of snowflake trim in different lengths.
Hang a few strands sporadically between the strands of hanging lights.
Press the lights and snowflake decorations into the tape, making sure all of them are straight for hanging.
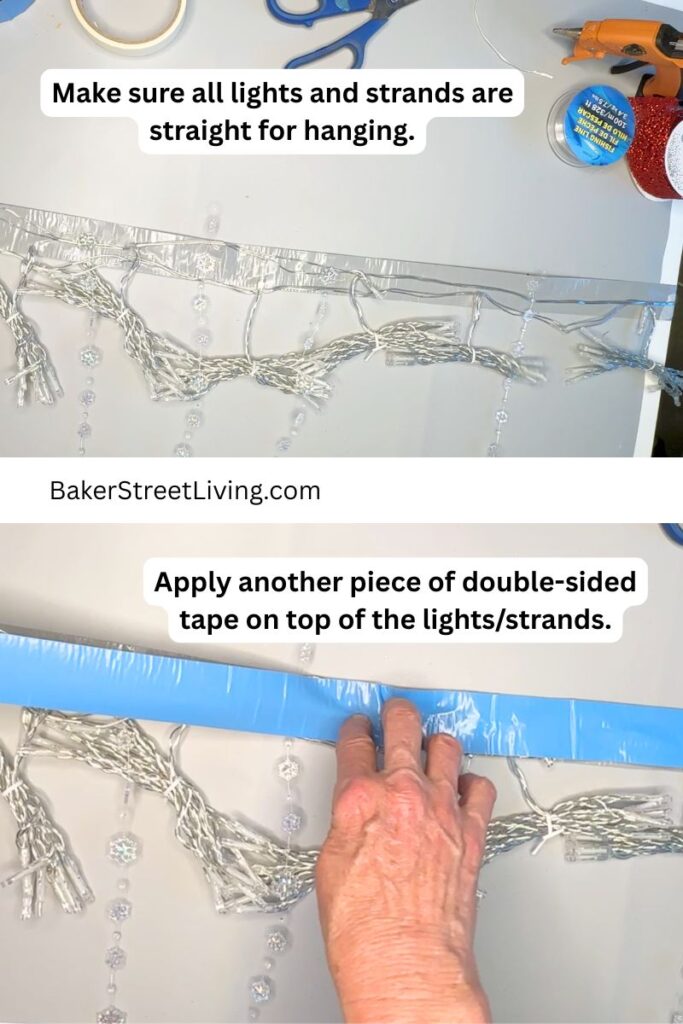
Cover with another piece of double-sided tape.
Step 5: Embellish the Hat (Optional)
You can leave the hat as is or add a little decoration to it
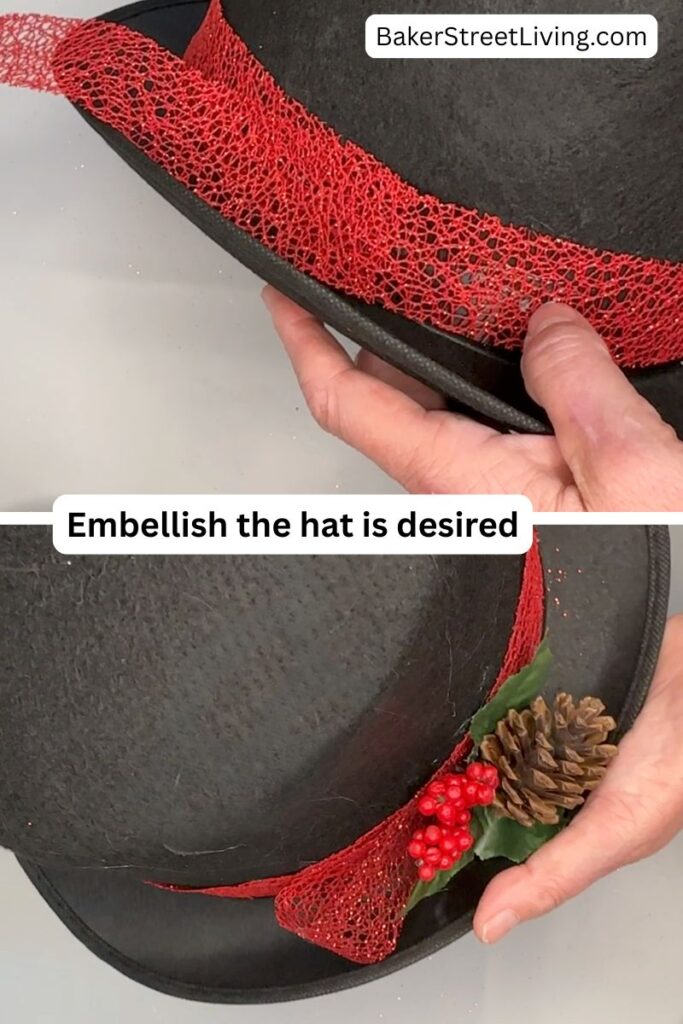
I am adding a decorative ribbon and a flower pick. This is an optional step.
Step 6: Insert Lights into the Hat
Peel the backer strip from the double-sided tape.
Press the tape inside the hat at the lower base of the crown. Make sure it is very secure. If the tape is not sticking well, add a few spots of hot glue or secure it with some fishing line and a darning needle. (This can happen if the hat has a fuzzy textured surface. )
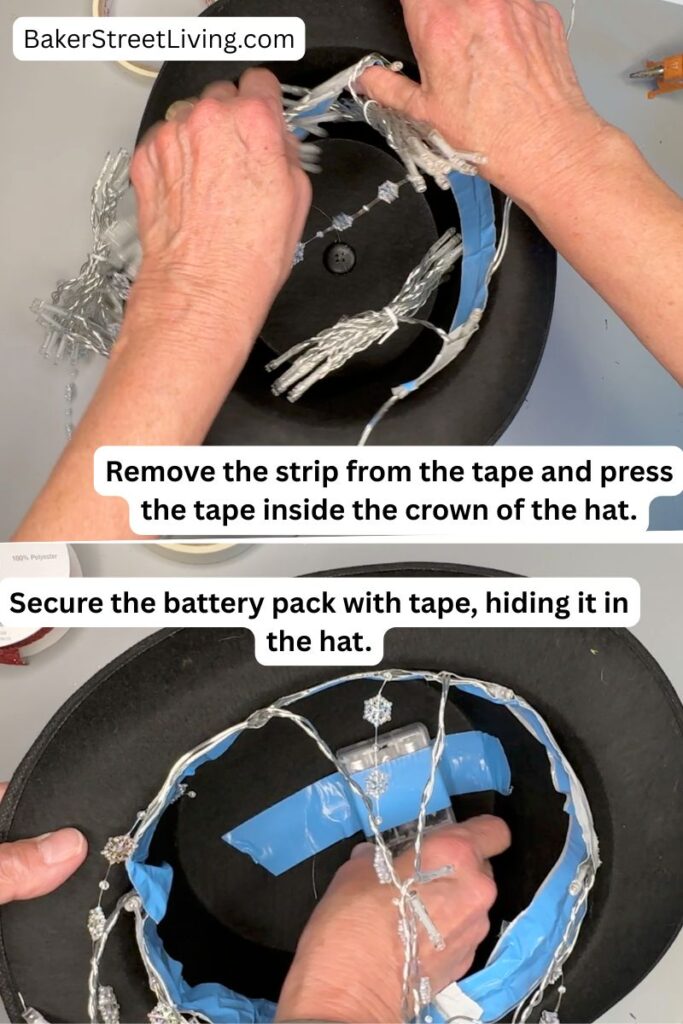
Step 7: Secure the Battery Pack
Using another piece of double-sided tape, wrap the battery pack and then press it inside the hat, above the light strands.
If the hat’s inside will be visible, cover the battery pack with a piece of black paper or felt, taking care to leave the power button accessible.
Step 8: Tidy Up
If desired, you can cover the tape with a piece of black felt, crepe paper or anything that will hide the tape. This helps hide all the mess and reduces reflection against the tape inside the hat. Make sure to leave the on/off button of the battery pack exposed.
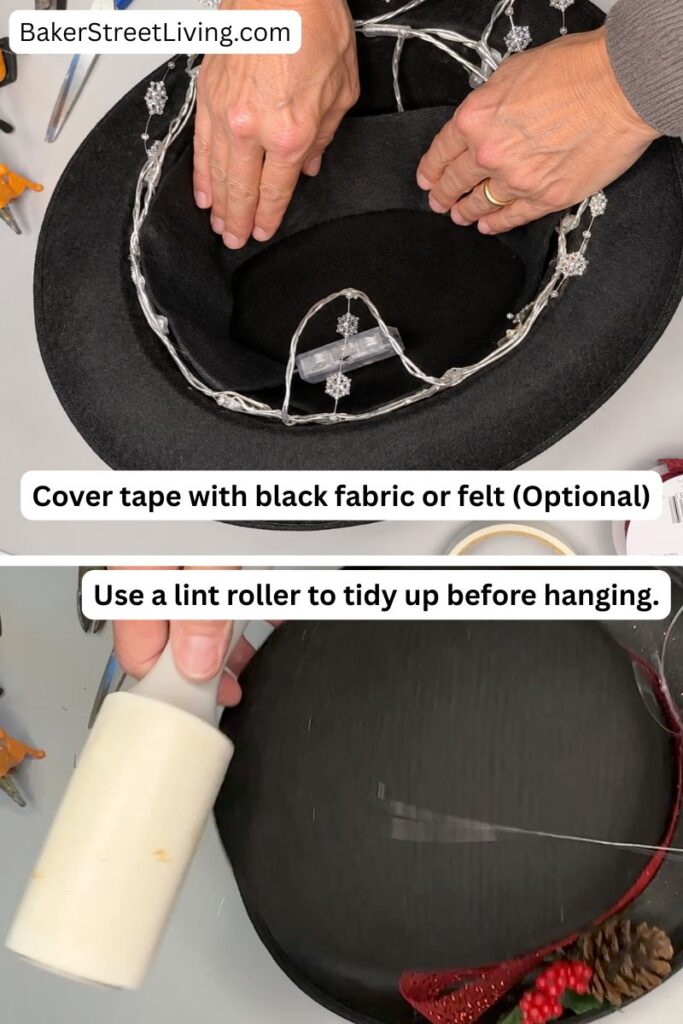
Use a lint roller and remove any dust or sparkles, etc., from the outside of the hat.
That’s it, you are ready to hang your snowman hat decoration.
FAQs and Helpful Tips
How to straighten lights.
Lights can have a lot of kinks in the strands from packaging. To straighten, hang a small weight on the bottom of each strand. If you have curtain weights or fishing weights, these are perfect. If you don’t have either of those, place a small stone in a Ziploc bag and use an ornament hook and hang it from the bottom of the strand. It should be straightened out overnight.
Can I use double-sided craft tape?
Not all double-sided tape will work. The tape needs to be heavy-duty so that it is strong enough to hold the light string and strands in place.
Fixing a Flimsy Hat
To strengthen the hat, consider cutting a piece of cardboard and placing it inside the hat. This will help keep it from bending while hanging. If you have made a top hat from EVA foam, this is essential, as the foam will not hold the weight of the lights.
How do I shorten the strands?
To shorten light strands, just fold them up and press them into the tape.
Making the Snowman Light without Double-Sided Tape.
Double-sided tape is the easiest method, but you can make this snowman hat decoration without it.
You can use adhesive Velcro strips. Lay out the Velcro strips, add the lights and snowflake strands, then press the second Velcro strip on top to hold the strands in place.
Another alternative is to use hot glue. This is messy and can soak through the hat, but it is doable,
Is this Snowman Hat Decoration safe for Outdoors?
It can be used outdoors only if the lights and other materials are rated for outdoor use. Keep the hat and electrical connections protected from rain and snow unless the materials are specifically designed for outdoor conditions.
How do I keep the hat from tilting?
Use three or four evenly spaced attachment points around the hat. Adjust the length of the hanging cords until the hat sits level. The initial spacing helps to evenly distribute the weight.
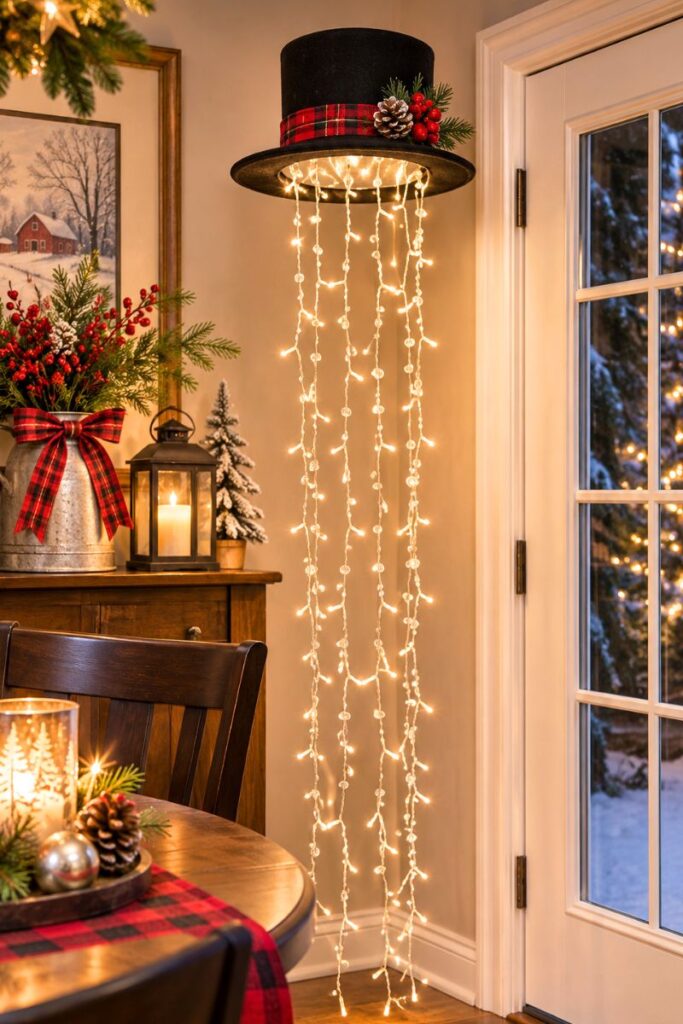
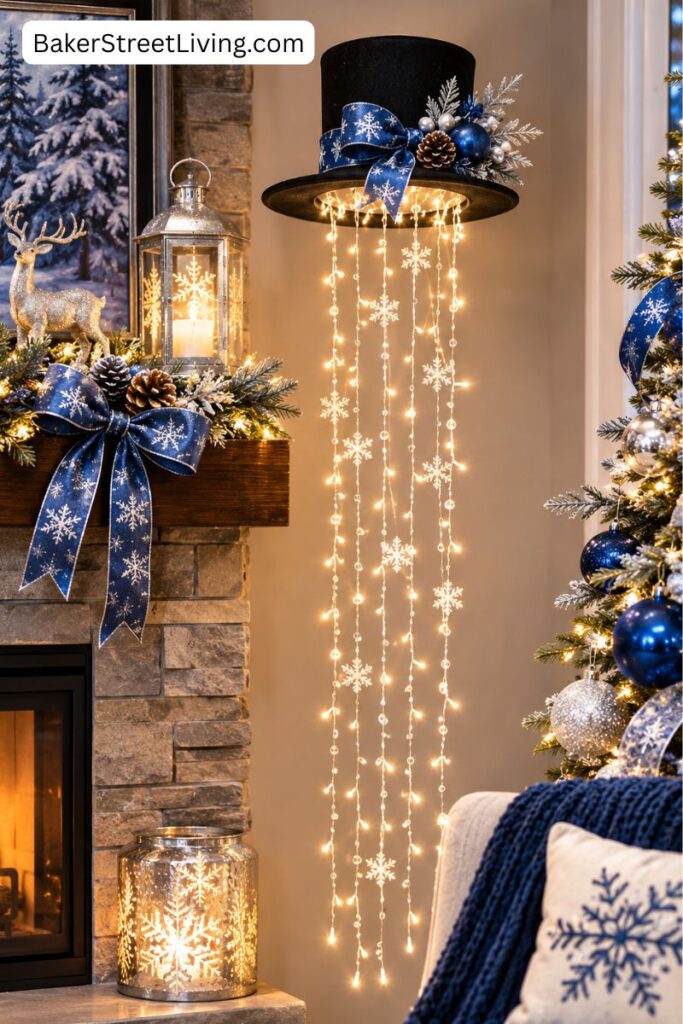
Ideas for hanging a Snowman Hat Decoration
There are lots of places where this Christmas decoration could work.
Consider hanging it:
- In an entryway
- Multiple hat lights in varying heights in a high-ceilinged room
- In a dining room
- Above a Christmas party table
- Near a Christmas tree
- In a covered porch area
- In a winter-themed party space
- In a classroom or community event space
- One on each side of a fireplace
It would also make a fun focal point for a Christmas party.


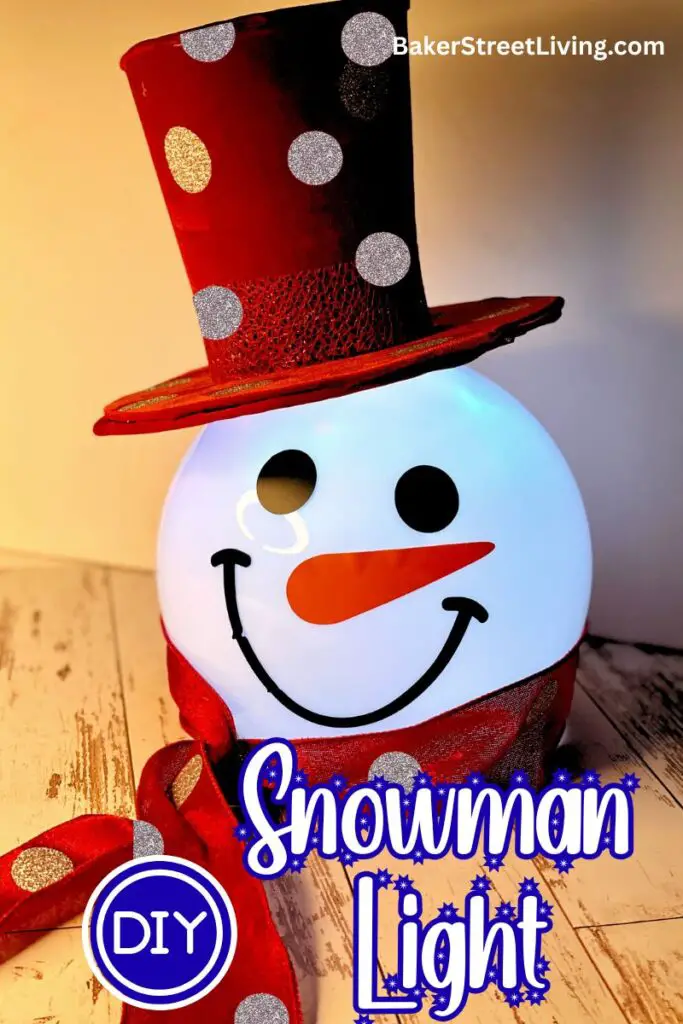
This DIY Snowman Hat Decoration is proof that you don’t need expensive Christmas decorations to create something that gets noticed. A simple dollar store top hat, curtain LED lights, and a few snowflake strands can be transformed into a whimsical hanging winter decoration.
It’s inexpensive, beginner-friendly and easy to customize, making it a great project to add to your Christmas decorating list.
So grab a top hat, add some twinkling lights and let it snow!

This website contains affiliate links. As an Amazon affiliate, I earn a small commission from qualifying purchases (at no cost to you).
