
Content Created by Tracey of Baker Street Living 
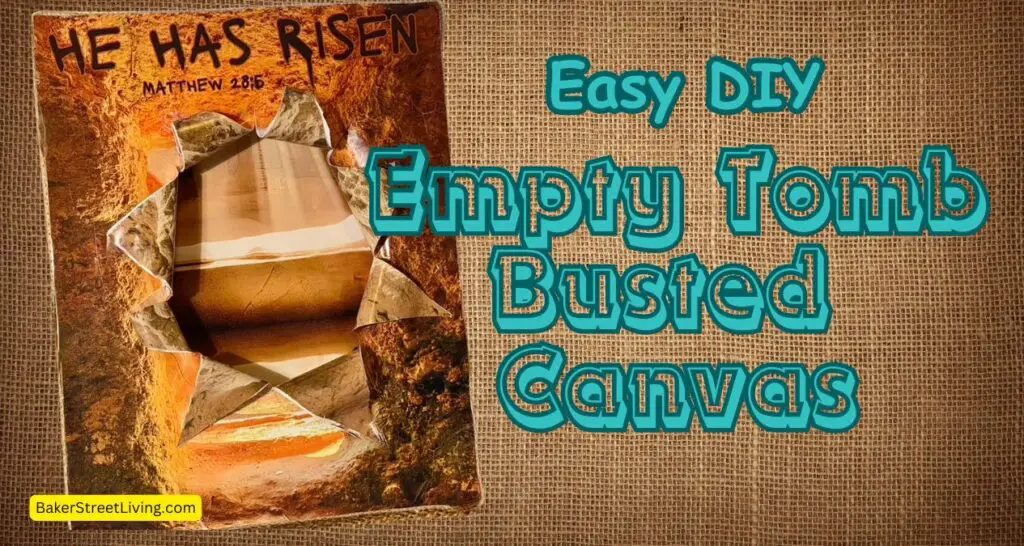
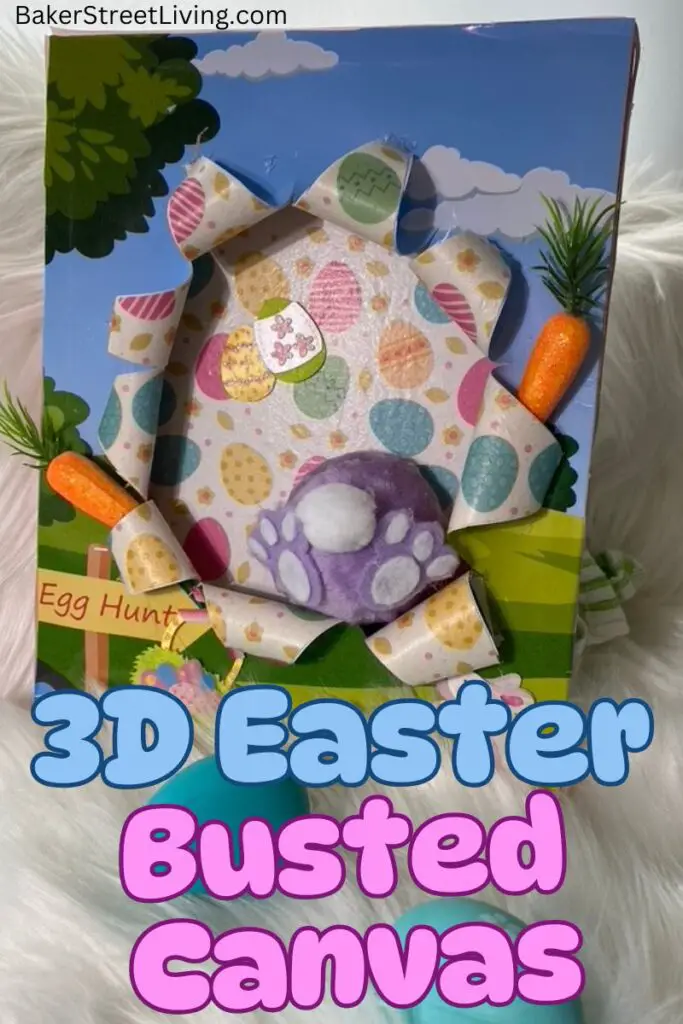
In our fun Easter Bunny Busted Canvas, we added a little 3D effect for a touch of whimsy. This Easter Busted Canvas has a Christian theme. Easter Bunnies are so much fun for kids, but I felt it was important to get serious about the real meaning of Easter.

This website contains affiliate links. As an Amazon affiliate, I earn a small commission from qualifying purchases (at no cost to you).
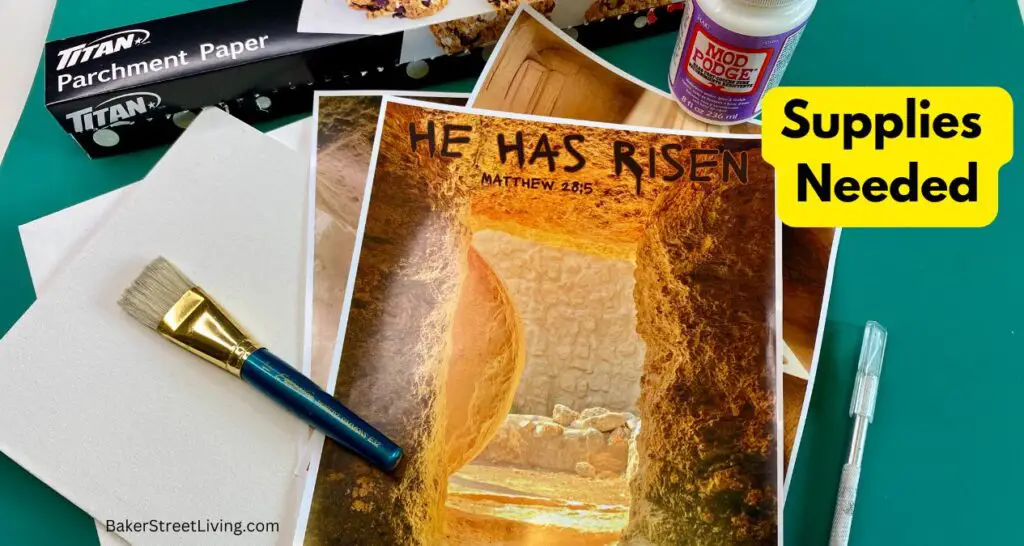
Materials List
- Thin Photo paper or Brochure paper – Glossy or Matte
- Canvas Board (8 x 10 inch)
- Stretched Canvas (8 x 10 inch)
- Mod Podge
- Glue Brush
- X-Acto Knife
- Scissors.
- Jute Ribbon or Tape
- Craft Iron
- Parchment paper
The images we are using are available for you to use in our free Resource Library. Click below and enter the library with a password, head to the Easter category and help yourself to the free download.
How to Make Our Easter Busted Canvas
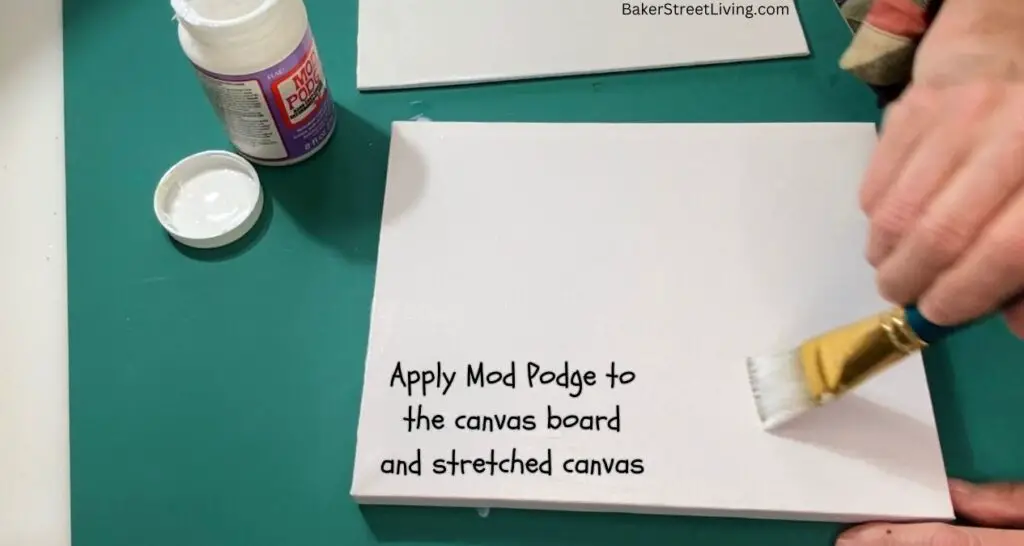
1 – Start by preparing your canvases. Apply a coat of Mod Podge to the surface of the Canvas board, the underside of the stretched canvas and the top of the stretched canvas.
Let the Mod Podge dry completely.
2 – Print the images – there are three. The He is Risen top image, the inside stone image and the empty tomb image. The Reccomended printer settings are: High Quality print, Fill the page (borderless) and specialty paper (glossy or matte). You may have more settings, but these are the most important.

3 – Measure the inside of the stretched canvas and trim the inside image (rock wall) to fit.
4 -Cover the image on the back of the stretched canvas with a sheet of parchment paper.
5 – Press with the craft iron (set to approx 300 degrees F). Continually move the iron until the entire image has been pressed. Do not press and hold. It is important to keep the iron moving to prevent scorning or heat marks on the image.
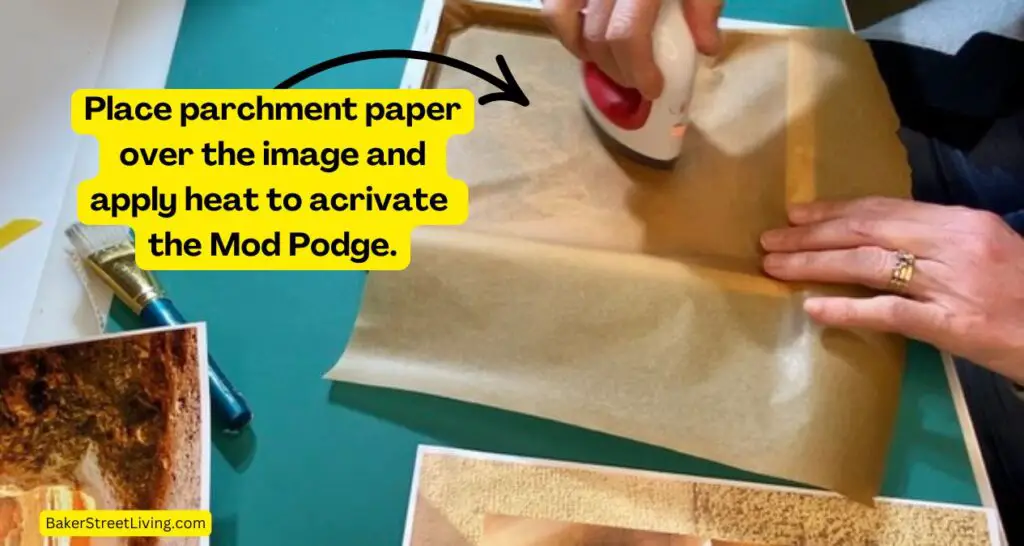
6 – Repeat the heating process with the images on the canvas board and then on the top of the stretched canvas. Allow both canvases to cool.
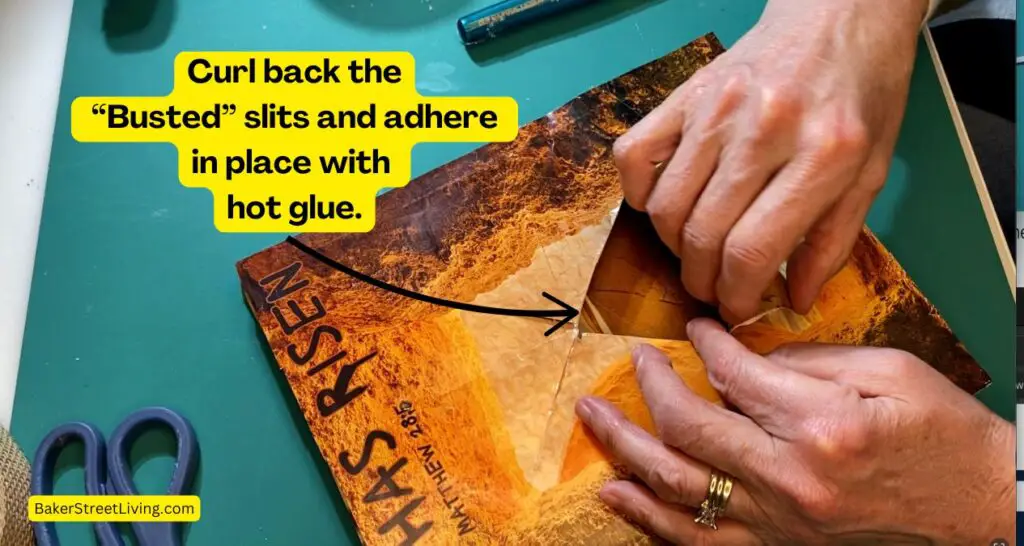
7 – Using an X-Acto knife, cut a small slit in the center of the stretched canvas.
8 – Using scissors, cut from the center out towards the edge, making about 8-10 cuts.
9 – Curl back the cuts and adhere in place with hot glue.
10 – Run a bead of glue around the inside frame of the stretched canvas. Line the stretched canvas up over the canvas board and press it into place. Allow the glue to dry.
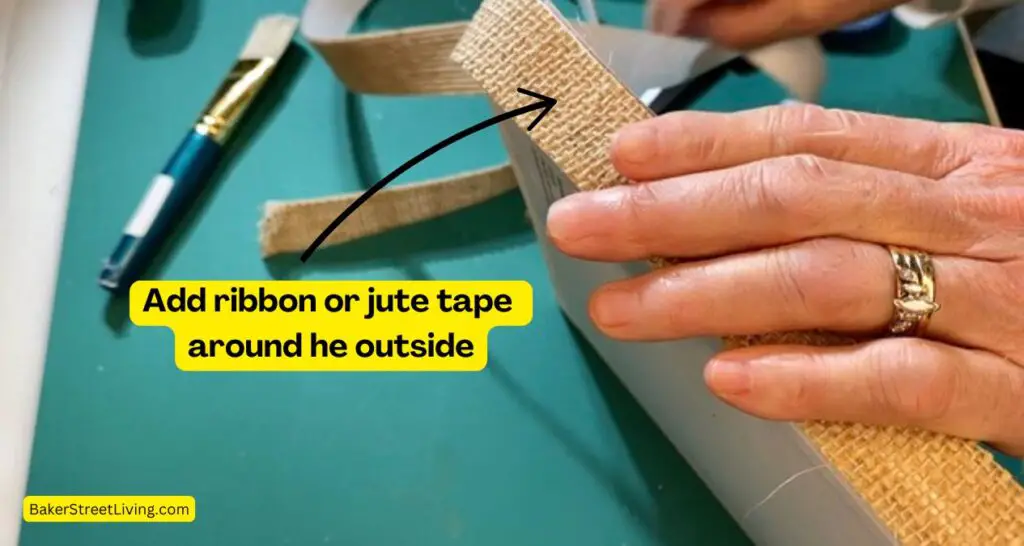
11 – Add some jute ribbon or tape around the outside of the entire busted canvas.
12 – Embellish and enjoy!


This website contains affiliate links. As an Amazon affiliate, I earn a small commission from qualifying purchases (at no cost to you).