This website contains affiliate links. As an affiliate, I earn a small commission from qualifying purchases (at no cost to you).
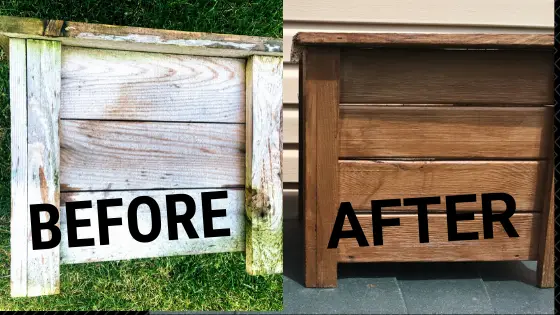
These old weathered wood planters are pretty dreary looking and in need of some TLC. They sure have seen better days. I decided it was time to rejuvenate these old weathered wood planters. They get a lot of sunshine and are a few years old.

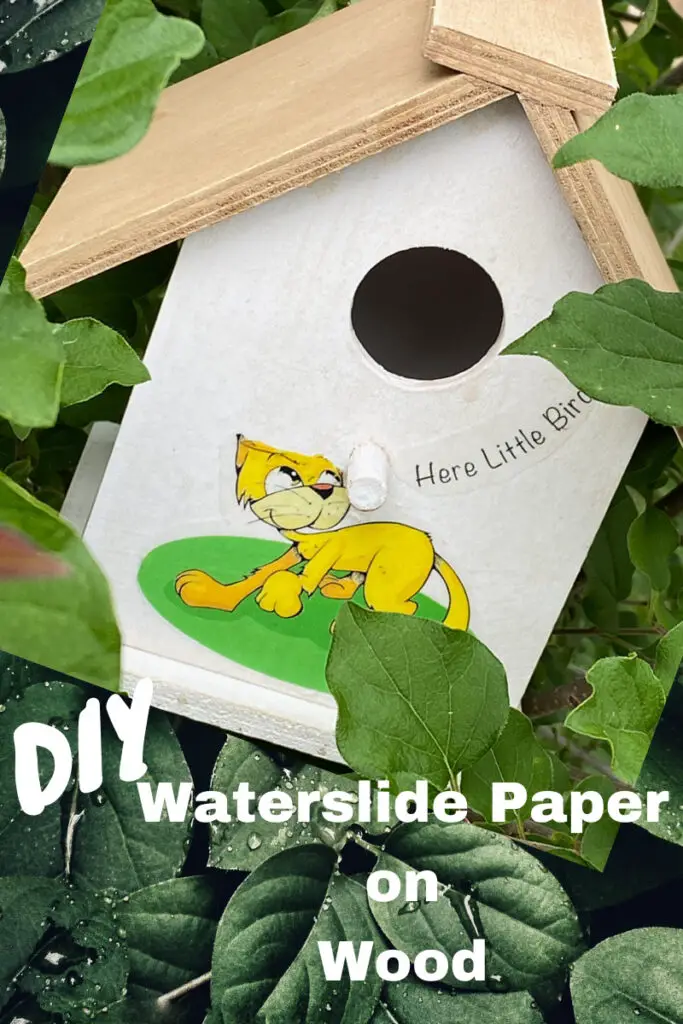
The method we use in this post can be used on any weathered wood, from fences, decks, wood benches and smaller things like planter boxes and statues. We even sometimes clean old wooden birdhouses and then decorate them with waterslide paper. It is a budget-friendly recycling project.
These were some pretty weathered wood planters and needed some attention. A family friend, who does deck restoration gave us a great secret tip that is inexpensive and easy. Who doesn’t want to know an easy cheap way to rejuvenate weathered wood?
\ I was surprised to learn that a lot of the greying that you see on wood is just dirt and it is easy to bring it back to almost new, maybe even better.
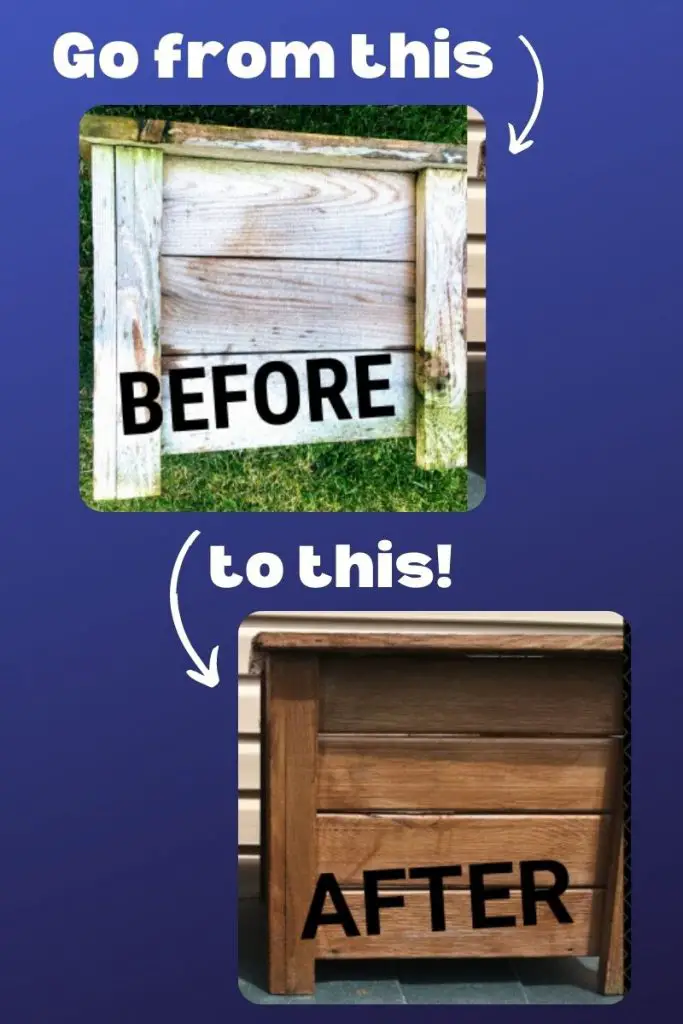
There is no need to buy expensive wood cleaners for cleaning decks or anything that is made of wood and weathered. There is no need for pressure washing. You have the supplies right at home. All you need is bleach and water. You can rejuvenate that weathered wood in these easy steps.
Supplies List
- your weathered wood planters or other weathered wood (of course)
- soft-bristled brush
- bleach
- water
- bucket
- rubber gloves
- The stain of your choice ( I used Olympic)
- paintbrush – for applying stain
Step-by-step instructions to rejuvenate weathered wood
BRUSH OFF ANY DIRT OR DEBRIS
Make sure your weathered wood planters are completely dry.
Start by brushing off any dirt and debris from your wood. You don’t need any special brushes. Just make sure that you are removing the dirt, so you have a clean surface to work on.
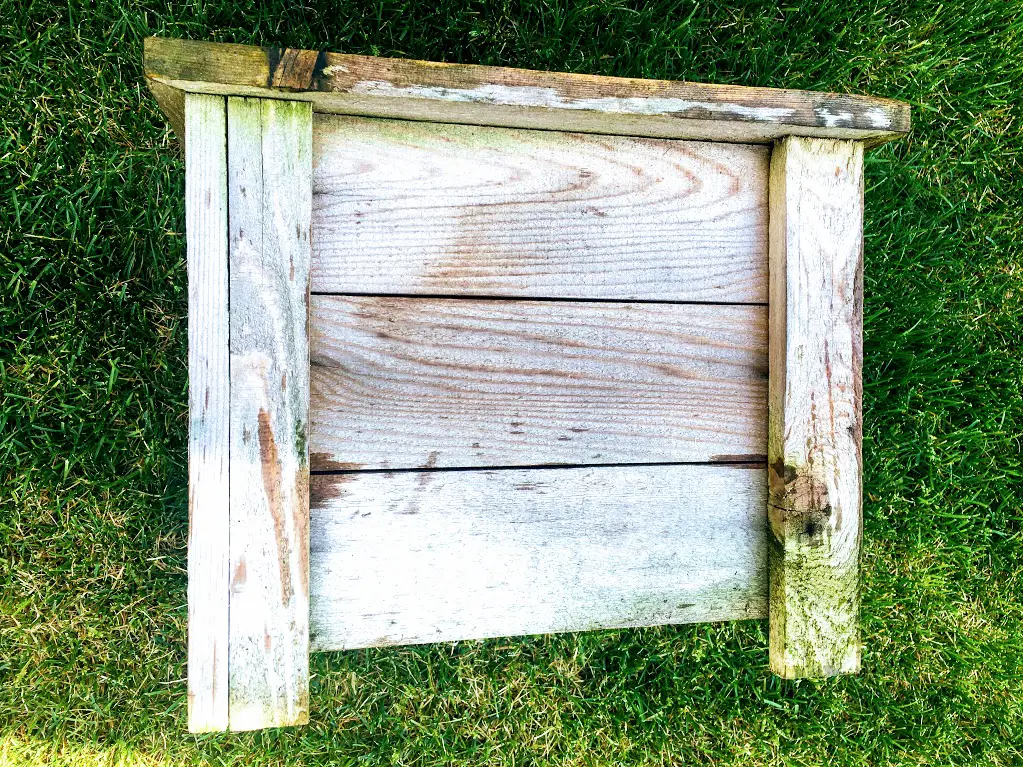
This weathered planter has been brushed off. You can see that there are still dome mouldy-looking spots and green spots. That’s ok, it’s ready for the next step. Time to rejuvenate this planter!
MIX BLEACH SOLUTION
In a bucket mix a solution of 1 part bleach to 1 part water.
A little goes a long way. For these 2 wood planters I used 4 cups of water to 4 cups of bleach, and I had some leftover solution. I could have used 3 cups instead of 4. With the extra I just went over the planters again until I ran out.
Be sure to protect any plantings or other objects nearby, before applying the bleach solution. If other planters are close to your work area, move the wood you are cleaning or cover the plantings with a protective cover.
WORK IN A WELL-VENTILATED AREA – ALWAYS WEAR GLOVES
Work in cool weather or shade
it is best to work in the morning or evening when the sun is not too hot. the bleach solution needs to soak in a bit and if it’s too hot, it will dry too fast. Make sure wherever you are working is well-ventilated.
With a soft-bristled brush cover your wood with the bleach solution.
The bleach will get rid of any mould or bacteria on the surfaces.
If you are doing a large area, like a deck, use a deck brush to speed up the process. You don’t need to scrub hard. Lightly brushing will ensure that the solution is absorbed into the wood. Once the entire surface is coated, let dry overnight.
No Scrubbing Needed!
For weathered wood planters, don’t forget to clean the inside, especially the top couple of inches, so you don’t see old wood when the dirt settles.
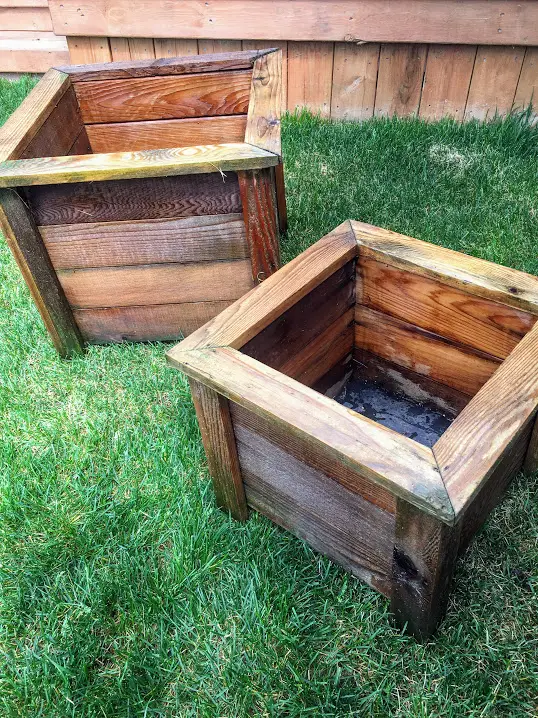
These weathered wood planters have been well coated with the solution and are now going to sit overnight to dry.
APPLY STAIN OR SEALANT (optional)
When your weathered wood planters are completely dry. Apply the stain, following the product instructions on the label, with a paintbrush. If doing a large area, use a roller. Make sure that the entire area is covered and there are no drips.
Do not apply the stain or sealer in the hot sun. Working in the full sun causes the stain or sealant to dry too quickly.
I used Olympic brand water guard stain. Olympic stains and Thompsons Stain and Waterseal have good longevity and are reliable and easy-to-use products. Always use a good quality reputable brand. Even though cheaper brands are available, they often don’t have a long-lasting finish.
TIP – Applying your stain when it is a bit cloudy or in the early morning or evening will make the drying time a little longer. If you are working in the hot sun, the stain dries fast and you can end up with lines or marks. Make sure there is no rain in the weather forecast as well.
LET DRY COMPLETELY BEFORE USING
Once you have everything covered, leave your project to dry. For my planters, I let them dry for a couple of days before putting any plantings in them. I also did my deck and I waited two full days before putting my patio furniture back on.
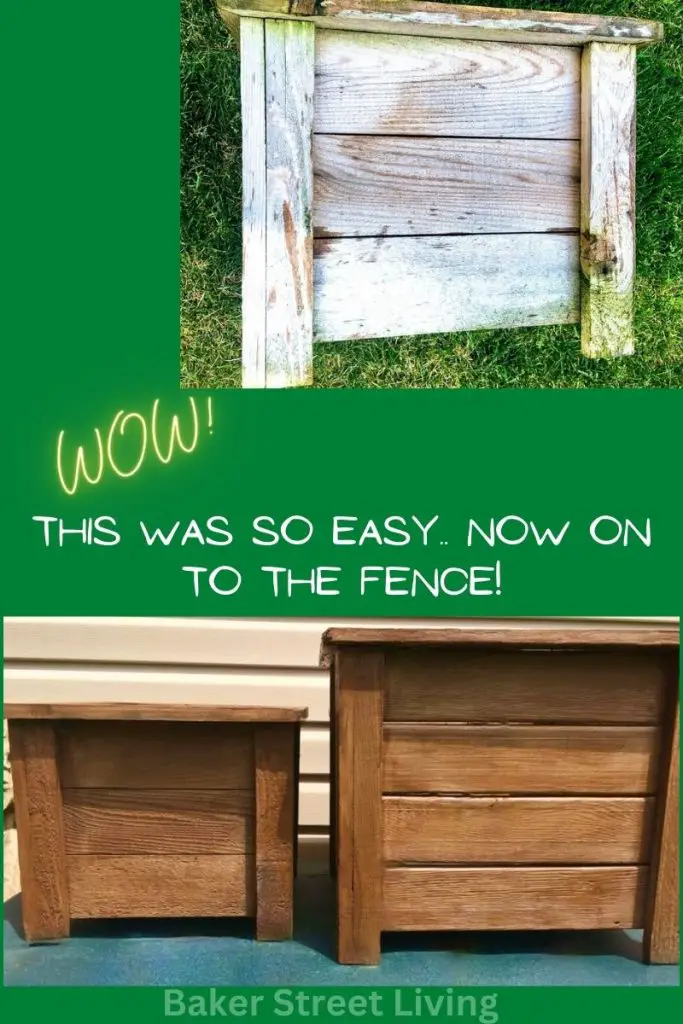
You can do this project too. No scrubbing, no pressure washer, or expensive products are needed for cleaning. If you like the raw wood without the stain, just clean it with the bleach solution and let it dry and then you are done. It is also a great way to clean wood when preparing for paint. I will never pressure wash my deck or wood planters again!


Disclaimer: This post contains affiliate links. We receive a small commission when purchases are made through our links, at no cost to you.


