

Content Created by Tracey of Baker Street Living 
This cute Easter Bunny Busted Canvas is a whimsical 3D version that takes your making a busted canvas to the next level. It is easy to make and looks amazing on a sideboard next to a basket of home-crafted Easter Eggs.
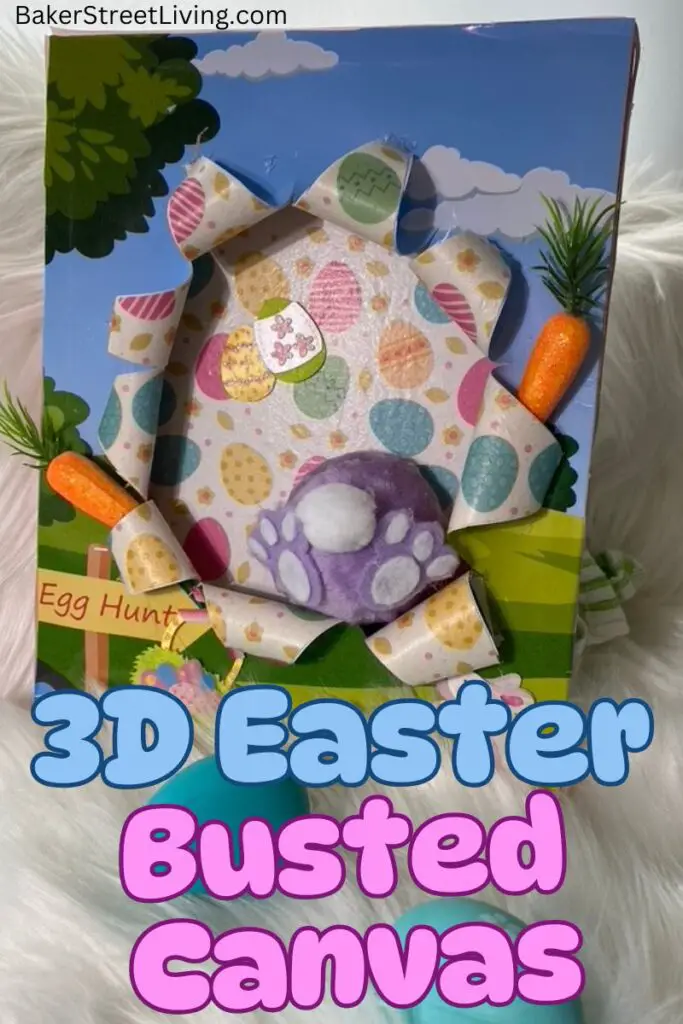
If you haven’t seen busted canvases around, they can be simple or as elaborate as you want. The “busted canvas” technique creates the illusion of a torn or broken canvas to reveal a hidden design or image.
This website contains affiliate links. As an Amazon affiliate, I earn a small commission from qualifying purchases (at no cost to you).
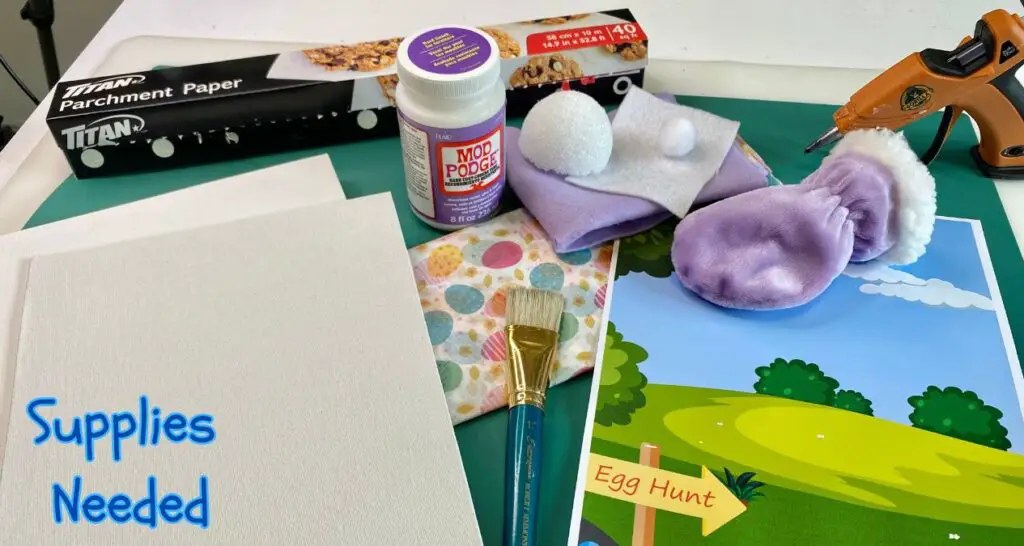
Supplies List
- 8 by 10-inch Canvas Board
- 8 by 10-inch Stretched Canvas
- Modge Podge
- Easter-themed tissue, napkin or scrapbooking paper.
- Thin Photo Paper (or Brochure Paper)
- 2 Inch Half-Round Styrofoam Ball
- Baby Mitten or Small Toddler-Sized Sock (in an Easter Colour)
- 1 Inch Pom Pom
- Felt – White (4 inch square)
- Felt – Colour that matches sock (4-inch square)
- Parchment Paper
- Embellishments such as ribbon, mini eggs, etc are optional
Craft Tools List
For a quick and easy visual reference, watch the video tutorial below.
To acquire the image used on the front canvas or the pattern for the bunny feet, enter the library and search under the easter category.
How to Make an Easter Bunny Busted Canvas
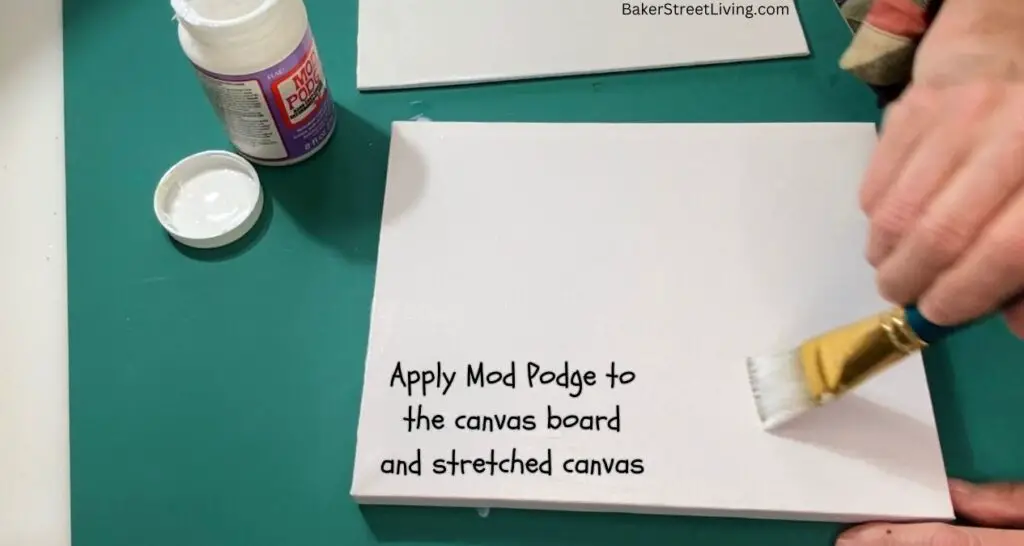
1 – Start by applying a coat of Mod Podge to the top of the stretched canvas and the canvas board. Let them both dry. Apply a coat of Mod Podge to the inside of the stretched canvas. Allow to dry.
2 – Cut Easter-themed tissue to fit inside the stretched canvas, as well as a piece for the canvas board. Press with a warm iron to remove any wrinkles.
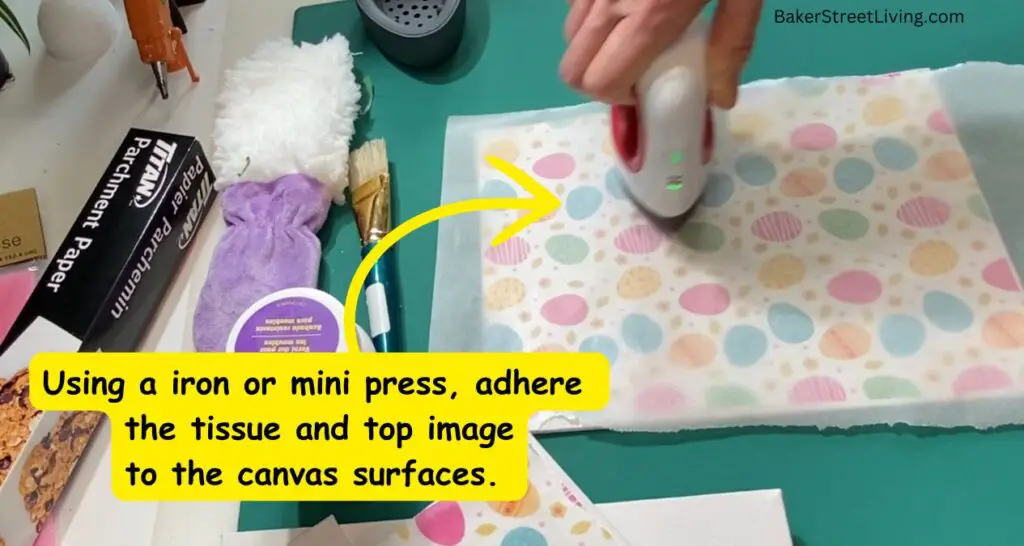
3 – Lay the tissue over the dry canvas board and position it in place. Cover it with a piece of parchment paper.
4—Iron the surface using a small craft iron (like my mini Cricut iron). The iron should be on medium heat (300F). Do not let the iron sit. Keep moving the iron across the surface until you have completed the entire surface. The heat will reactivate the Mod Podge, resulting in a nice, smooth surface. Repeat on the interior of the stretch canvas.
5 – Place your “egg hunt ” image on the top of the stretched canvas. Cover it with parchment and apply heat as before. You may need to go over the surface a few times, depending on the thickness of the paper. Once adhered, trim off any excess around the edges of the canvas.
6 – Cover the half-round styrofoam ball with the baby mitten (remove any lining beforehand). Trim the excess and glue the open end in place with hot glue.
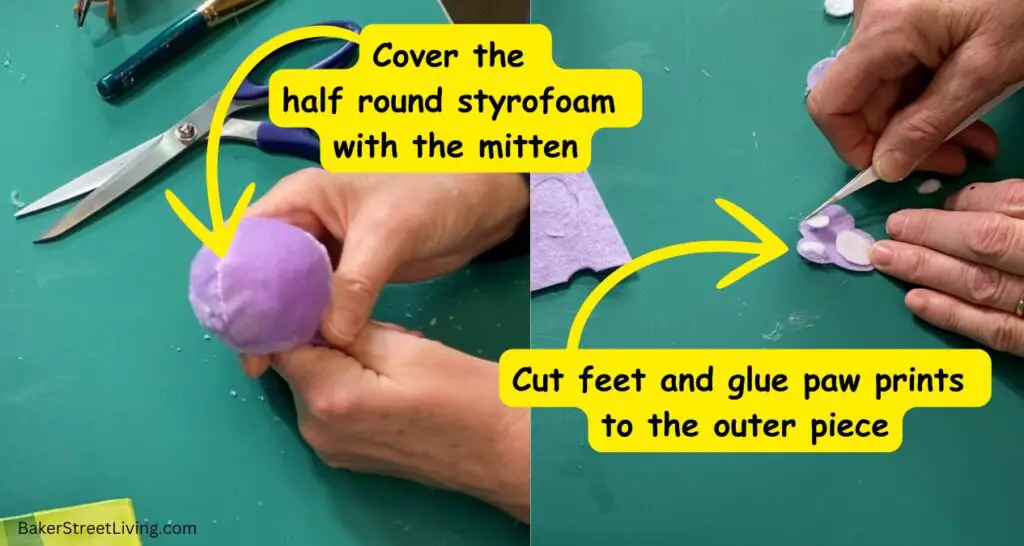
7 – Cut the feet out of felt. Two colours look best. One that matches the bunny colour and a white for the paw prints. Once cut, glue the paw prints onto the foot pattern and allow to dry.
8 – Using an X-Acto knife, cut a slit on the top of the stretched canvas. Once you have cut a slit, use scissors to cut the remainder of the cuts. Making about 8-10 cuts is what looks best.
9 – Curl back the cuts and arrange them to your liking. The goal is to make it look like the bunny has busted through the canvas, so if it’s uneven, it looks great.
10 – Apply some hot glue to the canvas and glue the curled edges in place. Allow the glued pieces to dry.
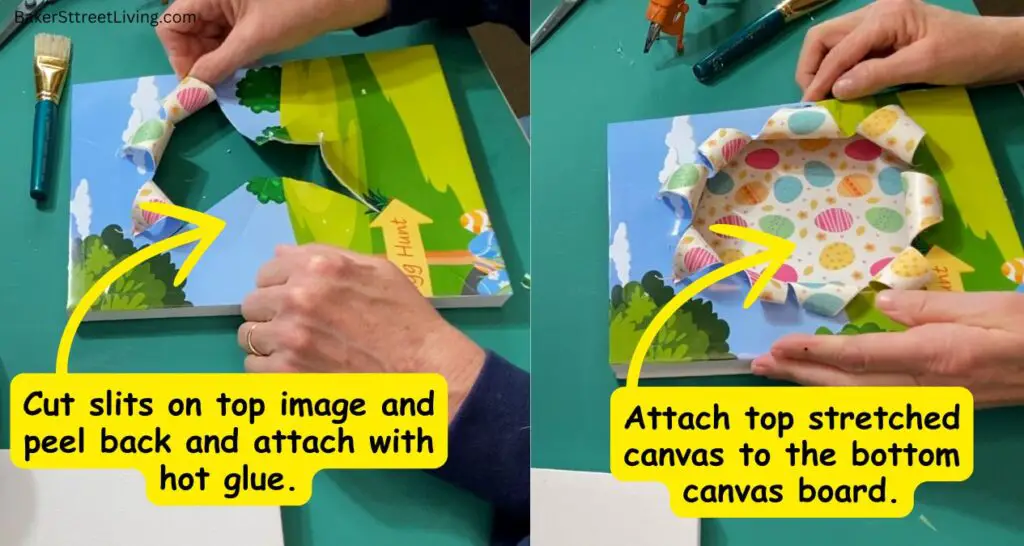
11 – Run a bead of hot glue around the bottom edge of the frame of the stretched canvas. Line it up over the canvas board and press in place. Hold for a few seconds until the glue is dry.
12 – Place the covered half-round ball into the busted canvas. Apply hot glue and secure it in place.
13 – Glue the pom pom (tail) onto the ball for a tail.
14 – Add feet – make sure you have the feet in the proper direction. The bunny is diving into the canvas, so the toes should be pointed downward. (Mine are facing the wrong way. Did you notice?)
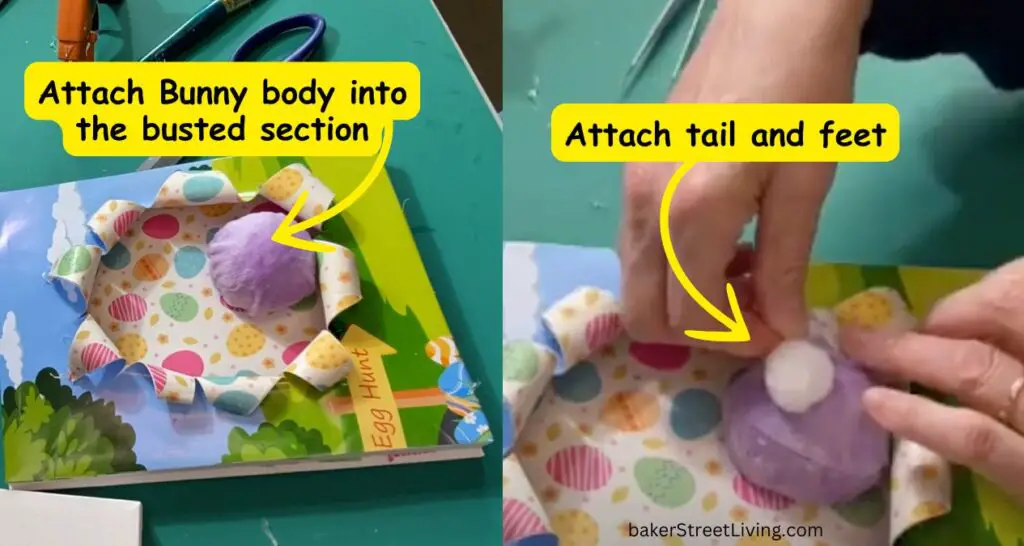
15 – Glue the feet in place.
16 -Optional – Run a bead of hot glue around the outside edge and attach a ribbon, covering the seam.
17 – Add embellishments or glitter, if desired.
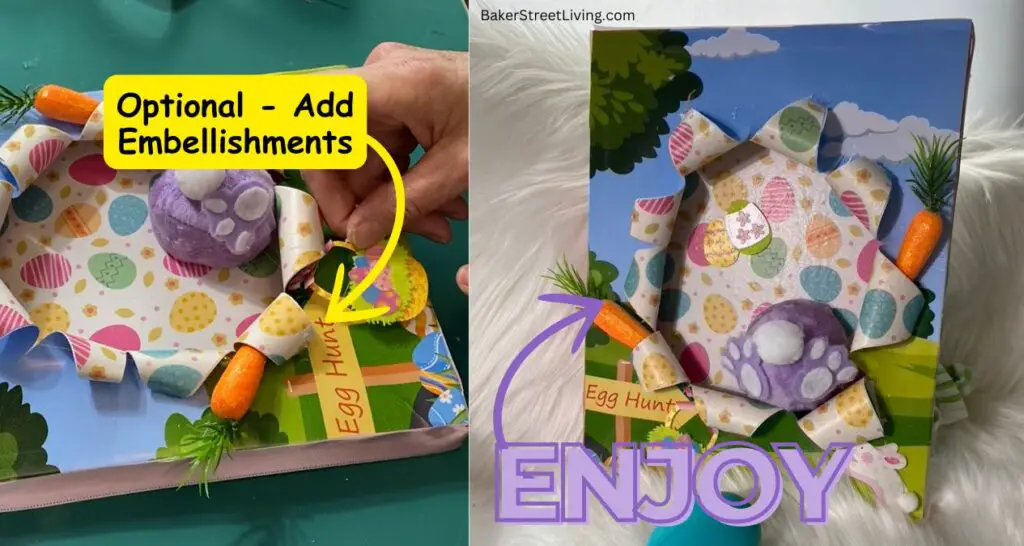


I hope you are inspired to make your own easter Bunny Busted Canvas.

This website contains affiliate links. As an Amazon affiliate, I earn a small commission from qualifying purchases (at no cost to you).