
Content Created by Tracey of Baker Street Living 
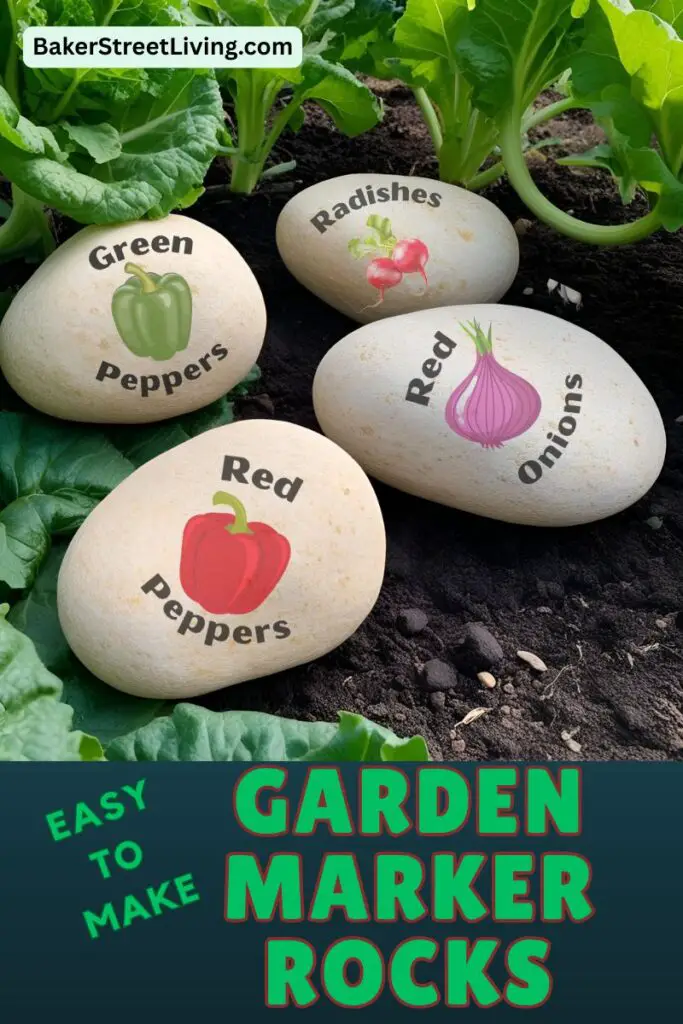
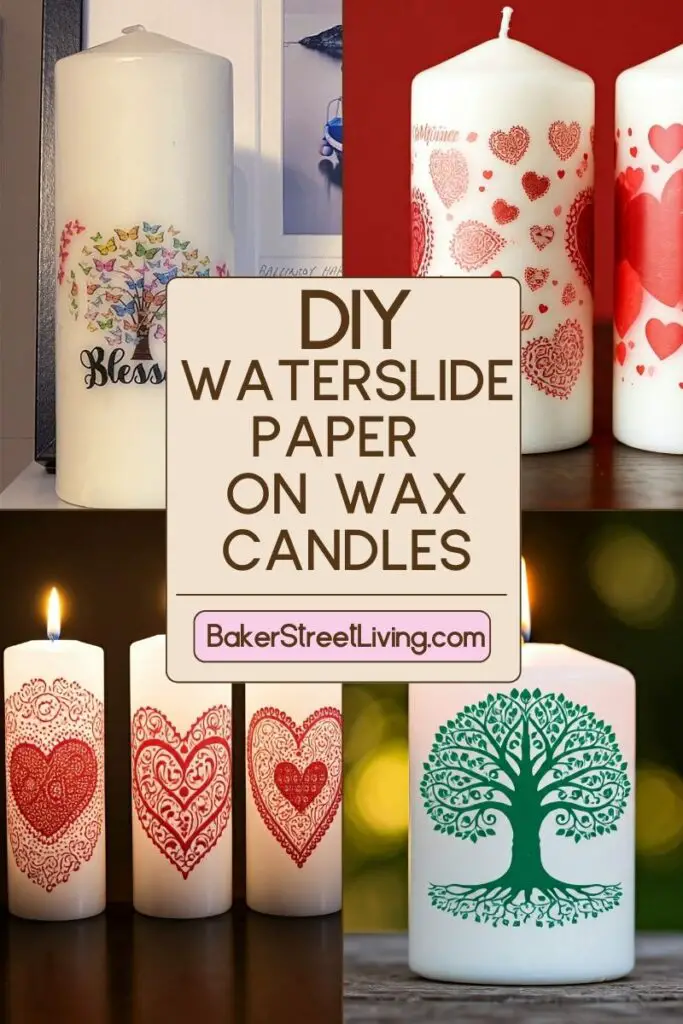
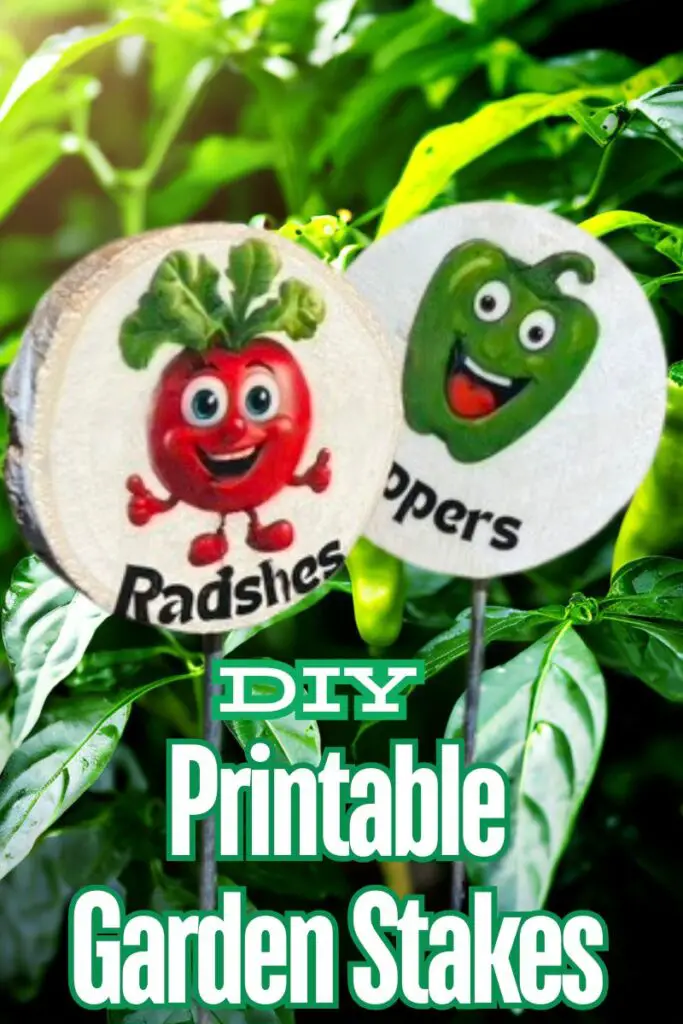
Let’s get crafty and create unique, durable, and beautiful plant markers using smooth rocks and the magic of waterslide decal paper. Not only are these garden marker rocks easy to make, but they are also budget-friendly. If you’d like to paint your rocks so they’re more colourful, feel free to do so; however, our tutorial does not require any paint.
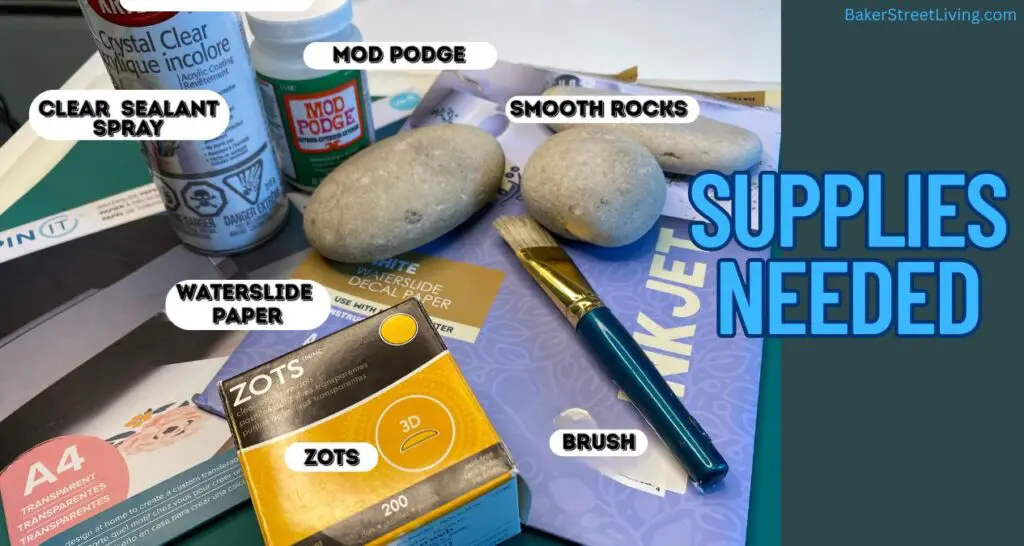
Supplies List
This website contains affiliate links. As an Amazon affiliate, I earn a small commission from qualifying purchases (at no cost to you).
- Printable Design ( use ours or make your own
- Rocks – Smooth
- Waterslide paper – see FAQS about using white or clear
- Clear Acrylic Spray Sealant
- Mod Podge Waterproof Sealant
- Printer
- Scissors
- Cardboard Box ( spray booth)
- Zots – adhesive glue dots (optional)
- Dish deep enough to hold water and bigger than your printed labels
Garden Marker Rocks Instructions
Before starting, make sure that the rocks have been washed and are dry.
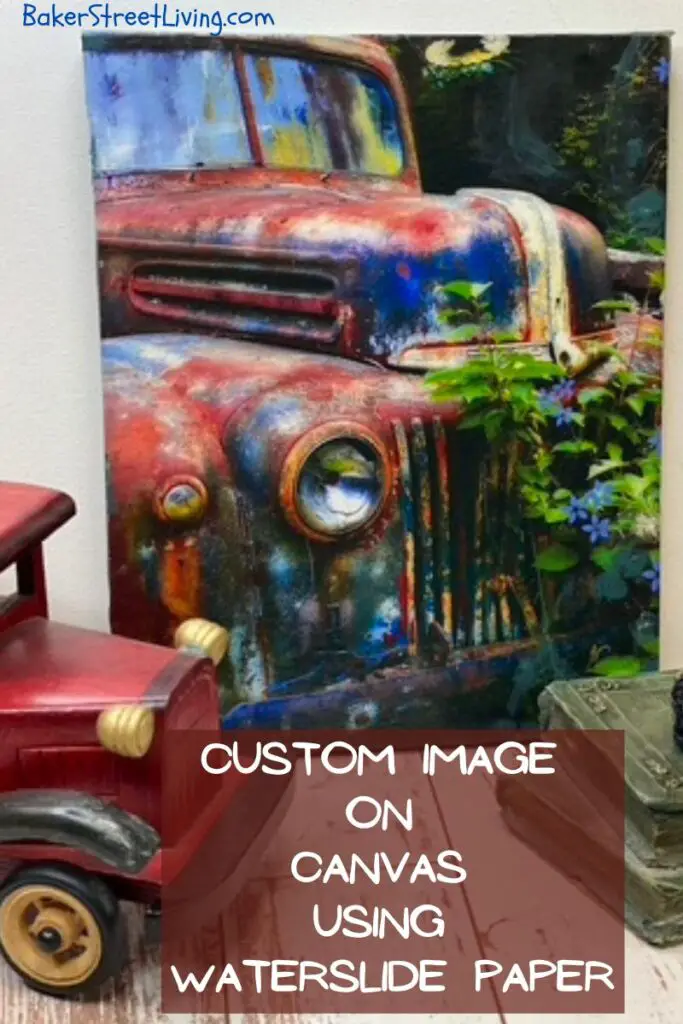
1 – Create your design or download our free printable designs. You can download them here or find them in our free resource library. They are located under Everyday DIYS titled Garden Marker Rocks.
2 – Print out your designs on waterslide paper. – Make sure you load the paper properly, as only one side of the paper is intended for the image.
3 – If you are using the entire sheet of waterslide paper, there is no need to cut out your designs before sealing. If you are not using the full page, trim around your designs and save the rest of the paper for another design.
4 – Press a Zot adhesive dot to the bottom of the cardboard box.
5 – Lightly press your waterslide paper onto the Zot. Do not press hard, we only need to keep the paper from moving when being sprayed with the sealant.
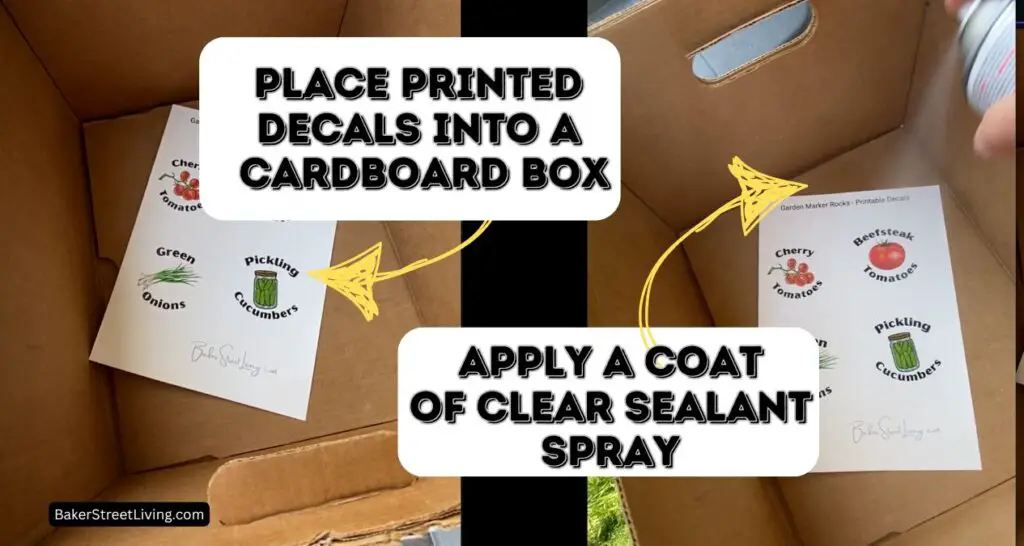
6 – Place your cardboard box in a well-ventilated area.
7 – Apply a coat of acrylic spray sealant and allow the paper to fully dry.
8 – While the paper is drying, apply a coat of Modge Podge to the rock’s surface. You do not need to cover the entire rock, just the area where the decal will be. Allow it to dry.
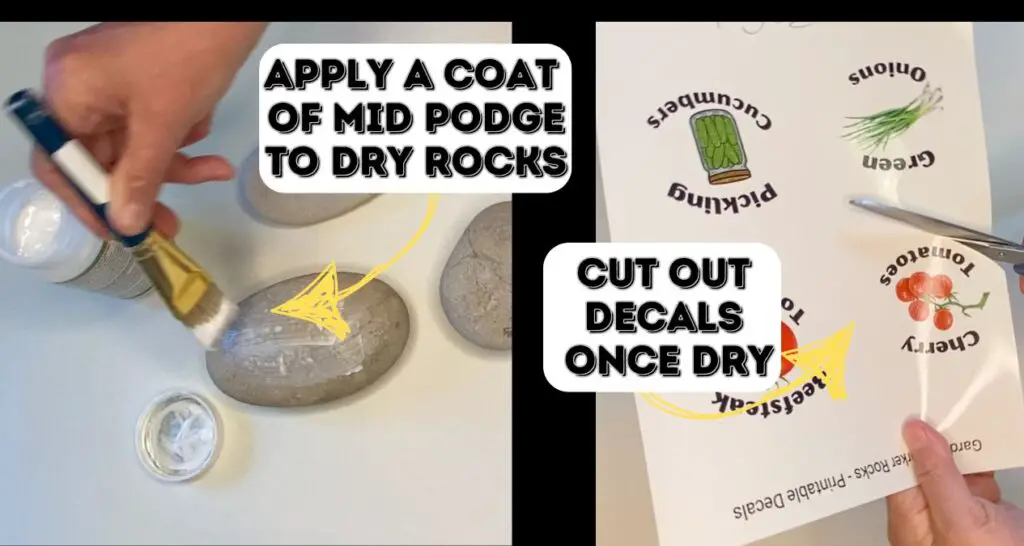
9 – Once the sealed paper is dry, cut out your designs.
10 – Add warm water to your dish. The water needs to be deep enough to submerge your paper designs.
11 – On your dry Modge Podge covered rock, add some water. The goal is to make the surface slightly slippery. This helps the paper slide onto the surface of the rock.
12 – Place one of your printed waterslide designs into the water. Make sure it is submerged. You may need to push it down for a couple of seconds.
13 – Submerge according to the package directions (usually 30 to 60 seconds). Check the edges of the paper. When you feel the corner, and can lightly push the top layer of the paper off.
14 – While the paper is soaking, get the surface of the rock wet.
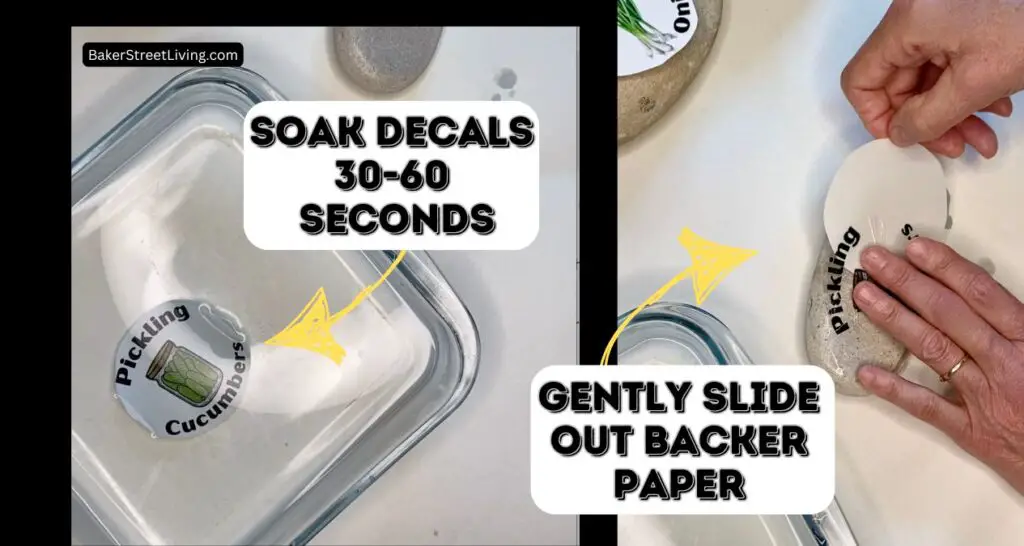
15 – Position the decal onto the rock and gently slide out the backer paper, making sure you are placing it into the desired position.
16 – Lightly pat the surface with a dry paper towel or lint-free cloth to remove water and smooth the design.
17 – Allow the rock to dry.
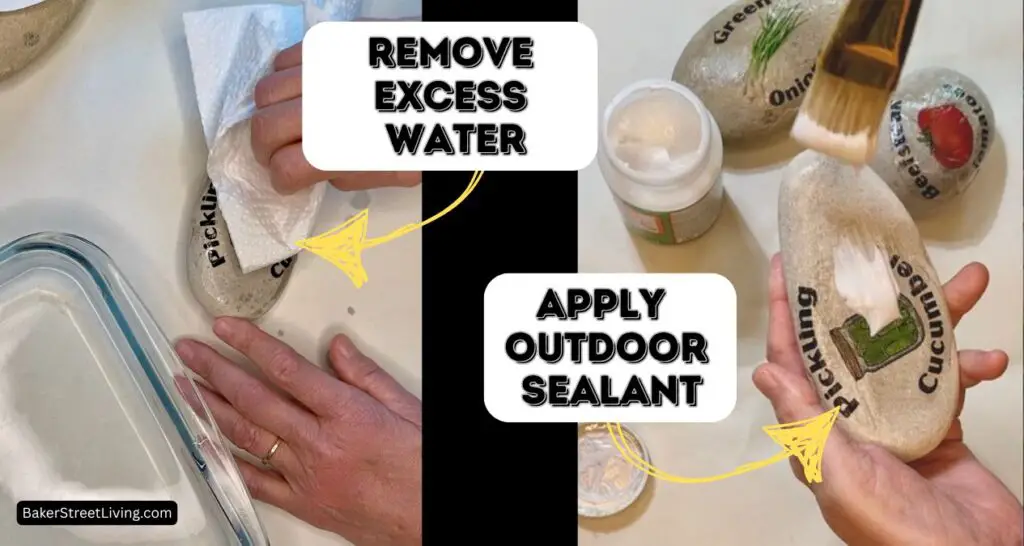
18 – Apply a coat of outdoor Mod Podge sealant to the dry rock. This helps prevent damage from rain and sun.
19 – Add your Garden Marker Rocks to your Garden


FAQS and Helpful Tips
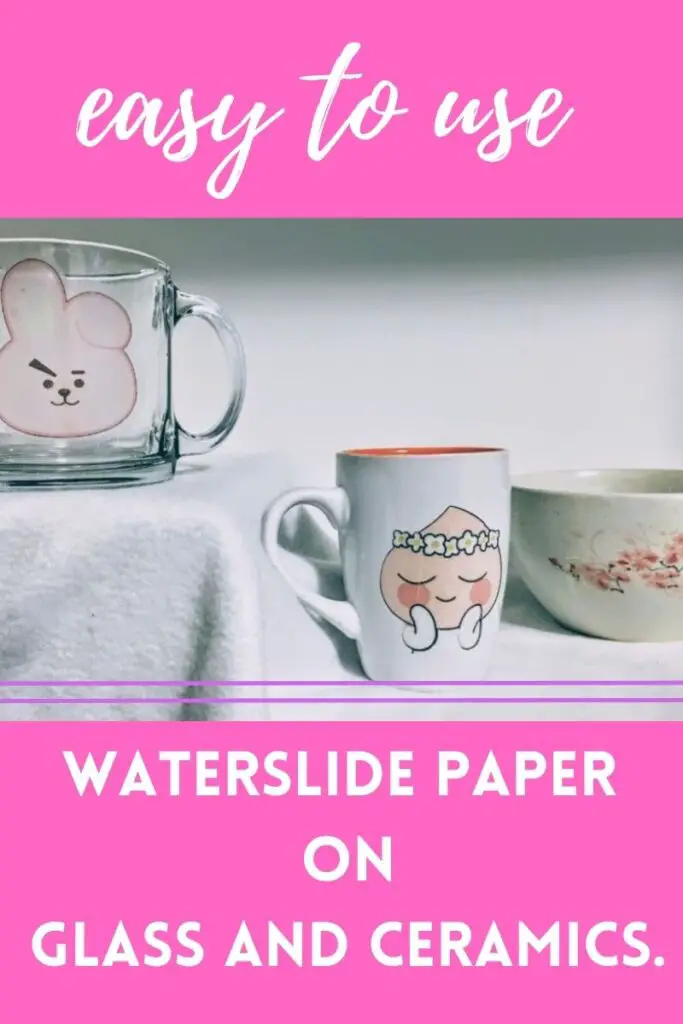
Choosing Waterslide Paper
Waterslide paper is available in Clear and White. The colour of your rocks determines the colour you choose. It you are lucky enough to have white or light-coloured rocks, clear can be used. If the rocks are dark coloured, the clear waterslide paper will disappear on the surface. You will need to paint the rock or use white waterslide paper.
Waterslide paper is also available for inkjet and laser printers.
- White Inkjet Waterslide Paper
- Clear Inkjet Waterslide Paper
- White laser Waterslide Paper
- Clear Laser Waterslide Paper
Choosing Rocks
Look for rocks that have a smooth surface and are large enough to see when placed in your garden. Rocks with rough edges tend to tear the membrane when you are trying to apply the membrane.
Light-coloured rocks yield the best results. The closer to white they are, the better your design will appear, especially if you are using clear waterslide paper. For dark coloured rocks, you will require the white waterslide paper.
Choosing Sealant
For the final sealant, you should use a sealant that has a UV protectant as well as a waterproof sealer. I recommend a couple of coats, especially is the rocks will be exposed to full sun year-round.
I hope you have found this Garden Marker Rocks tutorial and you have fun making some for your garden.

This website contains affiliate links. As an Amazon affiliate, I earn a small commission from qualifying purchases (at no cost to you).